Build your own garden gate: Instructions from Sari's Garage

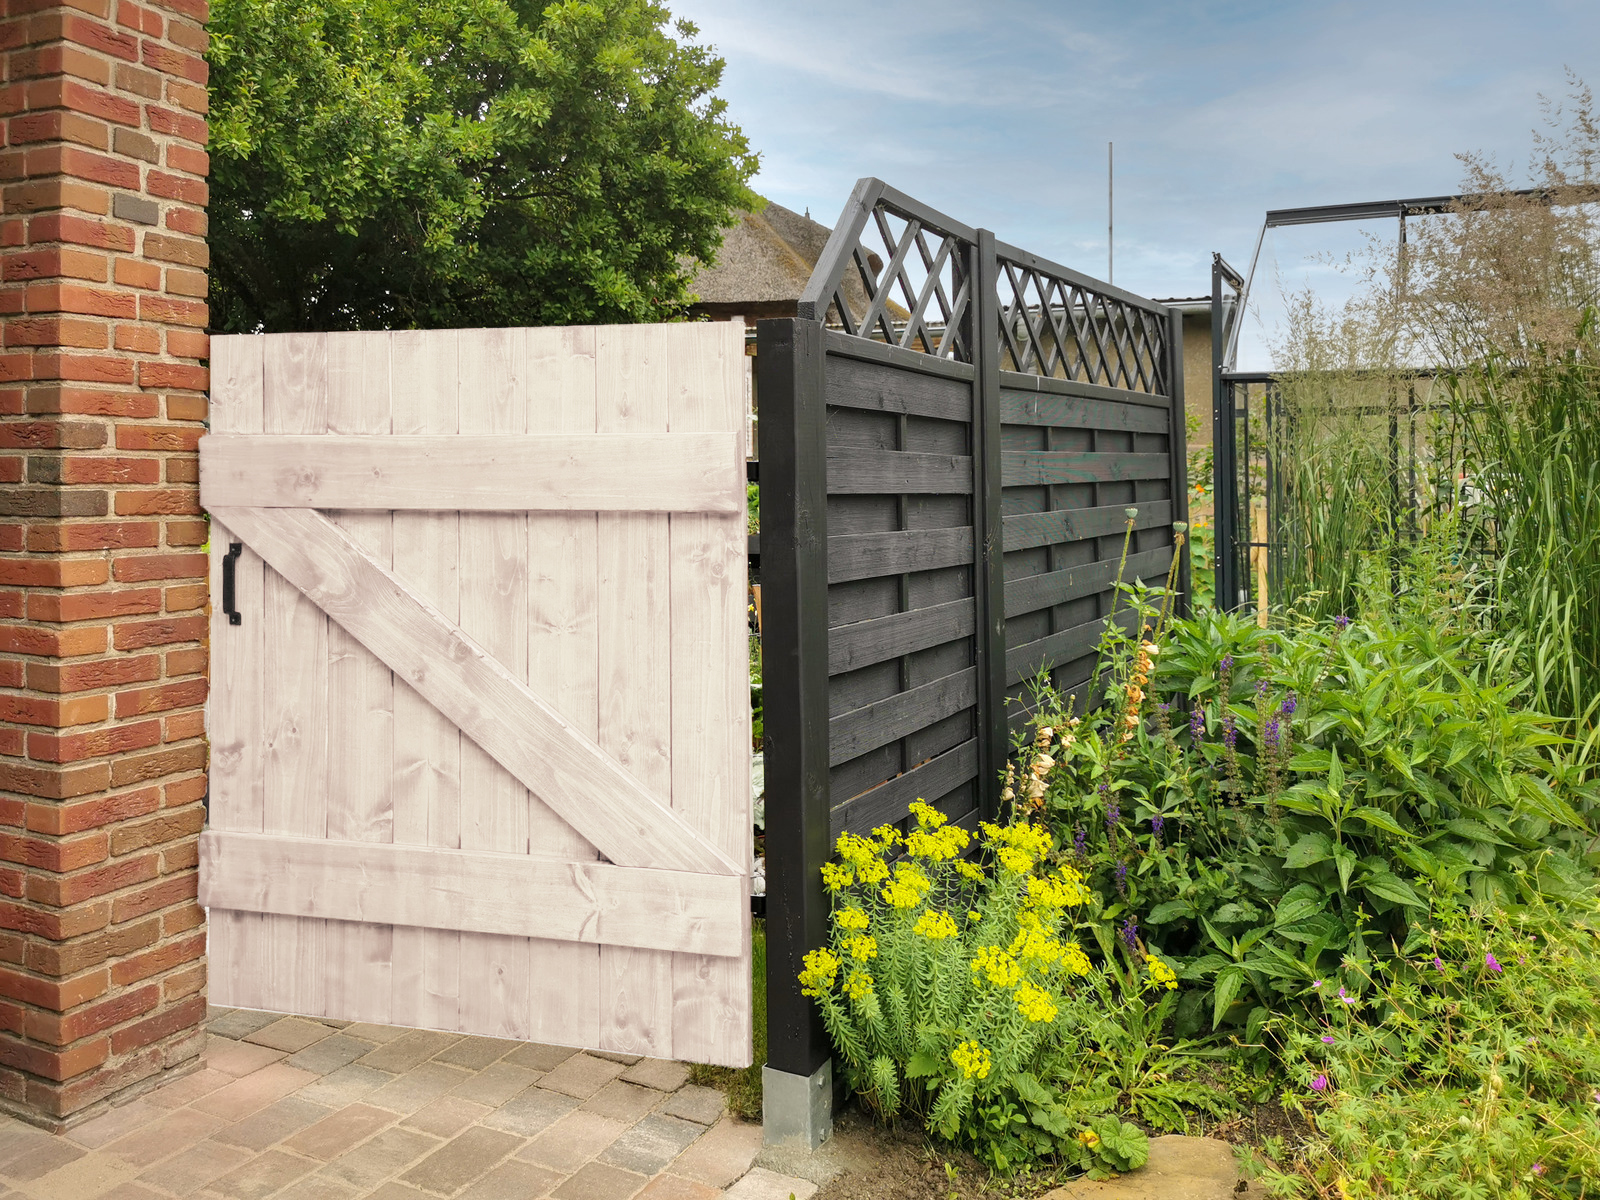
Home Sweet Home. Nowhere do we like to spend time as much as in our own home and especially in the garden! But if there is a lack of privacy from the neighbours next door, it can be difficult to relax. So how about a beautiful garden gate next to your classic garden fence? At the same time, you can make sure that children or pets can run around safely in the garden. Our tip for a customised garden gate on a small budget - is to simply build it yourself!

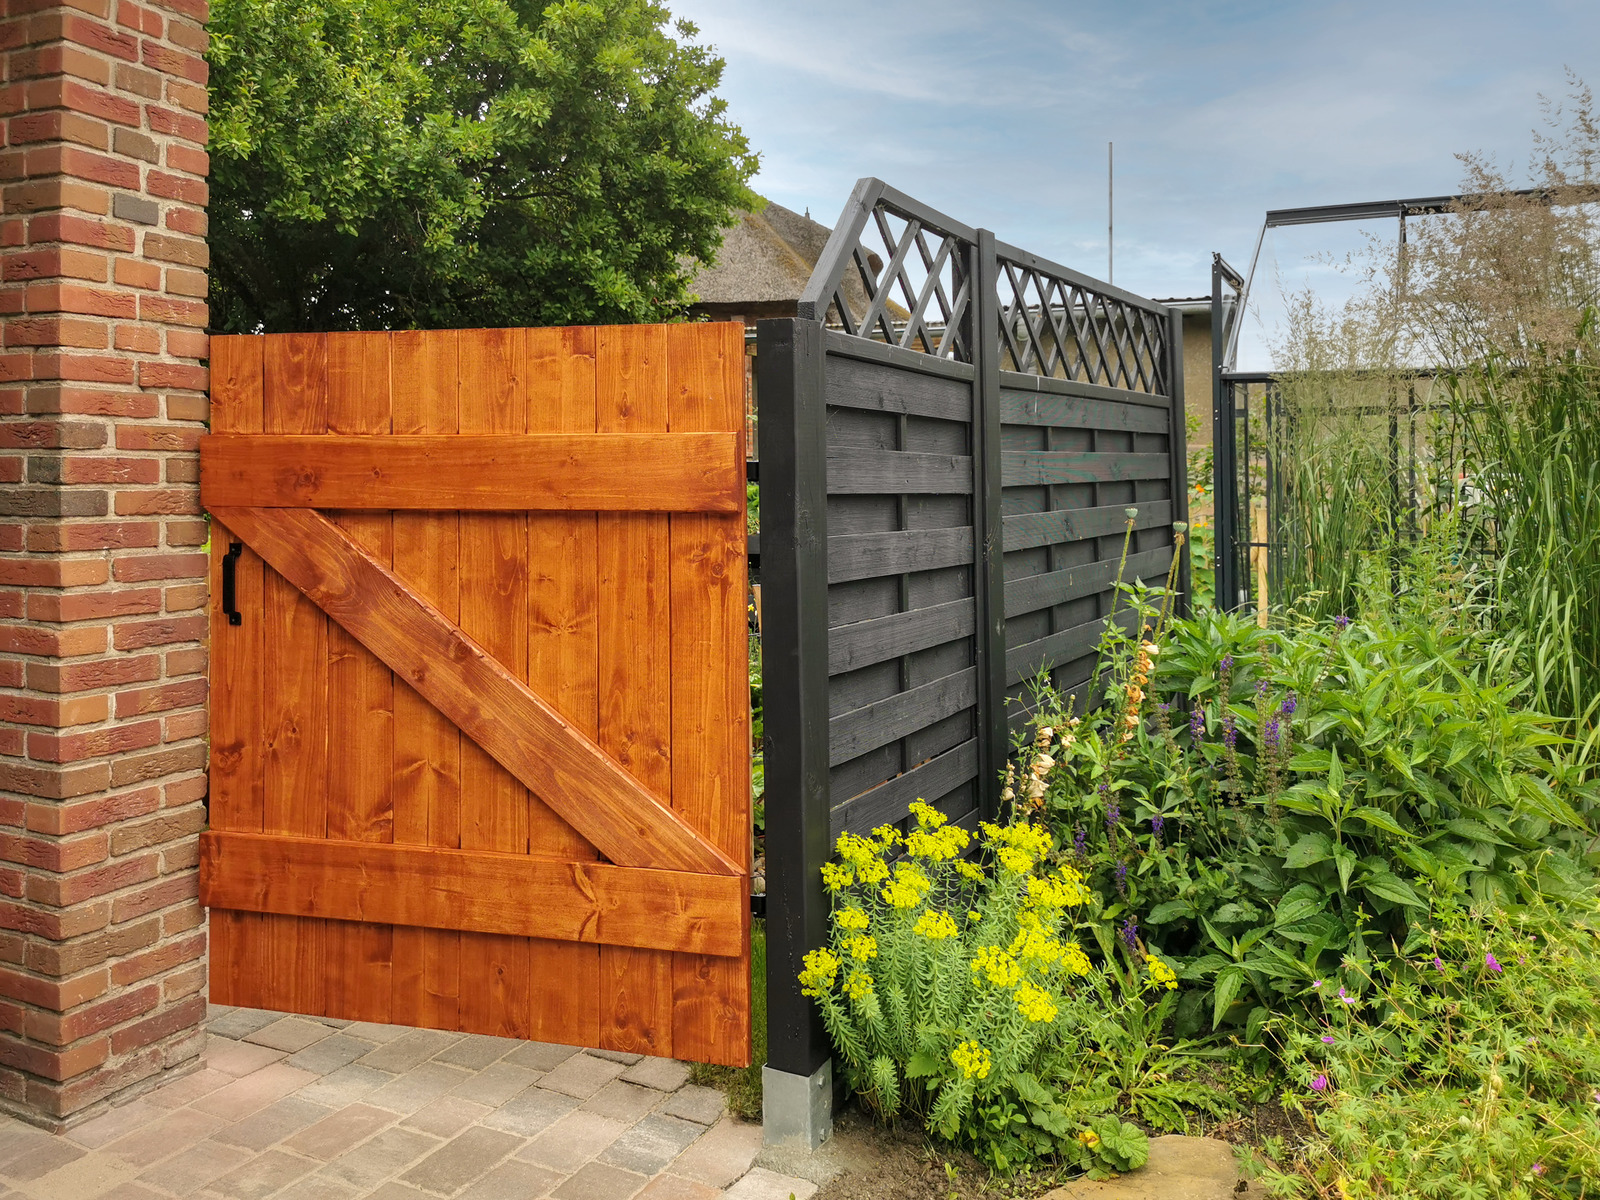
Whether you want a small gate or a large one, DIY experts Sari and Christian from the blog "Sari's Garage" show you step-by-step how it is done. With simple wooden boards, you can create a beautiful garden gate, and with the help of a paint sprayer, you can also spray it to your specific colour and make it a highlight of the neighbourhood. Have we sparked your interest? Then read our instructions, so your garden gate will also be a great success.

By viewing the video you agree that your data will be transmitted to YouTube and that you have read the privacy policy .

You will need:

  • Spirit level
  • Pencil
  • Wooden boards
  • Glue
  • Paint
  • Screws

Building instructions for your garden gate - step by step

Step 1 of 6: Sawing wooden boards

Step 1: Cutting the wooden boards

The garden gate can be designed and painted in a colour according to your individual preferences. First measure the space where the gate is to be installed. Then go to a DIY store and get some sturdy wooden boards. You need two boards that you cut to the exact width of the garden gate. Then cut the boards to your desired height of your gate. Just work out how many planks you need for the width. The last board is for the cross bracing, more about this in step 4.    

Step 1: Cutting the wooden boards

The garden gate can be designed and painted in a colour according to your individual preferences. First measure the space where the gate is to be installed. Then go to a DIY store and get some sturdy wooden boards. You need two boards that you cut to the exact width of the garden gate. Then cut the boards to your desired height of your gate. Just work out how many planks you need for the width. The last board is for the cross bracing, more about this in step 4. 

Step 2 of 6: Aligning wooden boards

Step 2: Aligning the wooden boards

First lay your planks side by side on the floor to determine the position of the horizontal boards and mark the position. Then place the horizontal boards directly on the floor and align the vertical boardswith the horizontal boards as previously specified. It is best to place the two outer boards first, this makes the arrangement of the inner boards easier. Make sure that the positioning is as precise as possible.

Step 3 of 6: Screwing wooden boards together

Step 3: Screwing wooden boards together

Once the boards are in the right position, they can be screwed together. Screw into the cross brace from above. To ensure that all the screws are at the same distance, you can mark the holes before you start. Start on one side of the garden gate and attach two screws per board. Repeat this step on the other side. At the end, the wooden boards should be firmly joined together and no longer slip.

Step 4 of 6: Attach cross brace

Step 4: Attach a cross brace

Next, attach the cross brace between the two horizontal boards. Lay the board on top and mark the necessary cutting edges to your wood. Then cut it to size. Now apply sufficient glue to the cross brace and place it between the two cross boards. As soon as everything has dried, screw the cross brace to the long wooden boards, so nothing can slip.

Step 5 of 6: Painting a garden gate:

Step 5: Painting a garden gate:

Now we can get started. Christian sprays the woodstain onto the wooden gate with a consistent movements and at a distance of about 10-15 cm. He works at a constant pace and sprays from left to right. As he sprays, he overlaps the passes slightly to make sure the coating has good coverage. The sides of the garden gate are also sprayed. Always wear a respirator mask when spraying.  

Step 6 of 6: Fitting the hinges and handles

Step 6: Fitting the hinges and handles

The last step is to attach the hinges and the door handles to the garden gate. Here you can decide what is best for you. Sari and Christian opted for black hinges and handles to match the garden fence. Now attach them at the desired height. Screw them on with a cordless screwdriver and your garden gate is ready. Now all you have to do is attach it to the desired location.

The result

And that's it - have fun building your own garden gate! 

Wood&Metal Sprayer W 100

Wood&Metal Sprayer W 100

The handy solution for small and medium projects

Wood&Metal Sprayer W 100
Tips and tricks with Carina

Tips and tricks with Carina

We have summarised more tips on spraying wood and metal paints for you in our Tips and Tricks with Carina.

Apply glazes and lacquers correctly
Spraying woodstain: Guide & tips

Spraying woodstain: Guide & tips

Learn the best way to spray woodstain, what you should look out for, why it's worth spraying stains and what the best equipment is for it.

Spraying varnishes