Happy colourful notice boards to beat the winter blues

Can’t find your keys, missed your dental appointment, and, to top it off, even lost the invitation to Lisa’s birthday party? We all know the feeling when the chaotic hallway is absolutely no help at all during hectic mornings. Wouldn’t it be nice to have a little helper that would let us organise all the small things we need for every day? Noticeboards aren’t just multifunctional, they can be a fun focal point in an entrance area or children’s room and create order.

  • 180 – 220 grit sandpaper
  • Spray gun, e.g. WAGNER W 100
  • Fine-bristle paintbrush 
  • Saw (optional)

Additionally for idea 3:

  • Brush
  • Micro-fibre cloth
  • Masking tape for delicate undercoats (painted)
  • Wooden shapes (e.g. coated MDF panels, about 10 mm thick)
  • School chalkboard paint, about 50 ml green or black
  • Chalk

Additionally for idea 1:

  • Magnetic paint
  • Strings
  • Hooks
  • Small basket

Additionally for idea 3:

  • Magnetic paint, e.g. grey (for the feet)

Step by step instructions

Step 1 of 4: Creating the wood design

Creating the wood design apple

Make a template and transfer the pattern to an MDF panel that is 10 mm thick and coated with a primer layer. You can have a carpenter cut the shape for you or cut it yourself. Sand any sharp corners and then drill a hole in the top for hanging it on the wall.

Step 2 of 4: Preparing the wood design

Preparing the wood design apple

Lightly sand the wood with sandpaper or a sanding tool until the primer coating is matte. Then wipe thoroughly with the micro-fibre cloth. The surface should be dry and free of oil or dust. Now, mask the areas that you want to be a different colour using masking tape.

Preparing the wood design balloon

Lightly sand the wood with sandpaper or a sanding tool until the primer coating is matte. Then wipe thoroughly with the micro-fibre cloth. The surface should be dry and free of oil or dust. Now, mask the areas that you want to be a different colour using masking tape.

Step 3 of 4: Spraying the blackboard

Spraying the apple blackboard

Fill the spray unit with the chalkboard paint and thin it according to the manufacturer’s instructions. Make a test spray on a sheet of cardboard. Now, spray the edges of your piece first and then the main surface area. After the first coat has dried, evenly spray a second coat. Let the paint dry after each coat following the manufacturer's instructions. Before painting the next colour, clean the spray attachment well. Now, mask the surface you painted, remove the first tape, and paint whatever other colours you want. Let this coat dry thoroughly as well.

Spraying the balloon blackboard

Fill the spray unit with the chalkboard paint and thin it according to the manufacturer’s instructions. Make a test spray on a sheet of cardboard. Now, spray the edges of your piece first and then the main surface area. After the first coat has dried, evenly spray a second coat. Let the paint dry after each coat following the manufacturer's instructions. Before painting the next colour, clean the spray attachment well. Now, mask the surface you painted, remove the first tape, and paint whatever other colours you want. Let this coat dry thoroughly as well.

Step 4 of 4: Adding the details

Adding the details balloon

Add practical details like hooks, strings and little baskets yourself to make your noticeboard even more useful. You can also easily add more details to your board by painting them on.

Adding the details hippo

Add practical details like hooks, strings and little baskets yourself to make your noticeboard even more useful. You can also easily add more details to your board by painting them on.

Move the spray gun at a consistent speed, maintaining a distance of around 10 centimetres from the surface. We recommend that you continue spraying above the object a little and change the spraying direction outside the item. This avoids a build-up of thicker layers of paint when changing direction. The sprayed result: a smooth and even finish with no annoying brush strokes.

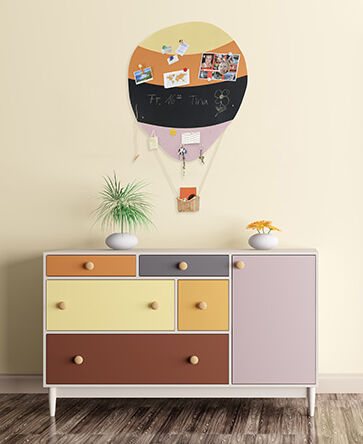
Idea no. 1: Jack-of-all-trades for the entrance hall

All kinds of important things end up in a hallway besides shoes, coats and bags – like keys, notes and little fond memories. To put everything in its place, create an all-rounder like our balloon that not only helps you keep track of things but also gives you a warm welcome at the beginning of each day.

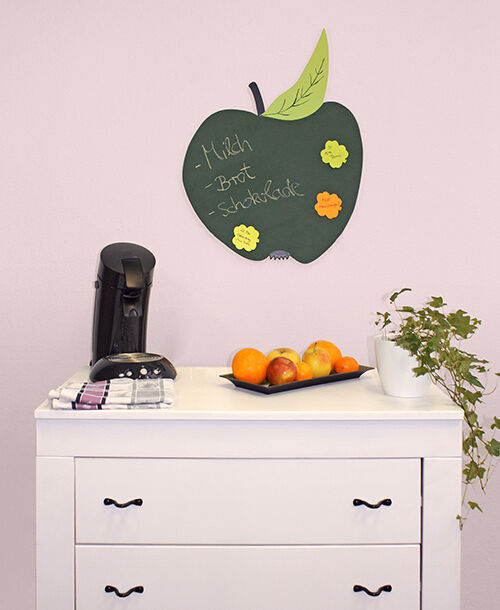
Idea no. 2: Practical shopping helper for the kitchen

No onions and the salt shaker needed to be filled but you forgot them both again when you went shopping. An attractive kitchen noticeboard can help – the grocery list won’t get lost and your kitchen will have something new to look at. 

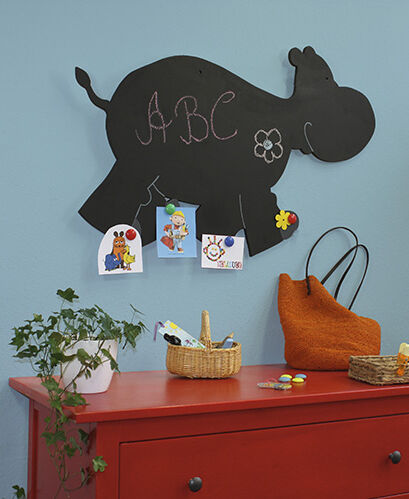
Idea no. 3: Creative noticeboards for little ones

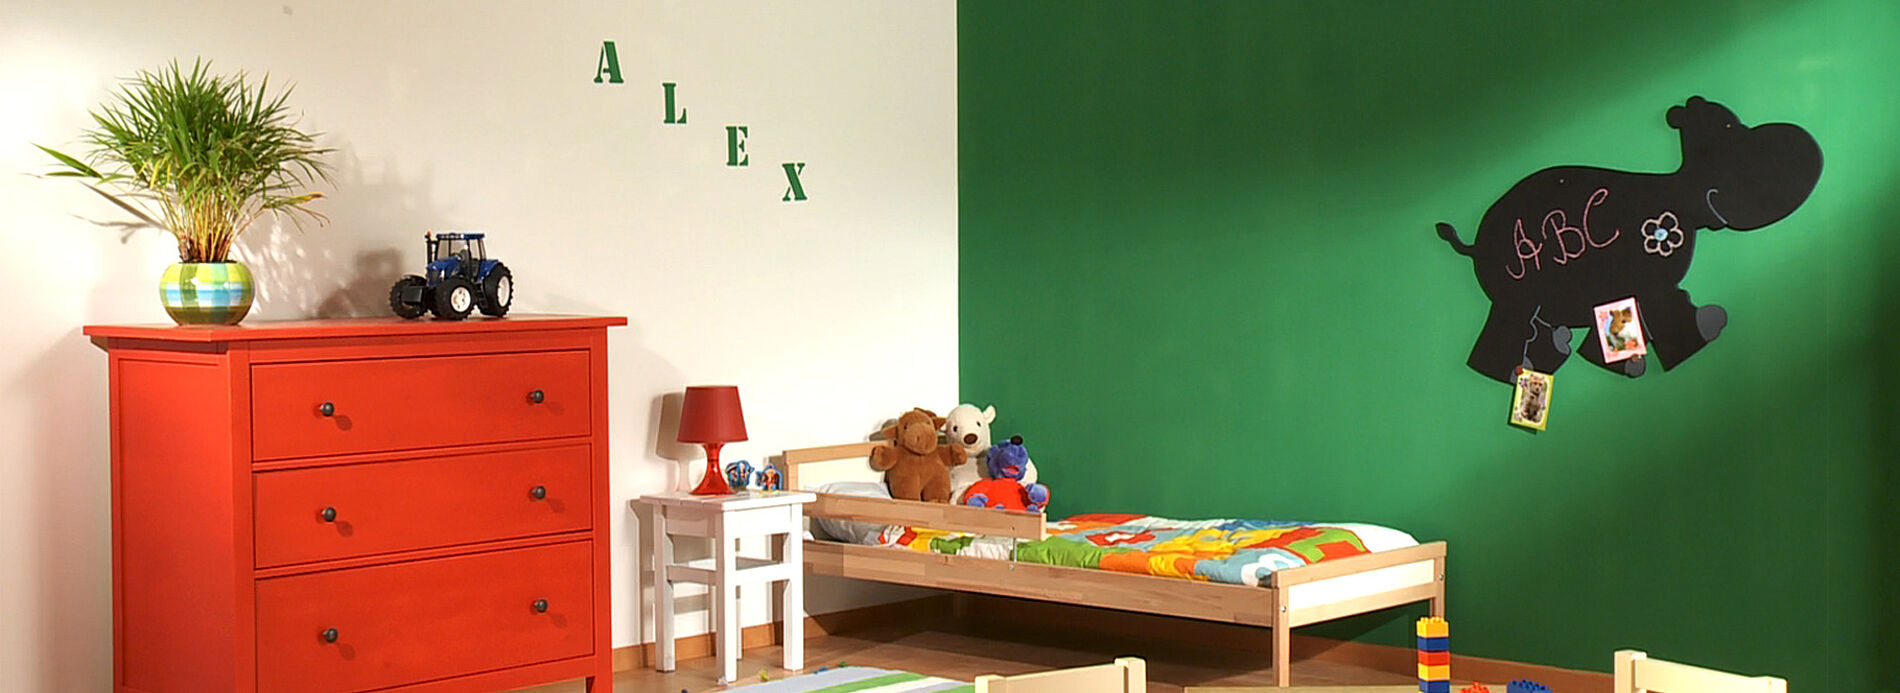
Would you like to surprise a little one who is just starting school with something small and individual as a gift? Noticeboards for their room can be easily made. A template can be used to make almost any favourite theme and make you a hero. Paint the details (like the eyes and mouth on the hippo) with a thin brush and let it dry.

More projects