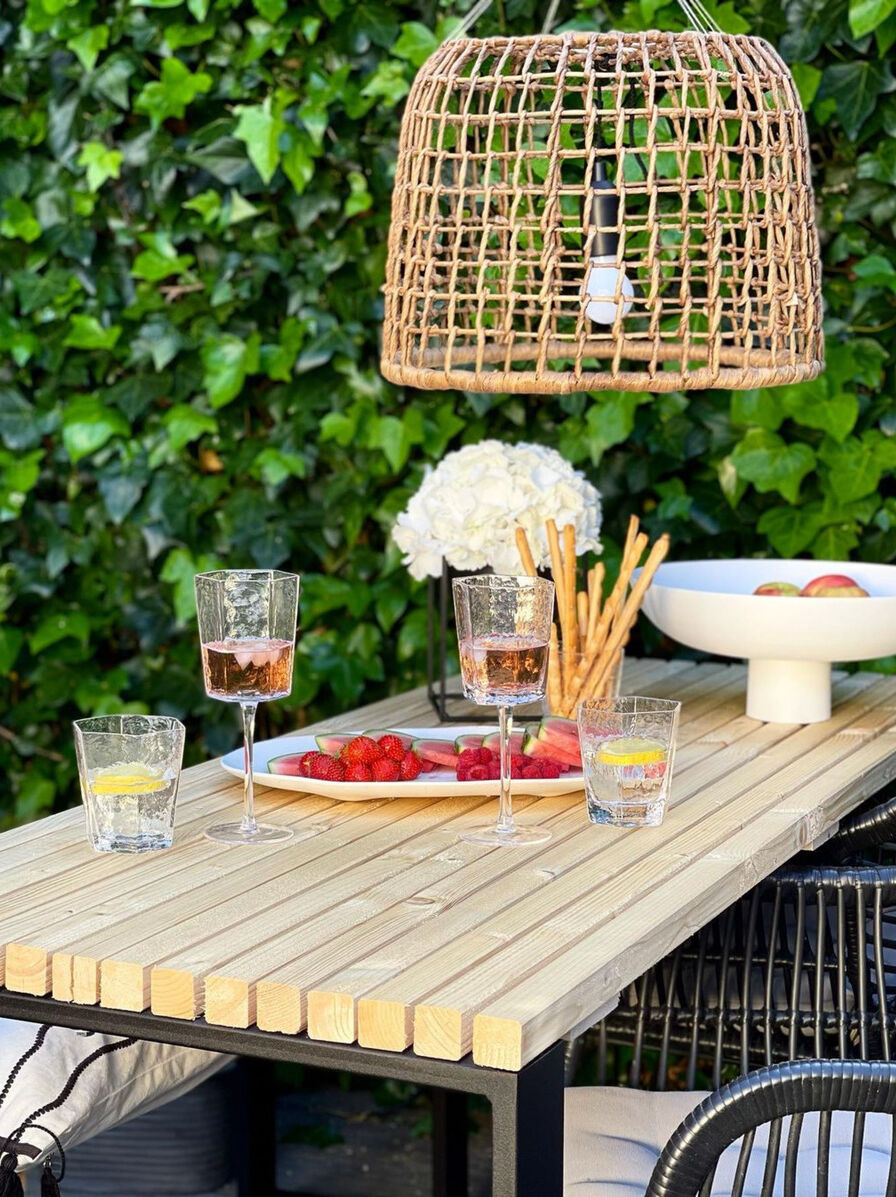
Make and paint your own garden table

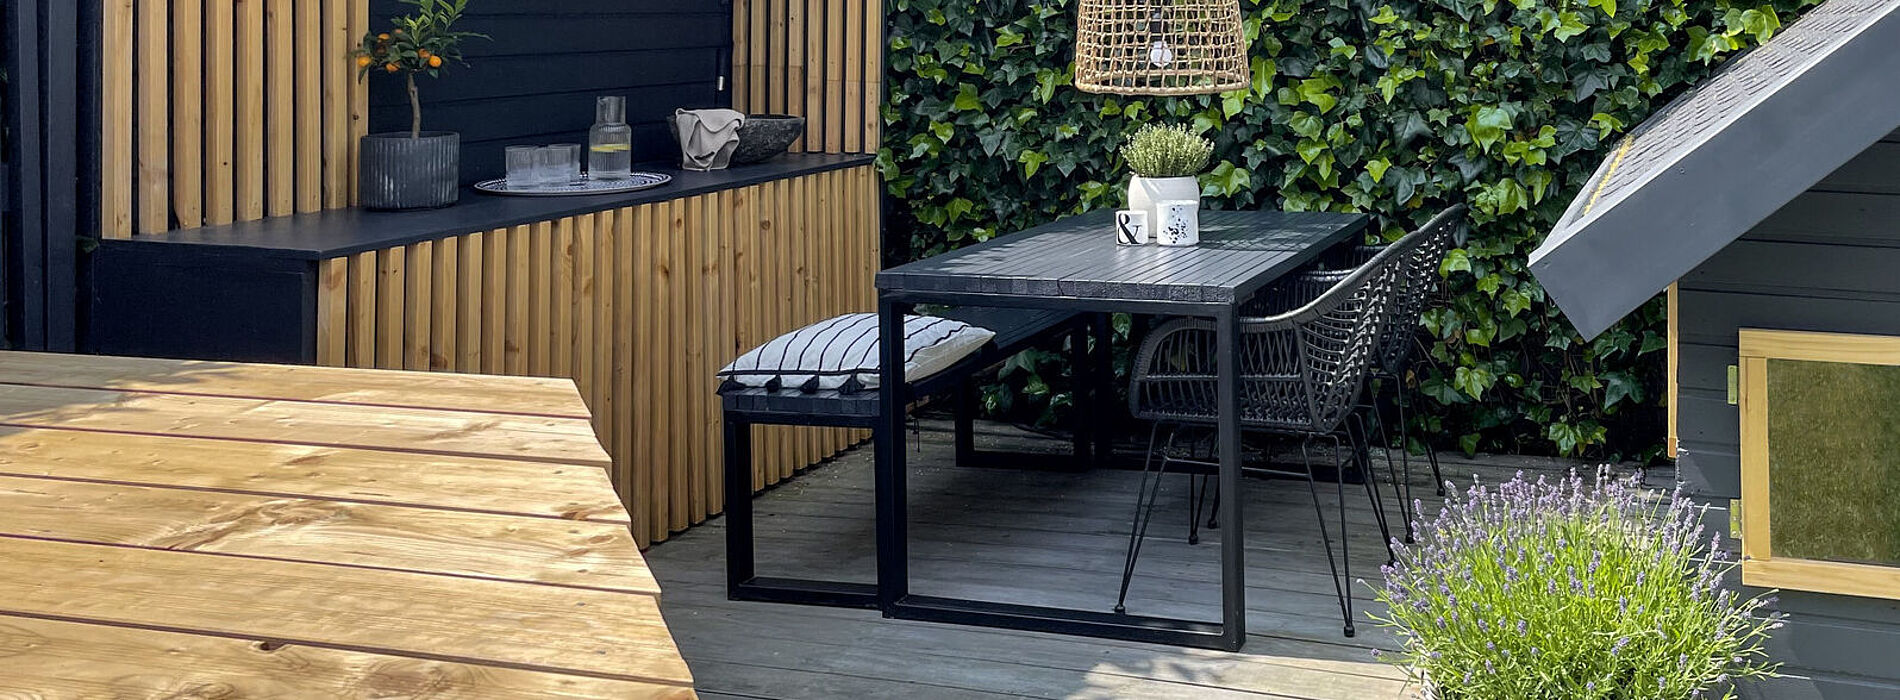
A barbecue with the family or a cool drink with friends: Do you also like to enjoy nice weather outside? We have the perfect DIY idea for you! With a DIY garden table , you can conjure up a modern Scandinavian style garden without breaking the bank. Our DIY and lifestyle blogger Aneta shows you how it's done:

By viewing the video you agree that your data will be transmitted to YouTube and that you have read the privacy policy .

What you need to make a garden table:

  • Table legs 2 each (table and bench)
  • Planed slats 3.4 cm x 3.4 cm x 200 cm approx. 15 for the table and approx. 6 for the bench
  • Suitable screws
  • 2-3 boards for the screw connections 1.8 cm x 7 cm x 200 cm
  • Masking material
  • Paints and stains in the colour of your choice
  • Cordless screwdriver
  • cut
  • Sander and sandpaper
  • Spray system (e.g. W 690 FLEXiO)

A step-by-step guide: Make and spray a garden table

Prepare a suitable workplace . Make sure to also protect surrounding areas from paint and off you go!

Step 1 of 4: cutting slats

Step 1: Cutting the slats

First, take the slats and shorten them to the desired length with a hand saw or jigsaw. Think about how much space you want to leave between the slats. In our example, Aneta makes two tables - one larger and one smaller. She always cuts off about 0.5m of the 2 mlong slats and uses the rest for another project. You can also have the slats cut to the desired length directly in the DIY store.

Step 2 of 4: Screw slats together

Step 2: Screw the slats together

To give your table top stability, take the long boards and cut them into small boards. You will need three boardsfor the tabletop. If your table is e.g. 100 cm wide, you should cut the cross board to 98 cm. Before screwing everything together, lay the slats on a flat surface and check that the pre-drilled holes in the boards are not in spaces. Now it is best to screw the first and last slat to the three wooden boards first and work your way inwards. Leave enough space between the end of the table and the boards to attach the table legs.

Tip: Aneta's suggestion is to spray the table without the legs attached. She screwed everything together first in her instructions and then had to tape the table legs, more about that in step 4.

Step 3 of 4: Attach the table legs

Step 3: Attach table legs

Aneta makes two tables at once, one in a natural look and one in anthracite, which she wants to give to friends. She has chosen different sizes for her square legs - 30 cm wide for the bench and  60 cm for the table and 40 cm x 90 cm. So you can choosepreciselyhow high and wide you want your table to be, thanks to the size of the legs. The width is important depending on the tabletop made from the wooden slats. Now screw the table legs to your dining table top, using a washer between the screw and the leg.

Step 4 of 4: Spraying

Step 4: Spraying

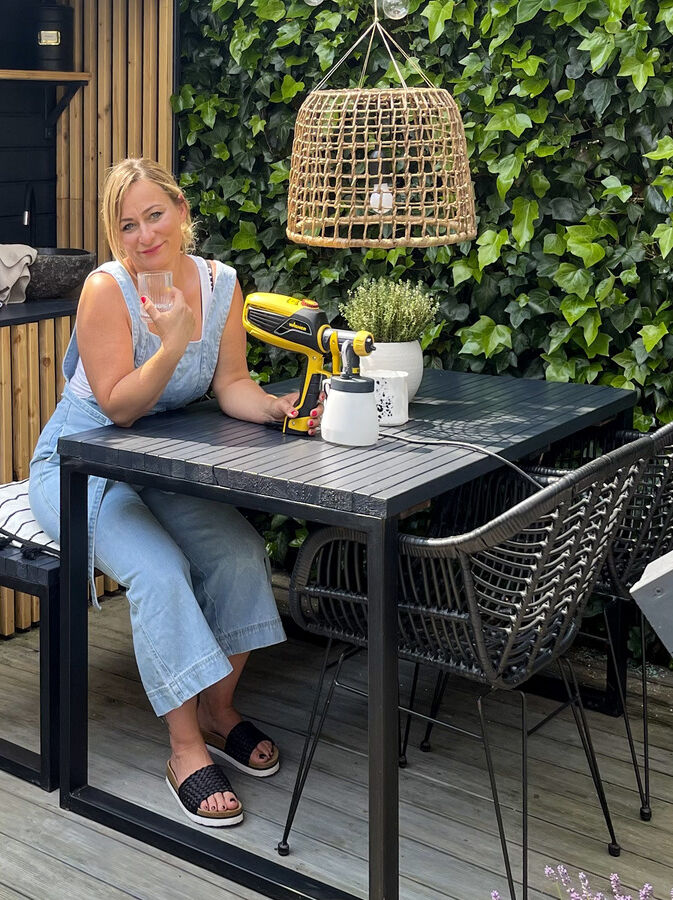
Now the paint spray system comes into play. Aneta worked with her W 690 FLEXiO. In your example, she assembled everything first, if you want to do the same, you should tape the table legs well. For the natural variant, a glaze or a clear varnish for outdooruse is suitable. For a coloured version, Aneta uses an anthracite-coloured, water-based weather protection lacquer.

The result

That’s it! Aneta is very happy with her paint sprayer. In addition to the W 690 FLEXiO , she also owns a W 590 FLEXiO and sprays everything around the house and garden. Since she often makes projects with Scandinavian-style wooden slats, she can really get into every nook and cranny with her paint sprayer. Especially between the wooden slats, where it used to take her forever with a brush. The paint sprayer is therefore a real asset for her. If you want to see more projects by Aneta, have a look at our project finder or directly at Anetas_Leben. Her profile is below.

icons8 schild 500

Tips on the weather resistance of the table:

The garden table should be weather resistant. The paint or varnish protects the wood and makes it more weather resistant. That's why Aneta carefully paints the pine slats. For optimal protection, it is best to get a rain cover for your table to store it during the autumn and winter.

The garden table should be weather resistant. The paint or varnish protects the wood and makes it more weather resistant. That's why Aneta carefully paints the pine slats. For optimal protection, it is best to get a rain cover for your table to store it during the autumn and winter.

Universal Sprayer W 690 FLEXiO

Universal Sprayer W 690 FLEXiO

The W 690 FLEXiO brings you two spray systems for the price of one: The two spray attachments makes the device suitable for both indoor and outdoor use.

W 690 FLEXiO
Spraying woodstain: Guide & tips

Spraying woodstain: Guide & tips

Learn the best way to spray woodstain, what you should look out for, why it's worth spraying stains and what the best equipment is for it.

Spraying varnishes
Tipps tricks carina slider

Tips and tricks with Carina

We have summarised more tips on spraying wood and metal paints for you in our Tips and Tricks with Carina.

Apply glazes and lacquers correctly

About Aneta

Working lifestyle blogger and mother of two, Aneta loves to be creative and really let loose in her own four walls as well as in her garden. Freely following the motto - the woman is herself - she makes and designs everything on her own. On her blog Anetas Leben and on her Instagram channel @Anetas_Leben, which she has been running successfully since 2019, everything revolves around DIY projects, interiors and her love of cooking.