Instructions for spraying wall decoration

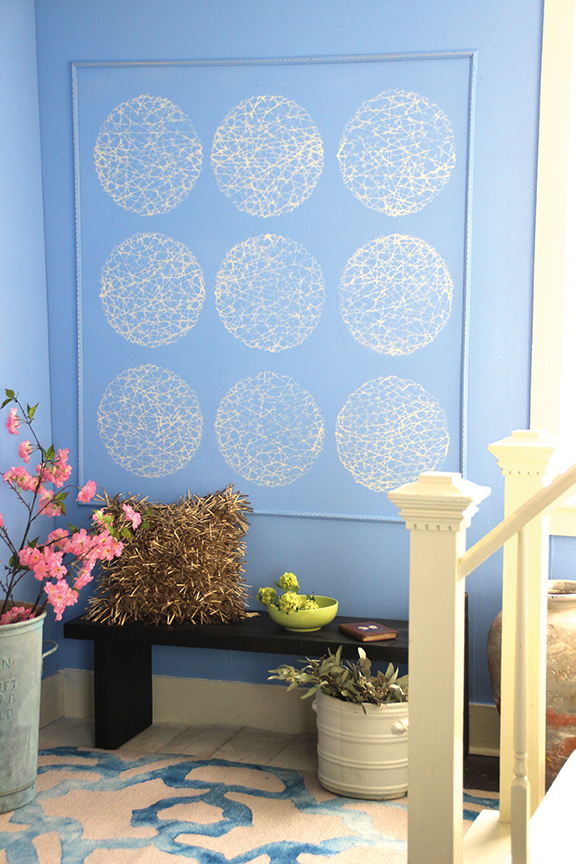
What to do in order to brighten up a bland wall? Of course, you could simply hang a painting by another artist: or you can turn your walls into a big canvas and become an artist yourself. With a few tools and your favourite colours, you can design your home in just a few simple steps and, in doing so, add your own personal touch.

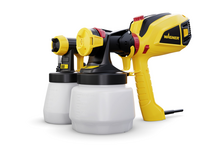
  • Paint spray system for interior wall paint, e.g. W 590 Flexio
  • Hammer
  • A couple of tacks or drawing pins
  • Spirit level
  • Metre rule
  • Covering material
  • Coarsely textured placemats or other items that can be used as templates
  • Architrave or moulding strips, e.g. polystyrene or rigid polyurethane and appropriate adhesive
  • Interior wall paint in your choice of colour

Step-by-step guide for spraying wall decoration

Step 1 of 4: Masking and covering

Masking and covering

Carefully mask off any surfaces that are not to be repainted. To protect floors, best are a dust sheet or a piece of old material, such as blankets that are no longer needed.

Step 2 of 4: Preparation

Preparation

Arrange the templates in accordance with your chosen design. Use the tacks or drawing pins to help with this. If you want a uniform space between the patterns, measure this out before fixing the templates.

Preparation

Arrange the templates in accordance with your chosen design. Use the tacks or drawing pins to help with this. If you want a uniform space between the patterns, measure this out before fixing the templates.

Step 3 of 4: Preparing the sprayer

Preparing the sprayer

Next, mount the mouldings onto the wall. The spirit level and metre rule will help you to ensure that everything is at right angles.

Step 4 of 4: Now for the spraying

Now for the spraying

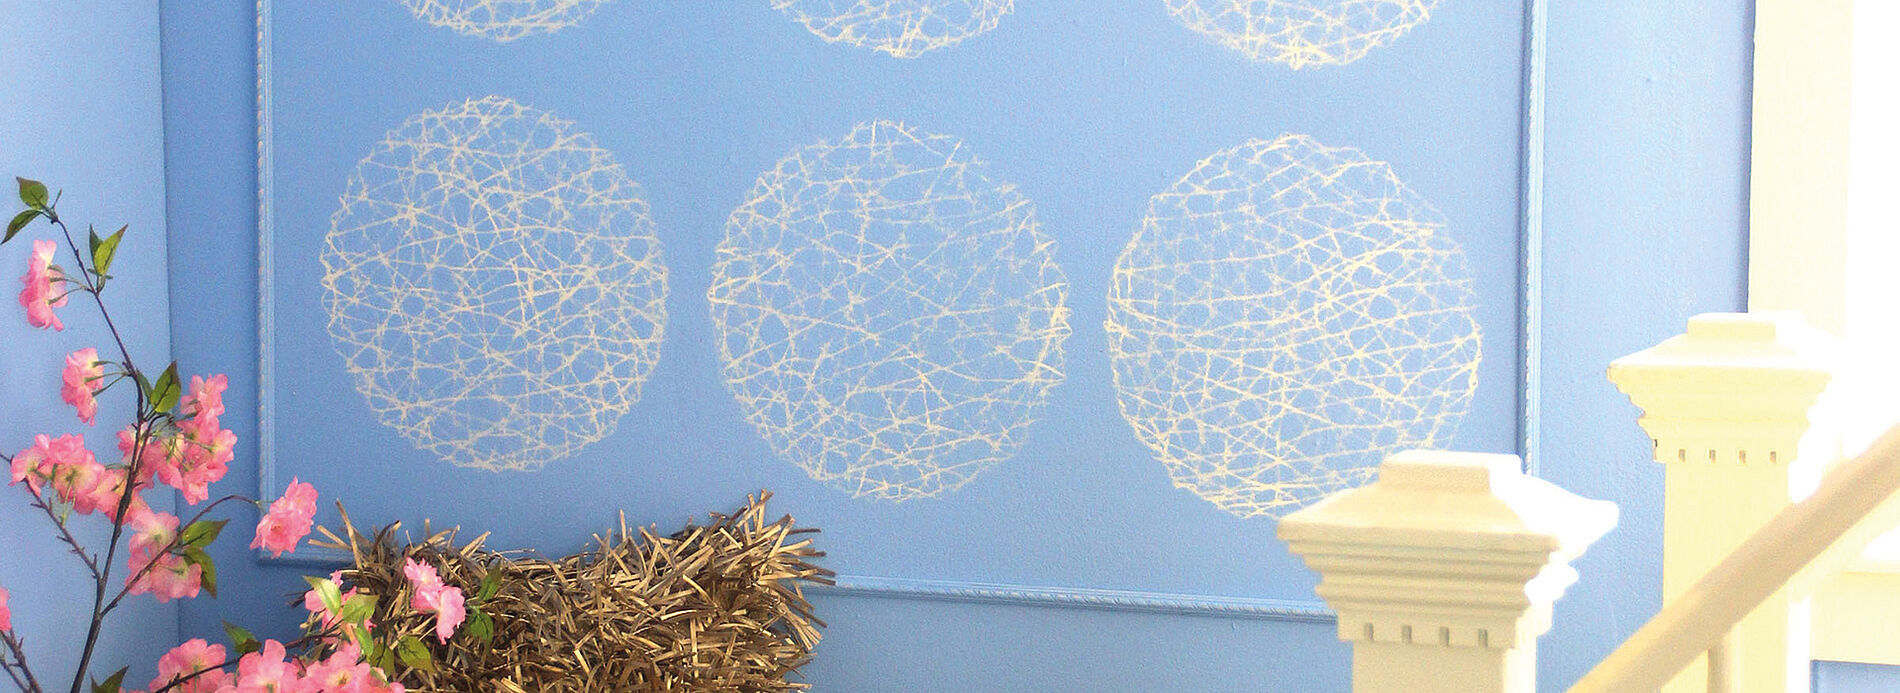
Thin the paint as required (paying close attention to the manufacturer‘s instructions), stir well and fill the spray attachment. And now the spraying fun starts. Take care to spray from a consistent distance and head-on, so that the holes in the pattern are reproduced on the wall.

Leave to dry briefly and then remove the templates and the masking.

The result

Mehr Projekte

WAGNER Group W 590 Produktbild

W 590 FLEXiO

The flexible hand sprayer for indoor and outdoor use

W 590 FLEXiO
Produktfinder

WAGNER product finder

Here you can find more products

Go to products
Warum spruehen

Why spraying is better

With HVLP paint sprayers you have a clear time advantage compared to brushes and rollers.

To the explanation