Build and design your own covered bench for the garden

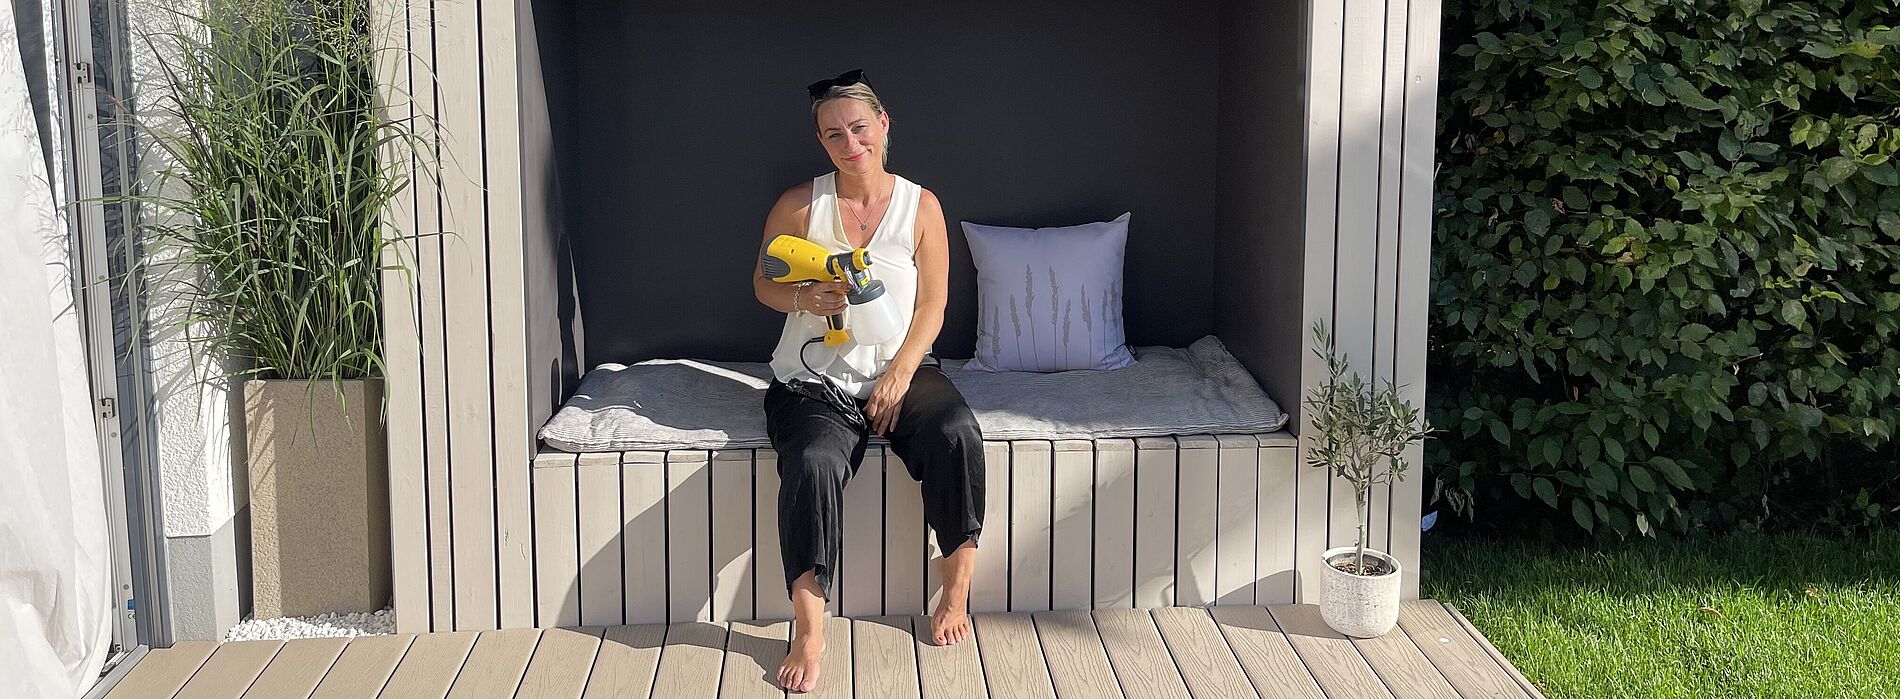
A covered bench for the garden is great outdoor furniture for sunny days. Since the garden bench is covered, you can also spend cosy days outside in the garden in cooler weather. In the garden bench building instructions with Aneta, we show how you can easily build the covered garden bench yourself and creatively design the seating with the paint sprayer from Wagner.

To build the garden bench you will need:

  • FFP2 mask
  • Safety goggles
  • 2 beams made of pine (treated so they are weatherproof, 6 x 8 x 250 cm)
  • About 40 pine slats for the base (240 cm x 5 cm x 3 cm)
  • 2 boards of MDF for the side walls inside in the bench (75 cm x 124 cm x 1.2 cm)
  • 1 board made of MDF for inside the bench (75 cm x 184 cm x 1.2 cm)
  • 1 board made of MDF for the back wall inside the bench (124 cm x 184 cm x 1.2 cm)
  • 5 wooden slats made of pine for the front (200 x 1.9 x 7.4 cm)
  • 3 wooden slats made of pine for the front (200 x 1.9 x 4.4 cm)
  • 13 wooden slats for the bench seat and front (200 x 1,9 x 9,4 cm)
  • 2 MDF side panels on the outside (200 x 80 x 2 cm)
  • 1 MDF roof board (246 x 80 x 2 cm)
  • 16 Metal angle brackets for the base
  • Screws
  • Garden Felt
  • Roofing felt
  • Wood stain
  • Paint

A step-by-step guide: Garden Bench

Step 1: Build base

Unterkonstruktion bauen

Two beams (treated so they are weatherproof) form the base of the covered wooden bench for the garden. Align these on the substrate (stone/pavement slabs or gravel bed) with a spirit level.

Step 2: Connect and screw the roof battens to base

Dachlatten verschrauben

Screw the first roof battens on top and connect them to each other with angle brackets. For the corner posts, make sure the external dimensions are 250 cm wide, 80 cm deep and 200 cm high.

Step 3: Screw together the roof batten construction for the covered bench

Dachlatten Konstruktion

Building on the four corner posts, screw the entire construction of roof battens together. You will get two side sections, each with four corner posts and the associated cross connections, as well as a roof and seat section with longitudinal and cross bracing.

Step 4: Cutting and sanding the boards

Bretter zusaegen

Cut the boards for the bench to the right size with a mitre saw and sand them with a sander.

Step 5: Spray paint the rear roof battens

Hintere Dachlatten spruehen

Spray paint the rear roof battens, which may be visible, in a dark colour so that no bright spots show through.

Step 6: Attach garden felt

Bodenvlies

Attach dark garden felt to the roof battens with a stapler. This step also helps prevent bright spots from showing through.

Step 7: Spraying the battens

Balken spruehen

Test the paint spray pattern on a piece of cardboard before spraying. Spray from the top at a 90 degree angle in vertical lines and ensure an even distance of approx. 20-30 cm from the surface. Always wear an FFP2 mask and protective goggles when spraying.

Step 8: Screw the front and rear walls together

Frontflaeche verschrauben

When setting out, ensure equal spacing by using a spacer. The width of the slats may vary. Aneta has chosen the dimensions 7.4 cm, 4.4 cm, 9.4 cm and 7.4 cm for this bench.

Step 9: Spray the back and sides of the seat

Rueckwand spruehen

Now spray the back wall in your desired colour. Here, a dark colour was chosen to contrast with the light slats.

Step 10: Assemble the back wall and side parts for the seating area

Rueckwand anbringen

Attach the back wall and side parts of the seat for the covered bench and screw them together from the inside.

Step 11: Fitting the side walls and roof

Video 13 07 2022  11 28 46.00 00 00 25.Standbild004

Lastly, assemble the spray-painted side panels and the roof of the covered garden bench.

Video 13 07 2022  11 28 46.00 00 09 24.Standbild005

Lastly, assemble the spray-painted side panels and the roof of the covered garden bench.

Step 12: You're done!

Sitzbank Ergebnis Aneta Farbspruehsystem

And now that your wooden garden bench is ready, why not enjoy your project right away with a cosy evening?

Design ideas for the DIY bench

Colour according to taste

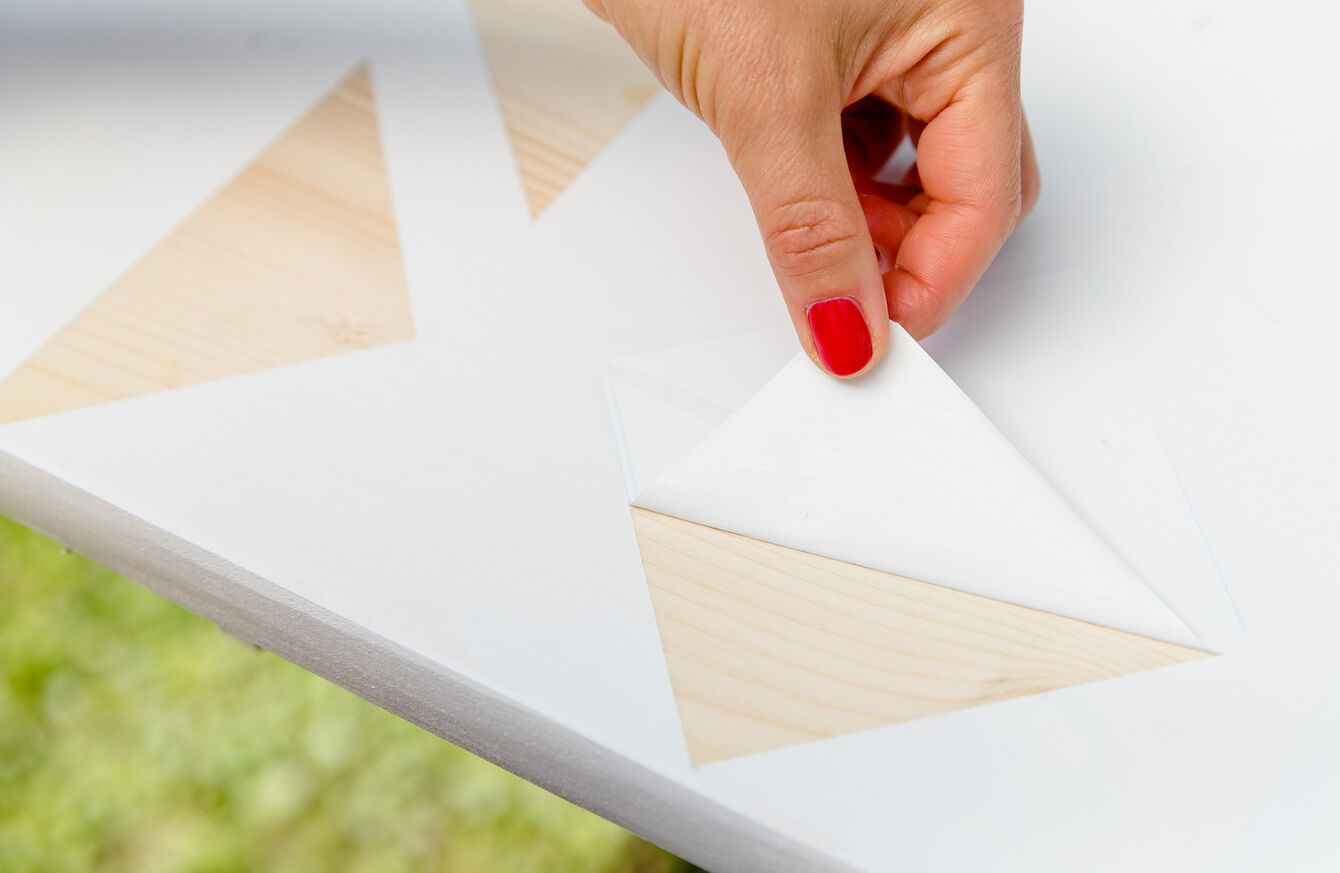
The colour scheme can also be tailored to your preferred style. Creative patterns such as diamonds, rings, flowers or circles are of course also a way to visually enhance the bench. These can be applied with the help of a stencil with the paint sprayer, for example.

Vary the width of the wooden slats

As already mentioned in the instructions, you can play with the width of the wooden slats. This adds variety and gives your DIY outdoor bench a very individual aesthetic.

Blankets and cushions for cosiness

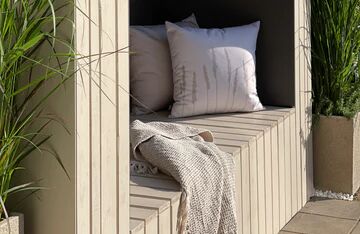
So that you can sit comfortably and spend many beautiful sunny days on your new covered garden bench, accessories are a great to look at and functional at the same time. Colour-coordinated cushions, seat pads and blankets as well as a tray for drinks and snacks complete the look.

What are the advantages of spraying paint?

In our tutorial, Aneta sprays the battens with the Wood&Metal Sprayer W 100. But what are the advantages of spraying paint with such a device over painting with a brush - especially for a project like the covered bench, for which many slats need to be sprayed?

icons8 eingekreiste 1

The individual slats for the covered bench can be sprayed in one operation.

The individual slats for the covered bench can be sprayed in one operation.

icons8 eingekreiste 4

The posture when spraying is more ergonomic compared to painting with a brush.

The posture when spraying is more ergonomic compared to painting with a brush.

icons8 eingekreiste 2

The paint application is evenly applied, there are no brush or roller marks to be seen.

The paint application is evenly applied, there are no brush or roller marks to be seen.

icons8 eingekreiste 5

Places that are normally difficult to reach are easy to reach with a paint sprayer.

Places that are normally difficult to reach are easy to reach with a paint sprayer.

icons8 eingekreiste 3

Perfect coverage is guaranteed with our paint sprayers.

Perfect coverage is guaranteed with our paint sprayers.

icons8 eingekreiste 6

Changing paint is easily done.

Changing paint is easily done.

Covered bench: Wood treatment and selection tips

icons8 farbeimer 500

Apply wood preservative:

A protective wood preservative is important to make it last if the covered bench is going to be in the garden. The paint coating protects the wooden bench from the weather and sunlight. With the WAGNER paint sprayer, spraying is convenient and saves time and material.

A protective wood preservative is important to make it last if the covered bench is going to be in the garden. The paint coating protects the wooden bench from the weather and sunlight. With the WAGNER paint sprayer, spraying is convenient and saves time and material.

Icons8 wood

Wood selection:

In our example, we chose pine wood for the wooden bench and painted it with wood preservative.Other suitable domestic wood types which last well for softwoods are larch, robinia or douglas fir. They even manage without external wood treatment. The more expensive larch wood is also suitable to cover the bench with a coat of varnish.

In our example, we chose pine wood for the wooden bench and painted it with wood preservative.Other suitable domestic wood types which last well for softwoods are larch, robinia or douglas fir. They even manage without external wood treatment. The more expensive larch wood is also suitable to cover the bench with a coat of varnish.

WAGNER Group W 100 Produktbild

Wood&Metal Sprayer W 100

The long-established W 100 fine spray system is ideal for windows, fences, furniture etc. Thanks to its high atomisation power you can achieve an outstanding finish and make the very best use of your materials - including paint, varnish and wood preservative.

W 100 FLEXiO
Tipps tricks carina slider

Tips and tricks with Carina

We have summarised more tips on spraying wood and metal paints for you in our Tips and Tricks with Carina.

Apply glazes and lacquers correctly
Warum spruehen

Why spraying is better!

With a paint sprayer, it’s incredibly easy to apply the material evenly and to cover the entire surface. The end result is a smooth and even layer of paint. When using a brush, brush marks tend to be visible.

Why it's better to spray