Hide your bins so they don't scare your neighbours!

An unsightly dustbin at the entrance or in the front garden is considered an eyesore to many. Especially in the outdoor area, where everything should look lovely and harmonious, dustbins often ruin the visual effect. But where can dustbins go? You don't want them in the house, they're not decorations to go in front of the house and in sheds they're hard to access. The answer is a nice-looking hideaway for your not-so-nice-looking bins!

With a stylish enclosure, your dustbins’ hiding spot can become an eye-catcher. DIY dustbin boxes give you more space in the tool shed, they look nicer and you can customise the boxes to fit the style of your house, the available space and the number of bins. However, you should take care to check the location ahead of time; the ground underneath should be even and the space should be appropriately sized for the box. Also, the wooden enclosure should ideally face away from the sun to prevent possible fermentation processes from occurring as a result of too much heat inside the dustbins.

By viewing the video you agree that your data will be transmitted to YouTube and that you have read the privacy policy .

You will need:

  • 1 paint spray device, e.g. W 590 FLEXiO from WAGNER
  • Grinder or sanding block with sandpaper
  • Cordless drill, jigsaw or circular saw
  • Pressure washer or bucket and rag,
  • covering material
  • breathing protection

Beams for the base frame (about 7 cm thick)
Front of frame:

  • 1 x 214 cm
  • 4 x 110 cm

Middle piece:

  • 8 x 71 cm

Back of frame:

  • 1 x 214 cm
  • 4 x 110 cm
  • 1 x 54 cm
  • 2 x 66 cm

Boards for panelling:

  • 25 boards about 2.5 m long and about 15 cm wide
  • 6 boards about 57 cm long and 10 cm wide

Other materials:

  • 3 sets of hinges and handles for the doors
  • Brackets and various sizes of screws
  • 3 suitable hooks, 3 turning hooks and 3 pieces of sturdy twine
  • 6 hinges for the cover

Rear frame

Front frame

Please note: This building guide is for three standard dustbins (waste, recycling and garden waste), but the dimensions can be adapted to whatever your needs are.

Step-by-step instructions for building a bin enclosure

Step 1 of 9: Prepare the work area

Prepare the work area

To build your dustbin enclosure, you should choose a suitable work space, preferably in an outdoor area. Make sure to allow plenty of space for processing the materials. A dust sheet or suitable film will protect against mess, such as from paint sprayers or sanding dust.

Step 2 of 9: Clean dustbins

Clean dustbins

Clean your dustbins before you start your project. One advantage of the enclosure is that in the future, your bins will be protected from the weather and you won’t have to clean them as often.

Step 3 of 9: Build the base frame

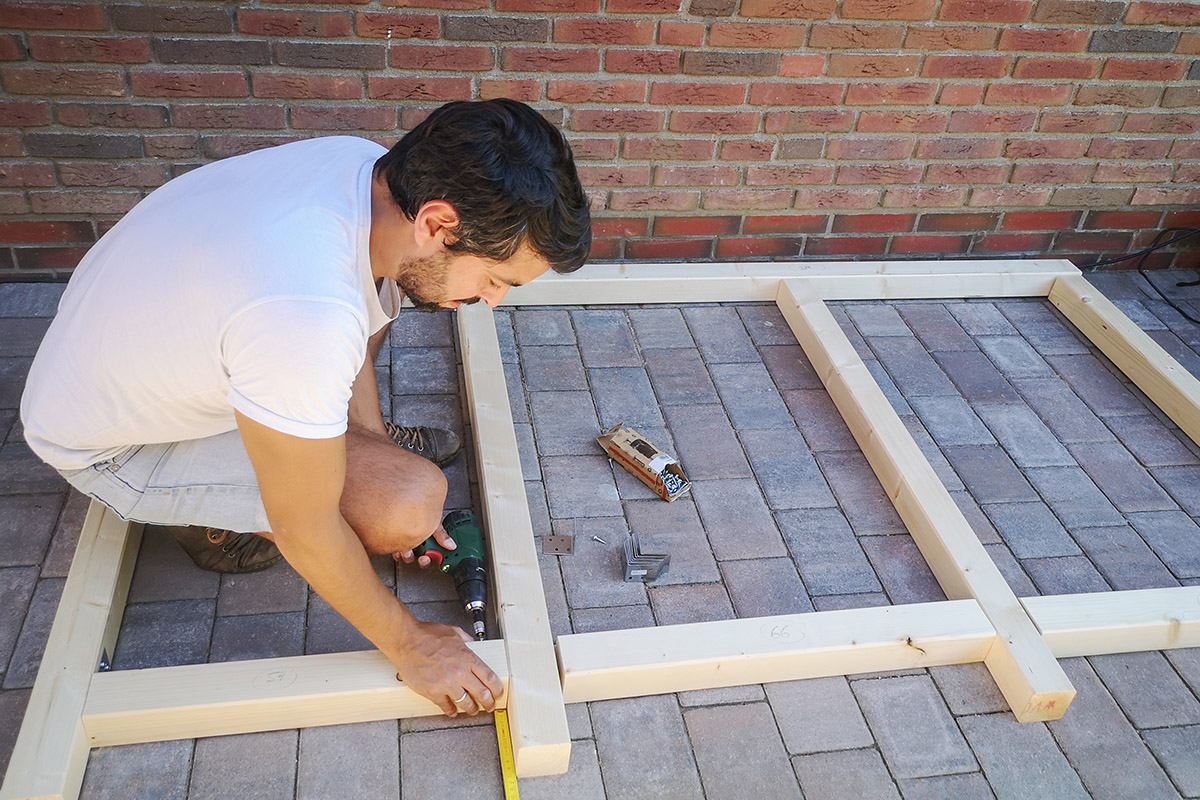
Before you start constructing the base, measure your beams and cut them to size. Review the list of materials for an overview of all the parts you will need.
Tip: Because there are so many components, it’s worth your while to label the beams so as not to lose your bearings!

The back frame

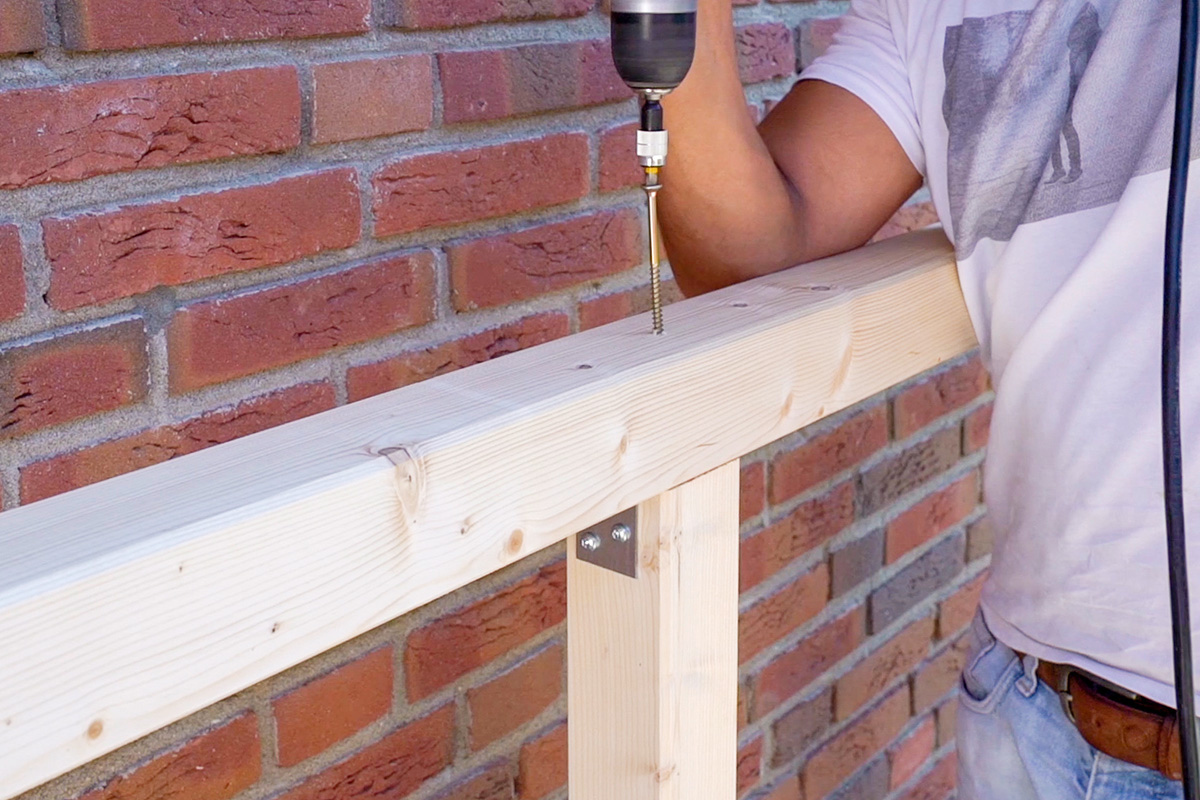
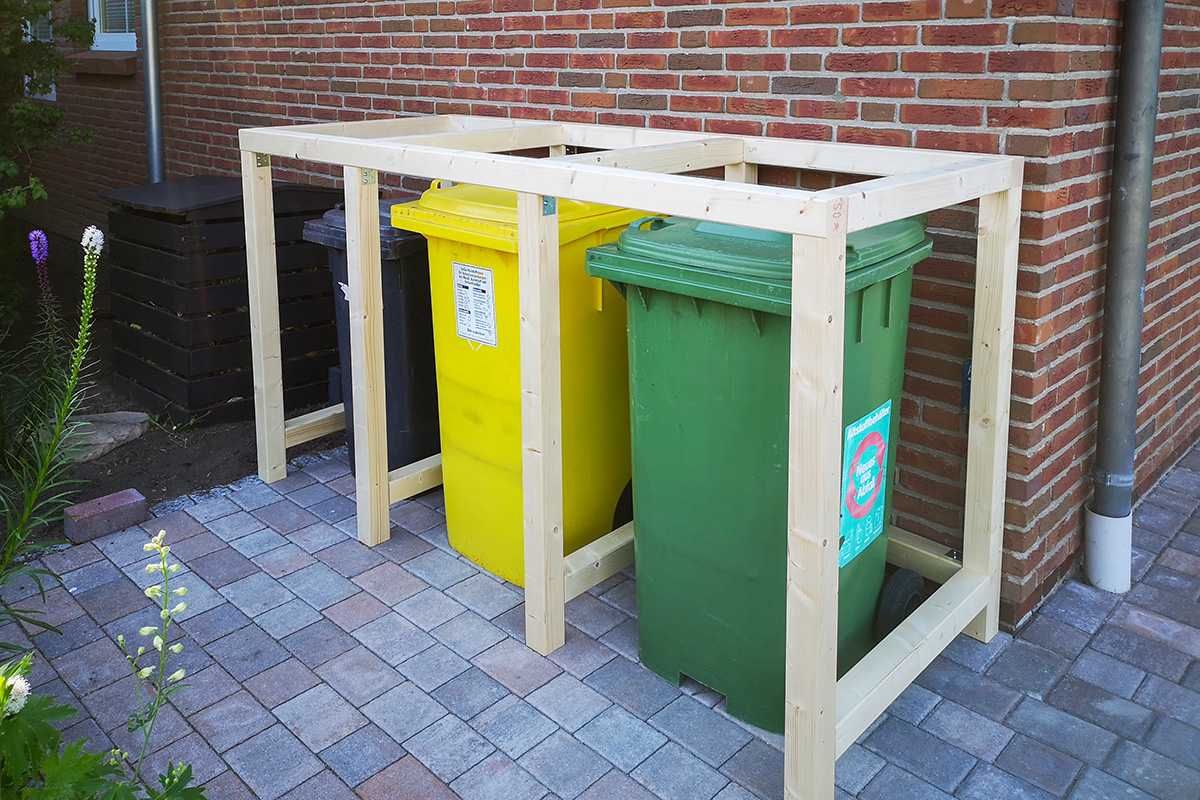
Start with the back frame. This differs from the front frame only in that it is connected to the bottom part. Now pick up the parts you marked earlier based on the required dimensions for the back frame, and screw together the wooden beams with brackets.

Tip: Screws about 10 – 15 cm long, screwed into the frame from the top, are best for stabilizing the enclosure.

The front frame

Repeat the previous steps to assemble the front frame using the already trimmed beams.

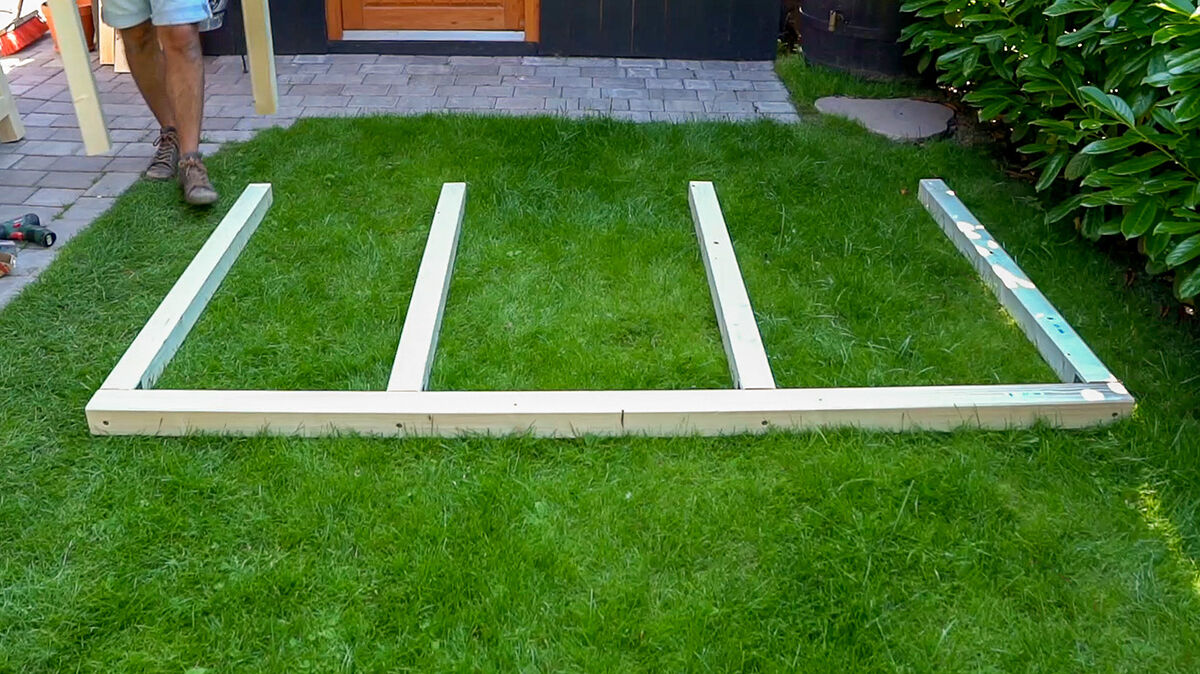
Now lay the front frame on the ground and position the six intermediate beams on the frame. Then the intermediate beams are connected with brackets.

Tip: For free-standing feet, simply leave 10 cm of space to the ground when you mount the intermediate beams.

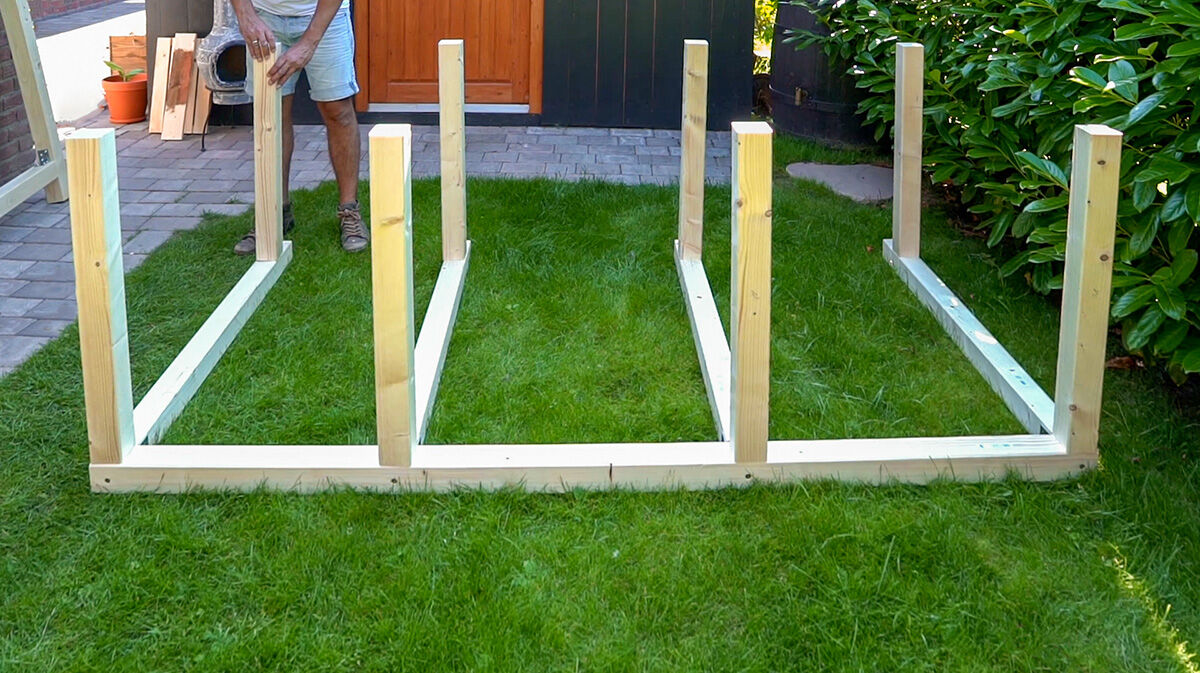
Then the back frame is mounted onto the intermediate beams already connected.

Step 4 of 9: Building the enclosure

Choosing the right wood: A variety of wood types can be used, and you will need to consider how much you want to spend on the project. Our tip: Pine is perfectly adequate and is much cheaper than, say, higher quality larch wood. Thanks to its good weather resistance combined with relatively low cost, you could also consider using Douglas fir.

IMG 20200810 101028 1

Slowly lay the suitable boards on the sides of the frame you built earlier, which should be enclosed (back panel and side panels) and screw them to the base structure.
Tip: We recommend using a suitable spacer to ensure that the distance between boards is consistent.

IMG 20200810 110355 1

You can now easily saw off the boards that hang over the edge and then sand down the cut surfaces.

Step 5 of 9: Build the cover

The cover will later consist of three folding pieces. This will allow the panels for the individual flaps to be attached to the base structure from below.

Sari schraubt Querbalken an 1

To build the cover, lay the boards on the frame as you did in the step before and saw the ends off to fit. Then attach the boards from underneath using a cross-wise screw connection.
CAUTION: Use short screws no longer than the wood is thick, or else the screws can break through the wood on the top!

Deckel wird geteilt 1

Once the cross-wise screw connection is attached, the cover can be divided into three parts. To do this, just draw in your desired cut edges and saw the cover along the lines.

Step 6 of 9: Build the doors

Now we come to the highlight of the dustbin enclosure, the doors!

IMG 20200814 123004 1

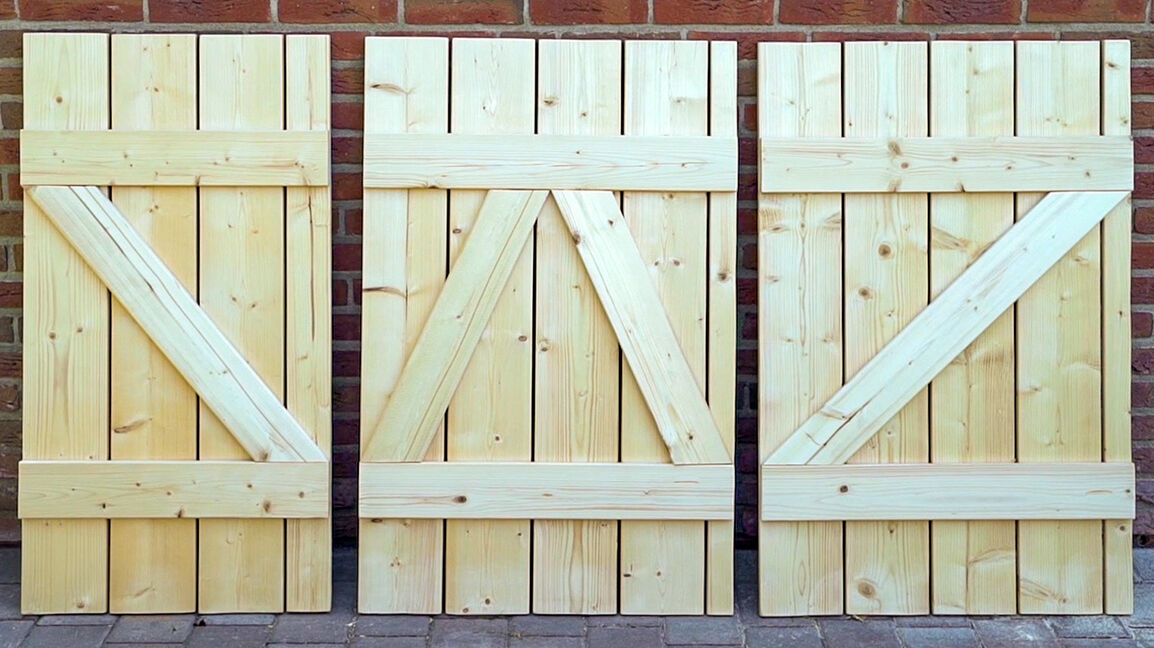
Arrange the boards in a row, taking the internal dimensions of your dustbin enclosure as your guide. The boards are now fastened in place with a crosswise screw connection. In this step, make sure to screw the slats from the inside, and not to use screws that are too long.

Tu  ren liegen am Boden

Depending on your taste, you can attach more decorative beams at this point to create a special effect. Cut down and screw these in as needed.

Step 7 of 9: Prepare the varnish

Prepare the varnish

Mix the varnish of your desired shade well and dilute as needed with up to 10% water. Pour the varnish into the container of your paint spray device and carry out a spray test with the unit, e.g. on an old cardboard box.

Step 8 of 9: Spraying the dustbin enclosure, cover and doors

Spraying the dustbin enclosure, cover and doors

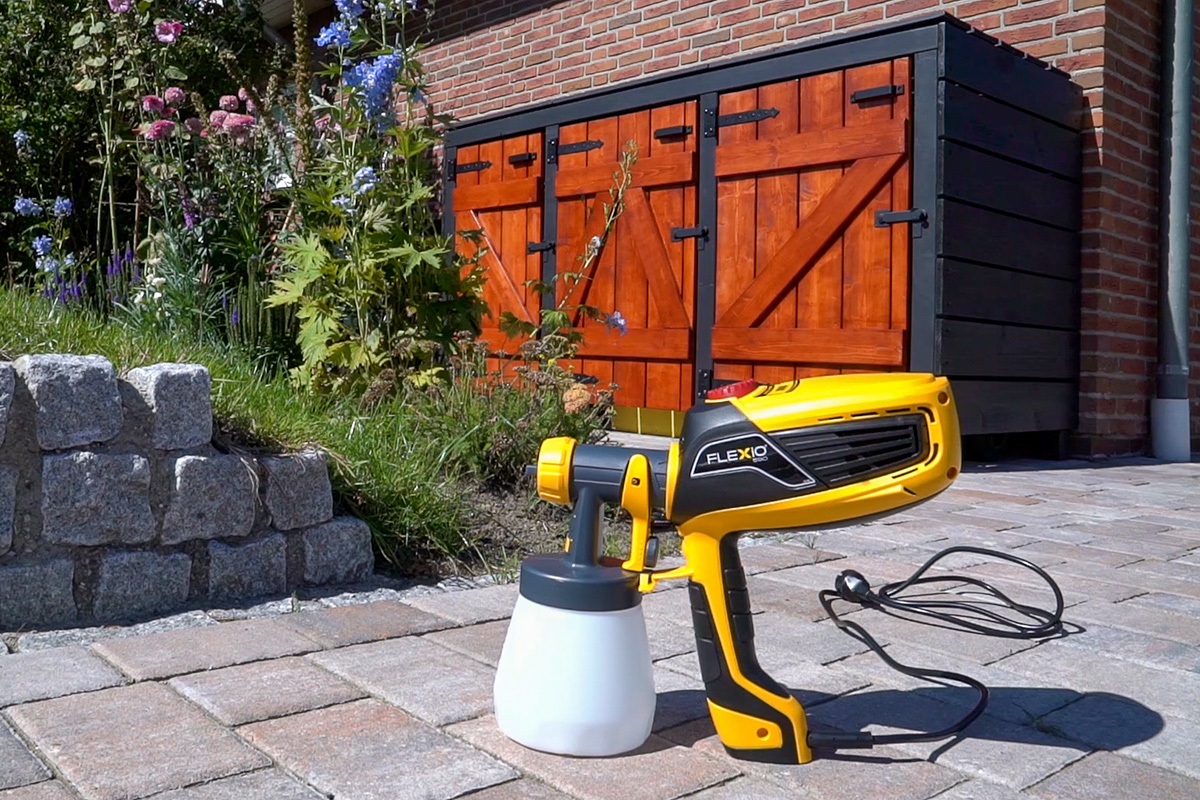
Spray the dustbin enclosure and the cover pieces from all sides at an even working speed and a distance of approx. 15 cm. Let the varnish dry and repeat the process as needed if the varnish’s coverage is not sufficient. Then let dry completely.

Spraying the dustbin enclosure, cover and doors

Spray the dustbin enclosure and the cover pieces from all sides at an even working speed and a distance of approx. 15 cm. Let the varnish dry and repeat the process as needed if the varnish’s coverage is not sufficient. Then let dry completely.

Then change your varnish for spraying the doors. To do this, clean your paint spray system thoroughly and pour in the new varnish. Now proceed to spray the doors the same way as the previous parts.

Step 9 of 9: Attaching the doors and cover

In the final step, the cover and doors can now be mounted.

Deckel anbringen 1 1

Mount the three parts of the cover on the back frame with the base structure. Screw hinges in between the cover and the base structure so that the cover can be opened up later. Then felt pads can be attached to the cover to prevent it from banging closed. Now screw the doors and two hinges each onto the front of the base structure.

Deckel 2 1

Ropes can be added at this point so that you don’t have to open both covers each time you take out the waste. To do this, simply take a suitable hook and form a loop with a piece of twine. With a small screw hook, you can now fasten the lid of the dustbin to the cover of your dustbin enclosure.

The result

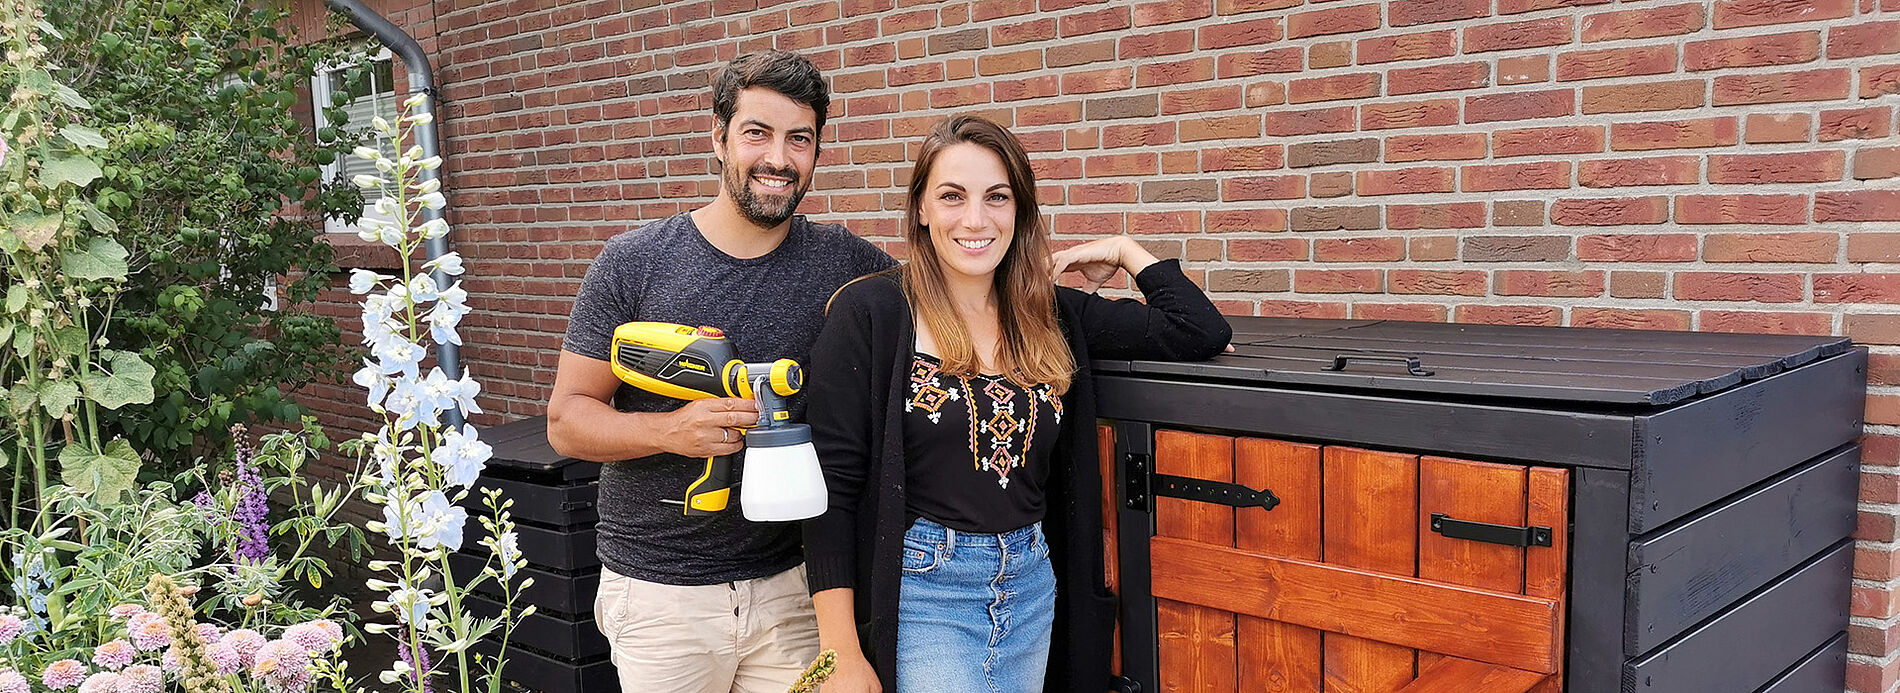
You can customise your dustbin enclosure with different colours and designs! Make your front garden shine again and your dustbins neat and tidy.

W 590 FLEXiO

W 590 FLEXiO

The flexible hand spray gun for indoor and outdoor use

W 590 FLEXiO
WAGNER product finder

WAGNER product finder

Here you can find more products

Go to products
Spraying varnishes: Instructions & tips

Spraying varnishes: Instructions & tips

Learn here how best to proceed when spraying varnish, what you should look out for, why it's worth spraying varnishes and what the best equipment is for it.

Spraying varnishes