Paint metal garden furniture

Garden furniture is both enjoyable to look at and perfect in the summer for an early evening drink or meal. However, if your garden furniture is showing signs of wear and the paint is starting to peel, suddenly, they don’t look quite so inviting. There is an easy solution, with a fresh coat of paint, they can be transformed back to their former glory. Painting them with a brush or roller can be difficult and time consuming but respraying them is quick and easy. We will show you all the steps you need to consider to quickly and easily paint a metal garden table and chairs to make them look like new again.

By viewing the video you agree that your data will be transmitted to YouTube and that you have read the privacy policy .

You will need:

  • Soft bristle brush
  • Sponge
  • Cleaning bucket
  • Jet Washer (optional)
  • Wire brush
  • Sand paper
  • Brush or microfibre cloth
  • Dust mask
  • Protective glasses
  • Gloves
  • Metal Paint

Step-by-step guide for painting garden furniture

Step 1 of 7: Cleaning the surface

Cleaning the surface

Start by giving your garden furniture a thorough clean. Using washing up liquid and plenty of warm water with a sponge or soft bristle brush wash the surface then rinse with cold water and leave it to dry. Depending on how dirty the table and chairs are, a jet washer can really speed up this process.

Step 2 of 7: Removing old paint

Removing old paint

If the paint is flaking off remove as much as you can with a wire brush, we would recommend wearing gloves. Methodically work your way round the table top and legs not forgetting the underneath and then do the same with each of the chairs. Finish the process by using sandpaper to flatten any raised areas of paint. This will ensure an even, smooth finish when you apply the paint. Remove any dust by washing the surface again or dust down with a soft bristles brush. We are restoring an aluminium table and chairs, if yours is cast iron, you might also need to remove any rust.

Top Tip: you can use your Wagner sprayer to blow away dust from the surface, just use an empty spray attachment.

Step 3 of 7: Always wear the appropriate PPE

Always wear the appropriate PPE

We would recommend you always wear a dust mask, glasses and gloves when spraying.

Step 4 of 7: Preparing the Paint

Preparing the Paint

Use the included stirring stick to mix the paint and ensure it runs smoothly off the end of the stirrer and immediately dissolves into the paint without leaving a trail on the surface. If you do need to dilute the paint follow the paint manufacturer’s instructions. Each notch on the stirrer corresponds to a 10% dilution. Fill the paint container with your desired amount of paint.

Top Tip: Check the paint tin to see what it should be diluted with. If the recommendation is to clean your tools with water, you only need to add water to dilute the paint.

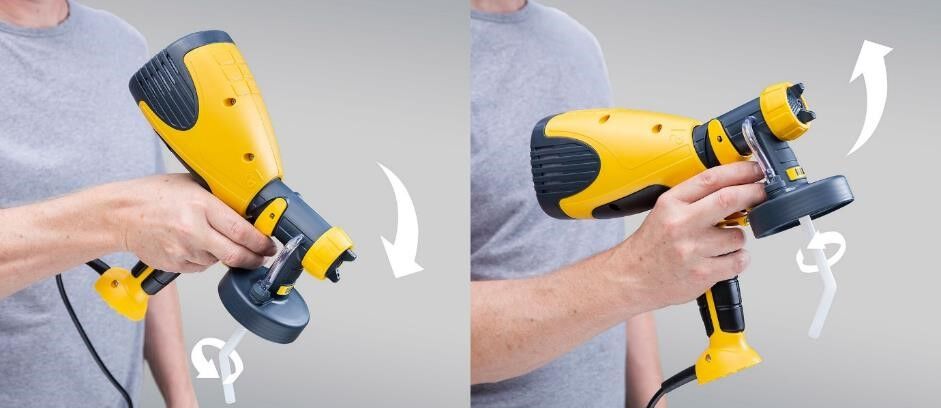
Align the suction tube depending on how you are going to work – forwards when spraying downwards and backwards when spraying objects overhead.

The spray jet can be adjusted in three directions – horizontally, vertically and diagonally for detailed precise spraying.

Step 5 of 7: Test spray onto cardboard

Test spray onto cardboard

To check your spray pattern, carry out a test spray on a scrap of cardboard to find the right settings for you. Start with the lowest paint flow setting and gradually increase it to the desired paint flow.

Step 6 of 7: Start by spraying the chairs

Start by spraying the chairs

Turn the chair upside down and start by spraying the inside of the legs and the underside of the seat using the detailed spray setting. Then turn the chair over and spray the legs followed by the seat and then the front and back of the backrest.

Spray Tip: Always press the trigger about 10cm before the edge so you are already moving when you start to spray. Keep the gun moving at a steady pace, holding it about 15cm from the surface. When you have passed the edge of the table release the trigger and change direction. This avoids a build-up of thicker layers of paint during direction changes at the end of each pass. Overlap each pass by about 50% so you get an even coverage, once you reach the other edge repeat the process until you have covered the entire surface.

Step 7 of 7: Spraying the table

Spraying the table

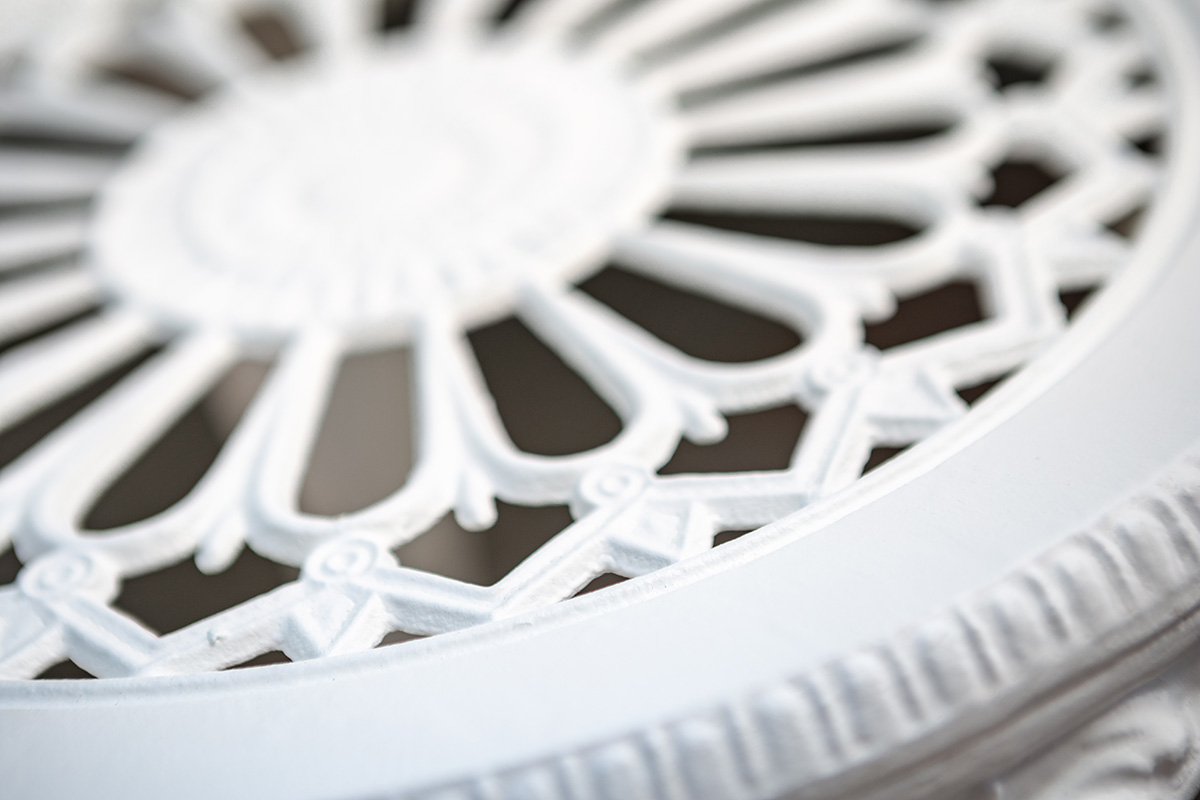
Turn the table over and spray the legs using the detailed spray setting then change the spray setting to horizontal and spray the underneath of the table. Turn the table over and change back to the detailed spray setting and spray the legs and then change the spray setting to horizontal and spray the table top. You will notice that the paint easily covers the entire surface reaching all of the details in the table pattern.

After the paint has had sufficient time to dry, consider giving the table and chairs a second coat of paint. As it is so quick and easy to spray the paint it is worthwhile applying a second coat so the surface has the ultimate protection for years to come.

The result

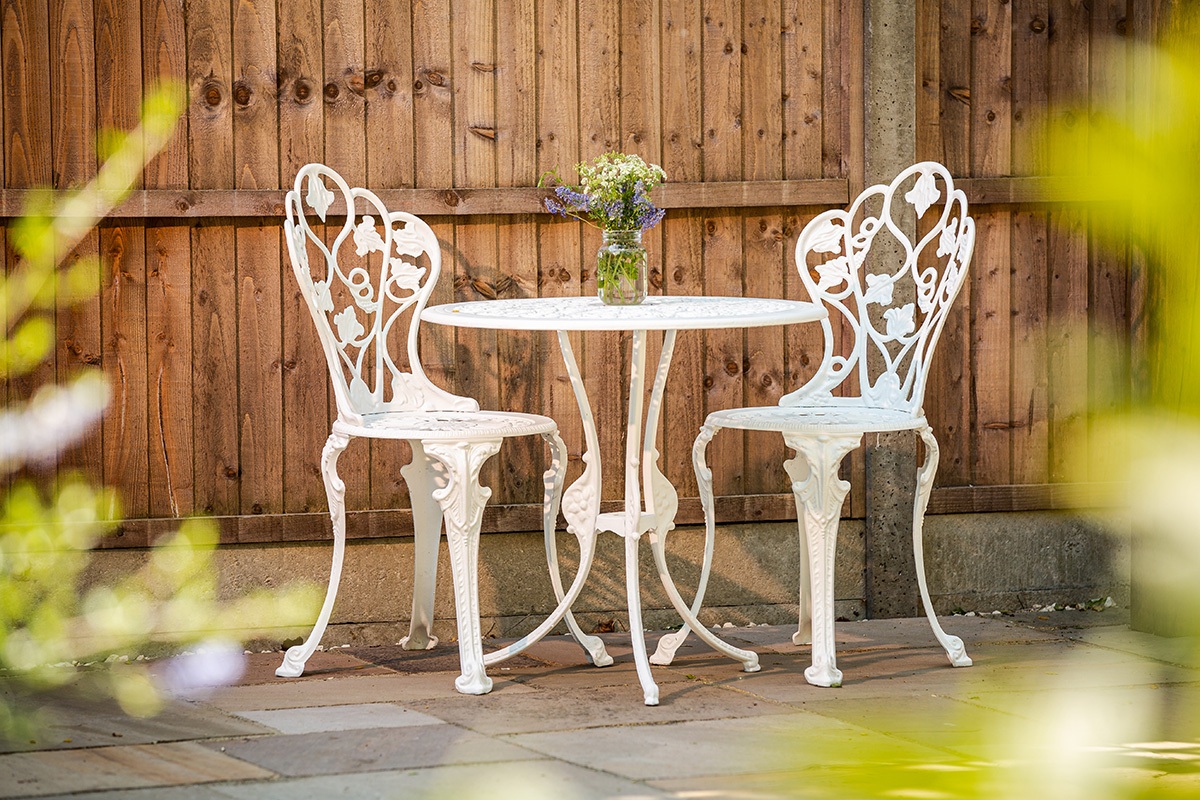
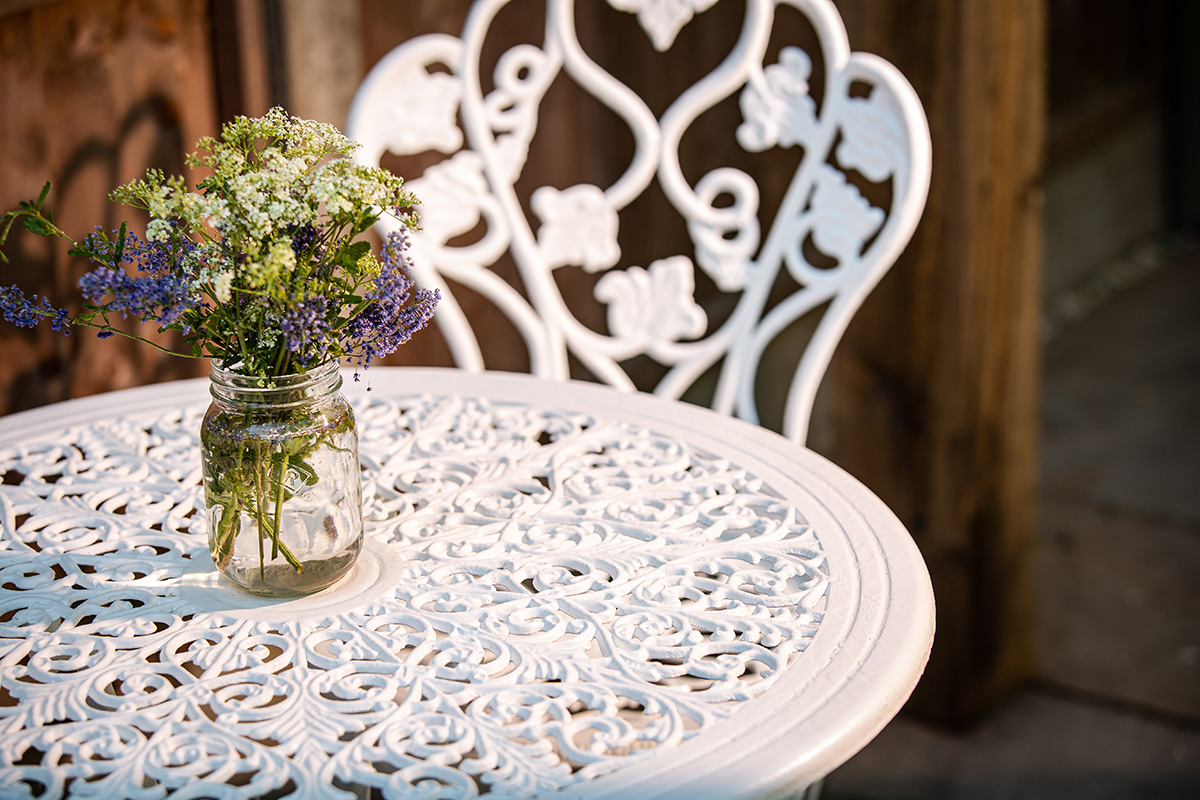
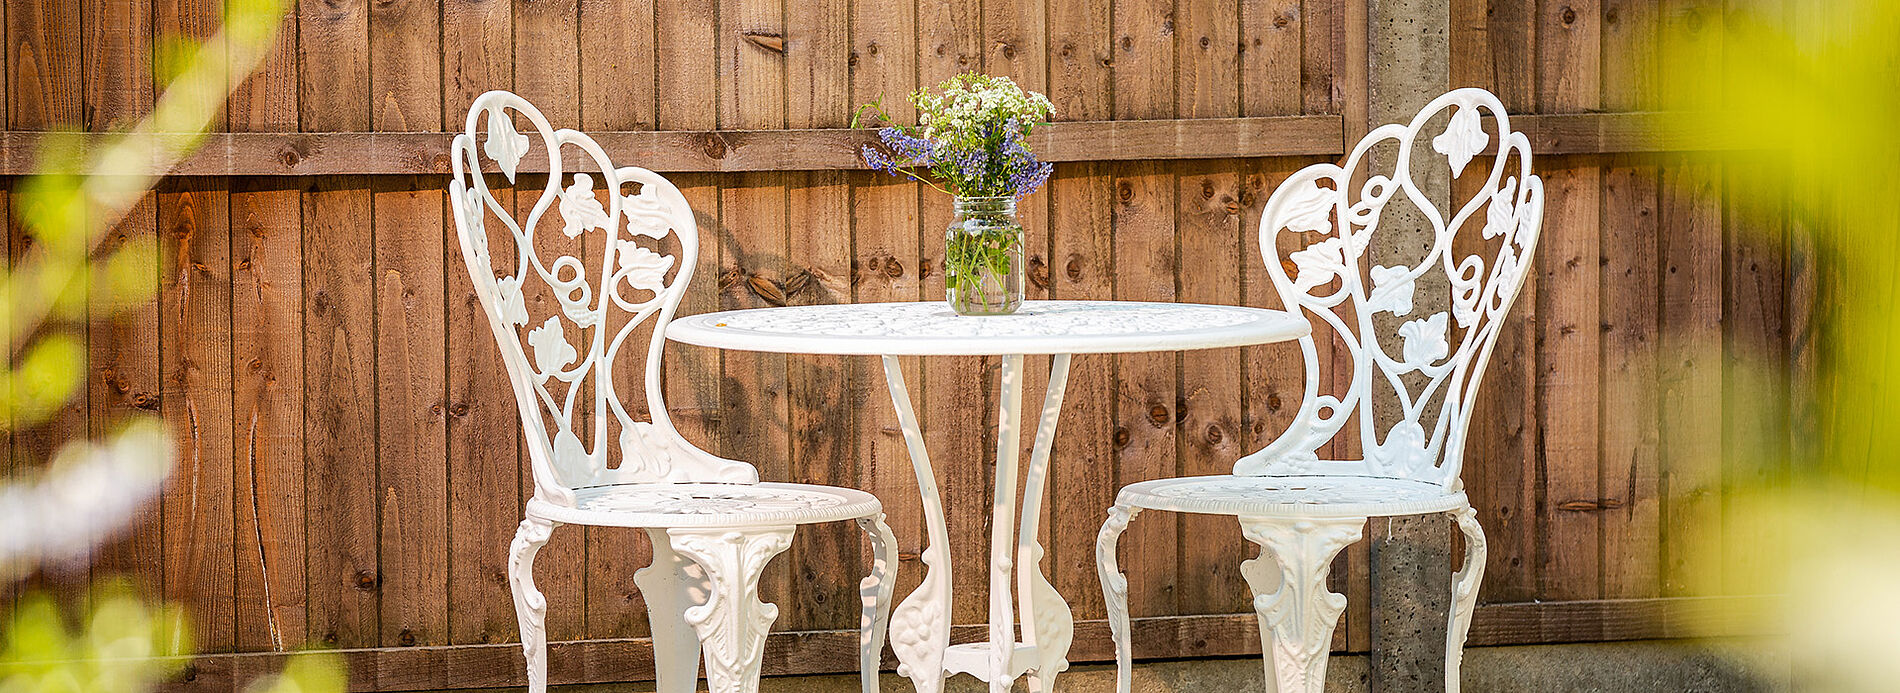
The garden furniture is transformed and the metal table and chairs look like new again and ready to be enjoyed.

Wood&Metal Sprayer W 100

Wood&Metal Sprayer W 100

The handy solution for small and medium-sized projects for wood and metal paints.

Wood&Metal Sprayer W 100
WAGNER product finder

WAGNER product finder

Here you can find more products

Go to prodcts
Spraying varnishes: Instructions & tips

Spraying varnishes: Instructions & tips

Learn here how best to proceed when spraying varnish, what you should look out for, why it's worth spraying varnishes and what the best equipment is for it.

Spraying varnishes