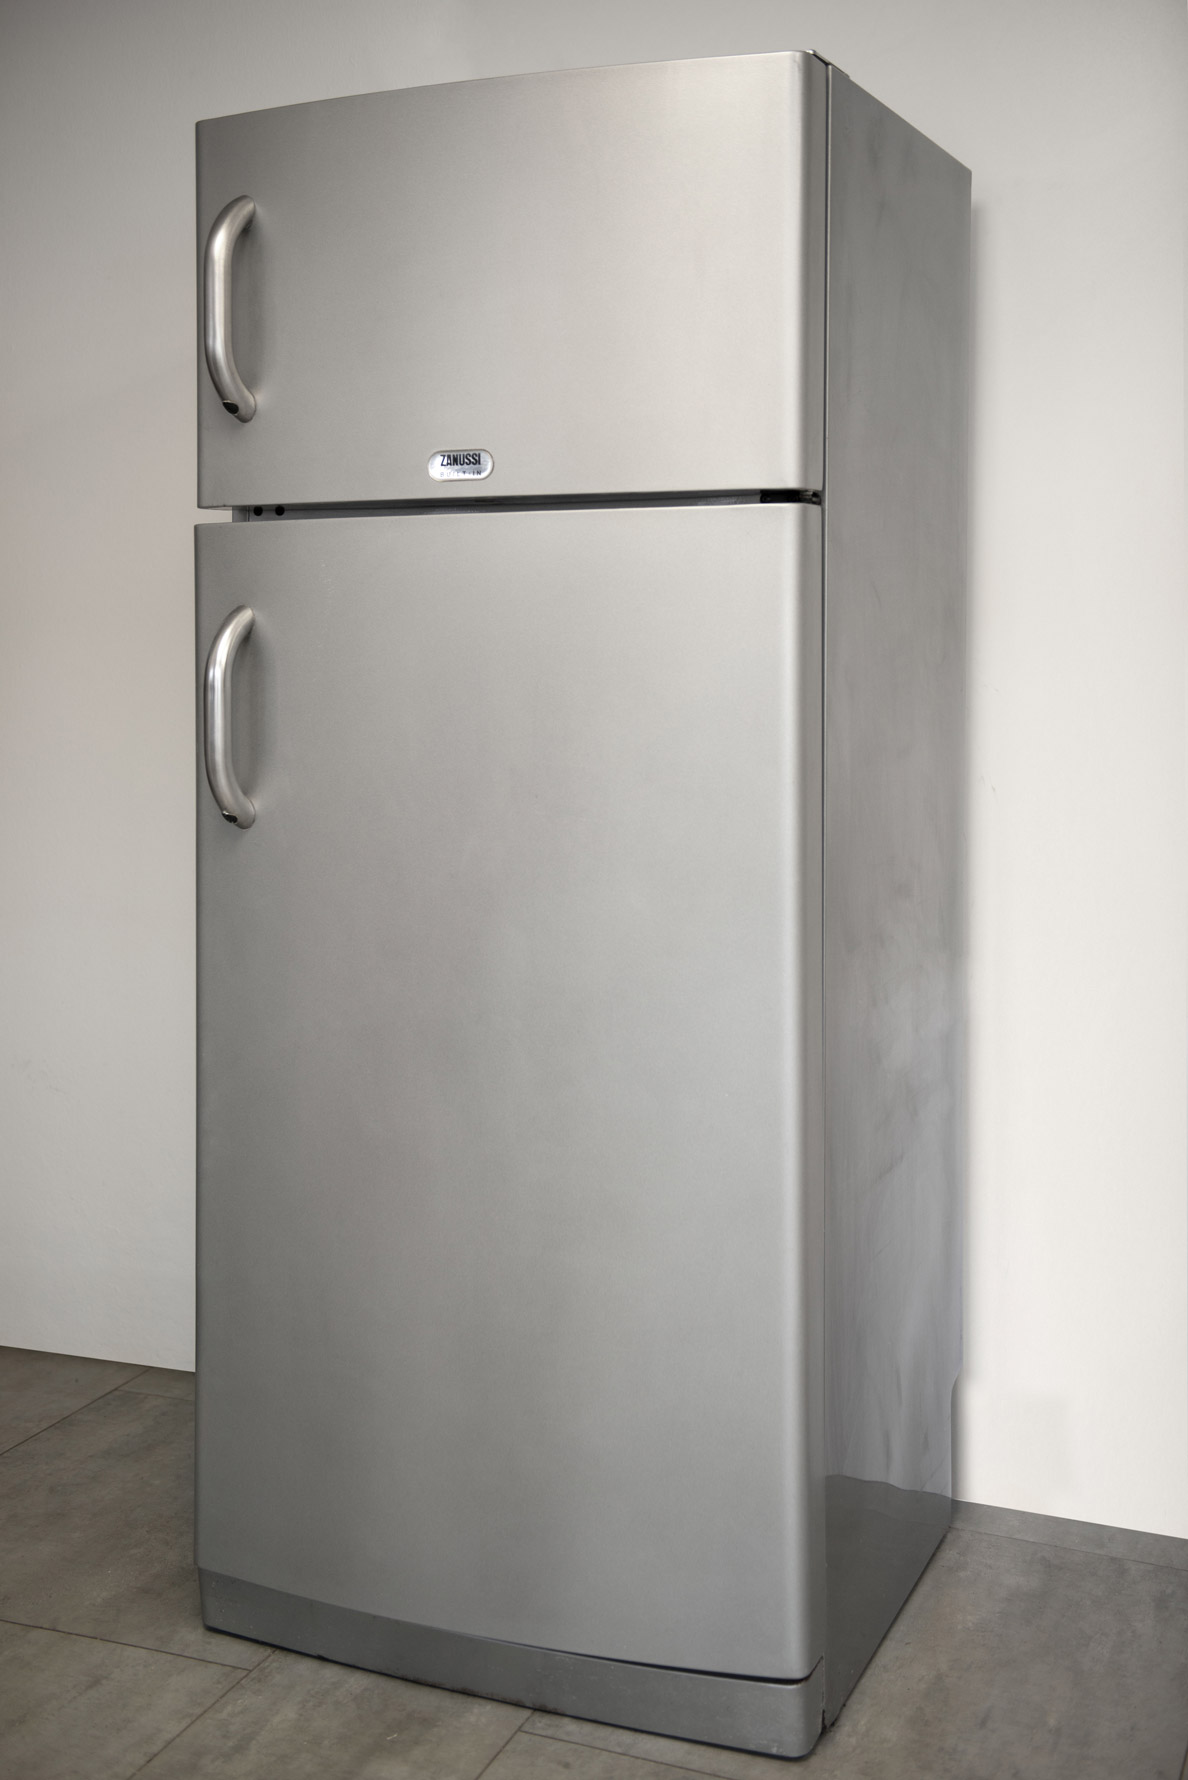
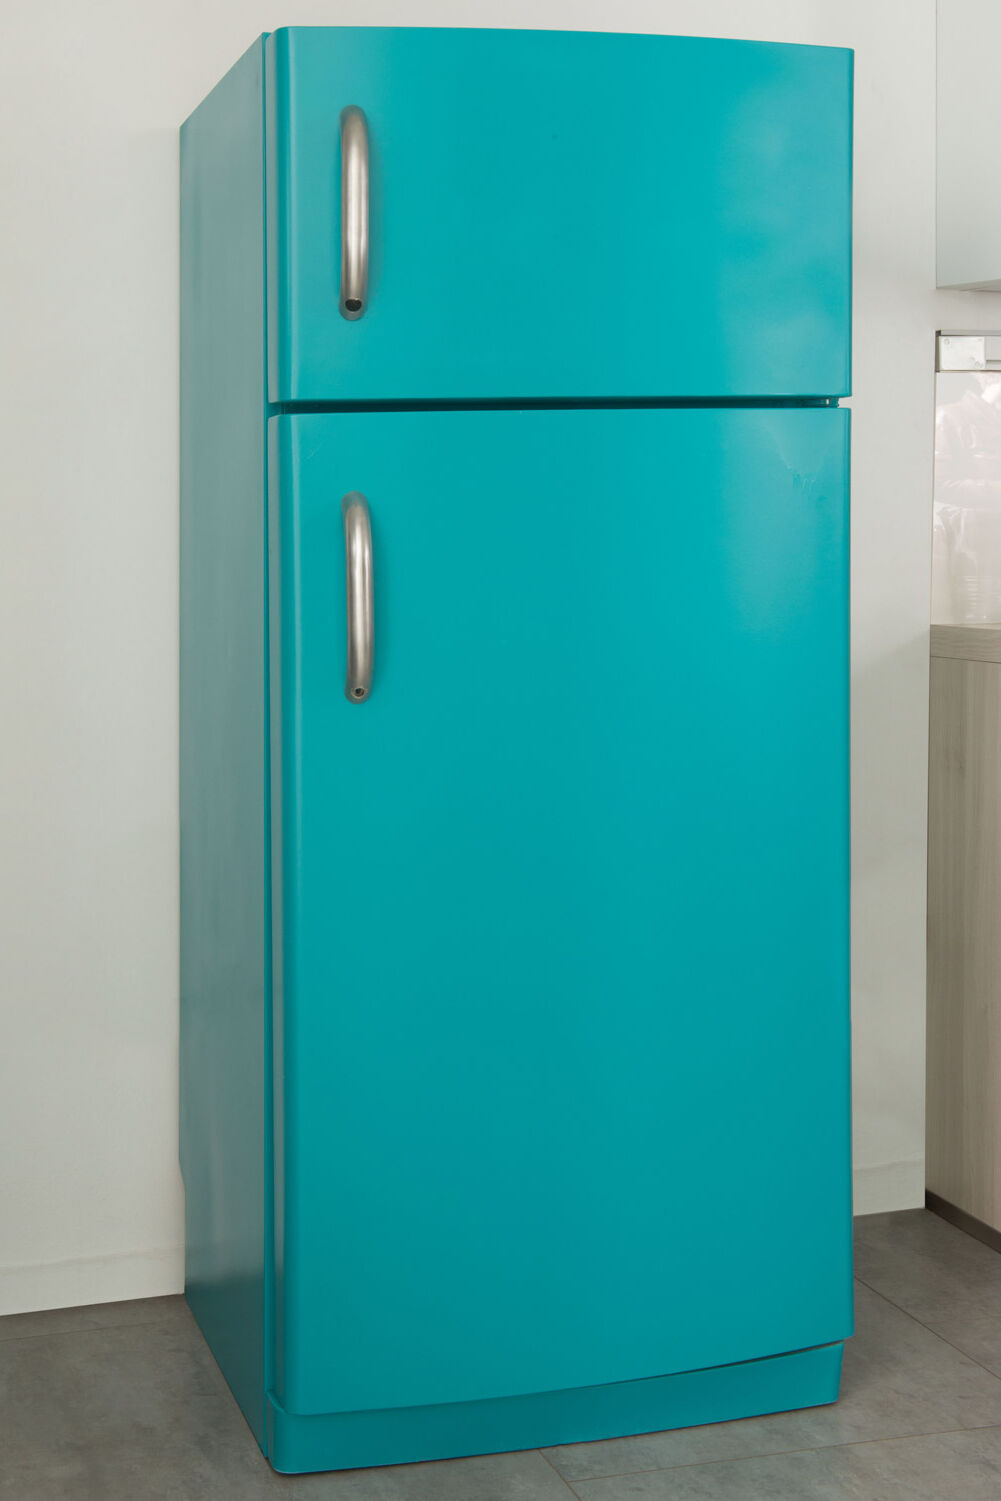
Painting the refrigerator - How-to guide to a trendy new look

Many people regard the kitchen as the heart of the home, a room with special significance. It is the place where we cook, laugh and often sit for hours at a time in the company of family or friends. Although it may not actually be bothering anyone, the old silver or white fridge in the corner could be transformed with a vibrant new colour, bringing even more life and vitality to your kitchen. Red, yellow, green – or maybe even turquoise?

Anything is possible! These bright colours are also right on trend, just take a look at all the new designer fridges. To give your fridge a makeover, all you need is a positive attitude, the right material and some instructions – then you're ready to start.

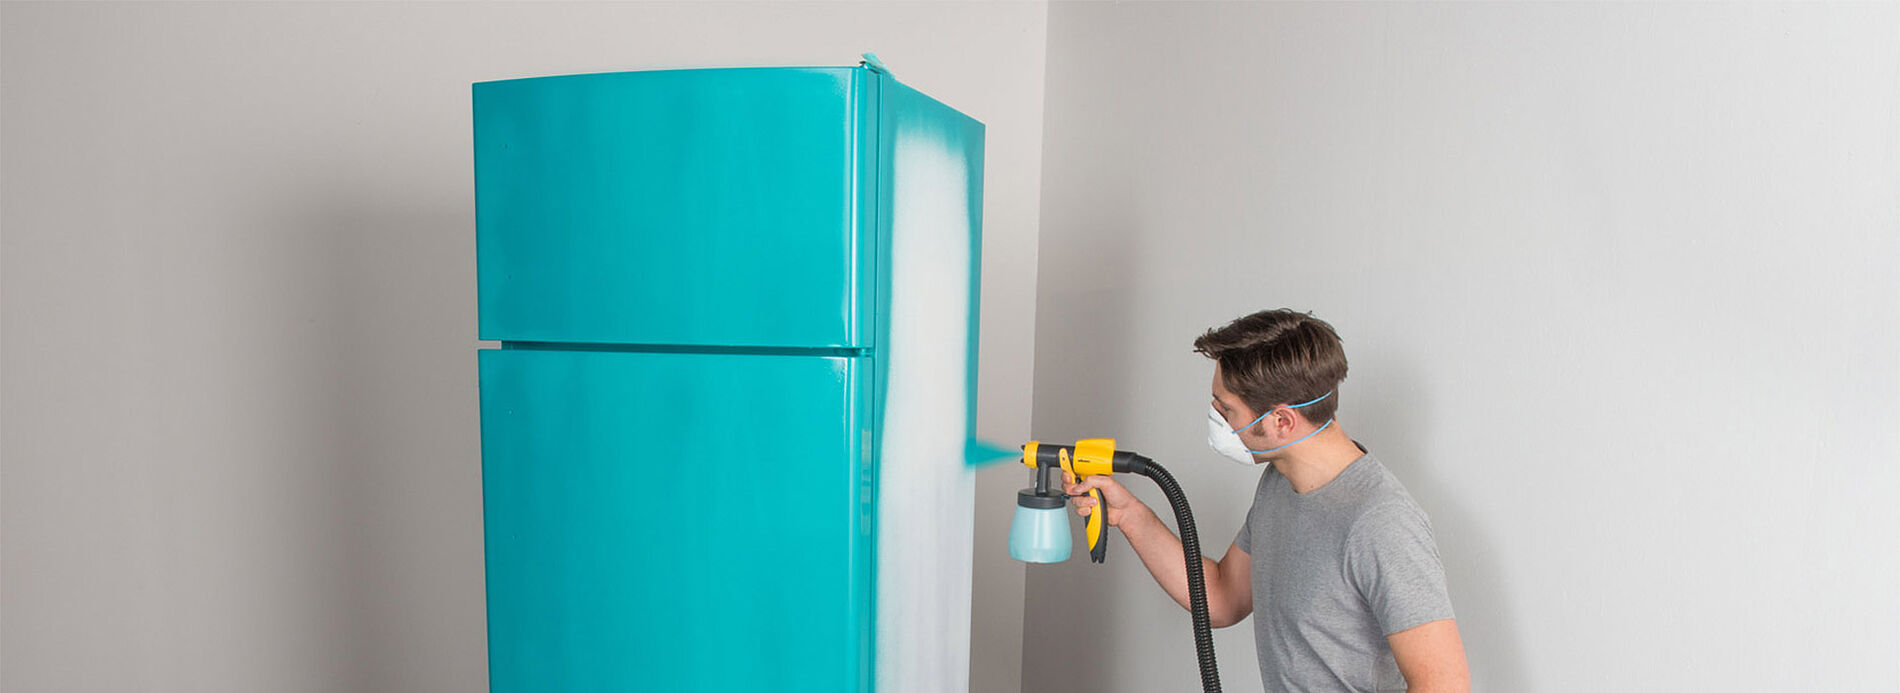
Before you place the spray attachment on the device, align the suction tube according to the direction of work – to the rear when spraying objects overhead and to the front when spraying downwards. For this project, the suction tube should be aligned to the front.

The spray jet can be adjusted in three ways – horizontal, vertical and round for detailed, precise spraying. Be sure to carry out a test spray on a scrap of cardboard to find the right setting for you.

Step 5 from 6: Paint the fridge

Paint the fridge

Do exactly the same with paint as with applying the primer. Wait until the paint is completely dry. After that, there is just one more thing you need to do: admire your finished masterpiece!

Step 6 of 6: Clean the paint spray system

Clean the paint spray system

Clean the spray attachment well with water or solvent after use. To do this, unscrew all parts and clean them in the water basin with your hands or a sponge.

The result

You will need

  • Tarpaulin or painter's fleece
  • Sandpaper (180 – 220 grit)
  • Brush and towel
  • Solvent, e.g. spirit
  • Primer
  • Paint, e.g. in turquoise

Step-by-step guide to painting a refrigerator

Follow our step-by-step guide to find out how to give your fridge a new look and jazz up your kitchen in a flash using a paint spraying unit.

Step 1 from 6: Preparing the workplace

Wagner Kuehlschrank maschinell schleifen HF2 23928

Start by finding a suitable place to paint your fridge: Choose an area with sufficient space to allow easy access to all sides. Before you start, cover the surrounding area with tarpaulin or dust sheets.

Step 2 from 6: Sand the fridge

Wagner Kuehlschrank maschinell schleifen QF 23927

Sand down the old paint on all visible surfaces. If it is already chipped in places, the best solution is to completely remove the paint. To make the work easier it's best to use an orbital sander here. Apply only very light pressure to the orbital sander to avoid scratching. Do not sand the back or bottom of the fridge.

Step 3 of 6: Dust and degrease the refrigerator

Wagner Kuehlschrank abstauben nah QF 23939

Carefully brush away the resulting dust and use a solvent to remove any grease from the fridge. White spirit is ideal for this. More caustic substances such as cellulose thinners may erode the new paint and should not be used.

Step 4 from 6: Prime the fridge

Wagner Kuehlschrank grundiren gelberGriff MS schraeg HF 23953

Follow the manufacturer's instructions for the quantity of primer and pour it into the spray attachment. Start with a test spray on a piece of cardboard. Select the correct setting for the spray nozzle: a horizontal jet to work from top to bottom, vertical for right to left or detailed for particularly intricate areas. The volume of paint can be adjusted continuously using a little wheel on the trigger.

WAGNER Group W 690 Product

Universal Sprayer W 690 FLEXiO

The universal paint sprayer for interior and exterior use

W 690 FLEXiO
WAGNER product finder

WAGNER product finder

Here you can find more products

Go to products
Spraying varnishes: Instructions & tips

Spraying varnishes: Instructions & tips

Learn here how best to proceed when spraying varnish, what you should look out for, why it's worth spraying varnishes and what the best equipment is for it.

Spraying varnishes