For the little ones very big - Building a children‘s kitchen yourself

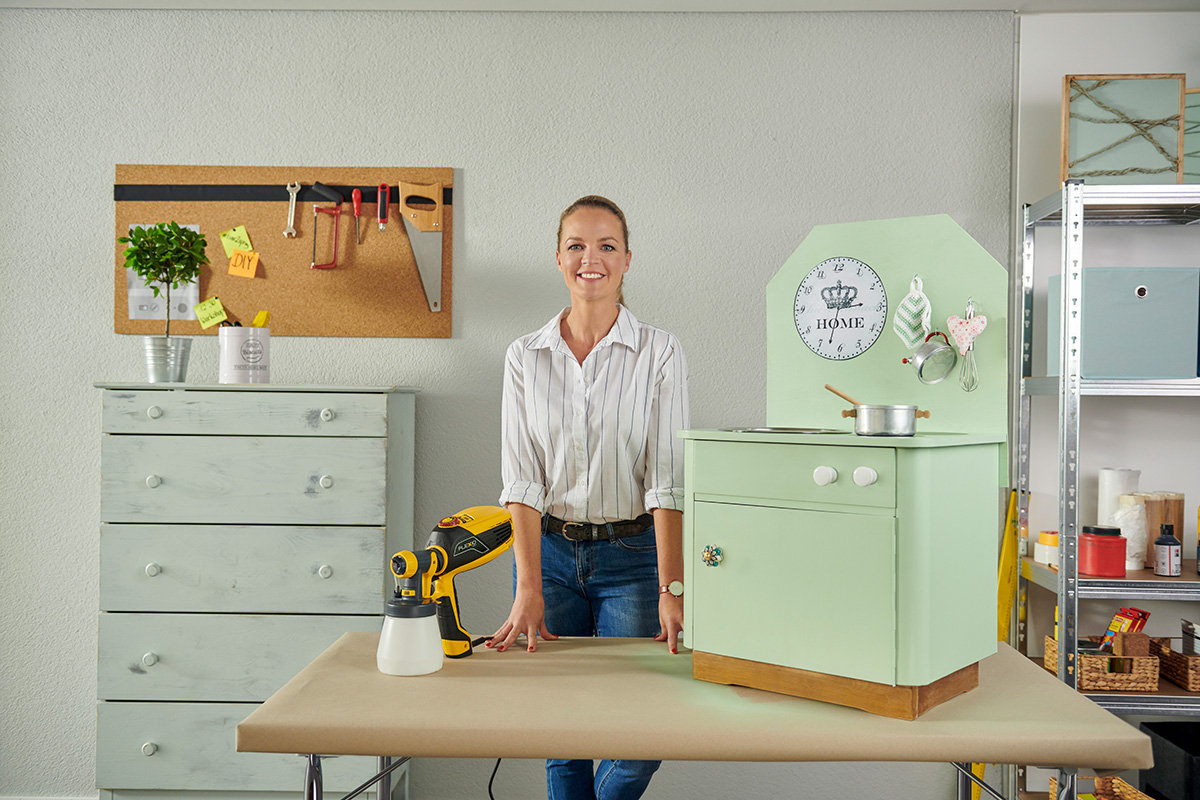
What fascinates our little ones the most? Pretending to be adults. Cooking in the kitchen is especially exciting, because here things are mixed together, there is steam and sizzles, switches and knobs are turned, dishes and pots clatter. So it‘s no wonder that toy shops offer kitchens for children in all kinds of variations.

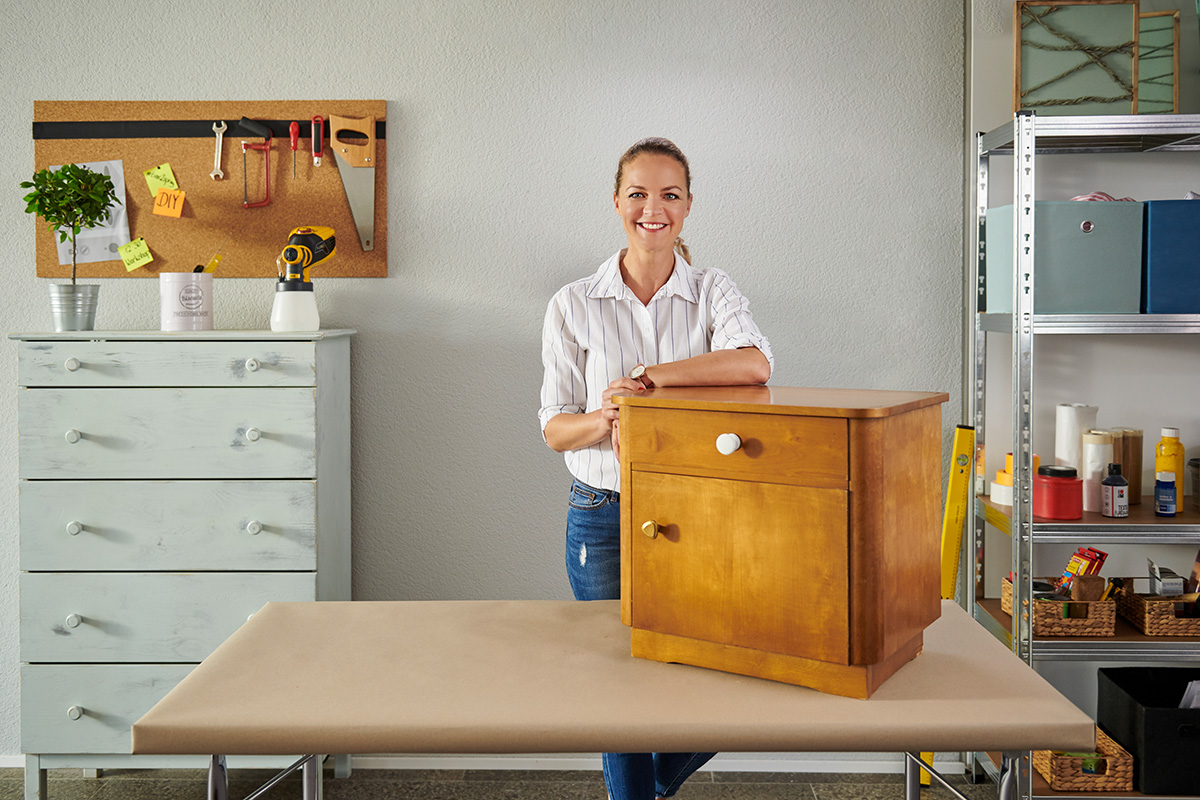
But if you live by the principle “home-made and preferably recycled is better than something which is bought new”, we have put together a step-by-step guide here to help you. In it, the German DIY expert and TV presenter Eva Brenner shows how you can turn a discarded bedside cabinet into a play kitchen yourself. Sustainable, beautiful and with a love for detail she creates what should become your child‘s new favourite toy. Would you like an outdoor children's kitchen for warm summer days? Then you can easily build a mud kitchen yourself from pallets.

By viewing the video you agree that your data will be transmitted to YouTube and that you have read the privacy policy .

How can I build a children‘s kitchen myself? What materials do I need for a play kitchen?

The Upcycling idea with Eva Brenner – making the children‘s kitchen out of wood from an old bedside table – provides the answers. In this construction manual, the individual steps are explained in detail and it is also listed which material and tools are required for the creation of the self-built children‘s kitchen.

Foreword: for the construction of the children‘s kitchen a lot of material and tools are used. But please do not be put off by the extensive list, because everything is possible. I promise.

You will need

  • W 590 FLEXiO or a similar paint spraying system
  • Spatula
  • Grinder or sandpaper
  • Jigsaw
  • Cordless drill and screwdriver
  • Flat nose pliers
  • Covering material
  • Protective equipment: Respiratory mask, gloves and safety goggles if necessary
  • Cloth and sponge for cleaning and dusting
  • Scissors
  • Spatula scraper
  • Black adhesive foil for hotplates
  • Glue
  • 1 porcelain knob and two other furniture knobs
  • 1 round metal bowl ca 20 – 25 cm diameter
  • 3 – 5 screw hooks bent (for attaching accessories such as potholders, cookbook, etc.)
  • 1 Thin chipboard approx. 50 – 60 cm long (as wide as the nightstand) as back wall
  • 4 wood screws
  • Play kitchen accessories and printed and laminated clock
  • Filler
  • Lacquer mint
  • Primer for wood, if necessary

Step-by-step instructions for building a children's kitchen

Step 1 of 5: Preparation of the bedside table

Preparation of the bedside table

First remove all handles and fittings from the old night cabinet. To do this, use the rechargeable battery drill or, if it is “too tight“, the screwdriver. Flat nose pliers are especially helpful for rusty and flat screw connections when the strength of the hands is no longer sufficient. To ensure that the children‘s kitchen has even surfaces at the end, Eva fills cracks, holes and uneven areas with a little putty and a scraper. Now let the putty dry. Then lightly sand the entire surface including the back panel.

Step 2 of 5: Sawing

Sawing

Before she starts sawing, Eva first draws the saw edges. Firstly, a recess for the later “sink”, i.e. the round metal bowl, must be marked both on the top of the bedside table and on the back of the drawer. In this way the drawer can be opened later even after the metal bowl has been inserted. And also the board for the back wall of the play kitchen is shaped a little bit – the corners are flattened – and the cut edges are marked. Now it‘s time to get down to business: with the jigsaw Eva now works her way along her marks. Pay special attention to your safety and your fingers.

Tip:
1. to prevent the wood from splintering at the saw edges, simply apply an adhesive tape. This prevents fraying during sawing.

2. if you want to saw a recess into a closed surface, first pre-drill a couple of holes with the cordless screwdriver. This allows the jigsaw to be inserted into the pilot holes and sawing can begin.

Step 3 of 5: Attach the rear panel and remove dust

Attach the rear panel and remove dust

Now fix the back panel to the bedside cabinet with four screws. Eva makes sure that the back wall overlaps by a good 10 cm so that it rests firmly and straight on the body of the bedside cabinet. Measure the drill holes beforehand and draw them in. Then dust off the entire surface including the back panel so that the new paint adheres better in the next step.

Step 4 of 5: Painting the children‘s kitchen

Painting the children‘s kitchen

Now it‘s time for the colour design: fill the spray attachment after stirring well and slightly diluting the paint if required, click on the turbine, switch on and spray! It is always advisable to carry out a test spray for example onto an old cardboard box, in order to adjust the paint jet to suit your object and your working method.

In our example we do not use any additional primer, because the paint includes a primer. However, if you have chosen a dark wood, for example, we recommend an additional primer. Now spray all the surfaces you want to paint in even movements and parallel to the surface. With the paint spray system you can easily apply the paint to areas with grooves and edges.

When it came to the colour tone for the children‘s kitchen made of wood, Eva Brenner opted for a fresh light green: “Bright and colourful shades are particularly suitable for children‘s furniture or toys. Green has a calming effect in the children‘s room and promotes concentration”, the interior designer knows.

Step 5 of 5: Designing and decorating children‘s kitchens

Designing and decorating children‘s kitchens

When the paint is dry, the play kitchen can be finished. Screw the curved screw hooks to the rear wall – a predrilled hole makes it easier to attach. Eva uses a porcelain knob as a door knob and screws two more white knobs on the drawer as cooker knobs. Pre-drilling the holes is also useful here. The metal bowl is used as a sink and as ‚hot plates‘ circles are cut out of the black adhesive foil and glued on. What should not be missing is the kitchen clock. We found it on the internet, printed it out and laminated it.

Last but not least...

Last but not least...

All that remains is to equip the DIY children‘s kitchen with the right accessories and children‘s kitchenware. And the self-made play kitchen is ready!

Last but not least...

All that remains is to equip the DIY children‘s kitchen with the right accessories and children‘s kitchenware. And the self-made play kitchen is ready!

The result

Eva Brenner sums up the result: “This is how you can make children‘s eyes sparkle. The children‘s kitchen was created by upcycling an old bedside table. These are my favourite projects, when something old is converted in such a way that something beautiful and new is created from it."

W 590 FLEXiO

W 590 FLEXiO

The flexible hand spray gun for indoor and outdoor use

W 590 FLEXiO
WAGNER Produktfinder

WAGNER product finder

Here you can find more products

Go to products
Spraying varnishes: Instructions & tips

Spraying varnishes: Instructions & tips

Learn here how best to proceed when spraying varnish, what you should look out for, why it's worth spraying varnishes and what the best equipment is for it.

Spraying varnishes