Painting beer tent furniture: with Eva Brenner to the beer bench design in ethno look

We all know them from folk festivals, usually they cheer us up with the colourful orange of the 1970s - we're talking of course about the beer tent set. We love it because the beer bench reminds us of long evenings in convivial company, but it is not exactly a feast for the eyes. Sorry, beer table set!

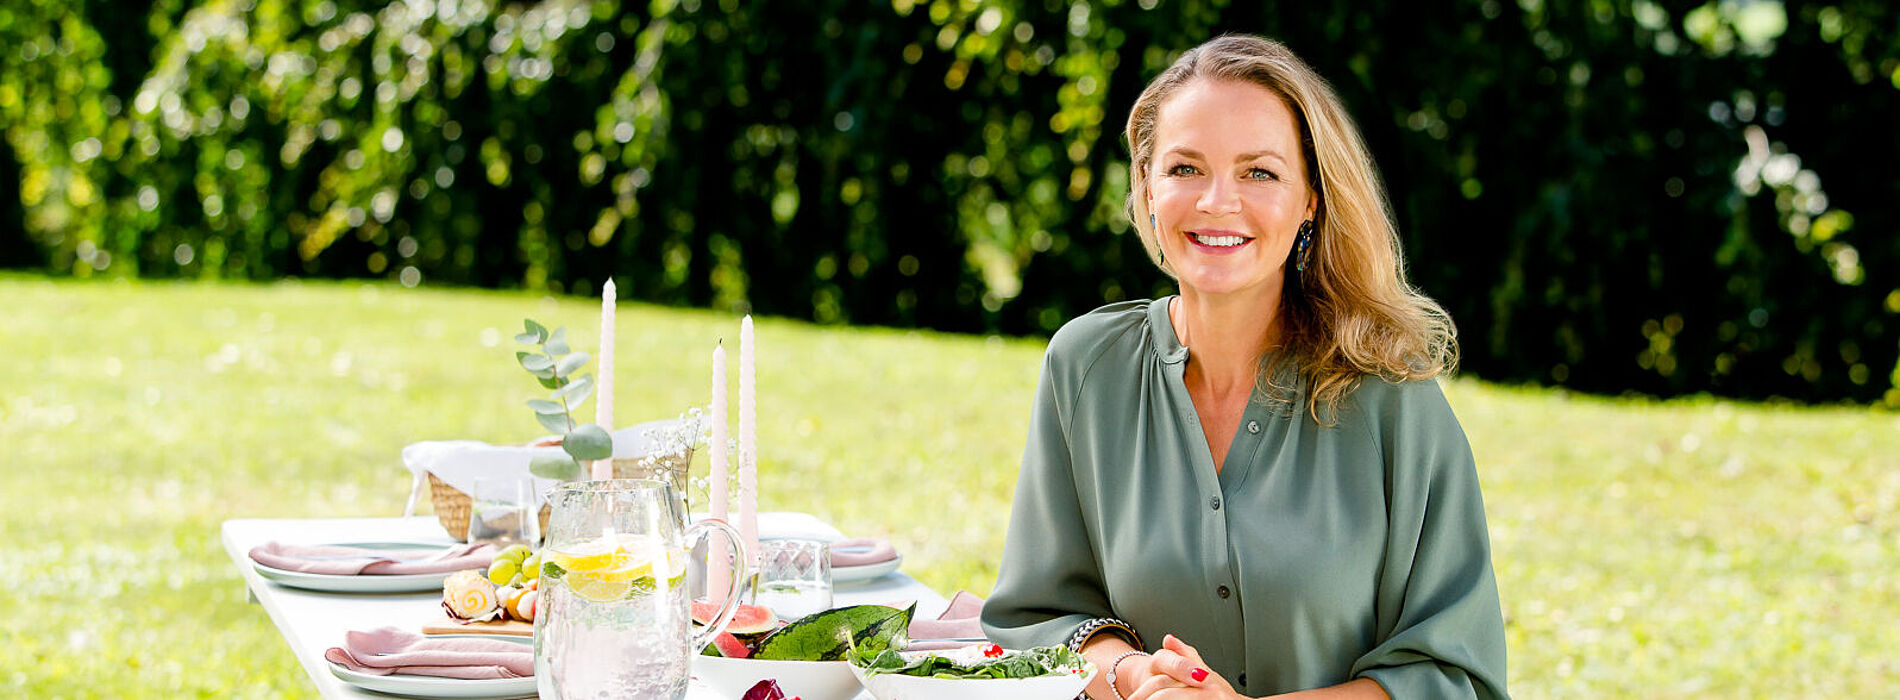
Or maybe it is? Eva Brenner, the well-known graduate interior designer, shows step by step how a paint spray system can be used to turn an ordinary wooden beer tent set into a modern, unique beer bench design piece with a trendy ethnic look. Not only will you impress guys at the next garden party, but you're also guaranteed to score points with the girls.

By viewing the video you agree that your data will be transmitted to YouTube and that you have read the privacy policy .

Painting the beer table set: This is how it's done, step by step

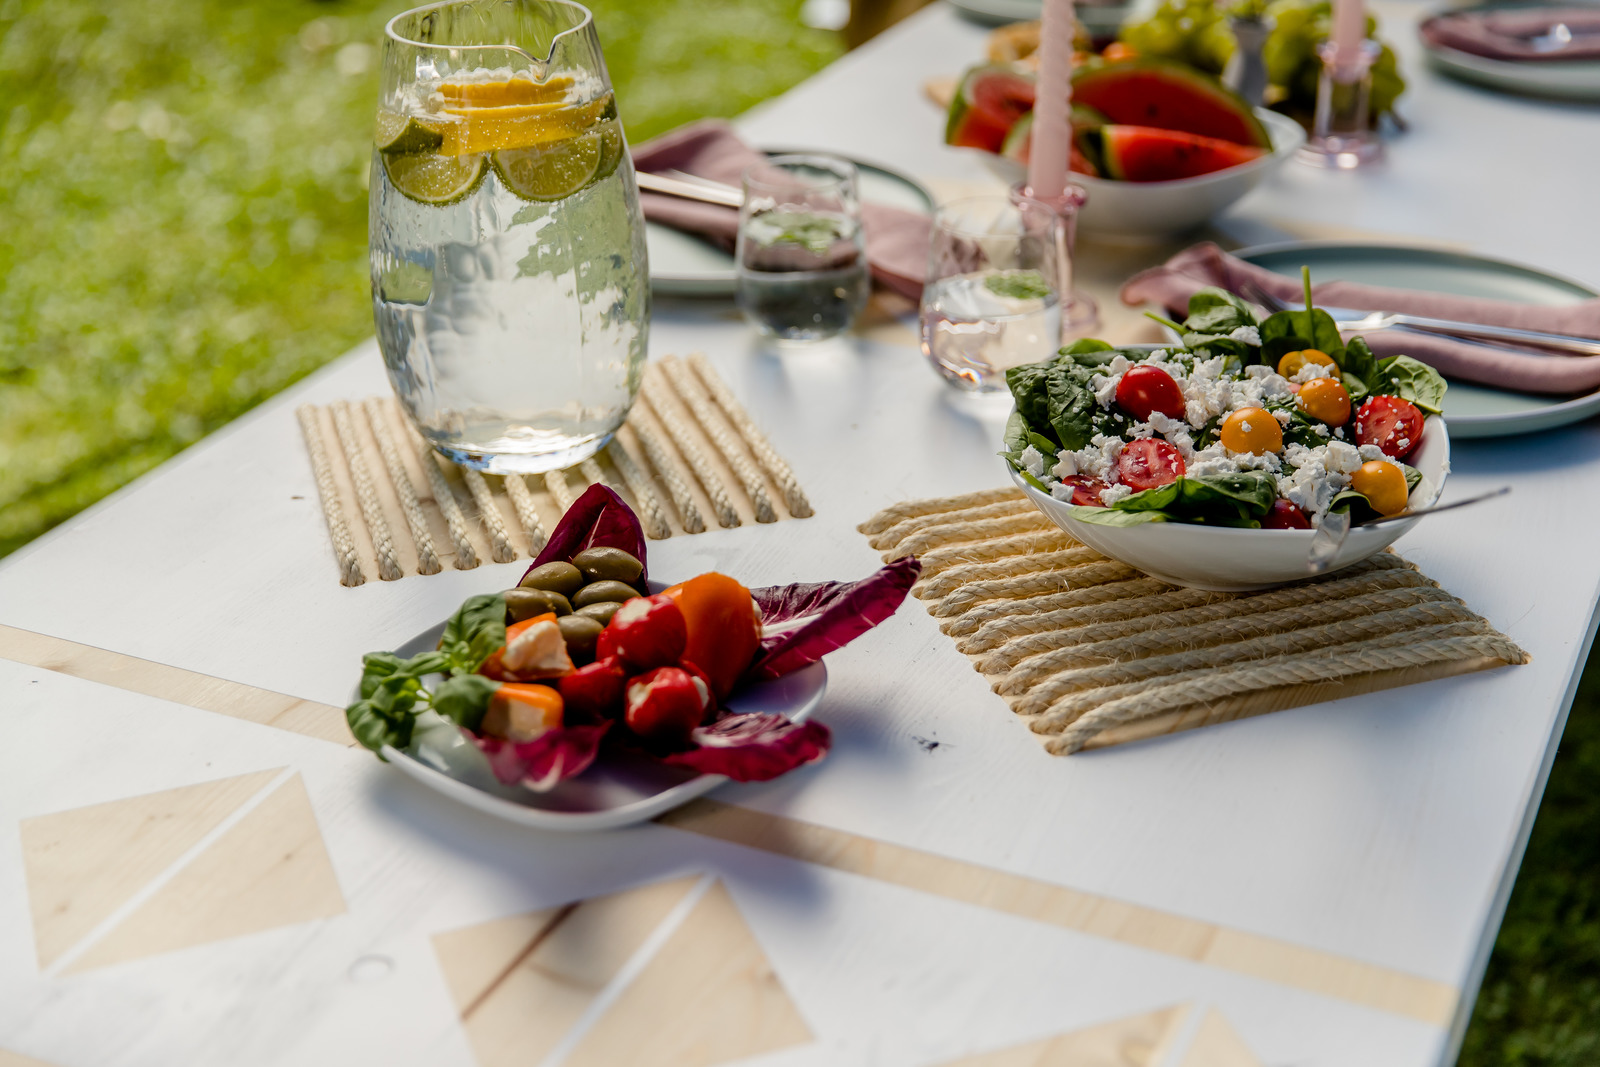
Before you can spray your wooden beer bench with new paint, you should think about the pattern you want to create. The best way to do this is to draw a true-to-scale table top on a sheet of paper and let your creativity run wild. Eva chose a stylish ethnic pattern in white for our table to give the beer tent set a sophisticated and airy look. As a special highlight, she adds trivets made of jute rope at the end to further emphasise the natural look of her design.

What you need:

  • WAGNER paint spraying system: e.g. WAGNER W 590 FLEXiO with standard spraying attachment
  • Sanding tool for sanding off paint residues or roughening the wooden panel
  • Cordless drill and 10mm drill bit for wood
  • A long sturdy ruler
  • 1 marker pen
  • Sharp cutting knife
  • 1 beer table set
  • Wood paint in the desired colour (possibly additional clear varnish for sealing)
  • Adhesive film for the pattern
  • High-quality adhesive tape
  • Sisal rope for the trivets (approx. 15 - 20 m)
  • If desired: metal paint for the table frame in the desired colour
  • Optional: Decoration for the table

Step 1: Sanding the beer table set

Step 1: Sanding the beer table set

To remove the old orange paint from the beer bench, we recommend an electric random orbital sander. Make sure to sand with even movements and thoroughly remove the old paint from all areas to achieve a beautiful result later.

Step 2: Repainting the beer bench frame

Step 2: Repainting the beer bench frame

You don't like the green legs of the metal beer table set either? Then you can set new accents here with a metal paint in your desired colour. It is best to use your paint spray system with the standard spray attachment supplied for this (recognisable by the fence symbol).

Step 3: Transferring the pattern onto the film

Step 3: Transferring the pattern onto the film

Have you come up with a nice pattern for your beer table? Then it's time to transfer it to the film. Use film that adheres well but is easy to remove and draw your pattern on the film, preferably with a marker pen and ruler.

Step 4: Sticking the film onto the beer table

Step 4: Sticking the film onto the beer table

Now stick the whole film strips onto the beer table. Make sure that no bubbles form while you are sticking the film on, otherwise the pattern may slip. It is best to use a squeegee to smooth the film out perfectly.

Step 5: Cutting out the pattern from the film

Step 5: Cutting out the pattern from the film

Now take the sharp cutting knife and the ruler to carefully cut out the film. Make sure to work as precisely as possible to get a beautiful result later.

Step 6: Pulling off film remnants

Step 6: Pulling off film remnants

Now carefully peel off the remaining film so that only the desired pattern is stuck on the beer table. Quick reminder: the stuck-on areas remain unpainted at the end.

Step 7: Painting the beer table set

Step 7: Painting the beer table set

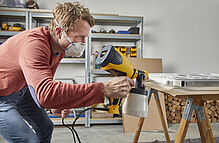
Now your paint spraying system comes into play! Adjust the sprayer to the paint you are using and start to paint the table top in even stripes ata distance of 10 - 20 cm. For an optimal covering result, work in a criss-cross pattern.

Step 8: Removing the film after painting

Step 8: Removing the film after painting

Once you have applied the layers of paint to your beer table, you should remove the film after a short drying time - the paint should be dust dry. It is best to use your cutting knife again to loosen the corners.

Additional tip for painting a beer bench:

If you do the work and paint your beer tent set, it would be a shame if the beautiful piece weathers quickly outdoors. You can prevent this by applying a clear varnish to the beer table after your pattern. This affords it maximum protection from the wind and weather.

Here you can find even more tips & tricks

Step 9: Preparation for the trivets

Step 9: Preparation for the trivets

Now drill approx. 12 holes on the opposite sides of a square surface as close together as possible. Make sure that the sisal rope creates a square at the end. Use a drill bit that has a slightly larger diameter than the rope you are using.

Step 10: Threading the trivet

Step 10: Threading the trivet

At the end, thread the sisal rope through the pre-drilled holes to create individual trivets on your beer tent set. Make sure to always tension the rope tightly to get an even result at the end. When you have finished, you can tie the rope tightly to the underside of the beer table.

Decorating a beer tent set

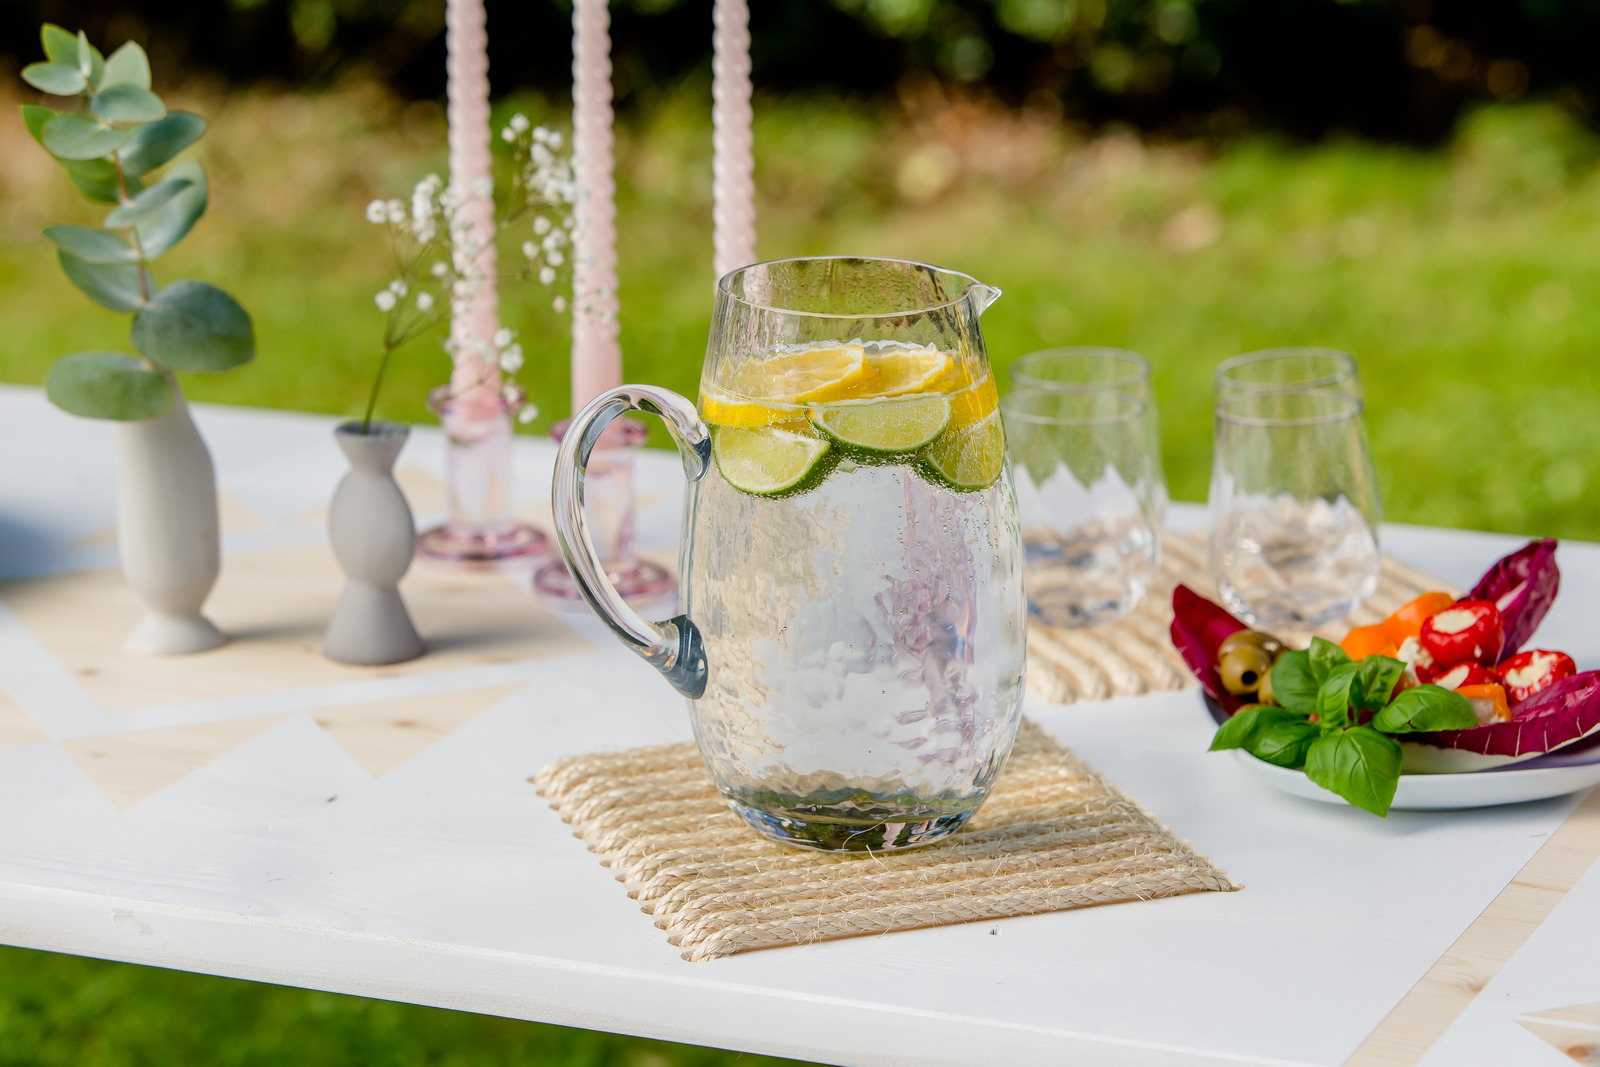
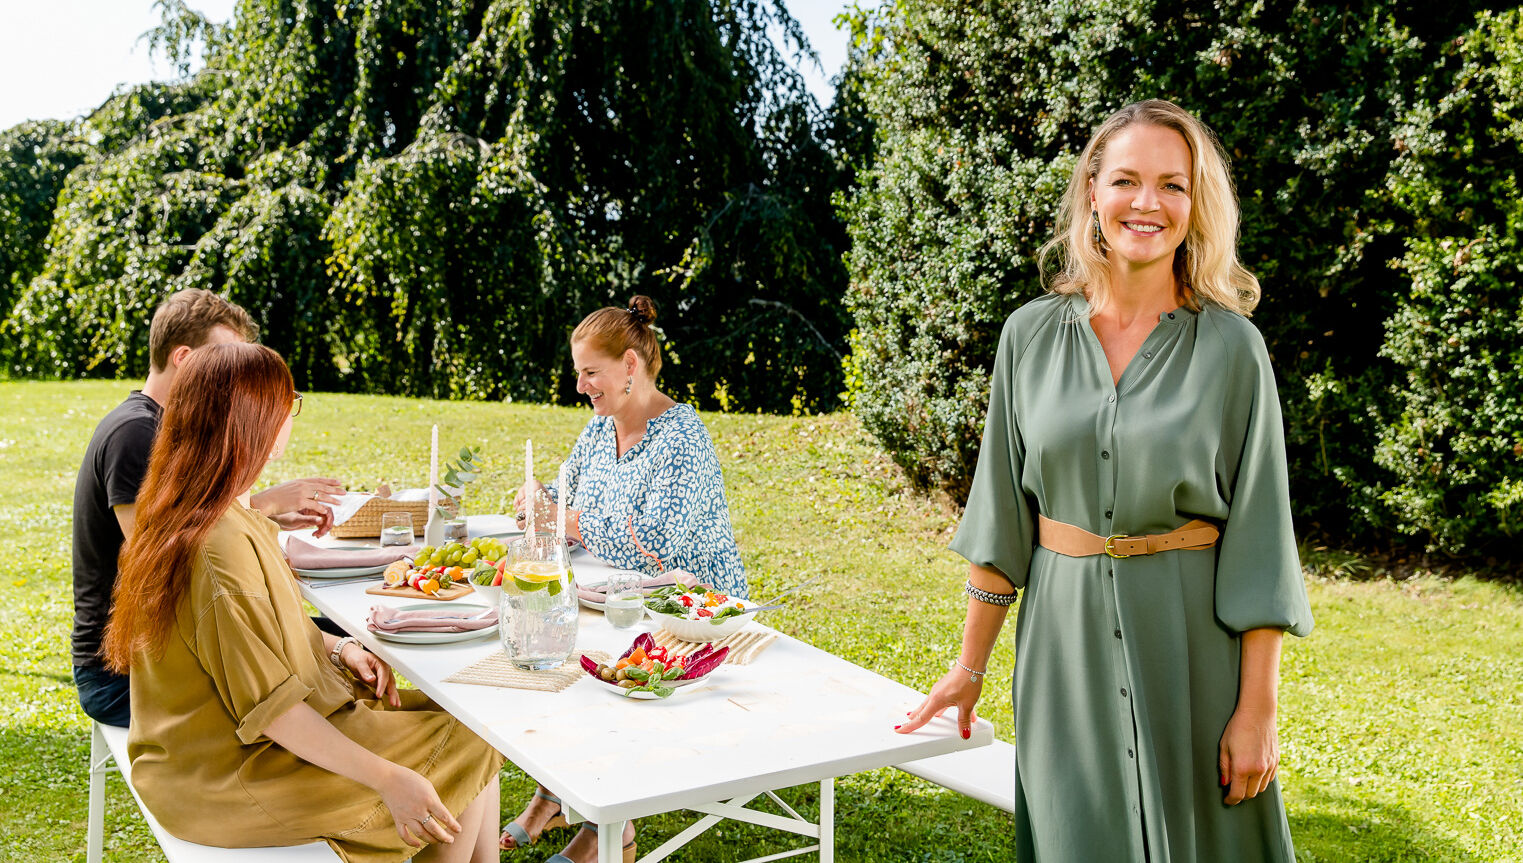
Eva Brenner has now shown us how to redesign an old beer bench and turn it into a real designer piece. All that's missing now for the perfect garden party are the matching accessories for the beer table decoration. Small ceramic vaseswith fresh eucalyptus and baby's breath not only look summery, but are also classy enough to decorate a chic beer bench for a wedding or a big birthday, for example. A pitcher with lemons and limes in the water refreshes the party guests and looks beautiful at the same time. Our white beer table design in ethnic look goes particularly well with pastel shades such as delicate rose and mint green. At the same time, these colours form a beautiful contrast to colourful, cheerful dishes. As you can see, there are no limits to your imagination when painting a beer table set. How have you designed your beer table? Why not show us on Instagram with a link to @wagner.heimwerk. We are already excited!

The result

W 590 FLEXiO

W 590 FLEXiO

The flexible paint sprayer for interior and exterior use

W 590 FLEXiO
Tips and tricks with Carina

Tips and tricks with Carina

We have summarised more tips on spraying wood and metal paints for you in our Tips and Tricks with Carina.

Apply glazes and lacquers correctly
Spraying woodstain: Guide & tips

Spraying woodstain: Guide & tips

Learn the best way to spray woodstain, what you should look out for, why it's worth spraying stains and what the best equipment is for it.

Spraying varnishes

Even more inspiration for your garden

You can find these and other exciting DIY ideas for your outdoor oasis of calm in Eva Brenner's book: "My best DIY projects for gardens and balconies" (in German). From upcycling a discarded washing drum, which becomes a decorative table, to sewing instructions for a cosy bean bag for relaxing, the well-known professional interior designer shows with numerous do-it-yourself projects how to bring a special ambience to your outdoor space. (published by Verlag Becker-Joest-Volk)