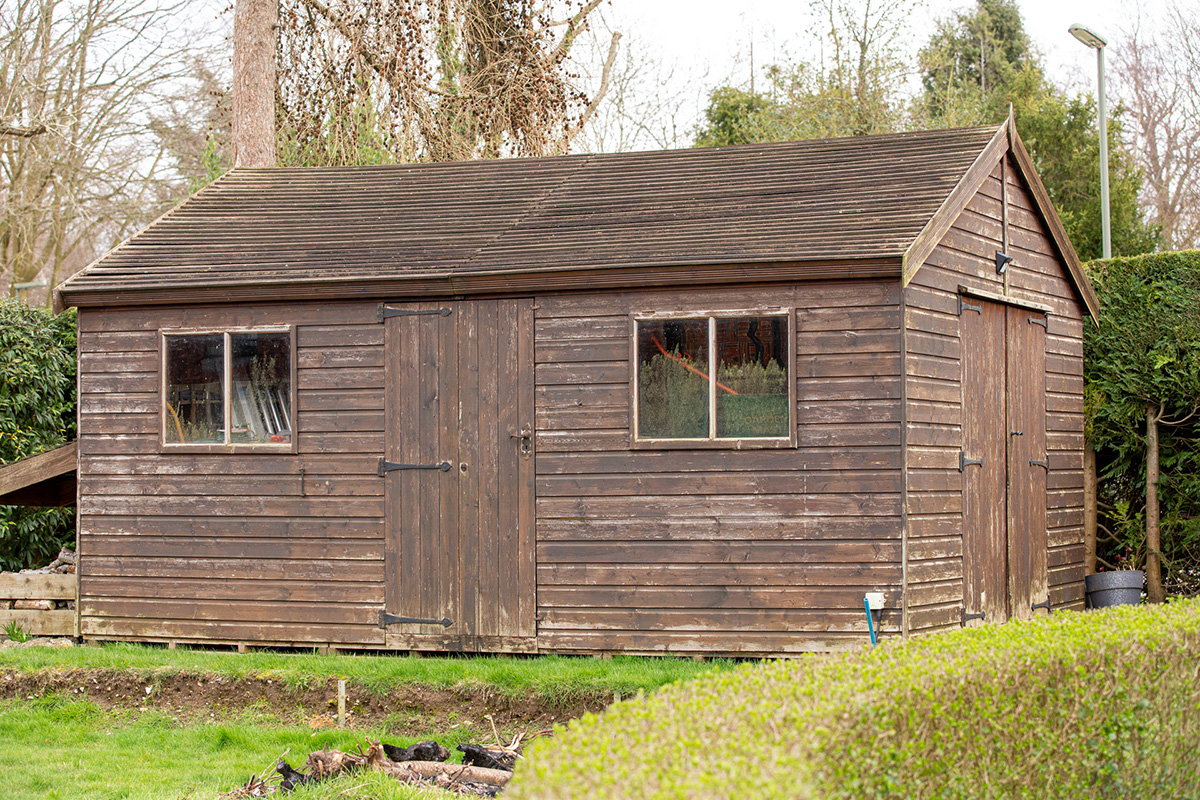
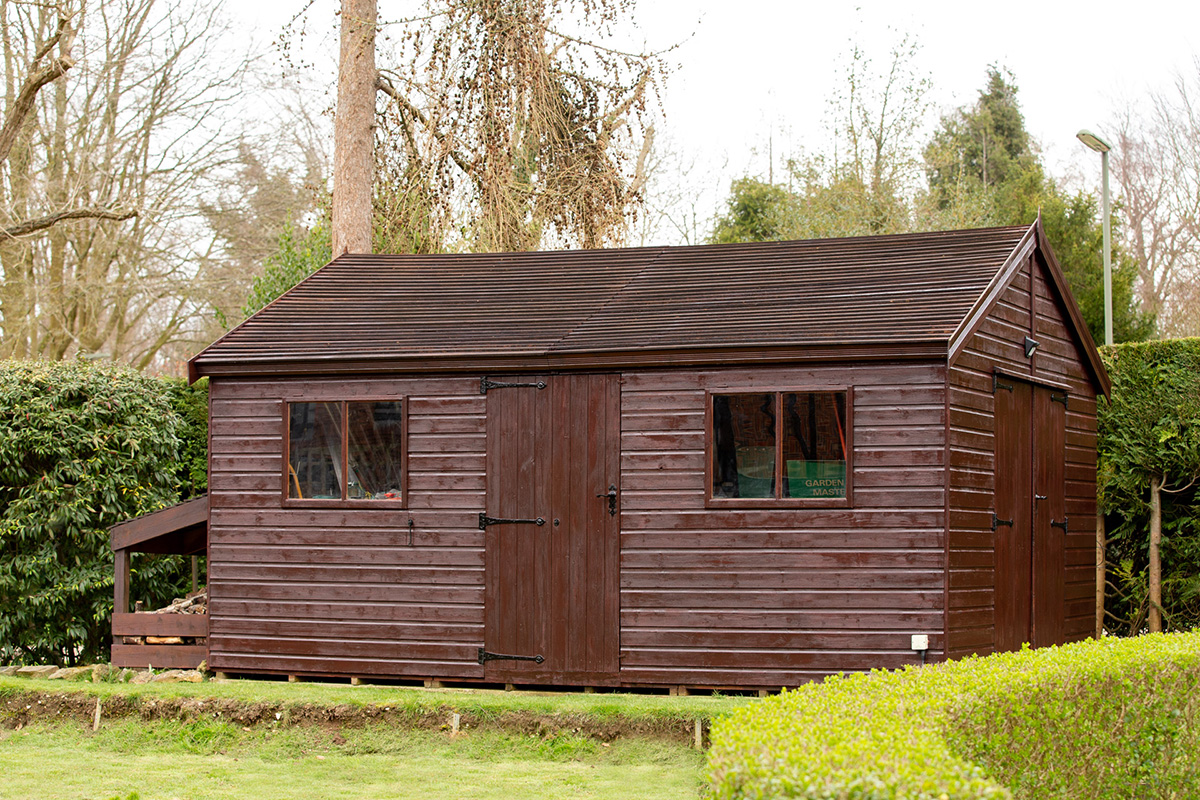
Painting a shed - this is how it's done!

Garden sheds come in a wide variety of colours and shapes and they are a useful addition to  your garden. Whether simply to store tools and garden furniture or as a summer house which is a second living room for relaxing on summer evenings or a playhouse for the children. They all have something in common, they are exposed to the weather all year round. This can lead to the wooden exterior fading over time, cracks forming or the paint peeling off. So that you can enjoy your shed, summer or play house for a long time to come, they should be well looked after - so give them a new coat of paint regularly. This not only gives them a new shine, but also provides the necessary surface protection for the wood.

By viewing the video you agree that your data will be transmitted to YouTube and that you have read the privacy policy .

A new coat of paint for your garden shed

As the wooden exterior of a garden shed can be very angular and often do not have an even surface, it is a good idea to use a paint sprayer. This ensures a uniform, even coverage and allows you to cover hard-to-reach areas without having to cut in corners and edges with a brush - in short: you work cleaner and faster. At the same time, you can easily apply the material of your choice, whether it is wood preservative, stain or varnish!

You will need:

  • Brush, sponge and bucket
  • Wire brush
  • Sandpaper
  • Dust mask, safety glasses, gloves
  • Wood preservative, stain or varnish

Step-by-step: Painting the shed with a paint sprayer

You can find out how to spruce up your shed with this guide.

Step 1: Repair any damaged areas

Repair any damaged areas

Start by repairing any damaged areas and replace any broken wooden slats. In addition, remove loose paint with a wire brush. You can sand the surface to make it more even and to give a better surface finish.

Step 2: Cleaning the surface

Cleaning the surface

The next step is to thoroughly clean your garden shed. To clean the surface properly, we recommend using a high-pressure washer. If you don't have one available, you can clean the surface with a sponge or brush. Now allow the cleaned surface to dry thoroughly - the ideal time for a short coffee break.

Step 3: Mask carefully

Mask carefully

Before your shed can receive a new coat of paint, parts that are not to be sprayed, such as windows, gutters or door handles, must be masked off. If necessary, remove hinges and handles. These can then be sprayed separately in the colour of your choice.
Tip: To keep your garden free of paint, we recommend covering the area directly under the shed. You can use dust sheets or old cardboard for this.

Step 4: Prepare the material

Prepare the material

Now you can pour the desired material into the paint container of the paint sprayer and stir it with the supplied stirring stick. When the material runs off the stirring stick evenly and leaves no trails on the surface it is ready. Please note that the paint may need to be thinned. To get the optimal mix, place the stirring stick upright in the paint container and check which notch the paint reaches. Each notch of the stirring stick corresponds to a 10% dilution. So if you need to thin by 10%, simply top up with water or solvent to the next notch.

Step 5: Put on the right protective equipment

Put on the right protective equipment

Since not only the wood of your garden shed but also you yourself should be protected, we recommend that you always wear a respirator mask and, if necessary, protective glasses and gloves.

Depending on the way you work, you have the option of adjusting the suction tube. Turn the tube forwards if you mainly spray downwards and backwards if you are mainly spraying overhead. If you are only spraying forward, it does not matter how the suction tube is oriented.

You can adjust the spray jet optimally for your project. Three adjustment options are available:

  • Horizontal flat spray
  • Vertical flat spray
  • Detailed jet (for precise spraying)

Are you using a sprayer for the first time and still a little unsure what to look for?

No problem - Carina will show you some useful tips and tricks about applying paints and varnishes and the various settings of your paint spray system.

Learn more

Step 6: Test spray on cardboard

Test spray on cardboard

In order to achieve an optimal finish on your garden shed, you should first test the settings of the paint sprayer on a piece of cardboard. The crucial factor here is the supply of air and material to the unit. As the spray pattern depends strongly on the chosen material and dilution, we recommend starting with the lowest paint volume setting and gradually increasing it until the desired paint spray is achieved.

Step 7: Spray the wooden shed

Spray the wooden shed

Now the most exciting part begins - the spraying! Start at one corner of the wooden surface and work your way in one direction. Make sure you keep a uniform distance of 20-25 cm from the surface and apply the stain or varnish at an even pace. For a good coverage, spraying with overlapping passes of about 30% and work in cross-coat pattern. First spray from left to right and then from top to bottom or the other way round. Now allow the freshly painted surfaces to dry thoroughly. We advise you to give the shed a second coat of paint. On the one hand, this is sprayed on quickly and on the other hand, you give the wood even better protection against the weather.

Tip: A nozzle extension is particularly useful for spraying garden sheds. This saves you strenuous bending and stretching and is therefore easier on your health.

Step 8: Repaint hinges and handles

Repaint hinges and handles

If desired, you can now paint the hinges or handles in the colour of your choice before reattaching them to the shed - and your shed will look like new again.

The result

Universal Sprayer W 690 FLEXiO

Universal Sprayer W 690 FLEXiO

The universal paint sprayer for interior and exterior use

W 690 FLEXiO
WAGNER Produktfinder

WAGNER product finder

Here you can find more products.

To the products
Spraying varnishes: Instructions & tips

Spraying varnishes: Instructions & tips

Learn here how best to proceed when spraying varnish, what you should look out for, why it's worth spraying varnishes and what the best equipment is for it.

Spraying varnishes