Sewing a dishcloth and decorating with stencils

Here we show you how to make beautiful Christmas dishcloths from fabric, textile paint and stencils made specifically for this purpose. The trick here – we use ordinary household items, such as wooden spoons or cookie cutters, to make the stencils. Decorated with a little bit of lace and beautifully packaged, you can conjure up perfect Christmas gift for friends or family.

Can textile paint be sprayed?

After our request in the last issue of FINISH “We bring your project to life!” to send requests and ideas to us, our reader Monika asked us the following question: “I would like to sew something out of fabric and then embellish it with textile paint. Can I also use textile paint with a paint sprayer”? We took the subject and tested it with Katrin.

Katrin is a passionate amateur hobbyist and she has especially taken a shine to sewing. That's why she is dedicated to our project. In her hobby room, she collected all the things she needs to make the dishcloths.

  • Pins and fixing pins
  • Old cardboard
  • Pencil
  • Wooden spoon and cookie cutters or stencils
  • Construction paper DIN A2
  • 54 x 65 cm fabric per dishcloth (cotton or linen)
  • About 10 cm satin ribbon, width 1 cm
  • Lace border for upper and lower transverse side, at least 100 cm
  • Textile paint in the desired colour

Video tutorial

By viewing the video you agree that your data will be transmitted to YouTube and that you have read the privacy policy .

How its made step-by-step

Step 1 of 10: Create stencils

Geschirrtuch naehen und gestalten Schritt 1

It all starts by making the stencils. Katrin first takes a wooden spoon with a heart-shaped cut-out in the middle and traces the contours on construction paper with a pencil. She does the same thing with the star-shaped cookie cutters. She has these in various sizes and draws them spread out on another sheet of construction paper.

Step 2 of 10: Cut out the shapes

Geschirrtuch naehen und gestalten Schritt 2

Now cut out the shapes you have drawn. Katrin uses a craft blade to do this. Carefully detach them and re-cut if necessary. And you're done with the stencil.

Of course you can also apply all other shapes or lettering on the fabric with the textile paint and a paint sprayer. You can find great stencils on the internet. We recommend simply printing the desired motif on thin paper, either transferring it to tracing paper or directly onto the final paper and then cutting it out.

Step 3 of 10: Prepare the fabric

Geschirrtuch naehen und gestalten Schritt 3

Katrin cuts the fabric to a size of 54 mm x 65 mm using a fabric cutter. The seam allowance of 2 cm on each side (transverse side above about 3 cm) is included, which means that in the end the dishcloth will be about 50 cm wide and 60 cm long.

Step 4 of 10: Ironing the fabric

Geschirrtuch naehen und gestalten Schritt 4

We recommend ironing the fabric well now. This makes the sewing easier, but this is also the only way the shapes are sprayed on smoothly.

Step 5 of 10: Attaching the stencil to the fabric

Geschirrtuch naehen und gestalten Schritt 5

Katrin now places the stencil on the cut fabric. She places a thick piece of cardboard underneath and fastens everything using pins. Ensure that you use enough pins, because the paint sprayer uses air and could blow away the material. When done, you can place additional spray protection on the rest of the fabric.

Step 6 of 10: Spraying the textile paint

Geschirrtuch naehen und gestalten Schritt 6 1

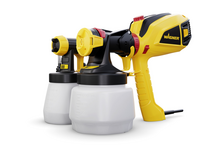
Now you can spray. Pour the textile paint into the spray attachment, turn the white suction pipe forward, as we are spraying downwards you can spray right to the last drop of paint. As always, test spray on some old cardboard, for example, and dilute the textile paint a little if necessary. Reduce the amount of material using the paint spray system and start spraying with an even distance of 10 – 15 cm. Katrin uses a paint sprayer from WAGNER for this. Let it dry briefly and then remove the pins and stencil.


To survive going through the washing machine, the motif must be ironed after the paint has completely dried. Katrin puts a piece of cloth in between so that the paint does not stick to the iron.

Step 7 of 10: Prepare for sewing

Geschirrtuch naehen und gestalten Schritt 7

Then the fabric must be prepared for sewing. First double over the long sides of the dishcloth (each fold 1 cm), iron and stitch. Then proceed with the transverse sides the same way – increase the seam allowance on the upper edge of the dishcloth slightly to about 1.5 cm, since the loop will be sewed on here later so the dishcloth can be hung up. Ensure that the edges do not protrude laterally.

Step 8 of 10: Sew the dishcloth

Geschirrtuch naehen und gestalten Schritt 8

Now Katrin uses her sewing machine: the folded edge is sewn close to the edge with a straight stitch. Sew more slowly just before the corners, stop exactly in the corner, lift up the foot peddle (the needle will remain in the fabric) and turn the fabric in the new direction. Lower the foot peddle again and continue sewing.

Step 9 of 10: Sewing the ribbon

Geschirrtuch naehen und gestalten Schritt 9

Katrin uses a satin ribbon as the loop for hanging up the dishcloth. She folds the ends of the ribbon over once (each about 1 cm) and sews the ribbon in the middle on the upper transverse side.

Step 10 of 10: Attaching the lace border

Geschirrtuch naehen und gestalten Schritt 10

To finish, Katrin sews the lace border on both transverse sides and voilà, she has created her first dishcloth with a Christmas design.

The result

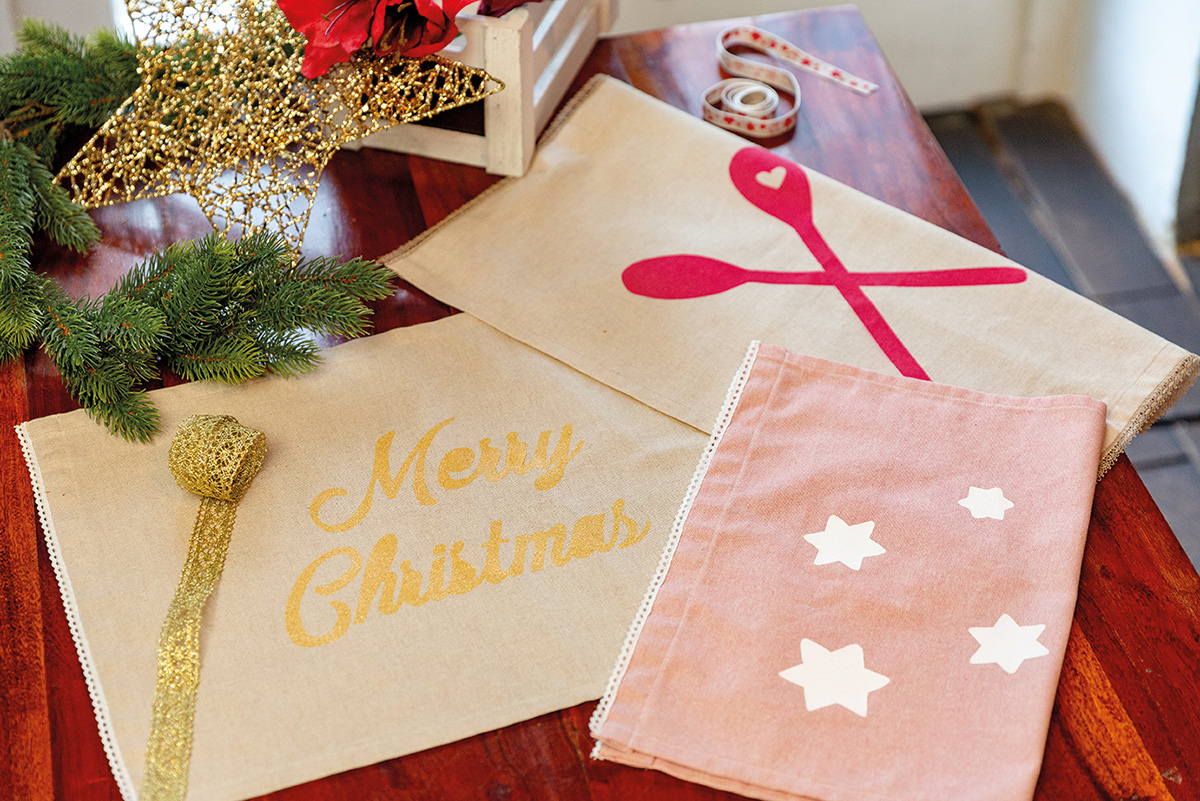
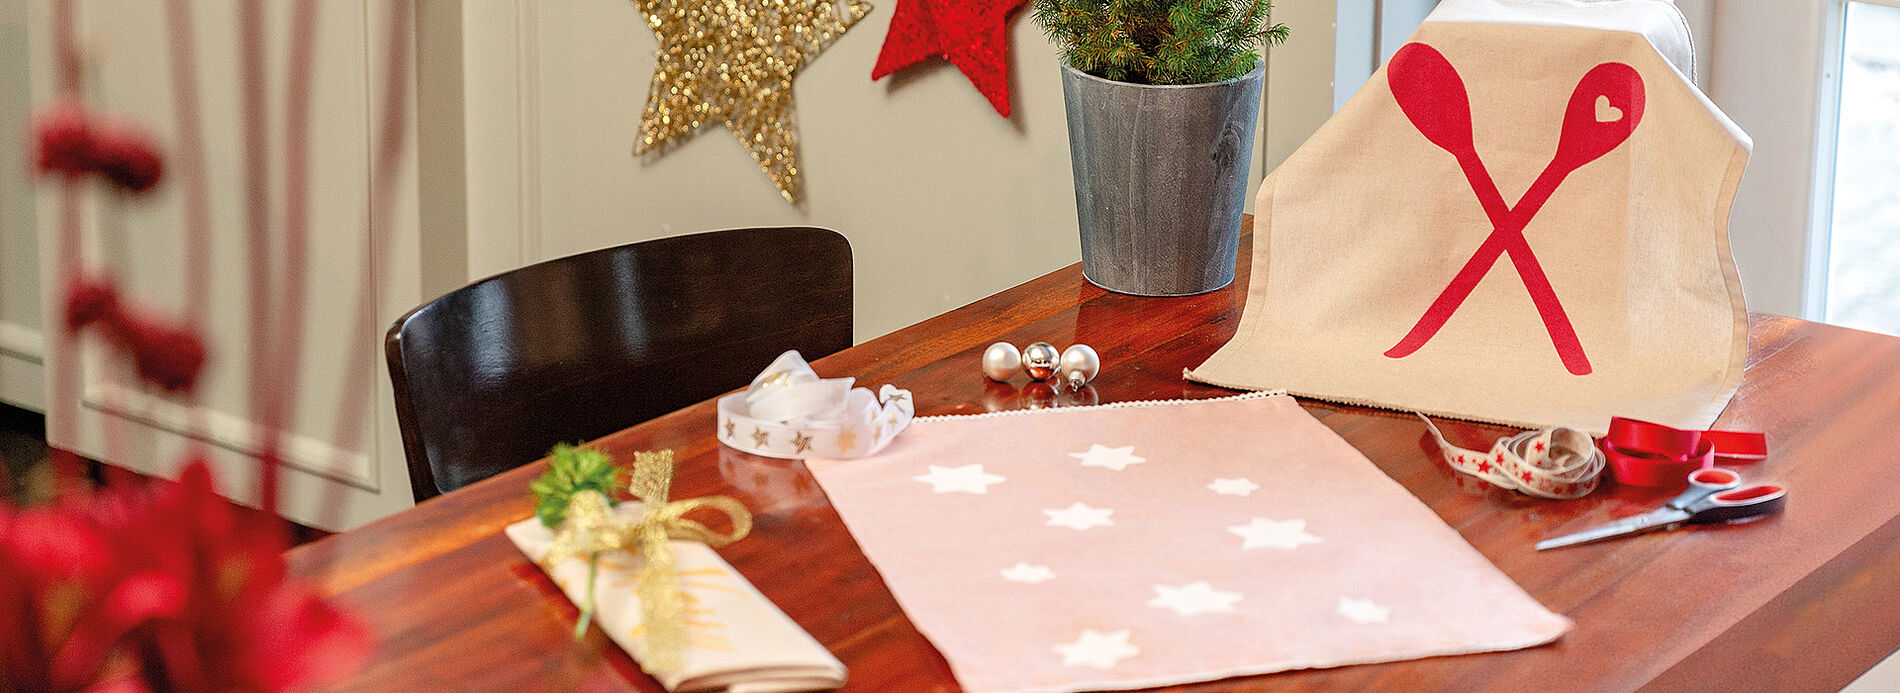
Katrin has chosen a total of three different Christmas motifs for her dishcloths: Wooden spoon, stars and a Merry Christmas lettering. She adds ribbons and decorates them with twigs – and voilà, the completely homemade unique Christmas presents are ready for her loved ones.

More projects

WAGNER Group W 590 Produktbild

Universal Sprayer W 590 FLEXiO

The compact hand-held paint sprayer for interior and exterior use

W 590 FLEXiO
Produktfinder

WAGNER product finder

Here you can find more products

Go to products
Why spraying is better

Why spraying is better

With HVLP paint sprayers you have a clear time advantage compared to brushes and rollers.

To the explanation