How to turn an old wooden sled into a home-made shelf for the front hall

How can I build a wooden shelving unit myself in just a few steps? Eva shows how an old wooden sled becomes a trendy piece of hall furniture – on a small budget, sustainably and with lots of fun creating a personal design.
Unused items frequently pile up in the attic or basement. An old wooden sled can often be found lurking amongst them. But before it ends up at the tip because the kids have moved on to a more modern version, it can be re-purposed quickly and easily as a piece of furniture. Instead of filling the whole hallway with a large bank of shelving, Eva decides to use her old sled to build an airy and decorative set of wooden shelves that takes up very little space.

By viewing the video you agree that your data will be transmitted to YouTube and that you have read the privacy policy .

You will need:

    • Tape measure
    • Paint in the desired colour
    • Screws, if necessary
    • Sandpaper, protective sheeting and a mask

    Step-by-step guide for a sled rack

    Step 1 of 4: Preparing the workplace

    Preparing the workplace

    A table is the ideal workplace for upcycling the wooden sled. It lets you keep an ergonomic grip on the project. Cover the table with protective sheeting to catch the sanding dust and to protect it when painting the shelves.

    Step 2 of 4: Measuring up

    Measuring up

    First measure the inside of your old wooden sled. This means the width and depth between the seat and the runners.

    Measuring up

    These dimensions will give you the size of the shelves – two or three boards will be needed, depending on the sled's construction. Have these boards cut at a DIY store or cut the boards yourself out of any wooden boards you may have.

    Step 3 of 4: Sanding

    Sanding

    Eva sands the sled with a sanding block and sandpaper along the grain. The shelves are also sanded lightly so that the varnish adheres to them better in the next step. The next step is to thoroughly remove all the dust from the sanding process using a microfibre cloth.

    Step 4 of 4: Varnishing

    Varnishing

    To match the sand-coloured wall in the hallway, Eva has chosen a dark-brown varnish for upcycling the old sled into a wooden shelving unit. Before spraying, stir the varnish well, thin as required (5 – 10 %) and pour into the spray attachment of the paint sprayer. Perform a quick spray test, e.g. on an old box.

    Varnishing

    Eva now sprays the wooden sled and the boards in thin coats. Using the paint sprayer, Eva can also quickly and easily apply the paint between the slats of the seat and to the sides of the shelves. Next, allow the wooden sled and the boards to dry thoroughly.

    First set the paint volume on the paint spray system to minimum, then adjust the width of the paint jet to the object being sprayed and increase the paint volume in stages.

    The result

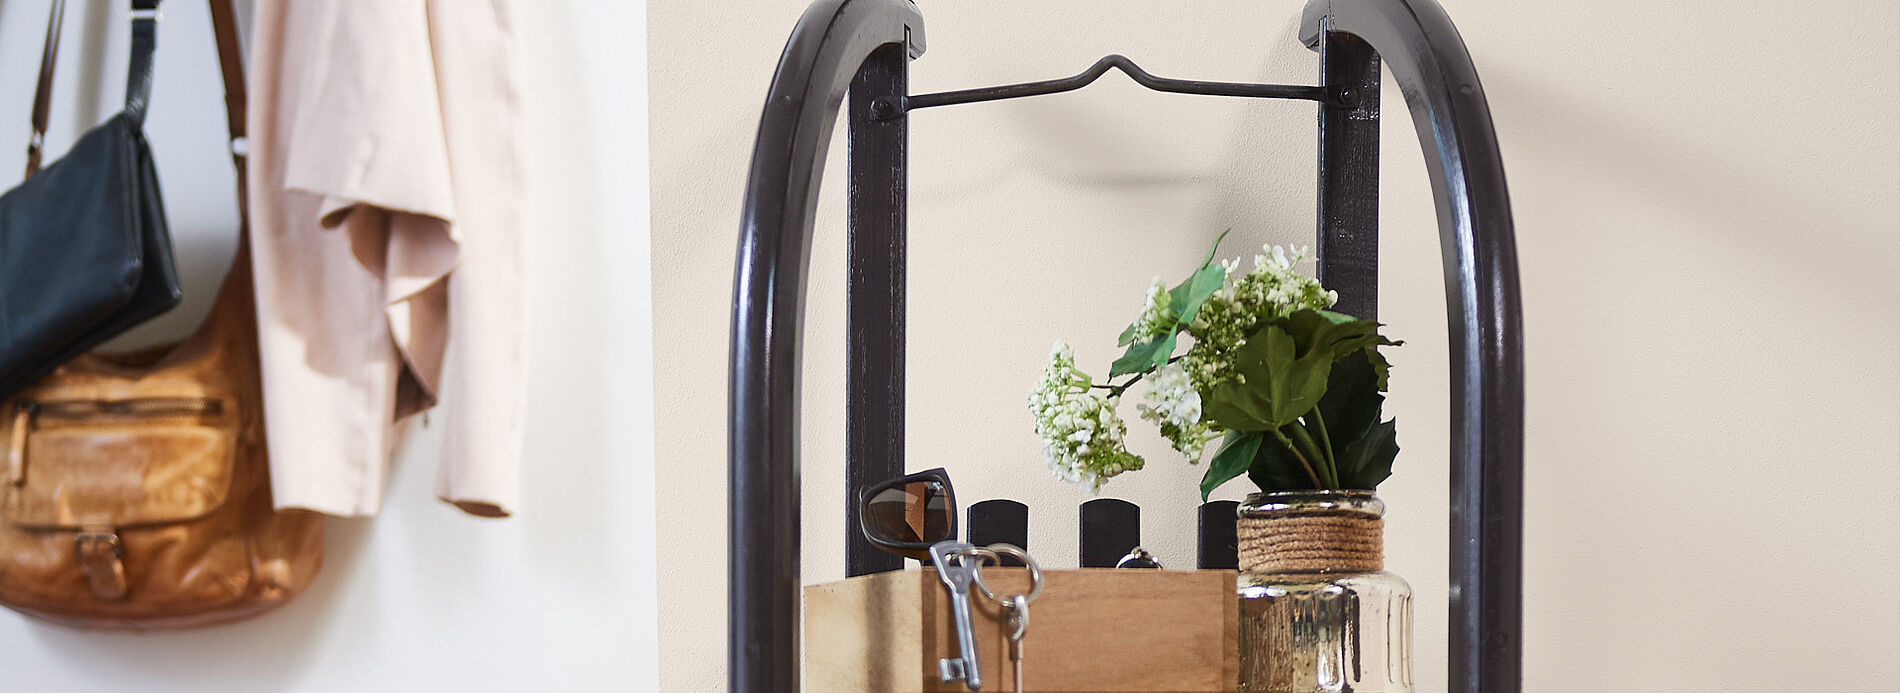
    When everything is dry, insert the shelves and place the newly created wooden shelving unit in the hall. Eva not only keeps useful items in the new hall furniture but also decorates it with some flowers and is delighted with the fantastic result: “It’s so quick and easy to transform an old, unused sled into a piece of furniture. I enjoy receiving my guests even more now with this new piece of furniture in the front hall.”

    More projects

    WAGNER Group W 100 Produktbild

    Wood&Metal Sprayer W 100

    The handy solution for small and medium-sized projects with paints and varnishes

    Wood&Metal Sprayer W 100
    Produktfinder

    WAGNER product finder

    Here you can find more products

    Go to products
    2361507 W100 Indoor ApplicationPicture Close up

    Spraying varnishes: Instructions & tips

    Learn here how best to proceed when spraying varnish, what you should look out for, why it's worth spraying varnishes and what the best equipment is for it.

    Spraying varnishes