Instructions: Upcycling furniture made easy with the WAGNER W 600 FLEXiO

Want to upcycle furniture with an old chest of drawers or sideboard and breathe new life into them? Then this step-by-step guide for upcycling furniture is just the thing for you. With a little creativity and craftsmanship, you can turn second-hand furniture into a new designer piece. Upcycling is not only trendy, it is also environmentally friendly and a lot of fun.

To start upcycling all you need is a suitable chest of drawers or sideboard. Second-hand furniture is particularly suitable for upcycling, as it is often inexpensive and you are also doing something good for the environment by reusing existing furniture. A wooden chest of drawers or sideboard is particularly suitable for an upcycling project, as wood is a versatile material that is easy to work with. Or even an inexpensive basic set of drawers or sideboard from one of the large furniture stores can be customised and beautified.

By viewing the video you agree that your data will be transmitted to YouTube and that you have read the privacy policy .

Once you have found the right chest of drawers or sideboard for your upcycling project, you can start brainstorming and realising your upcycling ideas. Here there are no limits to your imagination. For example, you can use rattan, wicker, twine, varnish or paint to give an old chest of drawers a new look. The more creative you are in brainstorming, the more unique your upcycling project will be.

What you need:

  • Coloured paint: when selecting, make sure that the paint is suitable for applying with an (HVLP) paint sprayer.
  • Wooden strips
  • Jute twine
  • Adhesive

Step 1: Sanding a sideboard

Step 1: Sanding a sideboard

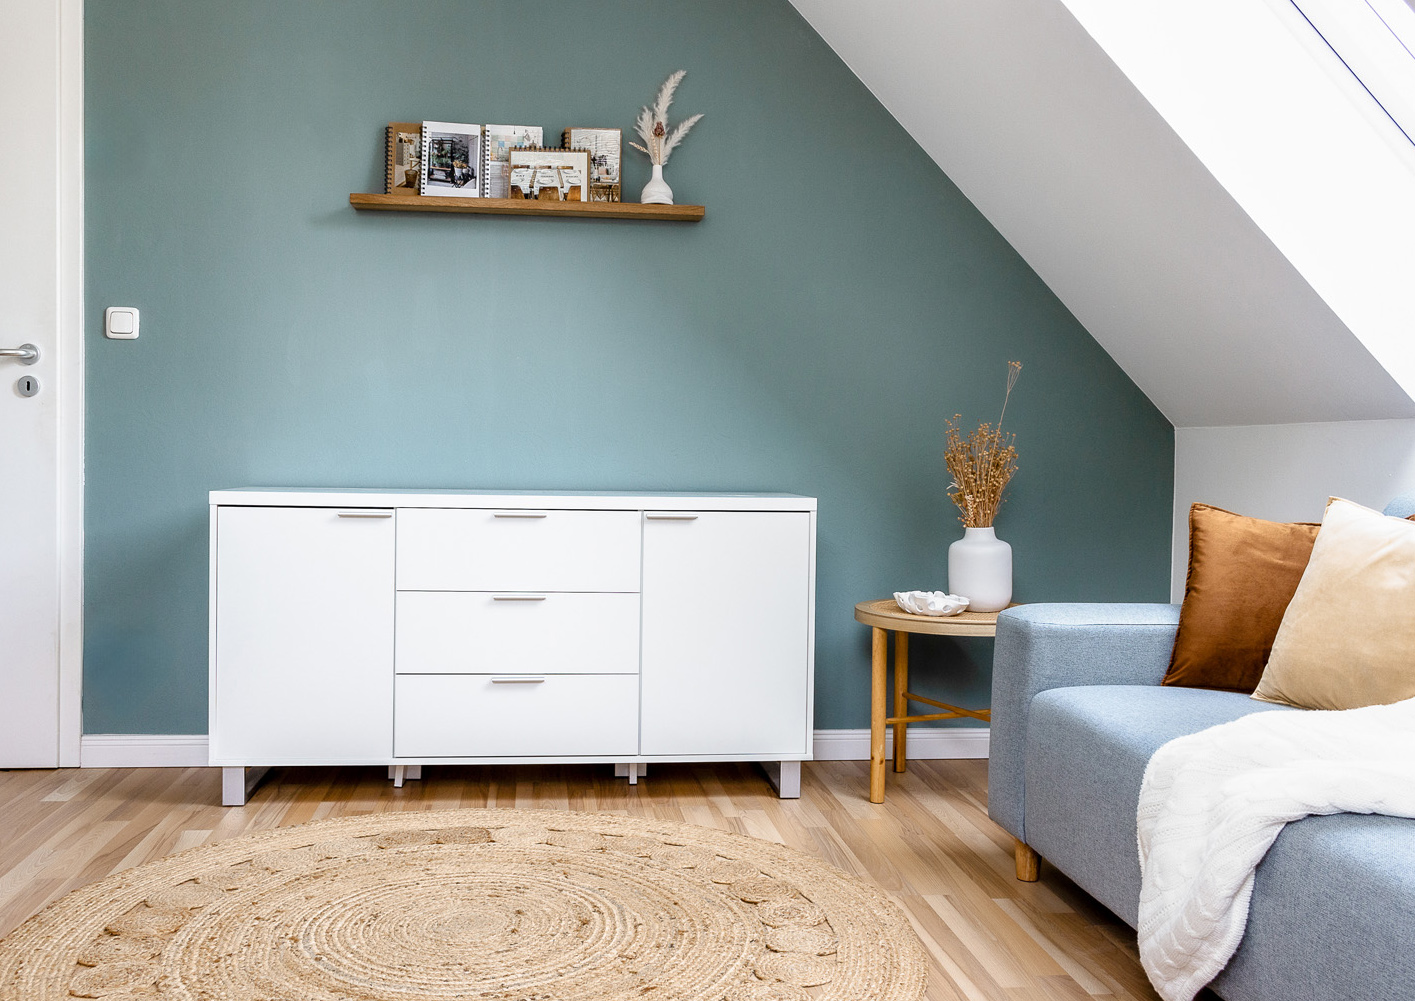
Before you start with the actual upcycling, thoroughly clean the sideboard and repair any damage. Then sand down the parts of the sideboard.

Step 2: Fill the Container with Material

Step 2: Fill the Container with Material

Pour paint or varnish into the container of the W 600 FLEXiO 18V and if necessary dilute with 10 % water. Then stir everything well.

Step 3: Spraying the sideboard

Step 3: Spraying the sideboard

Spray all parts of the sideboard with consistent movements. Always maintain the same distance and stay parallel to the wooden surface. Once the varnish or paint has dried, you can add further creative elements to personalise the sideboard. For example, you can fit new handles or knobs.

Step 4: Building the frame

Step 4: Building the frame

Build frames from wooden slats that are slightly smaller than the door. Use suitable adhesive to attach the wooden slats.

Step 4: Building the frame

Build frames from wooden slats that are slightly smaller than the door. Use suitable adhesive to attach the wooden slats.

Step 5: Wrap jute twine around the frame

Step 5: Wrap jute twine around the frame

Secure the beginning of a jute twine roll and start wrapping the twine around the long side. Make sure that the threads are next to each other and not overlapping each other. Then wrap a second spool of yarn in crossways over the first layer, always alternating until the frame is full.

Step 6: Attach the frame to the cupboard door

Step 6: Attach the frame to the cupboard door

Apply adhesive to the back and stick the finished frame to the centre of the cupboard door. Finally, when the adhesive has dried, the sideboard can be reassembled.

Step 6: Attach the frame to the cupboard door

Apply adhesive to the back and stick the finished frame to the centre of the cupboard door. Finally, when the adhesive has dried, the sideboard can be reassembled.

The result

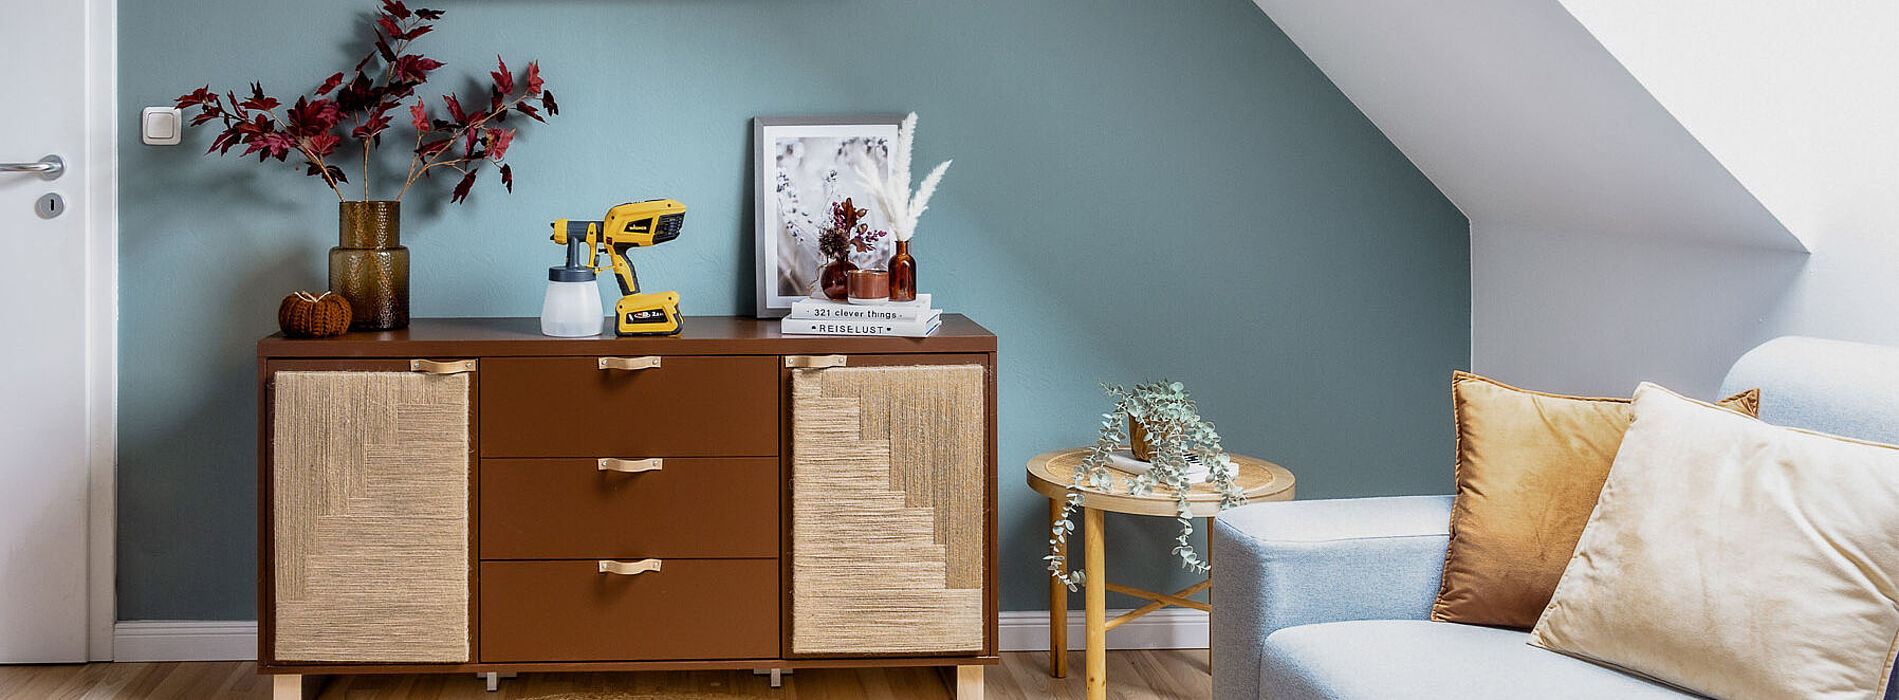
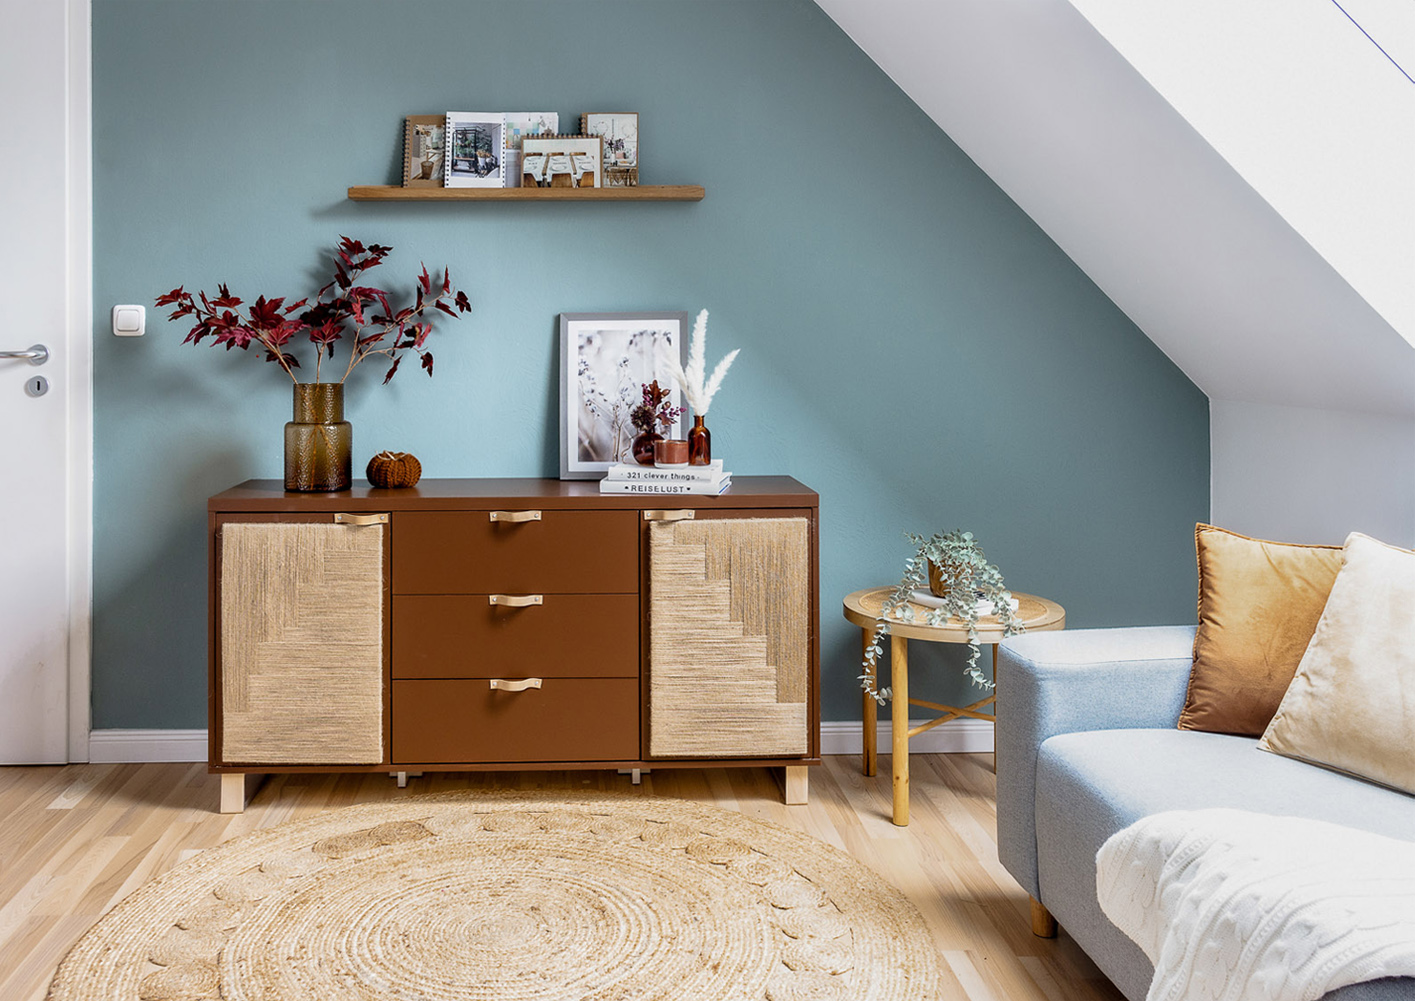
Finally, decorate the dresser with seasonal, trendy decorative elements such as vases, picture frames and flowers.
The handles on the sideboard can be replaced according to your preference. The sideboard makeover is more than impressive. Do you agree?

W 600 18V product 01

Universal Sprayer W 600 FLEXiO

The practical battery-powered paint sprayer for unlimited freedom of movement

W 600 FLEXiO
Tips and tricks with Carina

Tips and tricks with Carina

We have summarised more tips on spraying wood and metal paints for you in our Tips and Tricks with Carina.

Apply glazes and lacquers correctly
Warum spruehen

Why spraying is better!

With a paint sprayer, it’s incredibly easy to apply the material evenly and to cover the entire surface. The end result is a smooth and even layer of paint.

Why it's better to spray