Wall Panels: Setting the scene in rooms with wall panelling

Create a highlight and turn your wall into an absolute showstopper with our practical DIY idea! Whether in a neutral white tone, colour-coordinated or used in a specific area – wall panels give your home an elegant and modern look. Steffi from @diy.mamis shows you step by step how to design your room with stylish high-quality wall panels. 

By viewing the video you agree that your data will be transmitted to YouTube and that you have read the privacy policy .

What you need for the wall panels:

Make your own wall panelling: Guide to a new look with old building charm

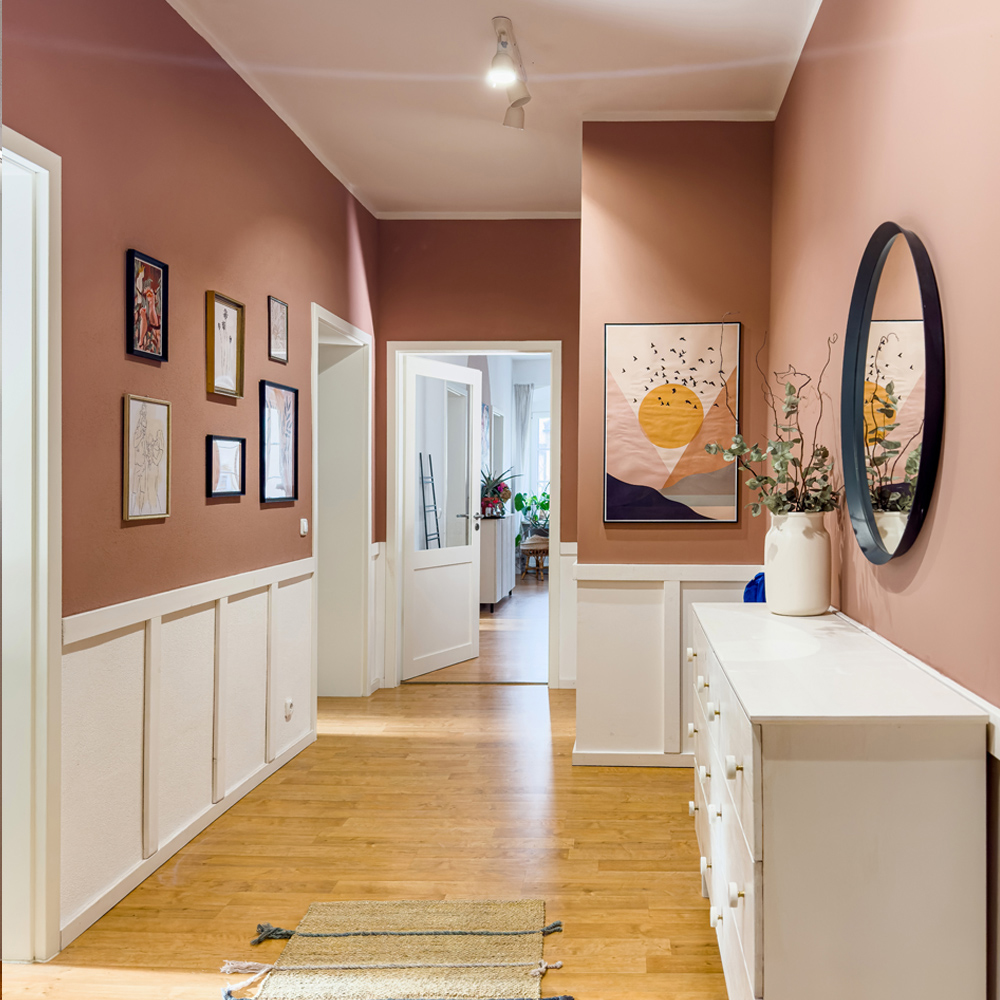
In short: A panel wall consists of a skirting board at the bottom edge of the floor, evenly spaced panels that are fixed above the skirting board and a finishing moulding that rounds off the overall look.
Before you get started, however, you should think about which slats you want to use for the wood panelling. After all, you can also realise completely different styles with different skirting boards. Traditionally, profile mouldings made of wood are used or, alternatively, decorative mouldings made of polystyrene. These look very elegant and immediately create the flair of an old building. A panel plinth with rectangular slats, on the other hand, looks more minimalist and modern.
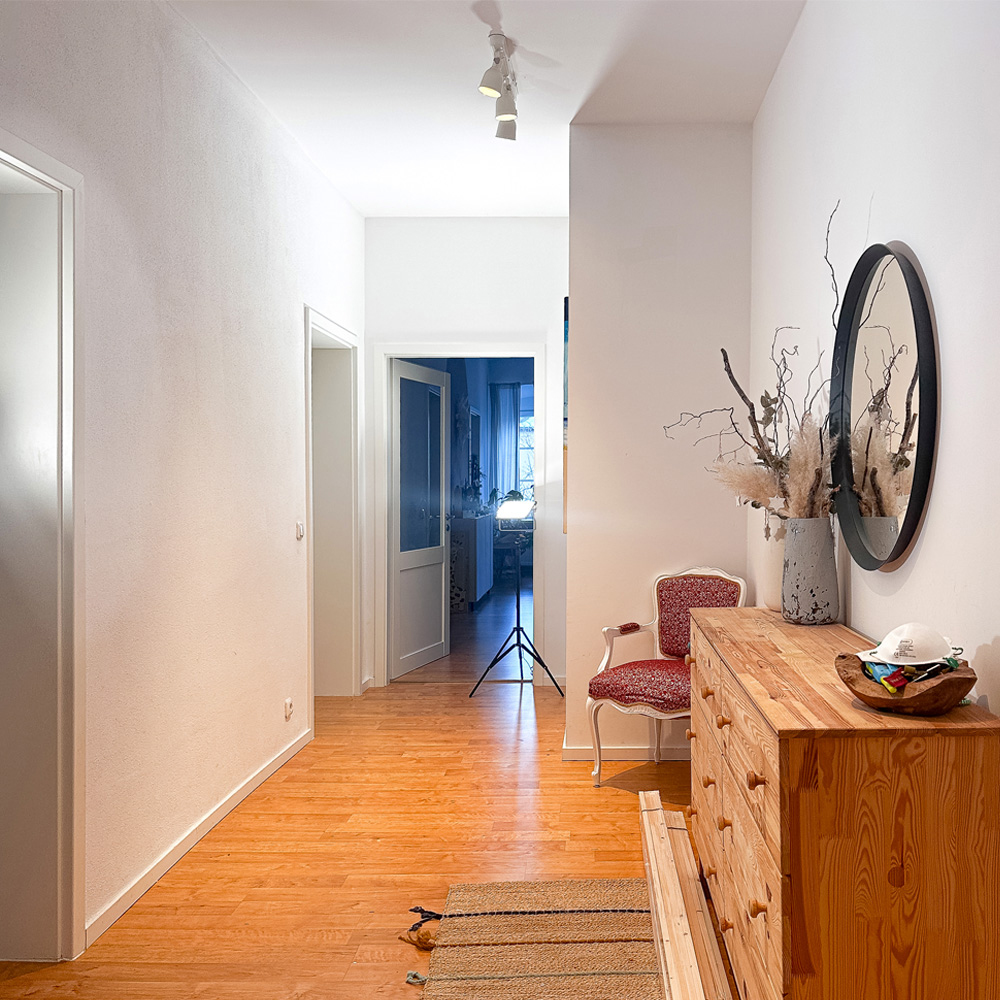
Steffi has opted for wooden rectangular slats and shows you below how you can easily make a panelled wall yourself.

Step 1: Cutting slats to size

Step 1: Cutting mouldings to size

Start by cutting all the slats to the desired height and then sand the cut edges smooth with a sander.
Tip: To achieve a harmonious appearance in rooms with a standard height, we recommend cutting the slats to a height of 90 - 100 cm. Alternatively, you can also take the height of the windowsill into account to create a balanced overall look.

Step 2: Attach slats vertically

Step 2: Attach slats vertically

The cut wooden slats are now nailed vertically to the wall using a spirit level. The slats should always be the same distance apart.
Tip: To decide on the preferred spacing of the slats, you can temporarily fix them with adhesive tape at different distances and judge which one you like best.

Step 3: Fasten slats horizontally

Step 3: Fasten slats horizontally

The remaining wooden slats are attached vertically to the vertical slats to form a finishing strip. Here you should also use a spirit level to achieve a straight line.

Step 4: Masking

Step 4: Masking

Now thoroughly mask off the surrounding areas. The Universal Extra Masking Kit Premium is particularly suitable here. We recommend using a dust sheet or painter's fleece for the floor.

Step 5: Preparing the paint spraying system

Step 5: Preparing the paint sprayer

The appropriate paint is now filled into the paint container of the paint sprayer. Depending on the manufacturer, you should pay attention to the correct dilution of the paint, which is normally 10-15%.

Step 6: Spray wall panelling

Step 6: Spray wall panelling

Now you can get started. Spray the wall panels. With the right sprayer settings, you can achieve a perfect paint finish. The spray attachment can be switched from horizontal to vertical, as can the spray jet from wide to narrow. After use, the spray attachment and the paint container are cleaned with water.

Step 7: Masking wall and ceiling wooden panels

Step 7: Masking wall and ceiling wooden panels

Once the panel wall has dried, you can start on the upper part! To do this, first mask off the wooden panel wall and the ceiling thoroughly.

Step 8: Children's Room Wall Spray

Step 8: Spray upper wall

The wall paint is poured into the previously cleaned appliance and thinned again according to the manufacturer's instructions. Now spray the upper part of the wall. When spraying, make sure to maintain a uniform distance from the wall (distance of 10-15 cm).

The result

The new wall design with wall panelling is more than impressive! You can use this simple DIY idea in a variety of rooms. Whether in the bedroom, living room or hallway - you'll be right on trend with the wall panels.

Wall design with wall panelling: Decoration ideas

Here are ideas and tips on how you can decoratively frame your newly designed wall:

icons8 fuellfarbe 500

Light colours:

Use light colours on the walls to make the room appear larger and more inviting. Pastel colours or neutral tones are particularly suitable for this purpose.

Use light colours on the walls to make the room appear larger and more inviting. Pastel colours or neutral tones are particularly suitable for this purpose.

icons8 bilderrahmen

Wall design:

Hang a mirror or pictures on the wall to give the room a personal touch. In the hallway, the wall panelling is even suitable as a coat rack. Hooks or knobs attached to the wall panelling can be used to hang scarves or bags.

Hang a mirror or pictures on the wall to give the room a personal touch. In the hallway, the wall panelling is even suitable as a coat rack. Hooks or knobs attached to the wall panelling can be used to hang scarves or bags.

icons8 light on

Illumination:

Use pleasant lighting to create a warm atmosphere. Wall lights or indirect lighting enhance the room and make the project "shine" in the truest sense of the word.

Use pleasant lighting to create a warm atmosphere. Wall lights or indirect lighting enhance the room and make the project "shine" in the truest sense of the word.

icons8 tisch 500

Sophisticated furniture:

Simple furnishings combined with the wall panelling create a very modern and contemporary effect.

Simple furnishings combined with the wall panelling create a very modern and contemporary effect.

Wall panelling: Design tips for inspiration

There are different ways to implement Wall Panels. This depends, among other things, on how and where the slats are arranged. Below we show you a few examples for inspiration.

Full-surface wall panels

Wall panelling look particularly opulent when they are not only installed in the lower third of the wall but extend over the entire surface . This way you can emphasise the height of your walls or add an accent wall. Combine it with a wall colour of your choice to complete your personal DIY project.

Panel door

A door can also be stylishly upgraded with the help of profile strips.
This DIY idea is a great tip to save money if your door is worn or damaged. Design your door to match or highlight individual elements with colour to suit your taste!

Panel ceilings

You can also use the panel ceiling as an eye-catcher in your favourite style. A ceiling with stucco mouldings looks particularly luxurious. The design element from the Baroque period is more in demand than ever and can be harmoniously combined with a modern style.
We recommend a matching design for the ceiling, as the pattern on the ceiling could look very busy in combination with a colour contrast. 

WAGNER Group W 690 Product

Universal Sprayer W 690 FLEXiO

The universal paint sprayer for indoor and outdoor use

W 690 FLEXiO
Tipps tricks carina slider

Tips and tricks with Carina

We have summarised more tips on spraying wood and metal paints for you in our Tips and Tricks with Carina.

Apply glazes and lacquers correctly
Warum spruehen

Why spraying is better!

With a paint sprayer, it’s incredibly easy to apply the material evenly and to cover the entire surface. The end result is a smooth and even layer of paint.

Why it's better to spray