Painting Cupboards with a Paint Sprayer

Instructions and tips for professionals

Whether new or old, built-in or free-standing, made from wood, MDF or metal, these cupboards have one thing in common: the surface needs protecting with a coat of paint. Many customers prefer to ask their trusted painter & decorator for an estimate on the cost of a fresh coat of paint. Particularly before spending money on new cupboards and investing a lot of time in dismantling and reassembling them. Especially if the customer has grown fond of the cupboards because they fit perfectly with the rest of the furniture. Also, painting cupboards is a job that most customers like to leave to a professional, because with furniture like wooden cupboards it is important to achieve a perfect finish when they are painted.

By viewing the video you agree that your data will be transmitted to YouTube and that you have read the privacy policy .

What should you consider when preparing a quotation for painting a cupboard with a paint sprayer?

Do you want to paint the cupboard in the traditional way with a roller and brush? Or do you apply the paint using a paint sprayer using spray paint technology? If you work with a paint sprayer, you can offer your customer a competitive quote - because you can paint much faster than with a paint roller and brush. Especially if you want to apply many thin layers of paint, with the wet-on-wet spraying technique this is done in one go and you do not have to wait for drying times between coats. Simply spray on a second coat of paint and the cupboards and furniture will be completely painted. So save your customer money and yourself time so you are ready for your next job.

Trevor TJ Painting and Decorating

Trevor

TJ Painting and Decorating

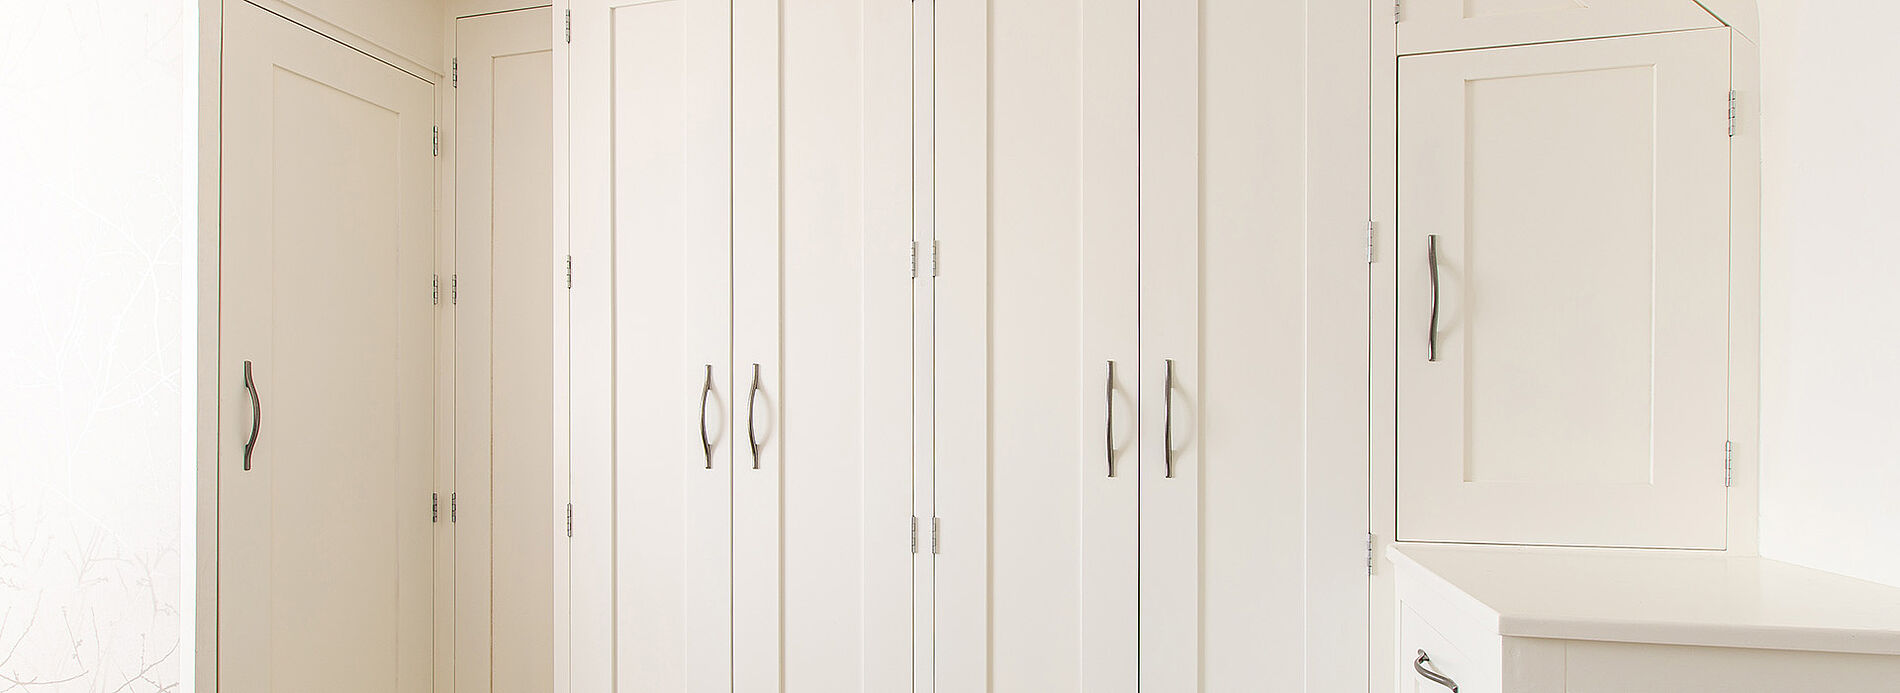
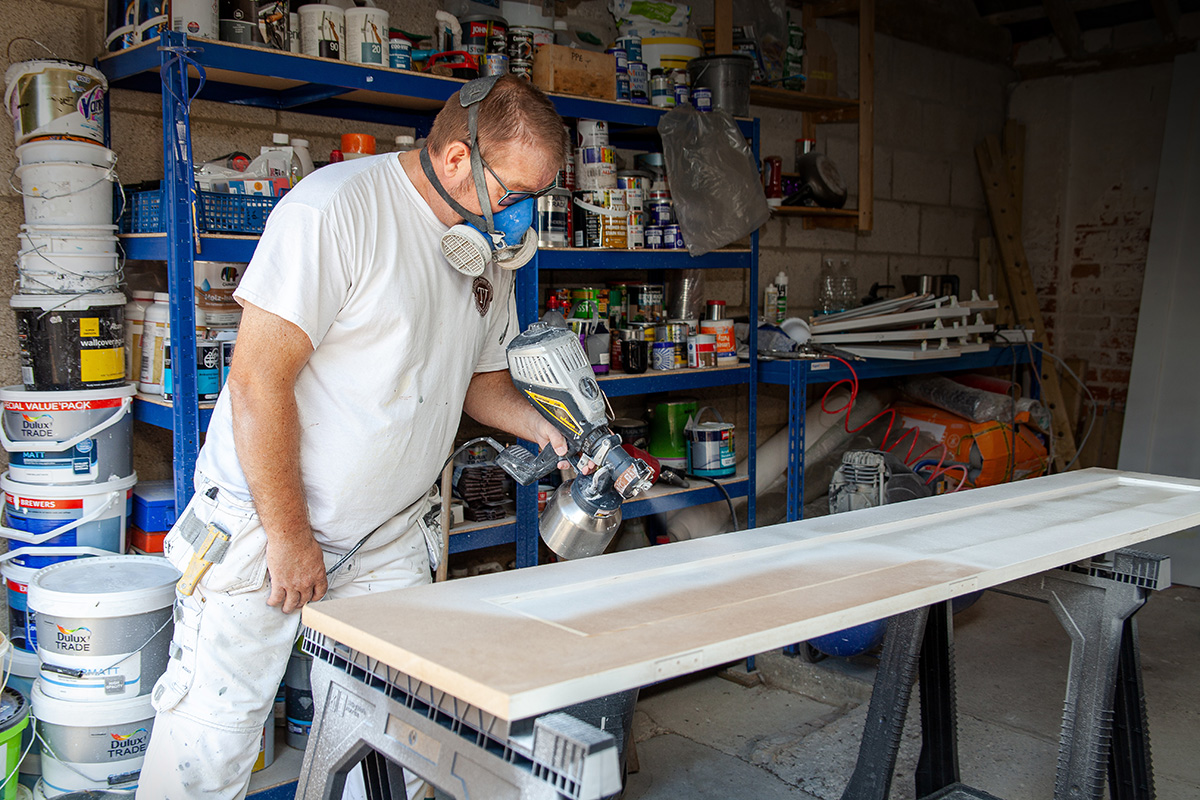
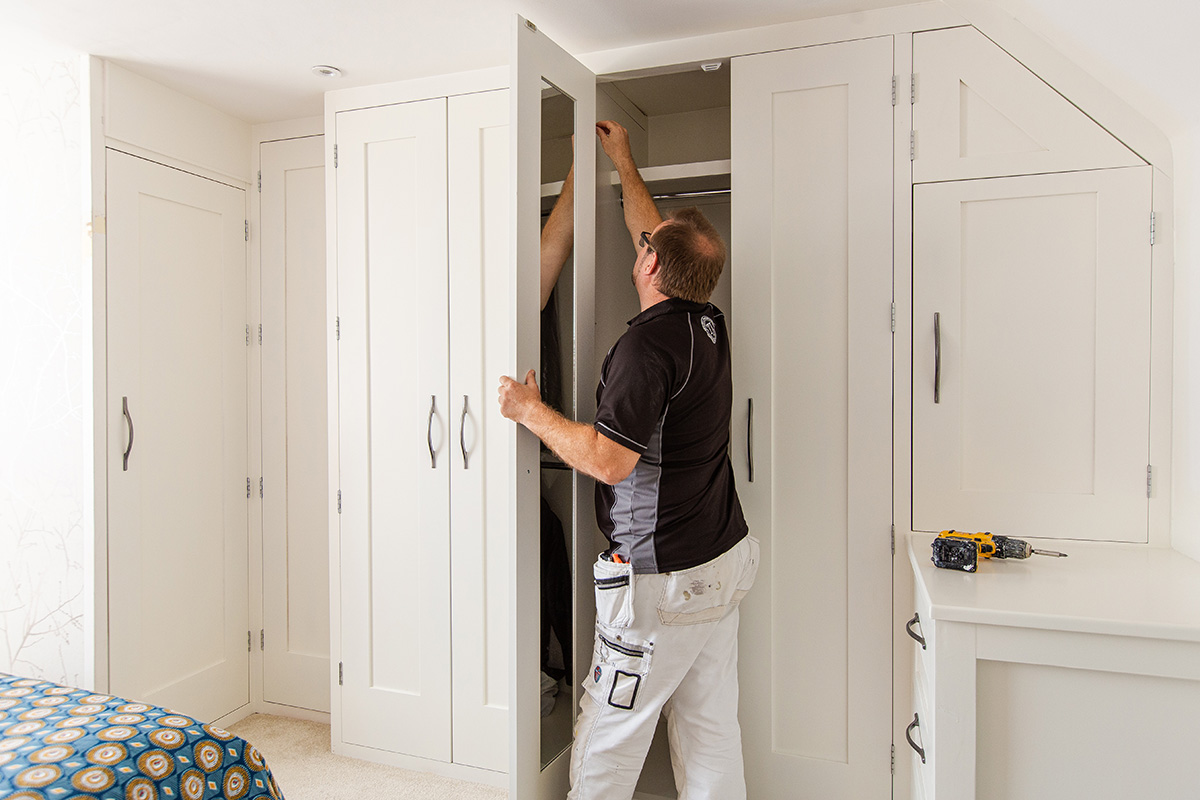
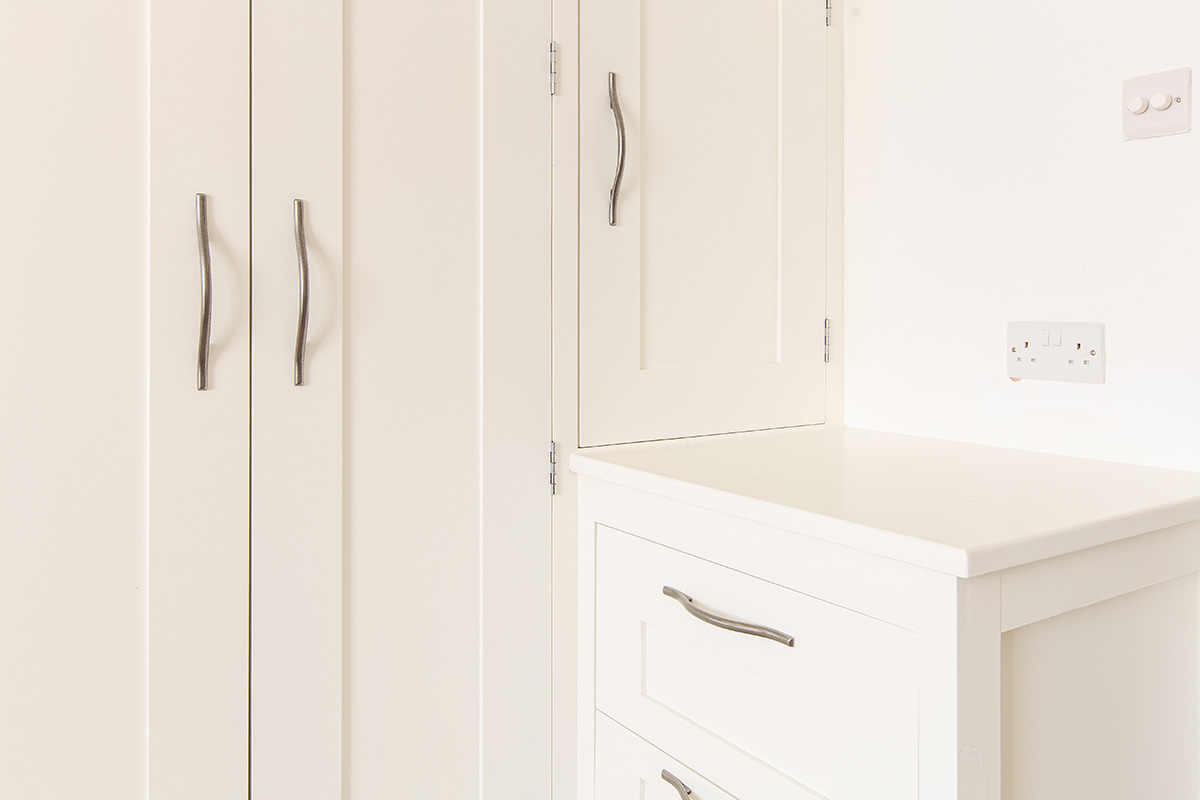
In our example, the customer has had installed a built-in wooden wardrobe in his bedroom, which now needs a new coat of paint. He has commissioned the award-winning professional decorator Trevor from the painting company "TJ Painting and Decorating" to do the job. The cupboard is to be painted white, giving it a classic and timeless look. Trevor did not use brushes and rollers but an HVLP paint sprayer, he has given us step by step instructions and we also give you some additional tips and tricks.

This is what you need to paint a cupboard:

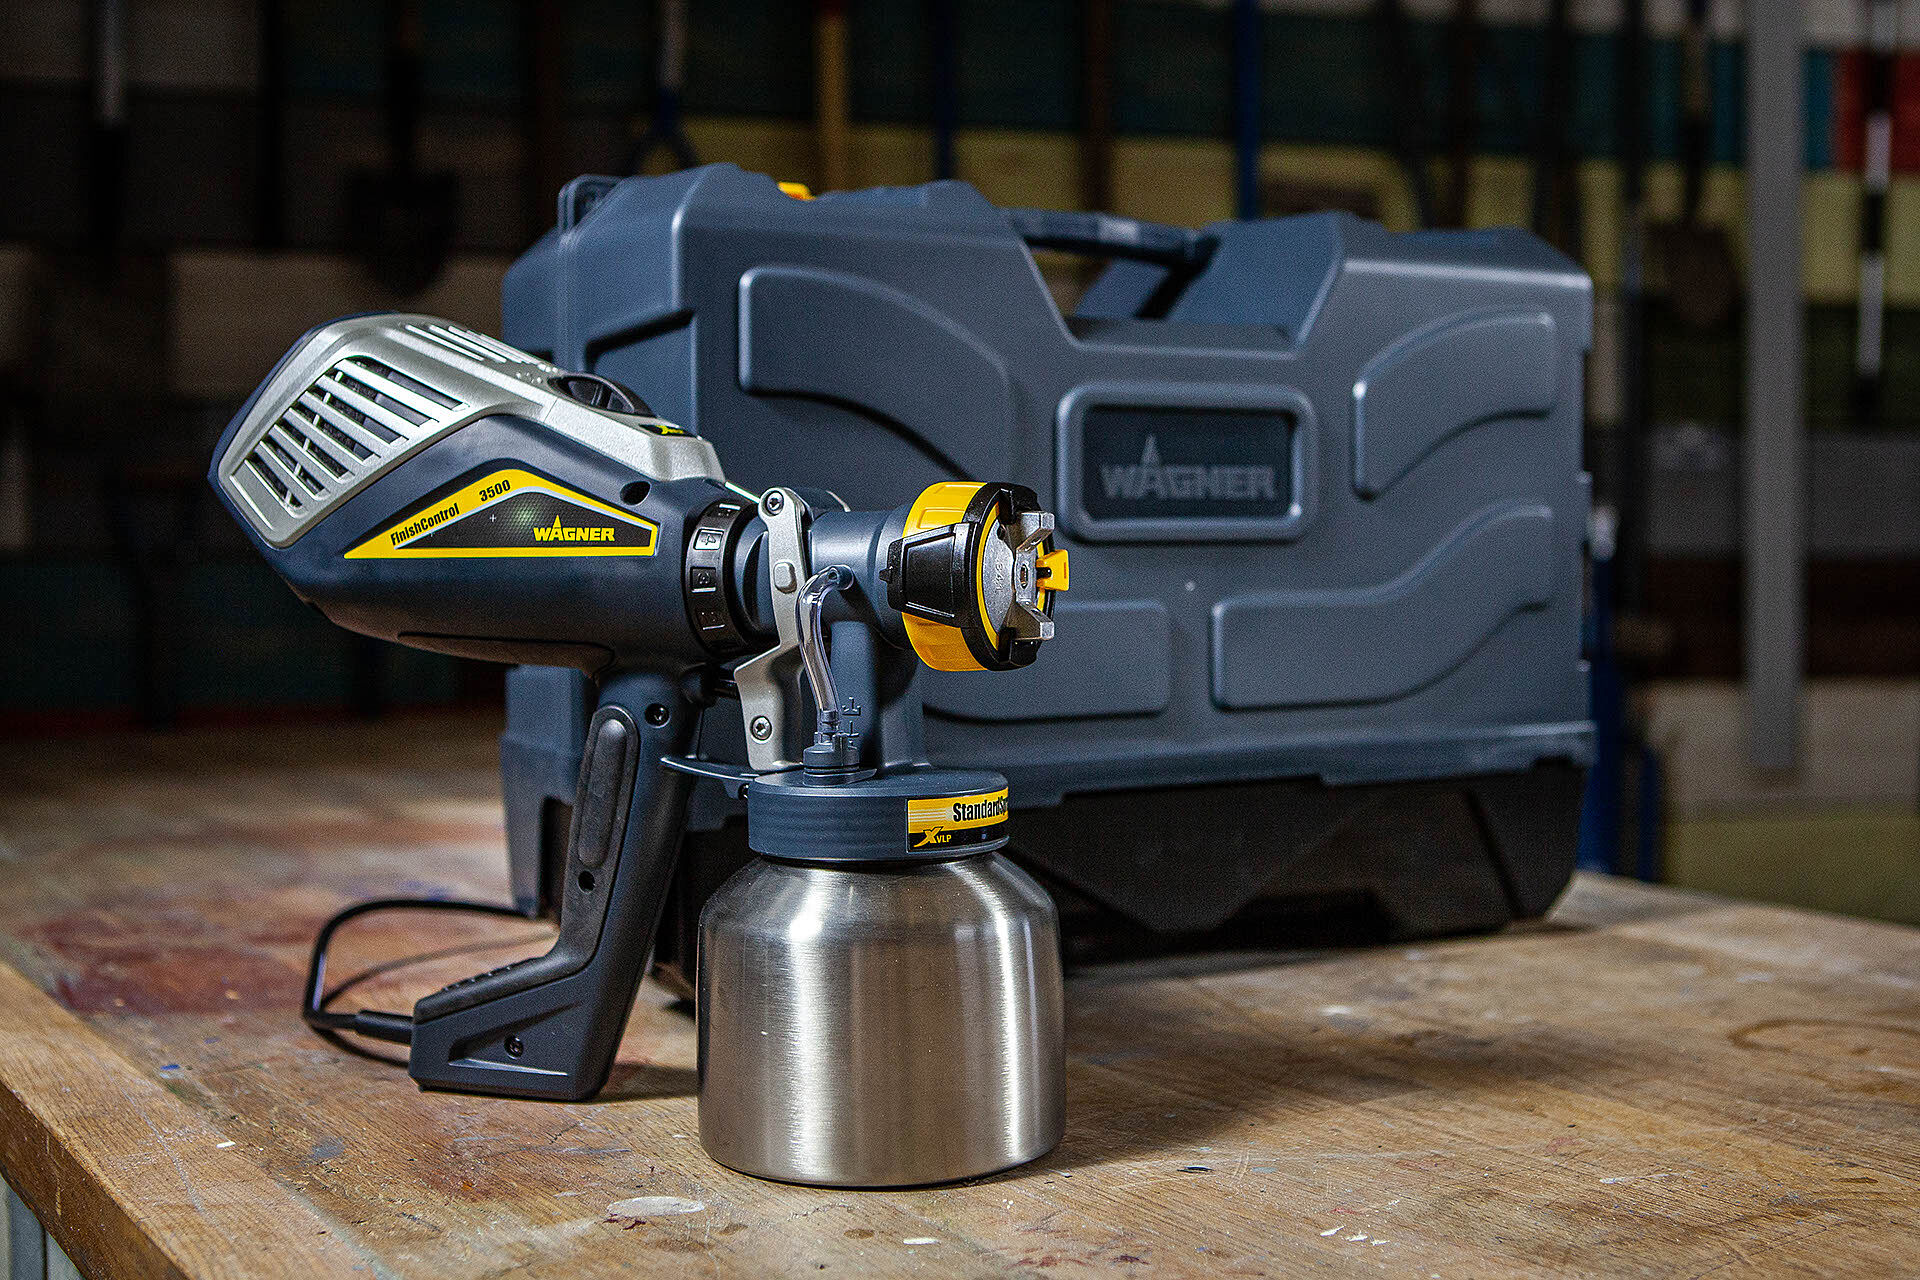
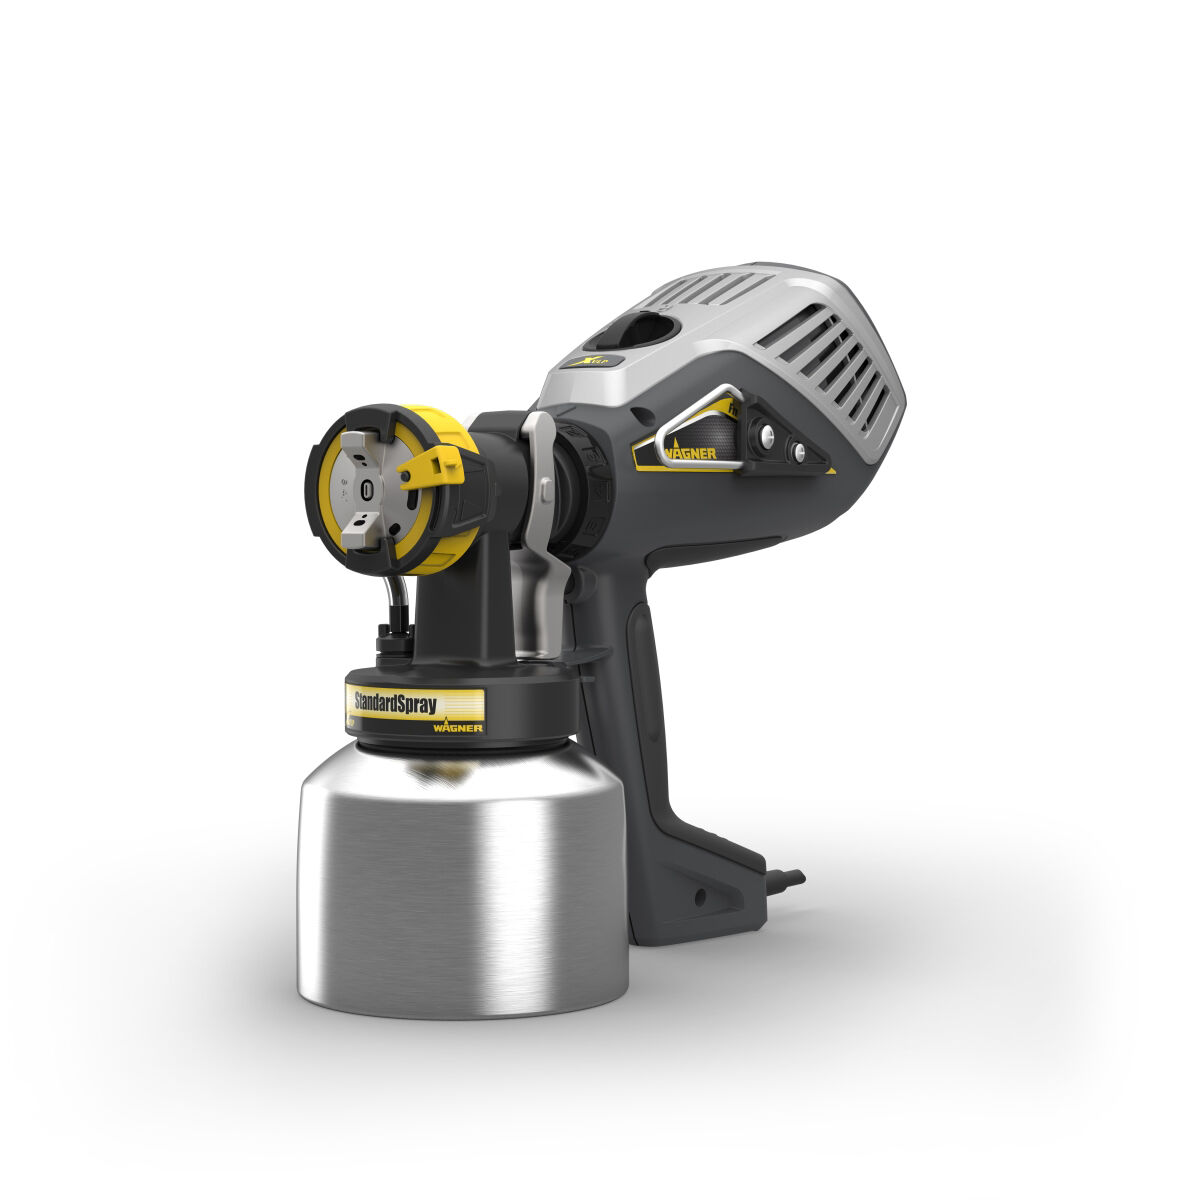
  • Paint sprayer, f.e.the XVLP FinishControl 3500
  • Electric sander
  • Tools for removing and attaching the cupboard doors
  • Respiratory protection mask, possibly safety goggles and gloves
  • Dust sheets, masking tape, microfibre cloth
  • Primer, paint or varnish

Step 1: Preparation & masking

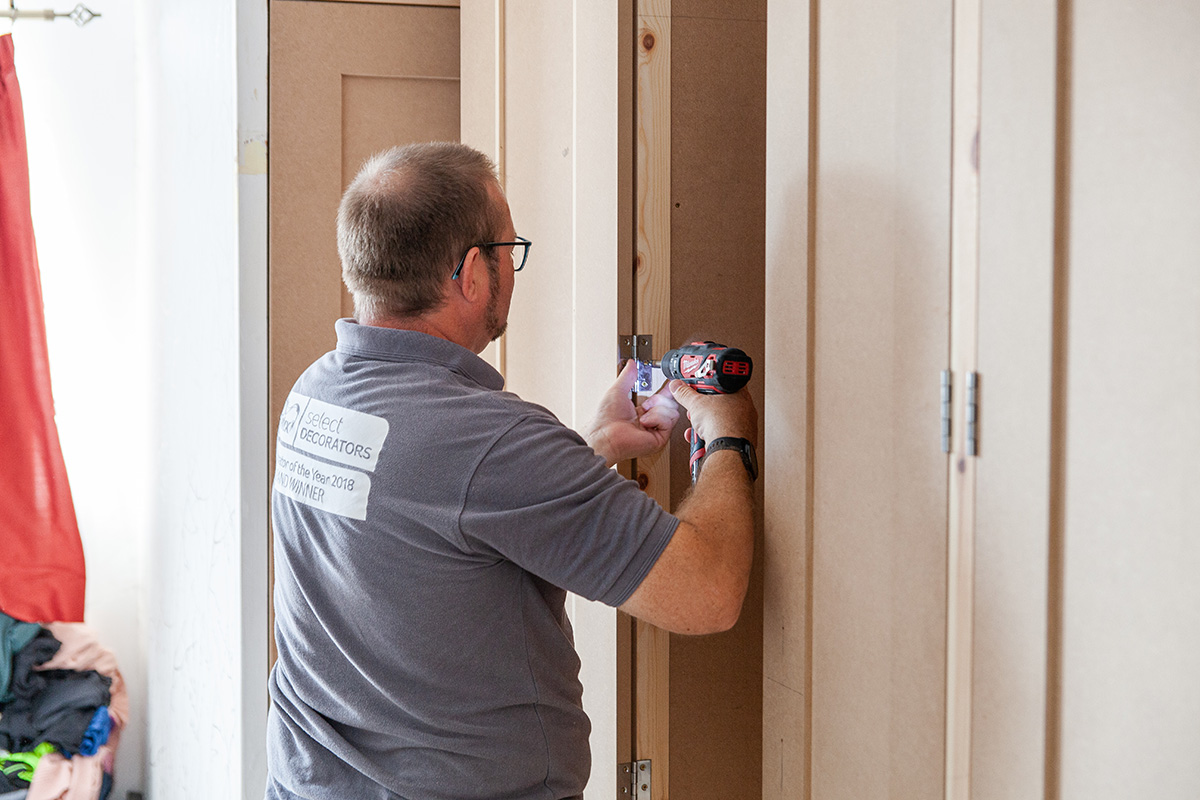
First, Trevor unscrews all the cupboard doors as he will spray them offsite to achieve a perfect finish.

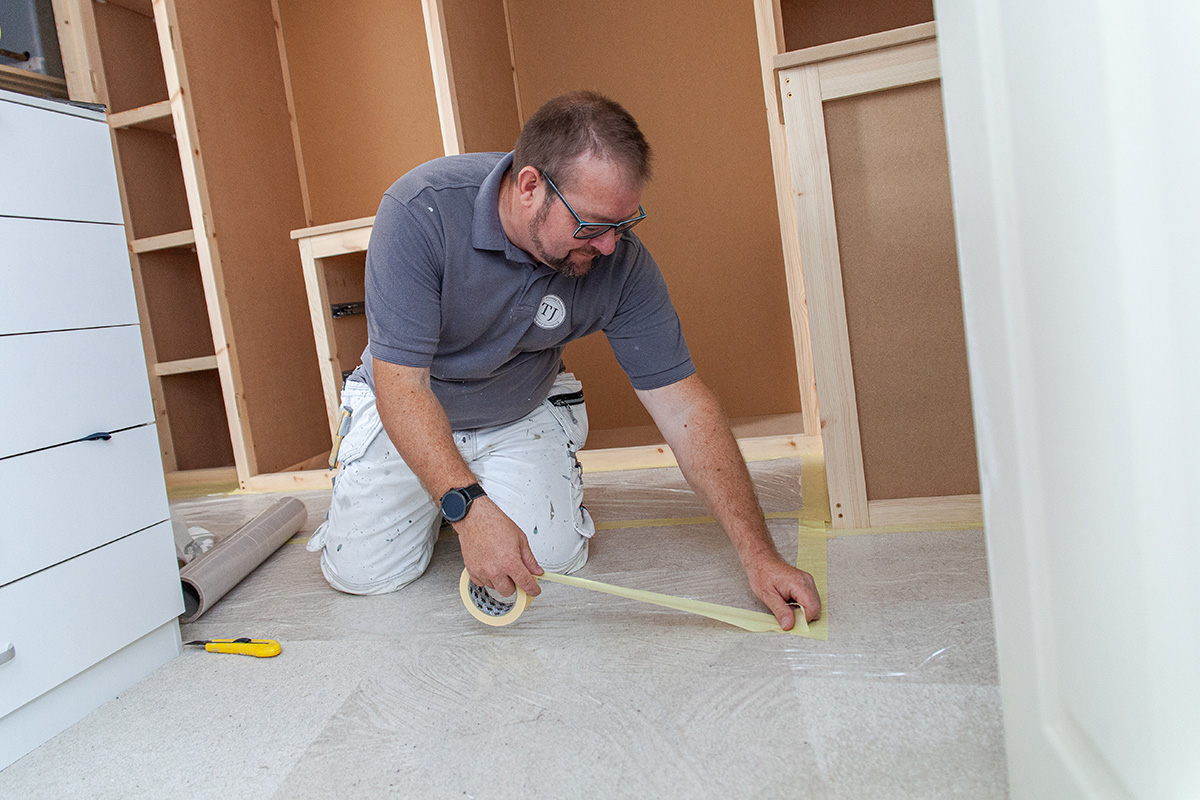
Then he will begin masking around the cupboard and the floor.

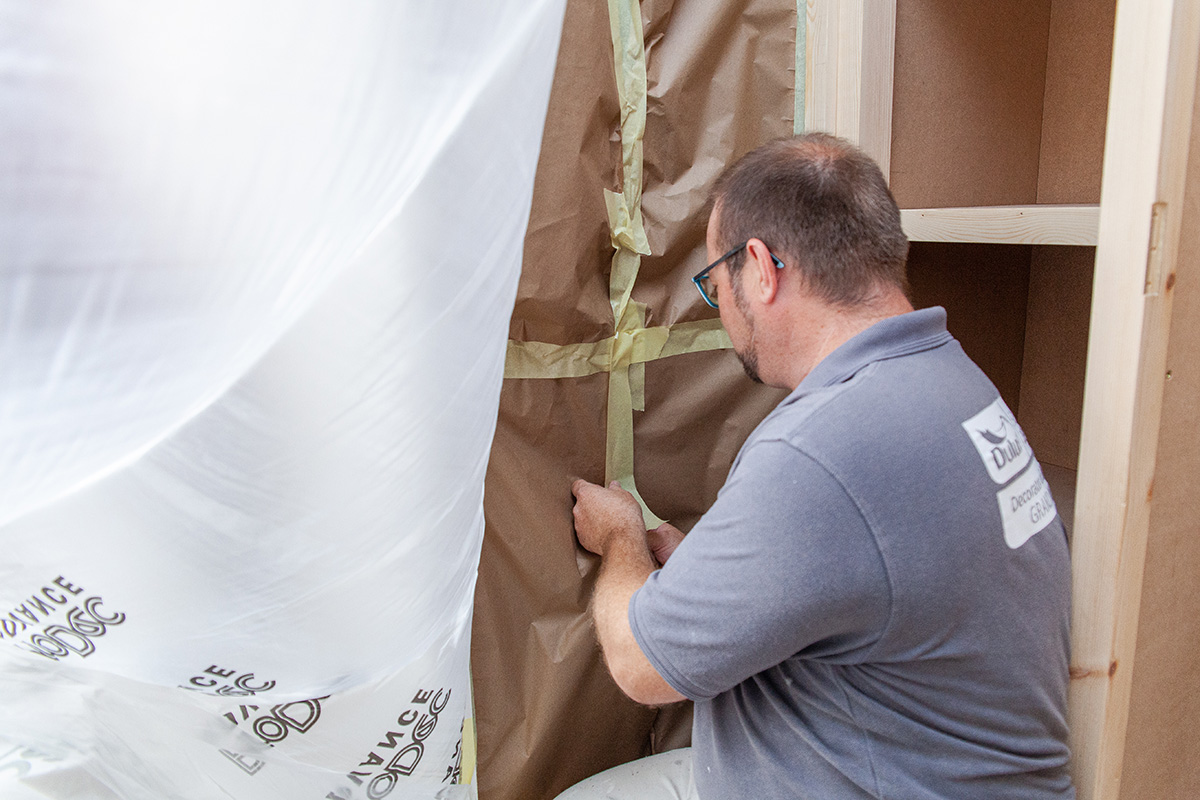
He covers the window and the rest of the furniture with film.

icons8 kugelbirne 500

Tip:

Remember that when spraying with an HVLP/XVLP spraying system, an air stream atomizes the paint but also surrounds the paint jet. This means that a lot of air is used, so it is important to apply a continuous masking strip to the film so that the paint only gets to where it is supposed to and does not get under the protective film.

Step 2: Getting started preparing the sprayer, paint and primer

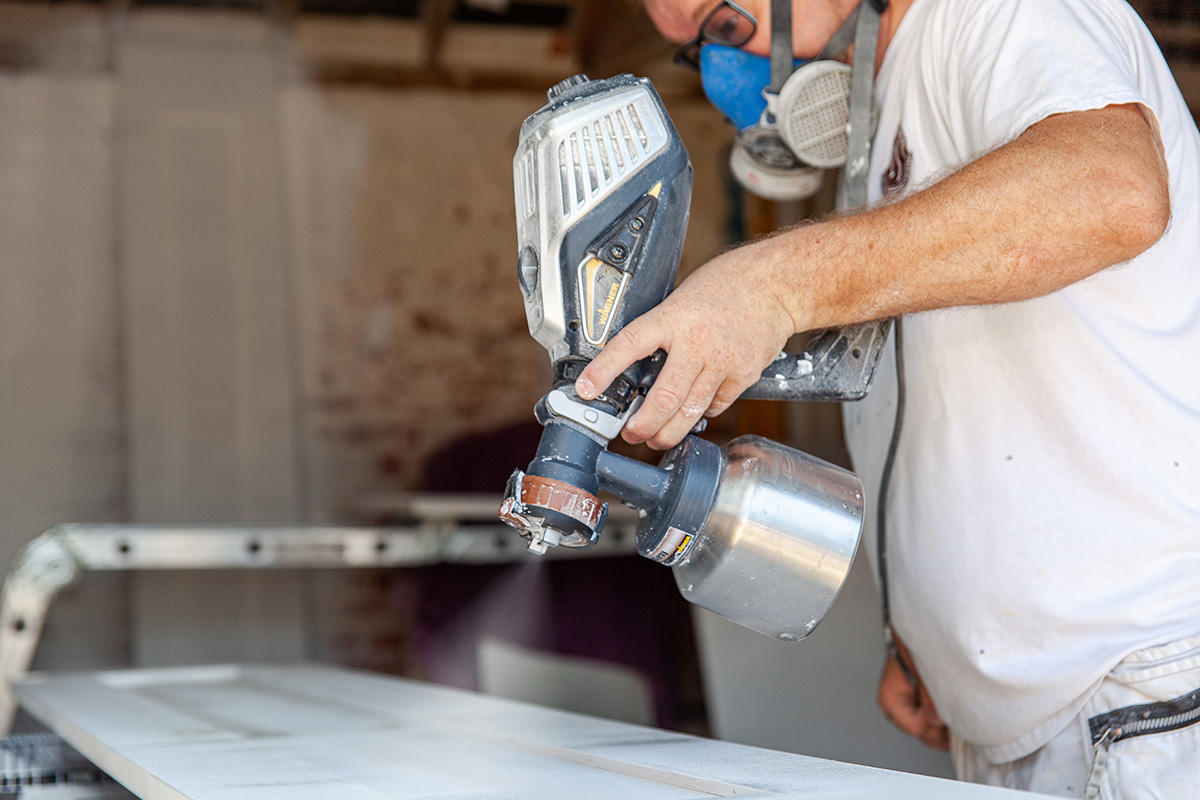
The spraying system FinishControl 3500 with XVLP technology is supplied with a sturdy case which, in addition to the turbine, up to two filled spraying attachments can be transported. For the job "Painting the cupboard and cupboard doors" use a suitable spraying attachment for low-viscosity material - the StandardSpray spray attachment included with the sprayer, or if the paint is a very low-viscosity, the FineSpray spray attachment.

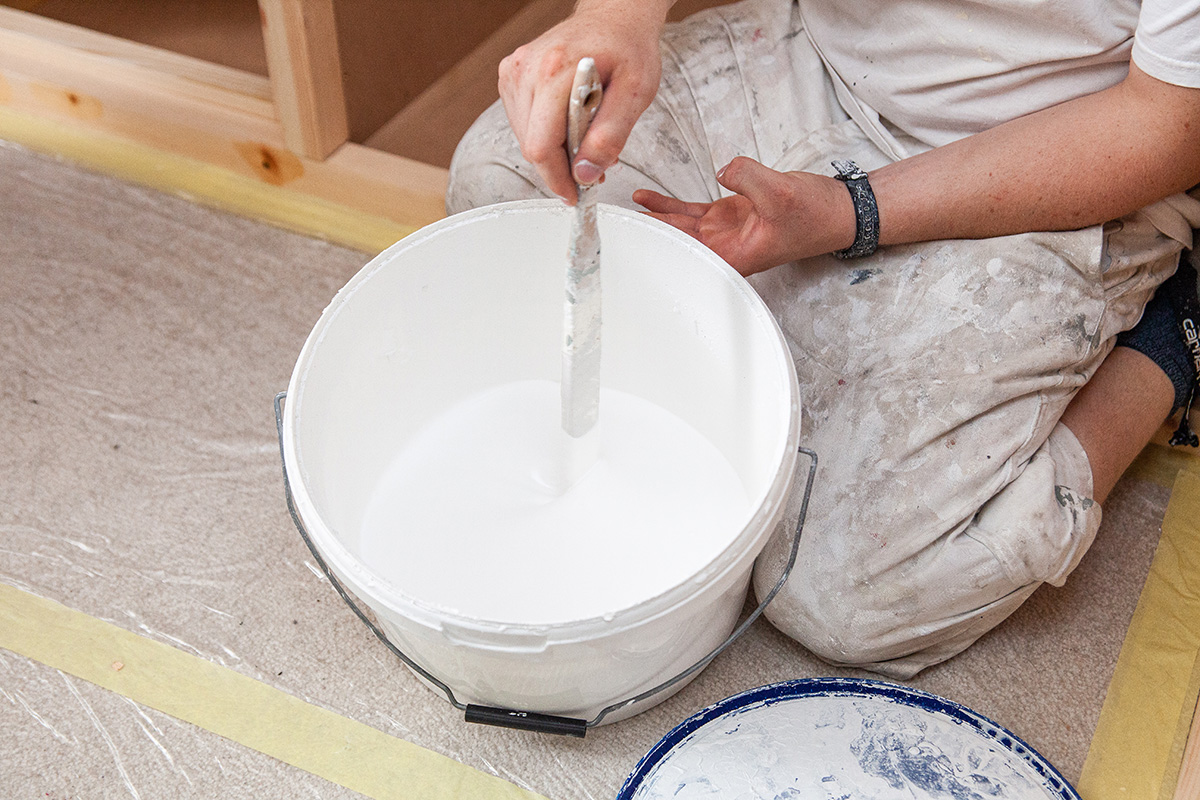
Trevor will prime the furniture before applying the paint to the cupboard. Trevor will first stir the primer and the paint well and dilute each until it has the optimum viscosity for a perfect finish.

Since paints from different manufacturers have different viscosities, the paint is either ready to use straight from the tin or needs diluting for an optimal spraying result. WAGNER has tested many paints from the leading material manufacturers and has put together a Sprayguide with recommendations for diluting paint for use with the XVLP spray system. A look at the database is very worthwhile! First fill the primer and later the paint into the spray attachment and click on the turbine. Before you start painting the cupboard, we recommend a short test spray. This allows you to check the sprayer for the correct spray jet settings, amount of material and atomisation.

icons8 kugelbirne 500

Tip: Coating MDF

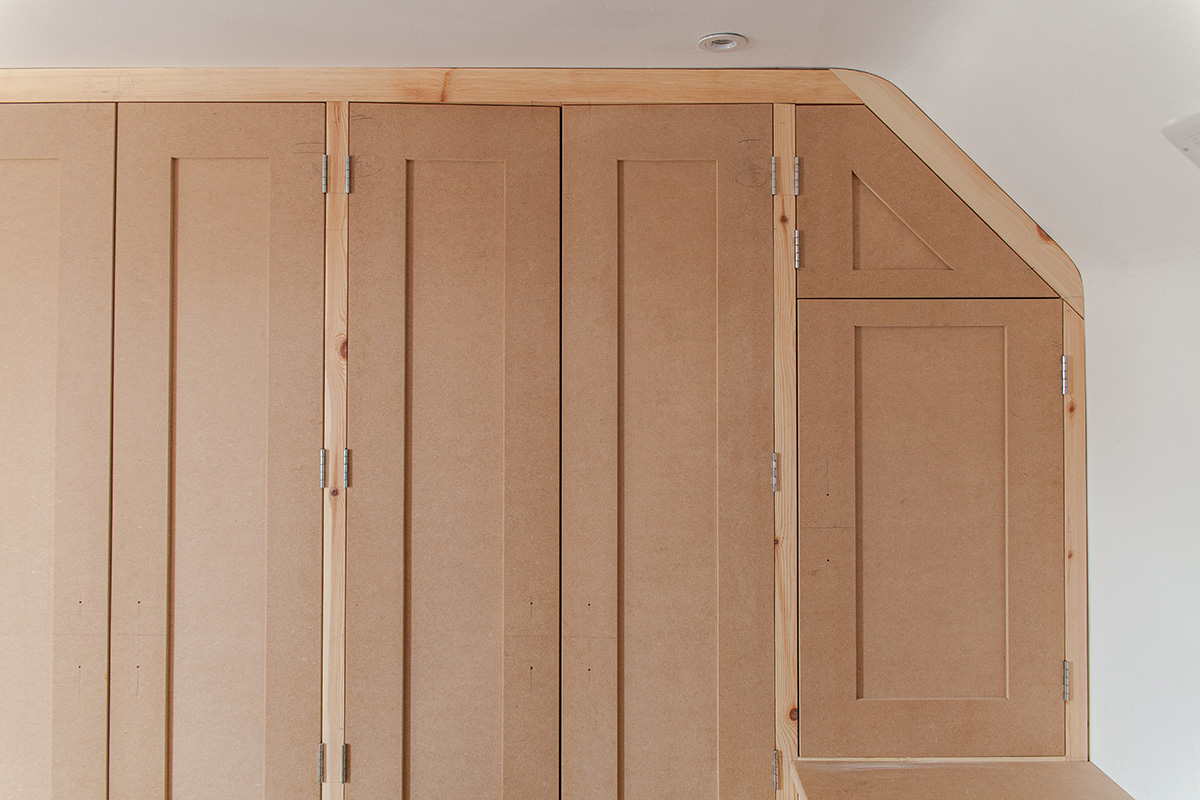
Because of many advantages, furniture is often made from MDF boards. However, the material is extremely absorbent and therefore a few things must be considered: In order to be able to coat MDF boards, at all, the material must first be sanded. Due to the high absorbency of MDF boards a primer cannot be avoided e.g., a sealing primer. After the primer dries, sand the surface with a fine sandpaper (approx. 400 grit) and thoroughly remove the sanding dust.

Step 3: Priming the cupboard & cupboard doors

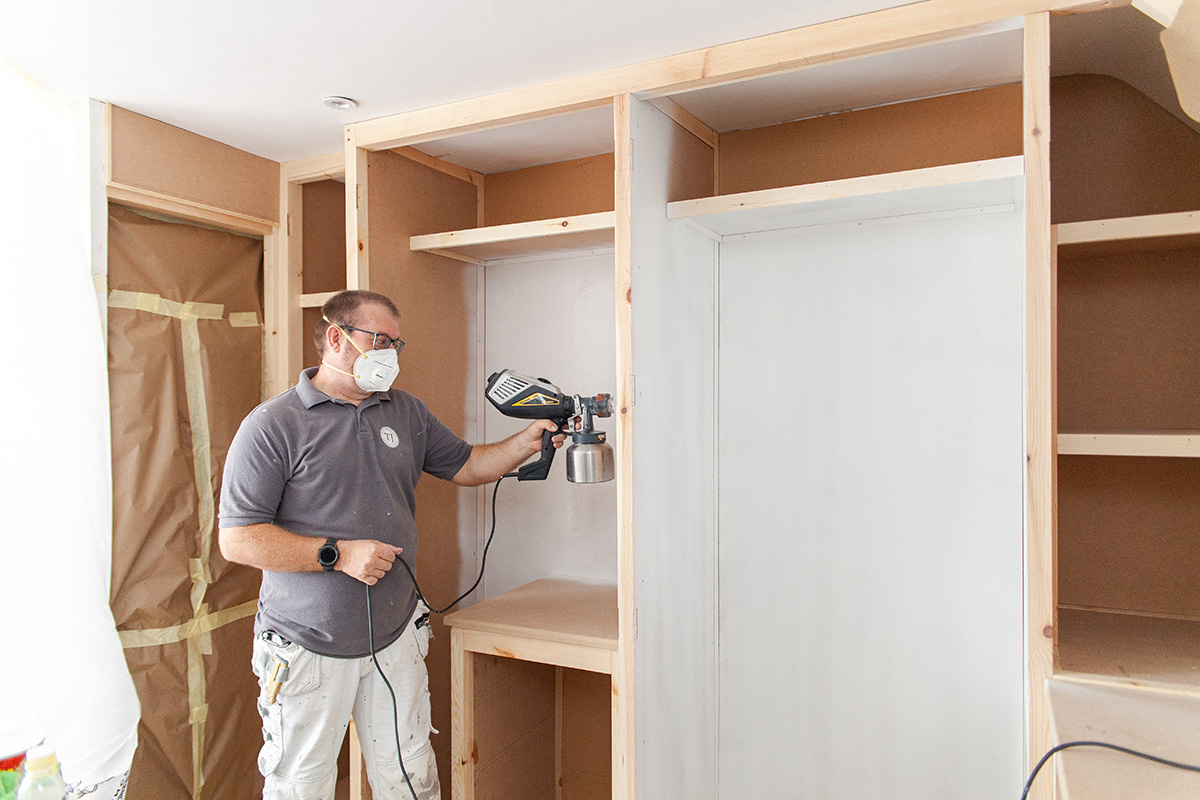
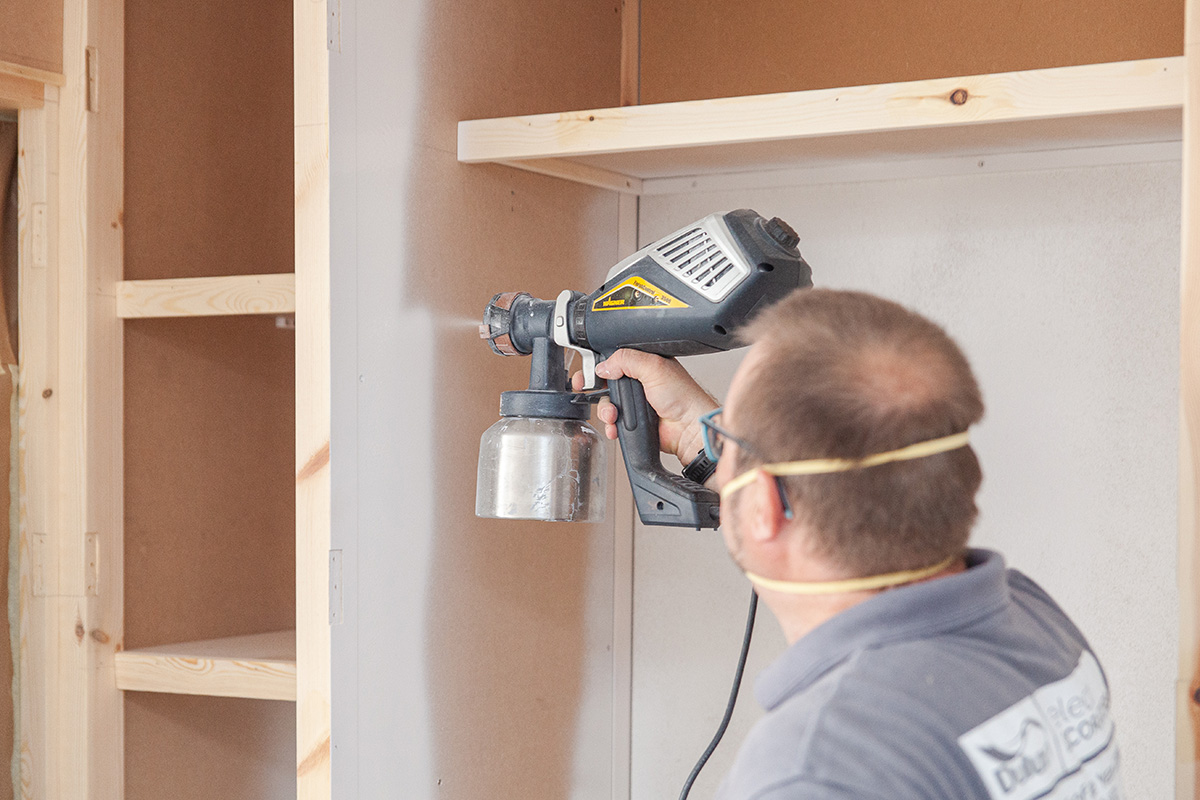
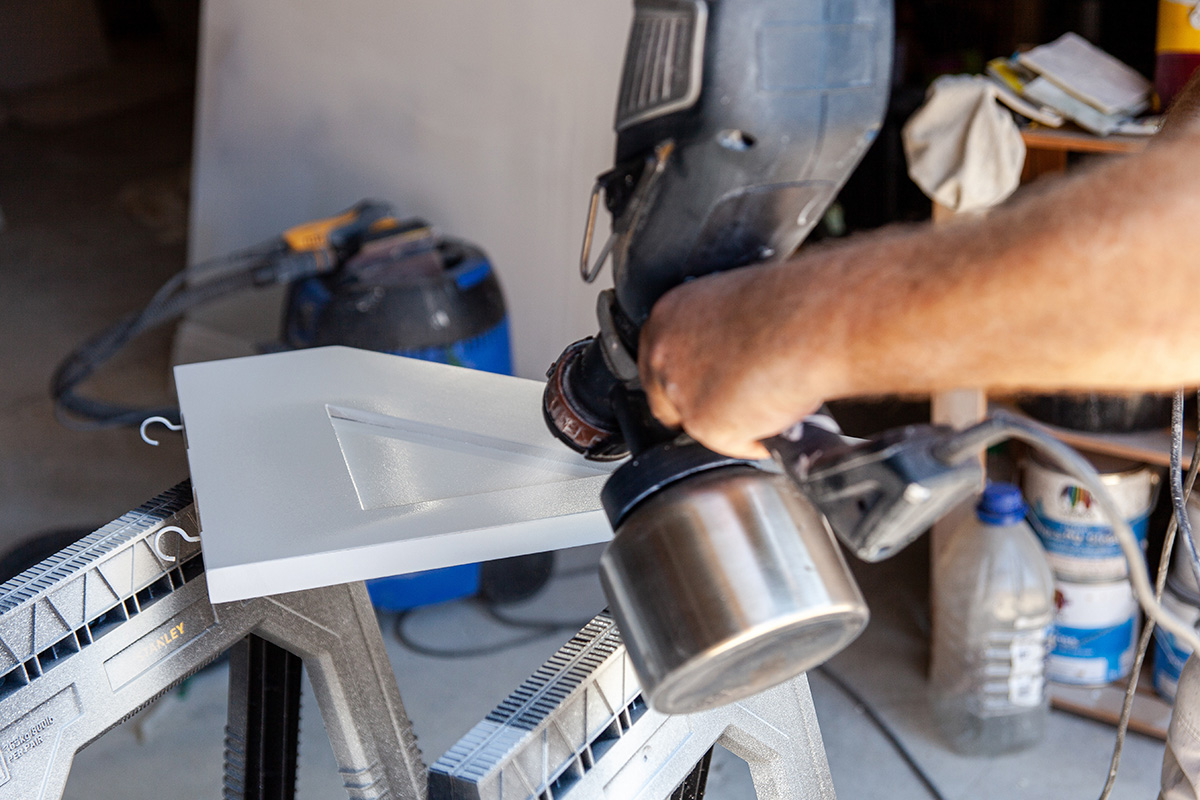
Trevor starts by priming the cabinet interiors, spraying at right angles to the surface and at a constant distance of 3-10 cm. For a perfect coverage, he lets the paint strips overlap by about one third.

If not enough primer has been applied in one area - no problem, simply spray again over the area. In contrast to painting with a roller, the material is not applied and then redistributed over the surface, with spraying there is no contact with the surface, layers are applied evenly over the surface.

Trevor then sprays the cupboard doors, which he has placed on trestles to be able to paint them evenly from all sides. Now he lets the wooden frames and cupboard doors dry thoroughly before preparing them for painting.

Step 4: Preparing and sanding the surfaces ready for painting

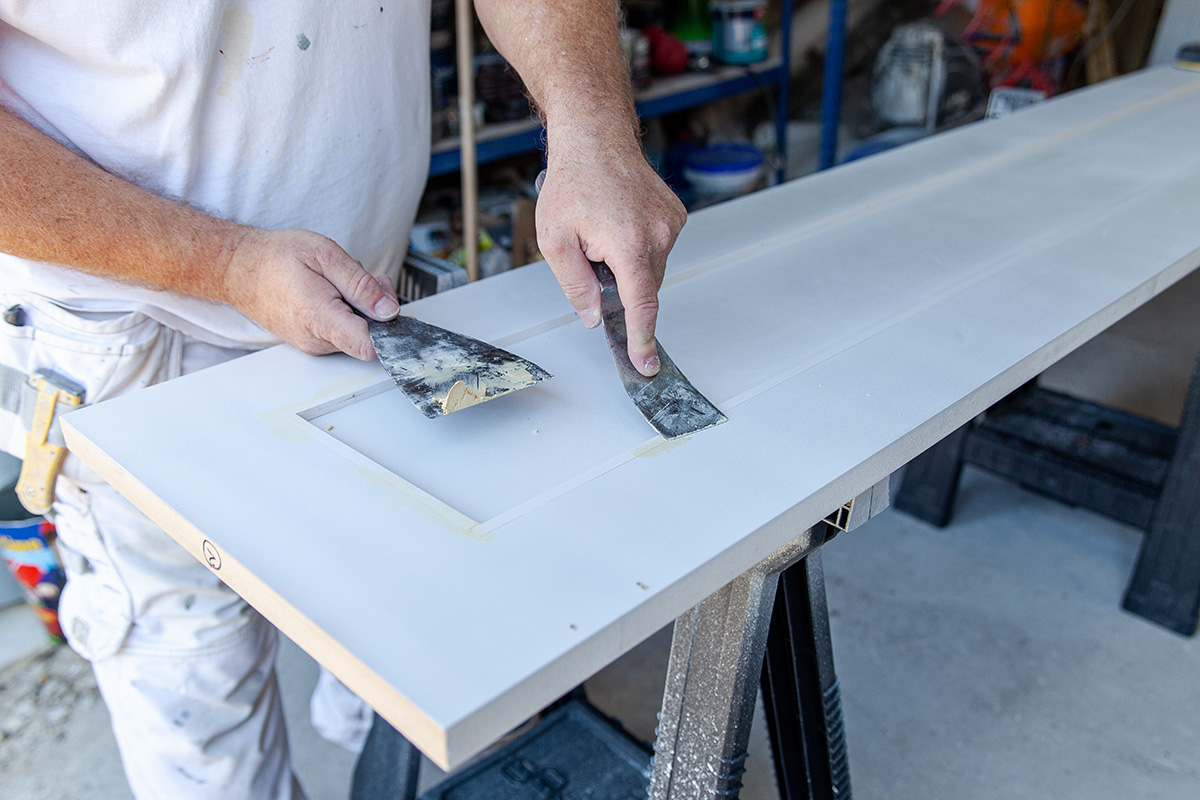
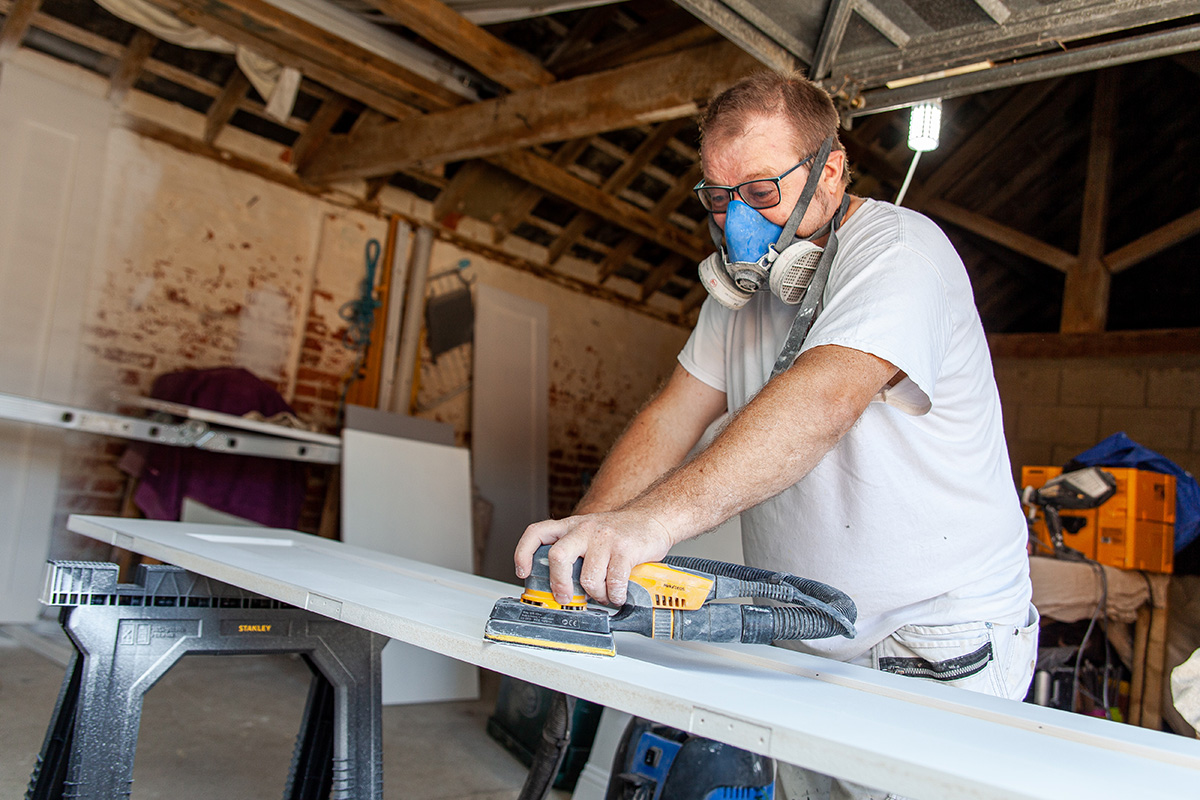
For a smooth and perfect finish on the wooden cupboard Trevor prepares the surface thoroughly. First, he applies wood filler on the surface to any holes or uneven areas, he then lets them dry and then lightly sands the filler and the whole cupboard using an electric sander.

After sanding the carcase and the cupboard doors, everything must be dusted so that the paint adheres well and surface is clean and dust free. Only with a perfectly prepared surface will the paint achieve an even and brilliant result. The best way to remove the sanding dust is to use a damp microfibre cloth and a spray system. Yes indeed, because with an empty spray attachment you can use the air stream to get the dust out of any cracks. Then wipe off the remaining dust from the surfaces with the damp microfibre cloth, so everything is now ready for painting the cupboard.

Step 5: Spray paint the cupboard & cupboard doors

Trevor prepares the white topcoat of paint as described in step 2 and then fills the cleaned spray attachment. Trevor paints all the surfaces of the cupboard, and in between coats checks the surface quality. In areas where he wants the layer of paint a be a bit thicker, he sprays in a so-called cross coat technique - i.e. first from top to bottom and then a second layer from left to right or the other way round, as required. This way the paint is also sprayed perfectly between all the structures of the wooden cupboard. Now it's time to let everything dry again, preferably in a protected environment so that the new paint on the cupboard is not contaminated by dust particles or dirt.

Step 6: Cleaning the sprayer & installing the cupboard doors

While the parts of the freshly painted cupboard dry, Trevor cleans the XVLP spray system. He clicks off the spray attachment and empties the remaining white paint back into the paint can. Since he has used a water-soluble paint, he cleans the container and the nozzle thoroughly with water. To clean the nozzle, he unscrews the spray nozzle and washes the individual parts with plenty of warm water. To make it easier to clean the spray gun add some washing-up liquid to the warm water and the paint residue will dissolve better.

After the paint is applied and dried, Trevor will carefully reinstall the cupboard doors and remove the cover from the floor, windows and other furniture. The application of paint on the cupboard is now complete and the surface is perfectly sprayed.

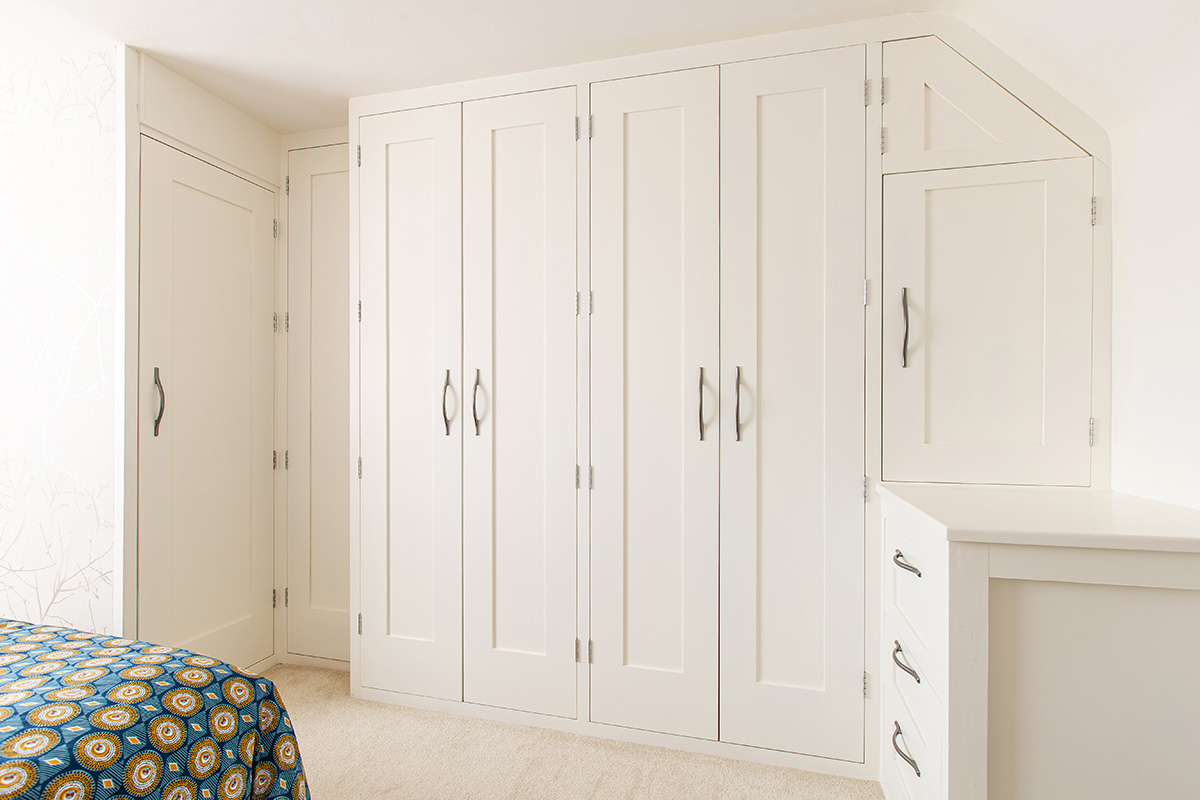
The result

Trevor's customers are thrilled - they have professionally painted white cupboards.

FinishControl 3500

FinishControl 3500