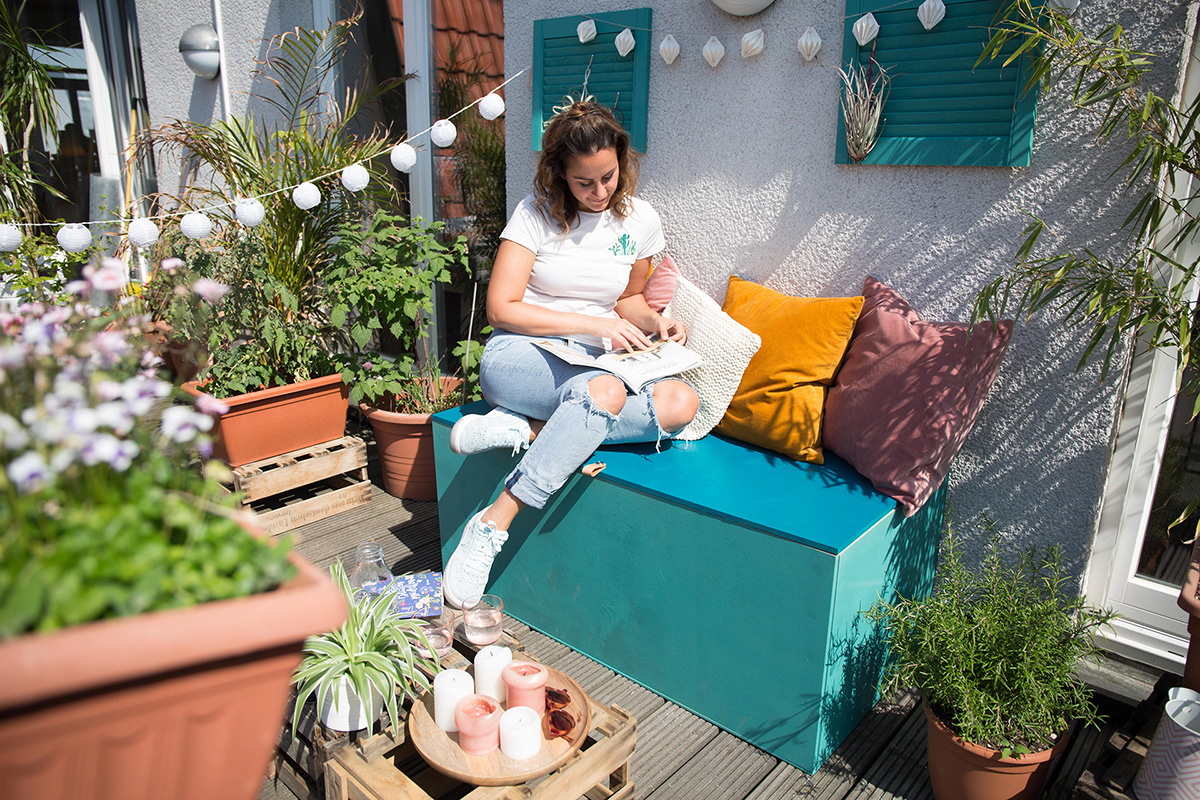
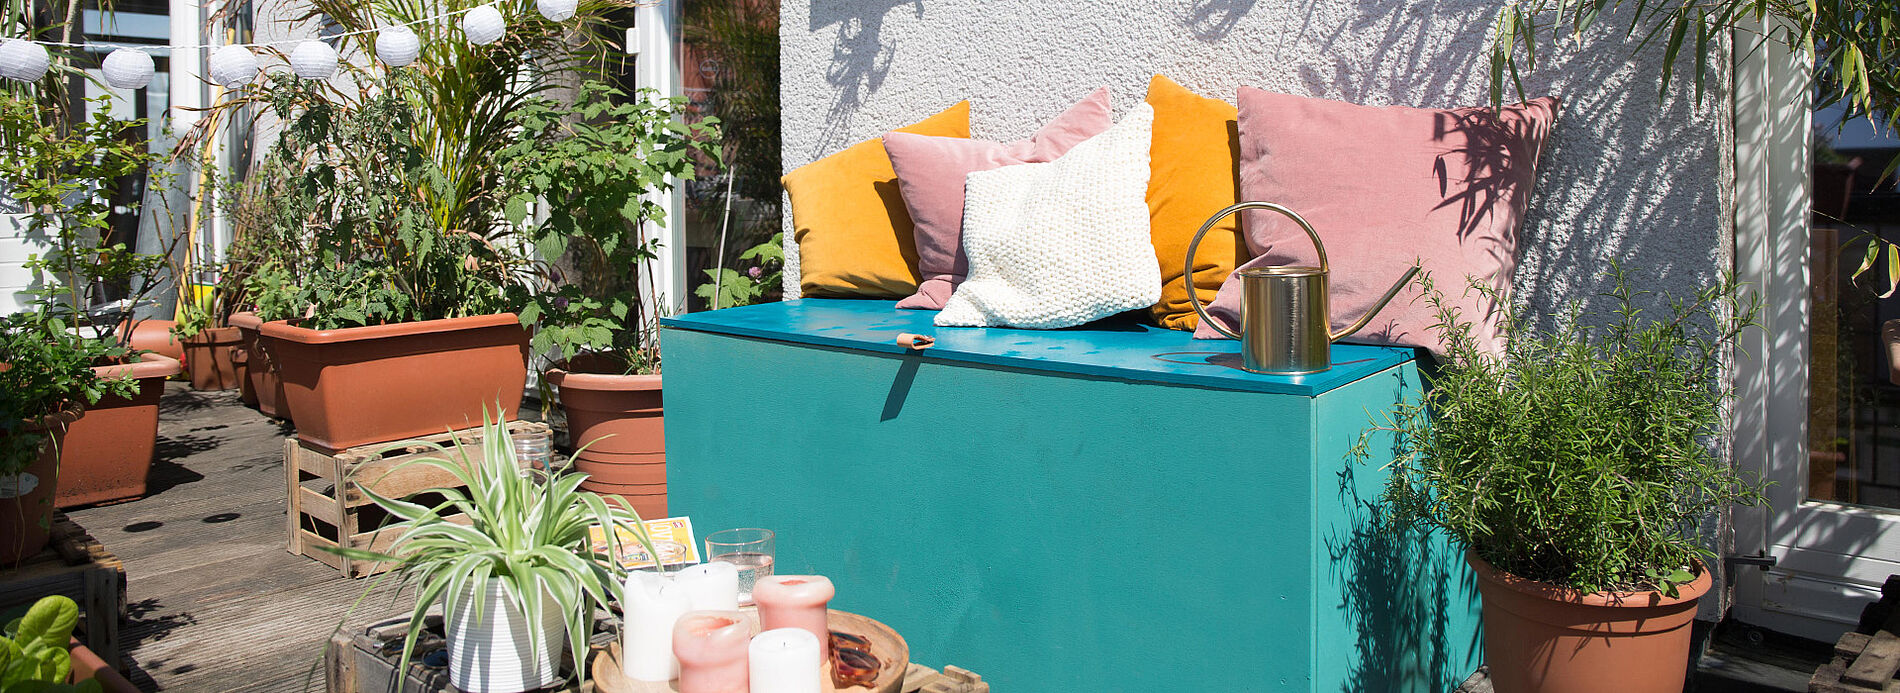
Balcony bench with lots of storage space

Summer is finally here, so you want to spend all your free time outdoors, right? When it comes to extending the living room, a balcony is the ideal solution. Whether as a place of retreat for quiet moments, as a place to hold a party or as a green paradise, in just a few steps you can turn your balcony into a little oasis of luxury.

Rented apartments often only have a small balcony, making it difficult for many people to express their creativity. Multifunctional furniture is therefore ideal when space is tight. Our storage bench provides comfortable seating for two people but also has plenty of space for charcoal for the barbecue, potting soil and cushions. In these DIY building instructions, we show you how you can redesign your balcony to create a lounge area for lazy summer evenings. You don't need a lot of DIY experience to accomplish this project. Step by step, we'll assemble a box that you can relax on. The other great thing is that you'll be creating it with our sprayer and gorgeous colours to create a truly unique piece of furniture.

  • WAGNER paint sprayer (e.g. Wood & Metal Sprayer W 100)
  • Wood drill
  • Cordless screwdriver
  • Dust mask
  • Spatula
  • Sandpaper
  • Folding ruler
  • Ruler
  • Pencil
  • Eraser
  • Wood paint in your chosen colours
  • 2 x sheets of chipboard 1200 x 500 x 12 mm (long side pieces)
  • 2 x sheets of chipboard 580 x 500 x 12 mm (short side pieces)
  • 1 x sheet of chipboard 1200 x 600 x 12 mm (lid)
  • 1 x sheet of chipboard 1200 x 600 x 9 mm (base)
  • 4 x pieces of squared timber 50 x 50 x 500 mm
  • 3 x stainless steel hinges
  • 1 x handle
  • Stainless steel screws 9 mm
  • Stainless steel screws 25 mm
  • Wood glue
  • Filler

Have the chipboard sheets cut to size in the DIY store. Then get all the materials you need ready at home.

Step-by-step guide for building a balcony bench

Step 1 of 12: Measuring and drawing

Schritt 1

Draw in the position for the squared timber on the short sides of the two long side pieces (1200 x 500 mm chipboard). Since the side is 12 mm thick, mark a strip 12 mm from the edge.

Step 2 of 12: Gluing and assembling

Schritt 2

Apply a thin layer of wood glue to one side of the squared timber. Affix all four pieces of squared timber at the marked spots and allow the glue to dry briefly.

Step 5 of 12: Assembling the side pieces and screwing them together

Schritt 5

Glue and screw also the short side pieces with the squared timbers and assemble the individual pieces to form a box.

Step 6 of 12: Base

Schritt 6

Flip the box so you can screw the base onto the squared timbers.

Step 7 of 12: Fill the screw holes with filler and sand them smooth

Schritt 7

Fill the screw holes with filler. Once the filler is dry, give them a sand.

Step 8 of 12: Preparing the paint and spray unit

Schritt 8 1

Stir the paint well and pour it into the W 100's spray attachment.

Schritt 8 2

Align the spray head's suction pipe forwards and screw the container firmly into place. Assemble the spray attachment and the turbine. When it “clicks”, it is engaged. Now carry out a test spray on a cardboard box. If necessary, dilute the paint with water, perform a test spray and then repeat if necessary until the spray jet appears uniform to you. You can control the amount of paint using the little grey rotary wheel.

The ideal temperature for spraying is between 20°C and 25°C. When spraying outdoors, avoid direct sunlight and ensure that it is not windy. Protect your workstation with newspaper or dust sheets – and you're good to go.

Step 9 of 12: Spraying

Schritt 9

Let's go! We'll start with the box lid. Put on a dust mask. You can create a horizontal or vertical spray jet by turning the spray attachment nozzle. Ideally in this case, spray in horizontal stripes. Ensure that each stripe overlaps the previous one by about 1/3. For an even spray result, you should spray at a distance of around 10 cm perpendicularly to the surface in measured, even strokes.

Step 10 of 12: Change the paint

Schritt 10

While the lid is drying, change the paint and start with the body. Once you're done, allow everything to dry thoroughly.

If paint is applied too thickly, drips can form, so it's better to spray two thin coats rather than one thick coat. Simply spray the second coat onto the first while it is still wet.

Step 11 of 12: Attach the handle

Schritt 11

A handle is attached in the middle of the lid. To do this, drill a hole at 600 mm and insert the handle.

Step 12 of 12: Fit the hinges and lid

Schritt 12

The three hinges are screwed onto the inside of the lid. One is screwed in the middle at 600 mm and the other two 100 mm from the edge. Finally, the lid is screwed onto the box.

The result

Done! You will have noticed that we didn't include a coat of primer in our project. If you prefer you can spray on a coat of primer before applying the top coat of paint. We prefer to allow the grain of the wood to be visible so you can see it through the beautiful blue and turquoise paint. Are you looking for something sheltered to sit comfortably? Then take a look at DIY instructions for covered bench from Aneta. Have fun making it!

More projects

WAGNER Group W 100 Produktbild

Wood&Metal Sprayer W 100

The handy solution for small and medium-sized projects with paints and varnishes

Wood&Metal Sprayer W 100
Produktfinder

WAGNER product finder

Here you can find more products

Go to products
Spraying varnishes: Instructions & tips

Spraying varnishes: Instructions & tips

Learn here how best to proceed when spraying varnish, what you should look out for, why it's worth spraying varnishes and what the best equipment is for it.

Spraying varnishes