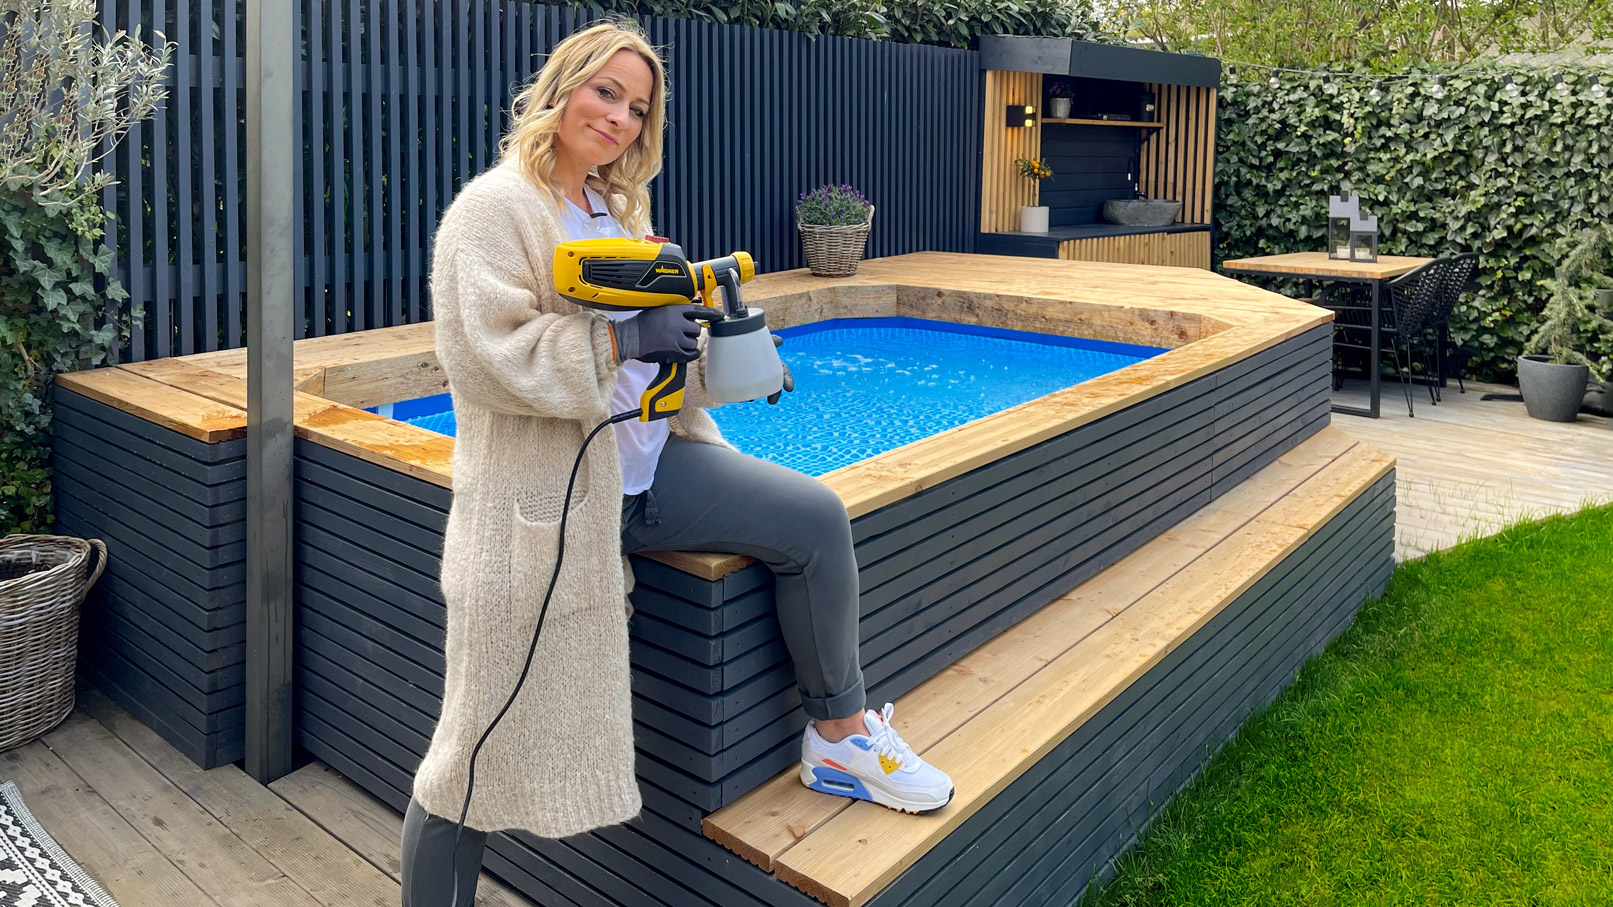
Build your own pool surround - a holiday in your own garden

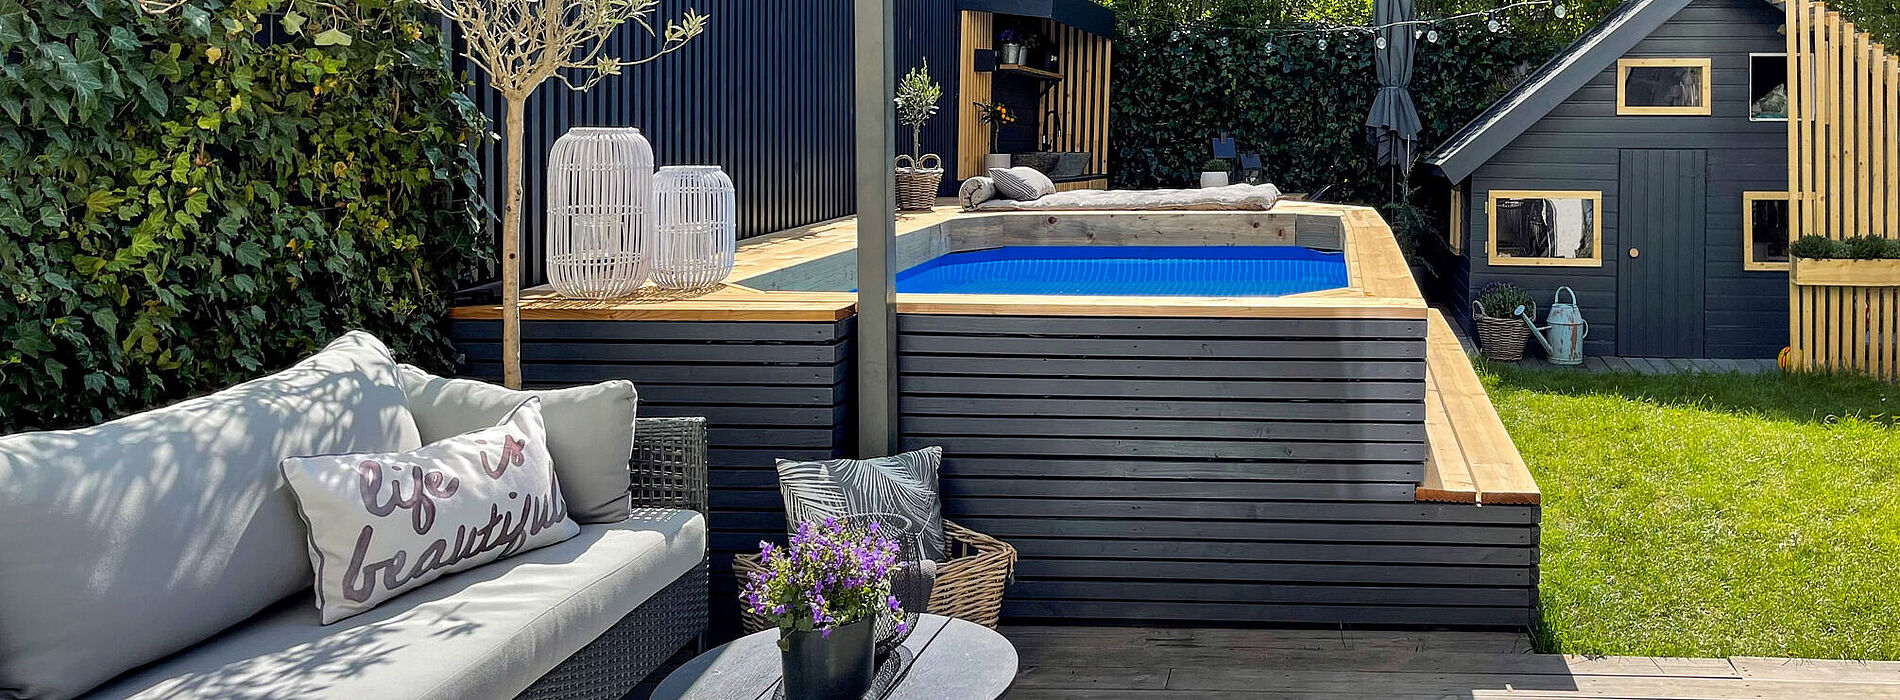
Your own pool right outside the patio door! A dream that can come true. Pop-up above ground garden pools have become a big seller in recent "hot" summers. No wonder, when the air is really crisp in the high season and the children are running around in the garden, cooling down becomes essential. However, visually the usually blue pop-up pools do not look good. A pool surround is a perfect way to make the garden ambience more harmonious and additionally provides a sitting and lying area directly by the pool. Let's go, build your own pool surround.

By viewing the video you agree that your data will be transmitted to YouTube and that you have read the privacy policy .

What you need to consider when building the pool surround yourself?

There are of course many different pool types, so you have to choose a basic shape which then also has a knock-on effect on your surround. Think about what might fit in your garden, in our example the pop-up pool without surround is 300 x 200 x 75 cm. If you also want to use the pool surround all year round and leave it standing in the winter, you should pay attention to your wood selection. For example, you can select weather-resistant wooden slats made of pine, these will later be sprayed and will therefore become more weather resistant. If you want to use natural wood, e.g. for the top cover, we recommend using already treated decking wood.

  • Dust mask, gloves, safety goggles
  • Pond liner
  • Frame timber for substructure (in this example: 200 cm x 5.8 cm x 3.8 cm
  • Battens for external cladding (200 cm x 3.4 cm x 2.4 cm)
  • Wooden decking boards for lounging and seating areas
  • Sufficient screws and angles for fastening
  • Paints and stains in the colour of your choice

How you can proceed!

Step 1 of 8: Substructure

Step 1: Substructure

Measure your pool installation in advance and take into account that the pool may also have protruding parts such as supports. A small sketch is best to help with the implementation.

Step 2 of 8: Pay attention to stability

Step 2: Pay attention to stability

You should build the substructure to be as stable as possible with supports and angles so that there is no chance of anything collapsing later. You can lay a rubber mat on the pool floor, this protects against stones and makes the surface a little softer.

Step 3 of 8: External cladding

Step 3: External cladding

The pine slats are now used to cover the pool. These must first be cut to size according to the base frame. The beams can then be screwed to the substructure at any distance.

Step 4 of 8: Inner lining

Step 4: Inner lining

If you don't want the blue pop-up pool to show through the wooden gaps, you can cover the inside of the pool with a pond liner, which also protects the wood from moisture.

Step 5 of 8: Pool steps

Step 5: Pool steps

To make it easier to get in, an extra step by the pool is suitable. You can also build these through a small substructure and cover them with appropriate wooden boards and planks.

Step 6 of 8: Lying and seating surfaces

Step 6: Lying and seating surfaces

For the decking and seating areas, the already impregnated decking boards from the DIY store or specialist retailer are now installed. To ensure that nothing of the substructure is visible, it is best to let the cladding protrude approx. 5-10 cm into the pool surface. Fasten the planks with long screws.

Step 7 of 8: Spraying

Step 7: Spraying

Last but not least, you can now sand the surfaces to be sprayed and spray them effortlessly with your paint sprayer. The 3-way adjustable spray attachment makes it easy to reach even the most awkward places on your project. Don't forget the areas that you may want to leave to look natural.

Step 8 of 8: Enjoy

Step 8: Enjoy

Decorated with a few complementary accessories such as jars with candles or plants, you can set the scene for the pool wonderfully and make the view of your garden a feast for the eyes. Now it’s your turn – have fun!

Your very own personal wellness oasis is ready!

W 590 FLEXiO

W 590 FLEXiO

Sari uses the W 590 FLEXiO Universal Sprayer from WAGNER to paint her raised bed. The unit can be used with almost all types of wood and metal paints, stains and varnish.

W 590 FLEXiO
Spraying woodstain: Guide & tips

Spraying woodstain: Guide & tips

Learn the best way to spray woodstain, what you should look out for, why it's worth spraying stains and what the best equipment is for it.

Spraying varnishes
Why spraying is better

Why spraying is better

With a paint sprayer, it’s incredibly easy to apply the material evenly and to cover the entire surface. The end result is a smooth and even layer of paint. When using a brush, brush marks tend to appear.

Why it's better to spray