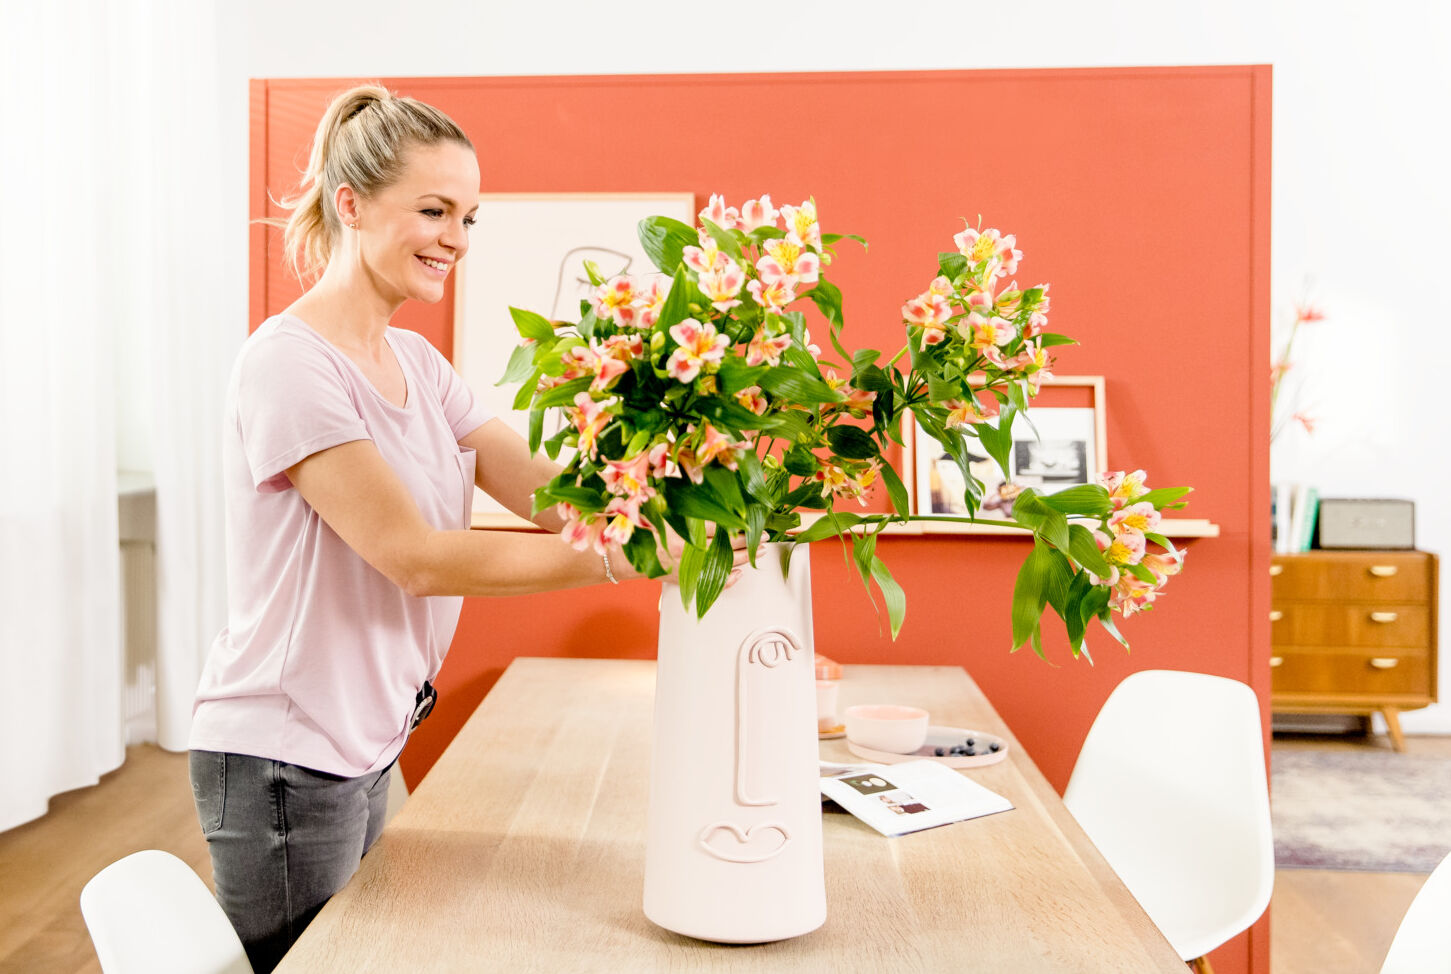
Design & decorate vase with star interior designer Eva Brenner

Seasonal floral decorations not only put you in a good mood, they also set fresh accents and bring variety to the interior design of your flat or house. In a beautifully decorated vase, roses, tulips, lilies, gerberas etc make attractive staged and automatically attract attention.

But what do you do if all your flower vase are old and worn out or simply boring and are therefore hiding in the far corner of your living room cupboard? Not a problem! Star interior designer Eva Brenner shows you how to easily give your vases a completely new creative look. Redesign your vases quickly and effortlessly with the help of a paint sprayer from WAGNER. Simply spray it!

What is needed for a vase design?

To give your old vases a new look, you don’t need many materials at all:

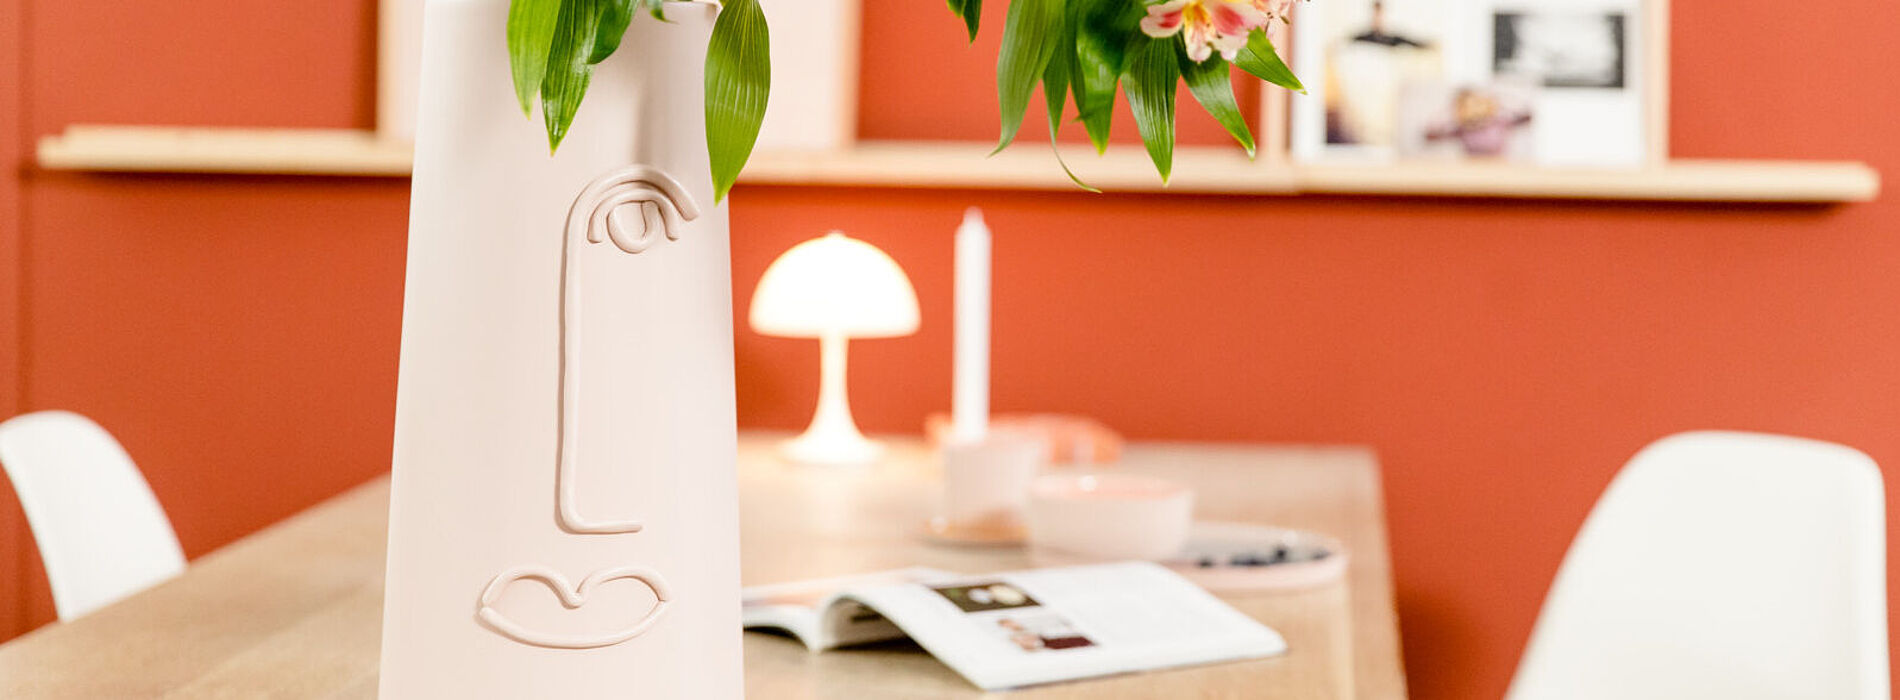
There’s no limit to your creativity here. Just use the vases you find in your own household, at grandma’s in the cellar or cheaply from a flea market. A light colour would be ideal, the shape of the vase doesn’t really matter. Eva uses a tall, white porcelain vase for her project.

Acrylic paint is best for recolouring vases because it is waterproof. After all, the vases should be able to be washed out later without the paint peeling off. You are free to choose the colour of the enamel. Eva Brenner opts for a light rosé shade.

This type of clay can be found in any wellstocked craft shop or online. It must be air-drying and suitable for indoor use. You should also make sure that the colour of the modelling clay is light. This inexpensive craft utensil is versatile, so it can also be used for many other projects. However, once you have opened a pack, you should close the airtight packaging again after use, otherwise the material will quickly become unusable.

With a paint sprayer, colours can be applied quickly, easily and, above all, evenly. Paint brush and paint marks are also avoided when spraying. For a project like this, we recommend the WAGNER “W 590 FLEXiO” paint sprayer.

Preparation: This is what you need to consider before you can start decorating flower vase

Before you can start designing the vase, you need to prepare it properly first. The flower vase should be clean, dry and free of dust and grease. This way, the paint will adhere better to the surface and the paint application will be even.

We also recommend sanding the surface of the ceramic, especially if it has been previously treated with a gloss finish, which should be roughened before spraying. The best way to do this is by hand with a piece of wire wool. Afterwards, loose particles should be wiped off with a damp cloth. In addition, the fresh paint adheres extra well due to the roughening of the surface.

Decorating a vase - this is how it is done

Step 1 of 5: Prepare the workspace

Step 1: Prepare the workspace

Find a suitable work area and cover it well. The best table for this is one that has a comfortable standing height for your height and does not wobble. Furniture and other objects in the immediate vicinity should also be protected from the resulting spray with a cover. If the weather is good, it is a good idea to spray outside in the fresh air. Once the covers are in place, place all the necessary items on the work table.

Step 2 of 5: Modelling clay Moulding

Step 2: Modelling clay Moulding

Knead the modelling clay with both hands for a few minutes until it is smooth and easy to shape. Now shape the desired pattern for your vase. Our tip: You can easily remove wrinkles, cracks or fingerprints on the resulting artwork with moistened fingers. To do this, lightly brush over the unsightly areas until the surface is smooth.

Step 3 of 5: Modelling clay application

Step 3: Modelling clay application

Next, stick the modelling clay shapes onto your vase using a suitable adhesive.

Step 3: Modelling clay application

Next, stick the modelling clay shapes onto your vase using a suitable adhesive.

Step 4 of 5: Spray the Paint

Step 4: Spray the Paint

Now fill the paint container of your WAGNER paint sprayer with the well stirred and, if necessary, diluted acrylic paint. Before you start spray painting your vase, we recommend that you carry out a spray test on cardboard or similar material and adjust the settings of the sprayer. Hold the unit perpendicular to the container, spray it with even pressure and a uniform distance of about 10 centimetres.

Step 5 of 5: Allow it to dry

Step 5: Allow it to dry

Leave your artwork to dry undisturbed in a well-ventilated place for at least one hour. Now your newly designed vase is ready to set interesting new accents in your home with the flowers of your choice.

The right spraying technique when designing vases

Temperature

Temperature

Spraying your flower vase works best when the paint used is at room temperature and has been thoroughly stirred while still in the original container. On smooth substrates and when using particularly viscous varnishes, these should be additionally diluted of 10 percent with water.

Spraying your flower vase works best when the paint used is at room temperature and has been thoroughly stirred while still in the original container. On smooth substrates and when using particularly viscous varnishes, these should be additionally diluted of 10 percent with water.

Important

Spray technology

The right spraying technique is also important to achieve a perfect result. Always start spraying at the edge of the spray area. The spraying movement should come from the arm, not the wrist, to ensure an even distance between the nozzle of the paint sprayer and the surface during the spraying process. Allow the colour strips should overlap slightly, as this will make the coating more opaque. In general, the more evenly the unit is guided, the more uniform the end result will be.

The right spraying technique is also important to achieve a perfect result. Always start spraying at the edge of the spray area. The spraying movement should come from the arm, not the wrist, to ensure an even distance between the nozzle of the paint sprayer and the surface during the spraying process. Allow the colour strips should overlap slightly, as this will make the coating more opaque. In general, the more evenly the unit is guided, the more uniform the end result will be.

The result

W 590 FLEXiO

W 590 FLEXiO

Eva Brenner uses the universal W 590 FLEXiO paint spray system for this project as well. The sprayer not only guarantees an even application of paint without any noticeable transitions, it also saves a lot of time. The perfect all-round device for all kinds of DIY projects.

W 590 FLEXiO
Spray lacquers: instructions & tips

Spray lacquers: instructions & tips

Find out here how best to go about spraying lacquers, what to look out for, why it's worth spraying lacquers and what equipment is suitable for the job.

Spraying varnishes
Tips and tricks with Carina

Tips and tricks with Carina

We have summarized more tips about spraying lacquers and varnishes for you in our Tips and Tricks with Carina.

Apply glazes and lacquers correctly