Painting raised beds with Sari from Saris Garage

Whether in the lovingly landscaped garden behind the house, on an urban roof terrace or a sunny balcony - a raised bed always looks good. Thanks to its height, it is easy on the back and knees to care for, it successfully showcases plants such as herbs and radishes, and assembling and laying out the bed is easy even for inexperienced amateur gardeners.

DIY experts Sari and Christian from the blog "Saris Garage" show us how to give your wooden raised bed a completely new look with a fresh woodstain and protect it from the weather at the same time. Because as soon as wood is exposed to moisture, fluctuating temperatures and frost outside, cracks, unsightly discolouration and mold can form. 

Sari's raised bed is also to be spiced up with a fresh colour. Sealing and therfore protecting the wood is the highest priority. The Do-It-Yourself expert invites us into her garden to show how quick and easy it is to coat the raised bed with the help of a paint sprayer.

Tip:

There are some plants that need a climbing aid to grow optimally. These include cucumbers, peas, runner beans and raspberries. Simply attach the trellis to the lower end of the raised bed using brackets. It is not difficult to build a trellis yourself. To ensure that the two harmonise well together, it is best to paint the trellis in the same colour as your raised bed. Try it out!

By viewing the video you agree that your data will be transmitted to YouTube and that you have read the privacy policy .

You will need:

  • Paint sprayer, e.g. W 590 from WAGNER
  • Sander or sandpaper
  • Cloth or brush for dusting
  • Masking material
  • Respirator dust mask, safety goggles and gloves if required
  • Raised bed
  • Paints and stains in the colour of your choice
  • Potting soil, stones and bark chippings for filling if required
  • Herbs, flowers and other plants

Painting a raised bed - step-by-step

Step 1 of 6: Clean the dirt from the raised bed

Clean the dirt from the raised bed

Before you start painting or staining your raised bed, you should thoroughly clean dirt and dust from your raised bed and make sure that the wood is completely dry. Then, the wood must be sanded. By sanding, you remove uneven areas and improve the adhesion of subsequent coatings. It is best to use sandpaper or a sander for this purpose. After sanding, do not forget to remove any dust thoroughly with a cloth or brush.

Step 2 of 6: Prime raised bed (optional)

Prime raised bed

As a final preparation step, we recommend treating the raised bed - especially when painting - with a primer. This makes the surface more receptive, which means the new paint will last longer. In addition, a primer ensures a more even final result. If you need more tips on the application of paints and varnishes, take a look at our Tips and tricks with Carina to. Have you done all the preparations? Then you can start spraying the paint!

Step 3 of 6: Prepare the work area

Prepare the work area

First, Sari prepares her workplace in a suitable area of her garden. She protects the ground with plastic dust sheet and places the raised bed on it so that it stands securely and does not wobble. To protect the plastic from moving with unexpected gusts of wind, Sari weighs it down with stones at all four corners. Of course, it is preferable to tackle such a project on a sunny day - especially if there is no covered work area. Also make sure that there is as little wind as possible to avoid the paint spray being blown around.

Step 4 of 6: Prepare paint sprayer

Prepare paint sprayer

Once all preparations have been done, he woodstain can be poured into the paint sprayer and, if necessary, thinned with water. Make sure that the paint has been stirred well before spraying. Before she starts applying the paint, Sari performs a spray test on a large piece of cardboard to see if the glaze needs to be thinned further or the spray jet readjusted. By the way, for your own protection, you should always wear a respirator mask when using a paint sprayer.

Now align the suction tube depending on how you are going to work - forwards if you want to spray downwards and backwards if you want to spray objects overhead. Now screw the spray attachment onto the container.

The spray jet can be adjusted three ways so that you can adapt it perfectly to your way of working and projects. Always perform a test spray on a piece of cardboard first so that you can find the ideal settings for you.

Step 5 of 6: Paint raised bed

Paint raised bed

Now you can get started. Sari sprays the woodstain onto the wooden boxes with consistent movements and at a distance of about 20-30 cm. She works horizontally, i.e. spraying from left to right and from right to left, allowing the passes to overlap slightly so that the coating has good coverage and the woodstain application is even. The inside of the raised bed is also stained.

Step 6 of 6: Fill raised bed

Fill raised bed

After the paint has dried, the raised bed can be filled and planted again. It is best to find out about the best way to fill a raised bed at your local garden centre or online, as the bed is usually filled in different layers with stones, soil and bark chippings in order to provide the roots with optimal nutrients and allow them to breathe. With the right tips and tricks, planting is child's play.

icons8 fuellfarbe 500

Raised bed sealing: Points to note in your application

Anyone who would like to design their raised bed using paint and protect it with a sealant should not disregard an important factor when choosing the paint: It is recommended to always use non-toxic and environmentally friendly products. The reason for this is that conventional stains and wood paints mostly contain toxic chemicals. These substances penetrate the wood when the raised bed is painted. From there, they enter the soil and are ultimately absorbed by the plants. This means that the toxins from the paint can migrate into your vegetables.

For wood protection, the most suitable varnishes and stains are non-toxic such as those used to coat children's toys.

icons8 fehler

Painting or staining raised beds - What is the difference?

Both paints and woodstains protect your raised bed from the weather and therefore increase the durability of the wood. But what exactly is the difference between paint and a stain?

Paint covers the wood. This means that the natural grain of the wood is no longer visible after your raised bed has been painted. A stain, on the other hand, is a wood coating that gives colour and is transparent at the same time. As it does not cover, the natural grain of the wood remains visible even after treatment.

For stains, a distinction is made between thin- and thick-layer stains. For sealing a raised bed, we recommend using a thin-layer stain, as this penetrates deep into the wood and therefore also protects it from the inside.

Our expert Sari opted for a stain for her project.

W 590 FLEXiO

W 590 FLEXiO

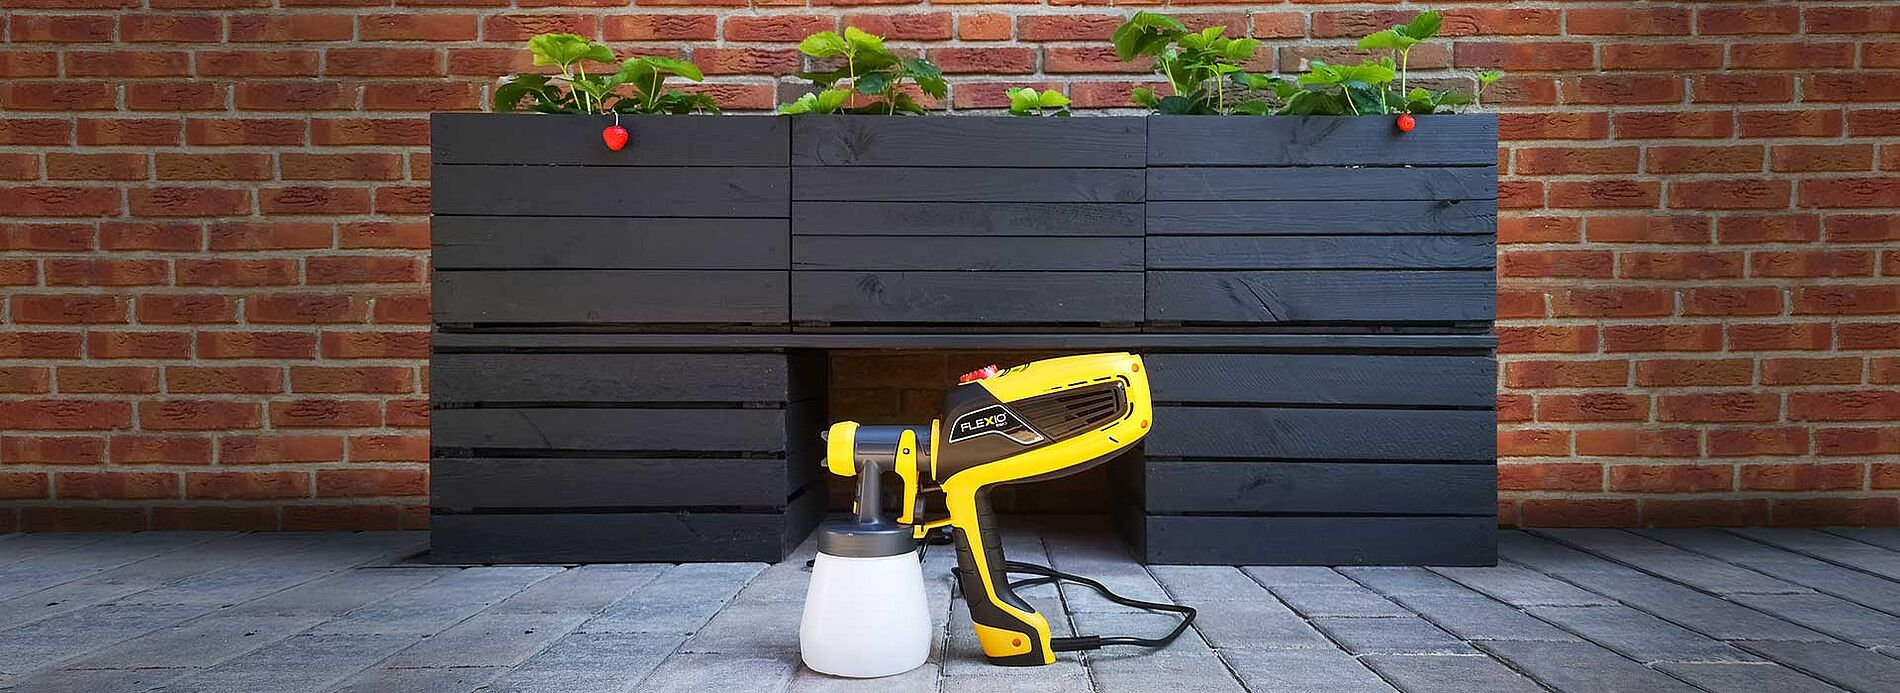
Sari uses the W 590 FLEXiO Universal Sprayer from WAGNER to paint her raised bed. The unit can be used with almost all types of wood and metal paints, stains and varnish.

W 590 FLEXiO
Spraying woodstain: Guide & tips

Spraying woodstain: Guide & tips

Learn the best way to spray woodstain, what you should look out for, why it's worth spraying stains and what the best equipment is for it.

Spraying varnishes
Why spraying is better

Why spraying is better

With a paint sprayer, it’s incredibly easy to apply the material evenly and to cover the entire surface. The end result is a smooth and even layer of paint. When using a brush, brush marks tend to appear.

Why it's better to spray