By viewing the video you agree that your data will be transmitted to YouTube and that you have read the privacy policy .

Building a pallet wood bench

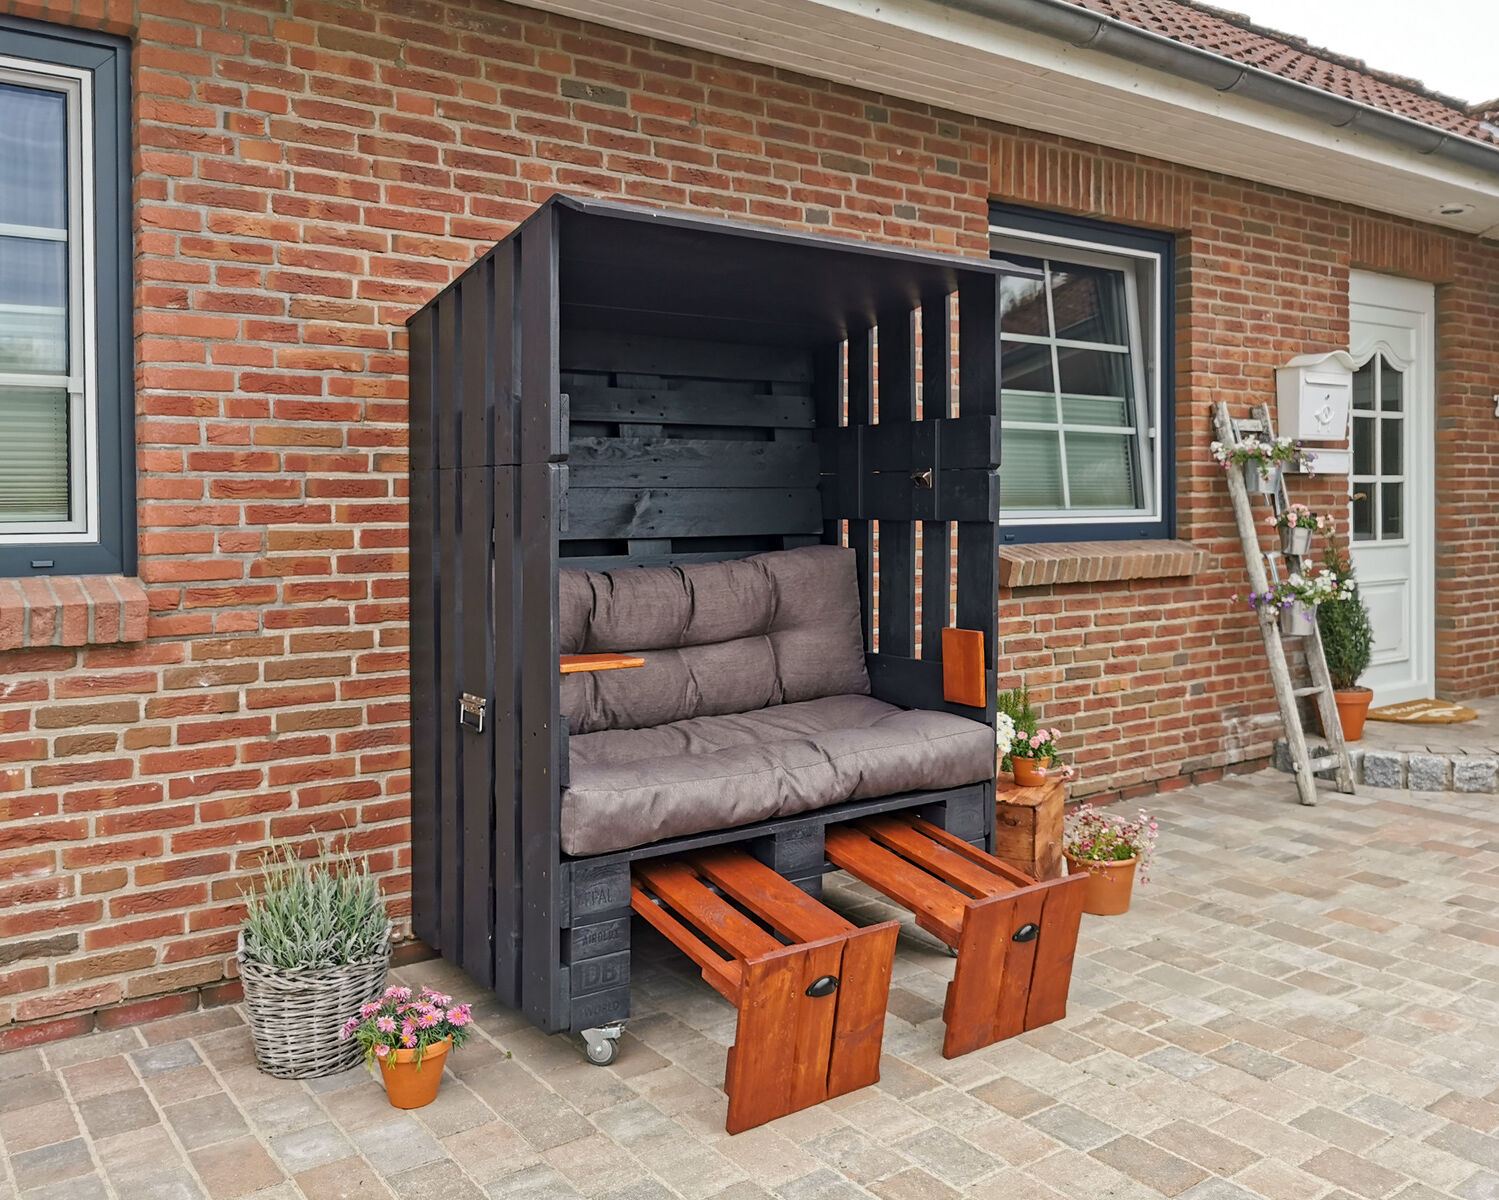
Sari and Christian from Sari's Garage always have great ideas for furniture made from pallets: This time it's a do-it-yourself pallet wood bench. It will make you feel almost like you're on the beach in your own garden!

Whether you want a show stopper for your garden, furniture for your terrace, holiday feelings like at the Baltic Sea or the combination of sun protection and cosy seating to read a book - with these pallet furniture instructions a very special piece of pallet furniture will be made!

To build the DIY pallet bench yourself, you need:

Most of the materials you need to build this eye-catching pallet wood bench are easily available at the DIY store:

  • 6 Euro pallets
  • 4 double castors wheels, two with locking brake
  • Wood glue
  • Long screws
  • Short screws
  • Weather protection stain or wood protection stain or varnish for exterior use

For the backrests

  • Screws 7 cm (6 pcs. per side)

For the roof and rear wall

  • 16 boards (15 cm wide, 2 cm thick) 
  • of which 7 approx. 1.30 m long (roof)
  • 9 of which approx. 1.60 m long (back)

Or: If you want, you can also use wooden panels to cover the back or to have a uniform roof surface. If your DIY pallet bench is sheltered, a plywood board can also be sufficient for the back wall.

Optional:

  • Folding hinges 
  • Bottle opener
  • Handles for the footrest 
  • Transport handles 
  • Crowbar
  • Hammer
  • Metal saw 
  • Gloves 
  • File
  • Jigsaw 
  • Pencil and ruler or folding rule 
  • Angle
  • Cordless screwdriver
  • Table saw   
  • Sanding tool and sandpaper
  • Respiratory protection
  • Aluminium foil 
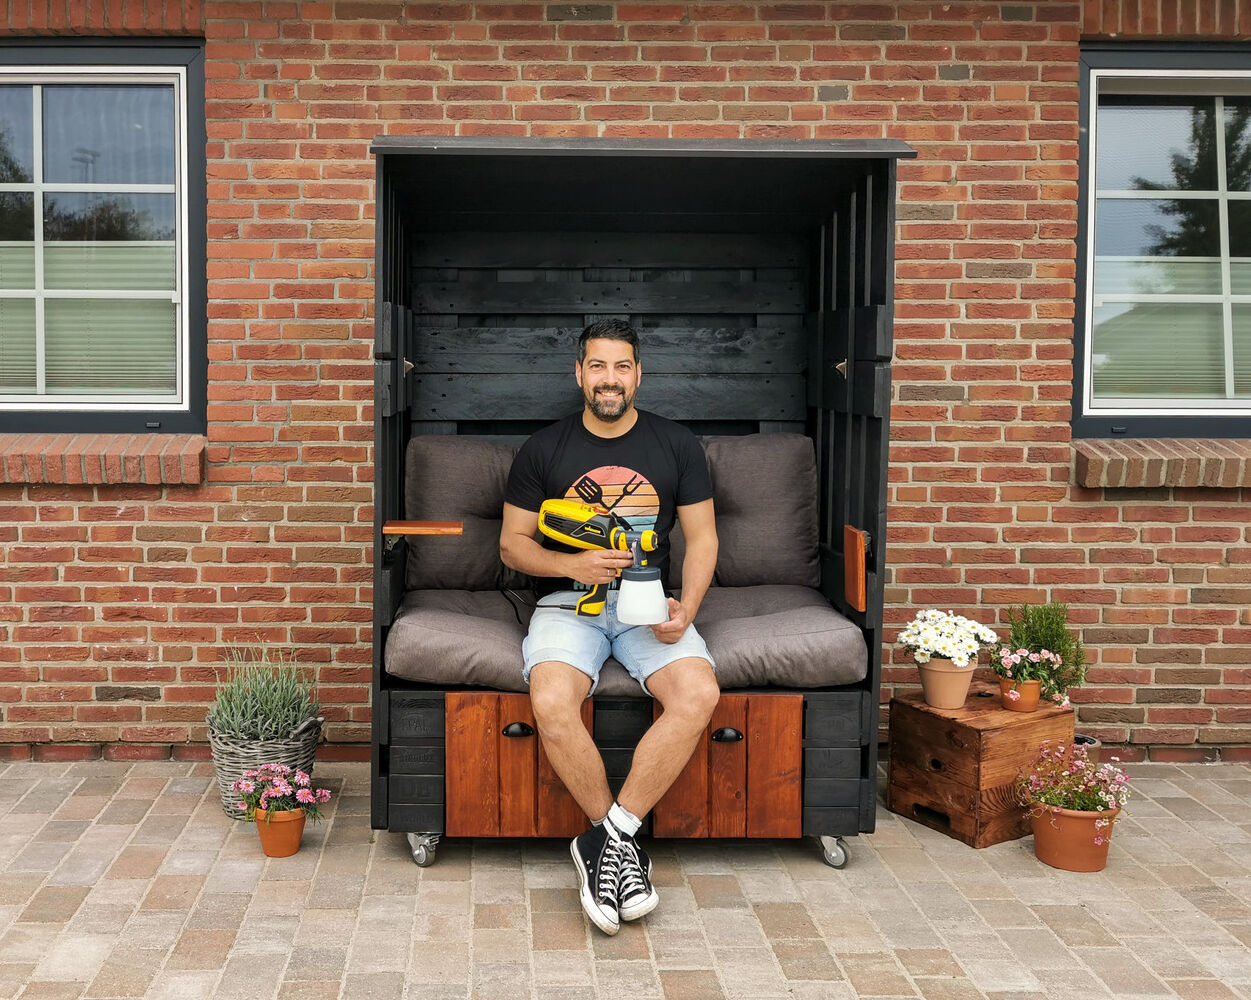
  • Paint sprayer (e. g. Universal Sprayer W 590 FLEXiO)

Building instructions for your pallet wood bench: A step-by-step guide to upcycling:

Attention: Sari and Christian only use new Euro pallets for their DIY pallet furniture! Do you have all the materials and tools? Then you can start building the pallet wood bench! Making a bench from pallets is a slightly bigger project than building a DIY chalkboard, for example. But don't worry: Read our assembly instructions carefully, watch the video of Saris Garage and keep calm and stay focused while assembling! Then nothing can go wrong when building this garden furniture.

Step 1 of 10: Dismantle the Euro pallets

Step 1: Dismantle Euro pallets

The first thing to do is to dismantle the Euro pallets. It is best to use a crowbar to lift the outer EPAL blocks until you can saw through the nails with a hacksaw. If the outer blocks are already off, you can lever out the middle block. Do this with five of the six pallets.

Saw off protruding nails with the hacksaw - then simply bend them off by hand. Caution: Be sure to wear gloves here!

Now file down the sawn-off nails with a metal file until you can run your hand over them without hurting yourself.

Tip: Also check that your cordless screwdriver is charged. If it isn't, this is your chance to do it!

Step 2 of 10: The legs of the bench made from EPAL blocks

Step 2: Legs of the DIY pallet bench made of EPAL blocks

Use the EPAL blocks from the leftover pieces to build the legs of the pallet bench - and determine the height of the seat. Sari used three blocks per leg (so twelve in total), because later the castors will once again raise the pallet bench. If you would also like castors on the pallet bench, include their height in the calculation!

Glue the three wooden blocks together with a good wood glue and finally put them under the remaining complete pallet. The wood glue must now be completely dry.

Would you like your DIY pallet bench to have footrests and look just like the one at Sari's Garage? Then prepare another leg directly and glue it to the front in the middle of the pallet.

Step 3 of 10: Screw on the side panels

Step 3: Screw on the side parts

In order to be able to attach the sides flush to the seat, you will need leftover pieces of the pallets. Now you need to cut two boards so that they are flush with the seat. The pallet is also screwed flush to the side with the sawn board between the seat and the side part with plenty of screws. Screw the pallet on at the bottom as well, at the height of the EPAL blocks.

Sari and Christian have bevelled the extension of the side parts so that rain can drain off easily. First, cut a pallet in half. Then draw a slope with an sprare board - the Sari one is 15 centimetres. Use a jigsaw to cut the pallet halves to size according to the guide lines.

Now cut two boards for the connection of the side panel and the extension and screw them vertically with six screws per board.

Repeat this step on the other side.

Step 4 of 10: Attach the backrest

Step 4: Attach backrest

Place a pallet in the DIY pallet bench - in a postion which is comfortable, for example slightly slanted. Screw the Euro pallet on from the outside. Place another pallet on top as a test and measure how high it needs to be to be flush with the side panels.

Then saw the pallet to size with the jigsaw and screw this part to the side rests as well. If you also want to build the footrests, save the rest of the top pallet!

Finally, Christian fixed the backrest at the bottom in three places at an angle with a screw - where the Euro pallet of the seat has the existing EPAL blocks.

Step 5 of 10: Attach the roof

Step 5: Attach roof

Saw the seven boards to size - for Sari it was approx. 1, 30 m. However, it is best to measure again yourself! The couple from Sari's Garage have let the roof protrude a little at the front and back, you can decide if you want to do this also.
Screw the boards (or wooden board) for the roof onto the top of the sides .

If you also want to attach a bevelled fascia: It is best to use a table saw with an adjustable angle to bevel the edge of the board. Pre-drill to prevent the wood from cracking, then simply screw the fascia directly to your roof.

This gives you a small awning without having to deal with awning fabrics and a sewing machine!

If you also want to attach the back pan elling later, now saw two boards to fit them directly under the roof on the back wall to fill the "gaps". You can screw the back panelling on here later.

Step 6 of 10: The footrests

Step 6: The footrests

If you did not glue on a fifth leg for the DIY pallet bench in the second step, but now still want the footrests, you can simply screw on the EPAL blocks. Also screw on the castors and then measure out what height the footrest should be.

Take the remaining piece of the backrest pallet and cut it in half. For the front piece, cut two wide and two narrow boards from the remaining pallet pieces. Lay a narrow one across as a connecting board in the lower third and screw it together.

If it matches the ideal height of your footrest, it looks best when the front surface of the footrest is flush with the seat surface and below with the EPAL blocks. Lay out the front surface, mark the place where the horizontal plane should be attached and screw the parts together exactly at this point.

By the way: Don't feel like assembling the shelves? Then you can also paint boxes in a matching colour and put them with your new pallet furniture - but the boxes are then bulkier because they cannot be stored under the seat like the built footrests.

Step 7 of 10: Sanding!

Step 7: Sanding!

Now take a sander and suitable sandpaper - and sand the entire pallet wood bench.

Pay special attention to corners and edges and round them off, especially if you have cut there.

Take your time with this step and proceed carefully so that neither you or your children get splinters!

Step 8 of 10: Painting a pallet wood bench with a WAGNER paint sprayer

Step 8: Painting a DIY pallet bench with a WAGNER paint sprayer

First place something under the DIY pallet bench to protect the surroundings and wrap some aluminium foil around the wheels. Then prepare the paint or stain: Stir until smooth, pour into the paint container and dilute by 10 % if necessary - the enclosed stirring stick will help you here. Adjust the amount of material and air and test the spray on a piece of cardboard - does it run out softly and do you not see any paint drops on the edge? Then it is perfect. If it looks uneven, change the settings and test again until you are satisfied. Only then does it go to the DIY pallet bench. Then it's time to spray.

icons8 fuellfarbe 500

Tip:

Move evenly and try to maintain the same angle and distance to the surface if possible. Don't forget to also spray the back panelling and paint (or stain) the footrests for the pallet bench.

Would you like more information on spraying wood and metal paints with your paint sprayer? Then read on in our guides:

Step 9 of 10: Fit the rear panel

Step 9: Fit rear panel

The boards for the rear panelling were just under 1.60 m long in Sari's and Christian's case, but here too it is best to measure again. If you forgot to paint or stain the boards in step 8, do it now and then let them dry.

Once all the wood has been treated, now attach two boards horizontally: one in the middle and one where there is a lot of empty space due to the sloping backrest. This way you can fix all the boards properly and the vertical boards still have a support. Then simply screw the boards on - this way you get a valuable back wall that also makes your little retreat quieter and no one can see through it.

However, you can also leave the pallet wood bench without the rear panelling - depending on which you prefer!

Step 10 of 10: Bottle openers, folding tables and decoration

Step 10: Bottle openers, folding tables and decoration

Sari and Christian cut and painted a leftover piece of the pallet for folding tables and then attached it with a locking folding hinge. Of course, you can freely choose the height and length of the folding tables here, just as it suits you best! The bottle openers are a chic but practical addition. And last but not least, you can of course attach any decoration to or in the pallet wood bench that you like - such as the shell handles on the footrests. Make this piece of garden furniture a pallet wood bench that will trigger holiday feelings in you!

The DIY bench made from pallets is finished, the paint or stain has dried, all the optional extras such as a bottle opener are in place? Then only one thing is missing: Pallet cushion! These cushions are usually filled with foam and made of sturdy fabric, making them ideal for outdoor use in the garden. Pick cushions in a colour that matches your pallet wood bench - and we wish you lots of fun and relaxation in your garden!

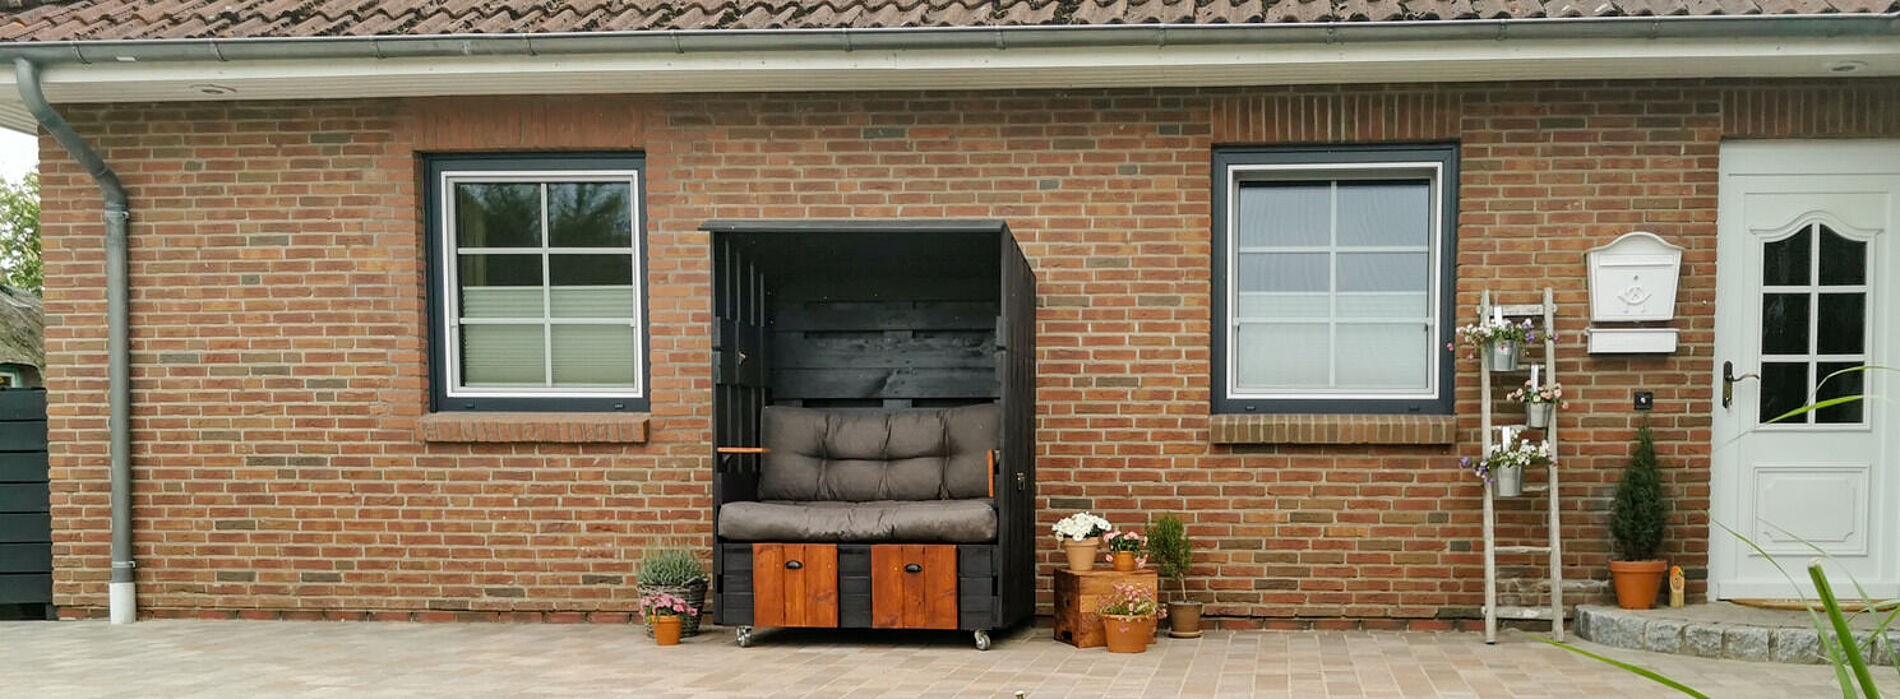
The result

Painting the pallet wood bench - but with what?

Which colour is suitable for a pallet wood bench?
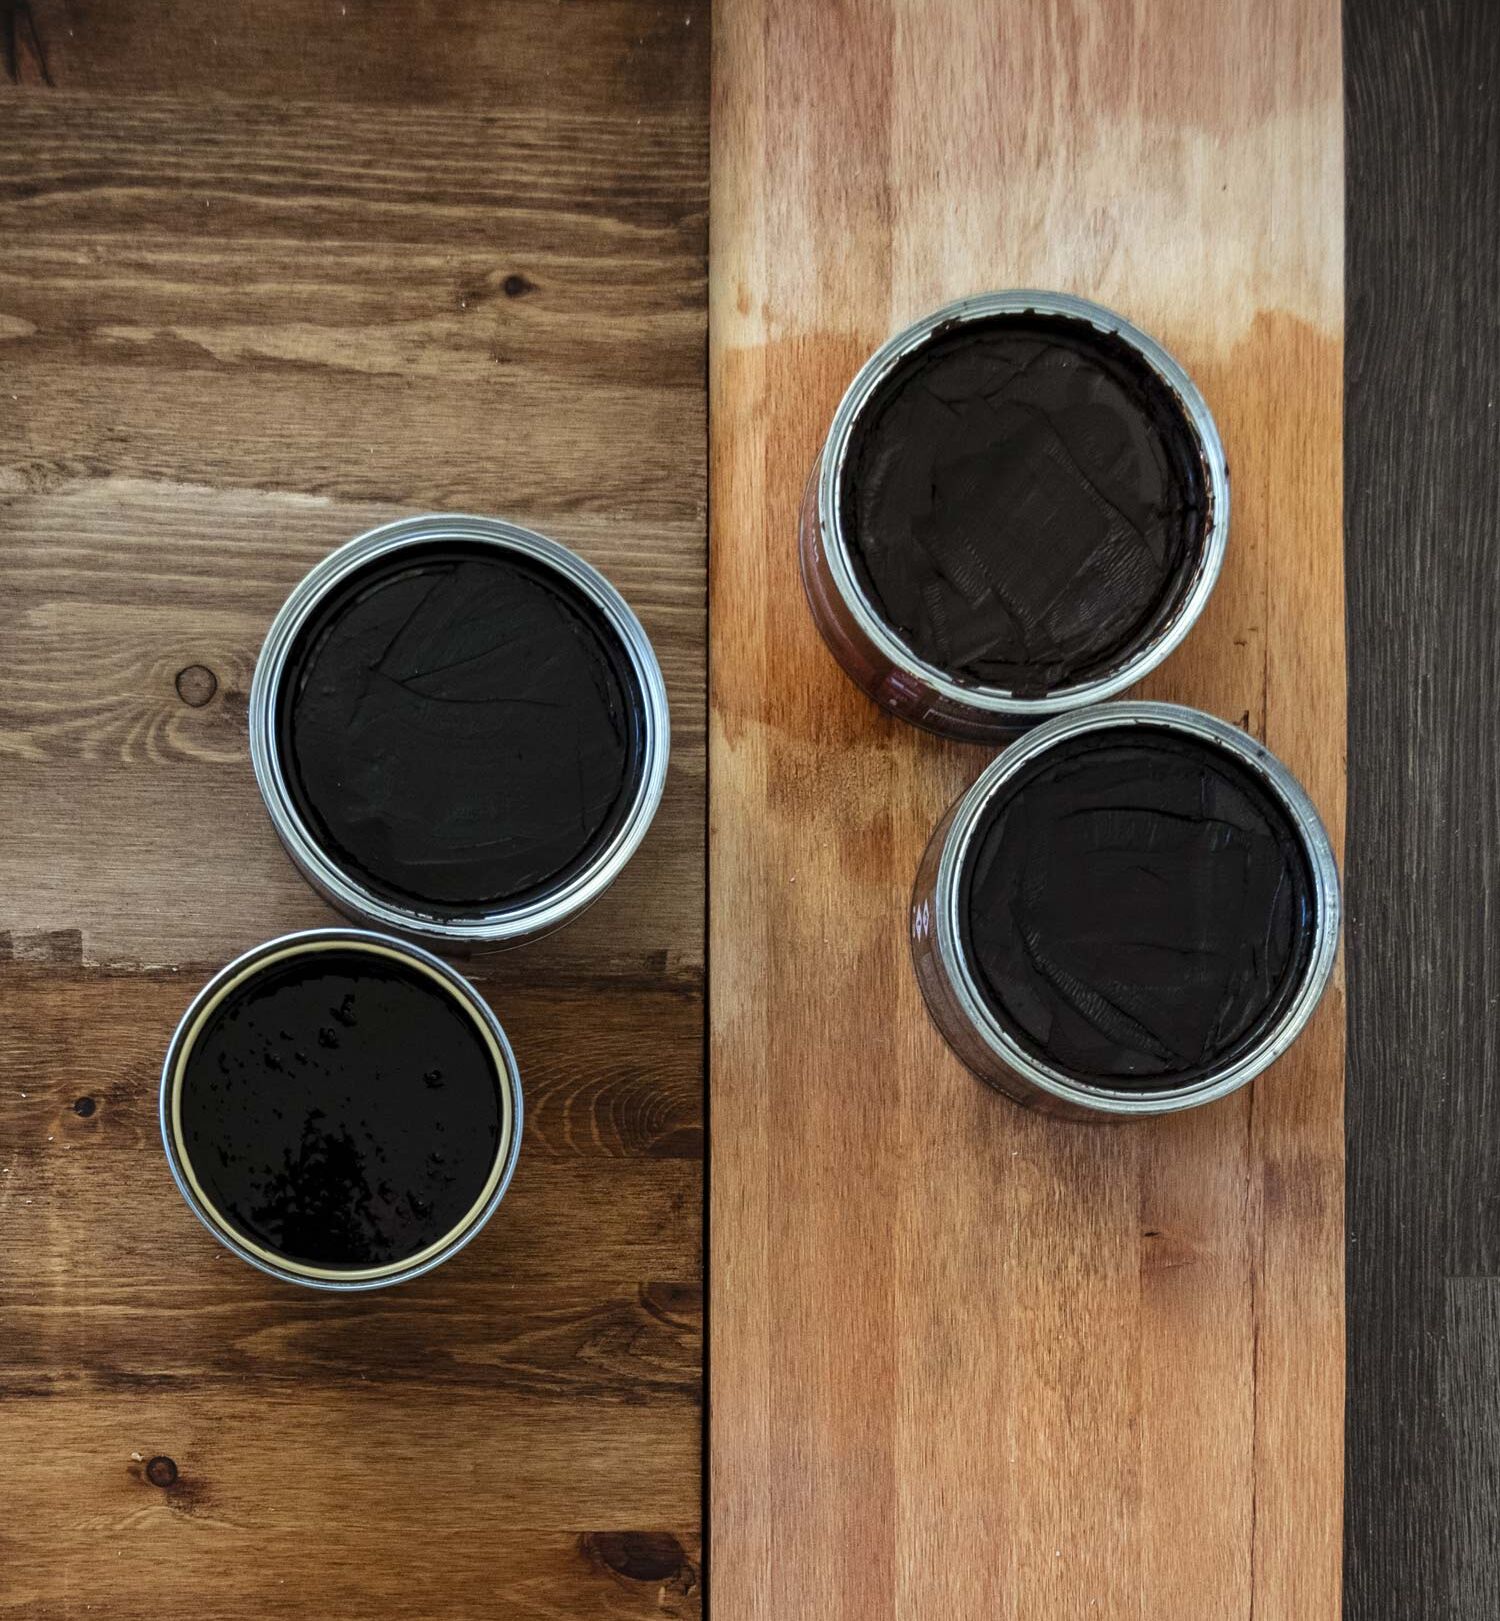
The most important thing is to choose a paint that is suitable for outdoor use and that will give protection from the weather. Paints that are only suitable for use indoors are not sufficient here!

In a second step, the question is then whether you still want to see the texture and any grain of the wood: If so, only a stain or a clear varnish should be considered. Coloured thick stains and varnishes form an opaque protective film, resulting in an even and uniform painted surface. 

WAGNER sprayers for the design of your DIY pallet wood bench

To properly protect your bench made from pallets and also the rest of the pallet furniture from the weather, Sari and Christian recommend applying paint or stain with a WAGNER sprayer. Suitable for this are the HVLP or XVLP units, which atomise the paint, stain or varnish with the help of paint and air pressure. With the model that Sari and Christian use, the Universal Sprayer W 590 FLEXiO, you can even spray wall paint!

W 590 FLEXiO

W 590 FLEXiO

Sari uses the W 590 FLEXiO Universal Sprayer from WAGNER to paint her raised bed. The unit can be used with almost all types of wood and metal paints, stains and varnish.

W 590 FLEXiO
Spraying woodstain: Guide & tips

Spraying woodstain: Guide & tips

Learn the best way to spray woodstain, what you should look out for, why it's worth spraying stains and what the best equipment is for it.

Find out more
Why spraying is better

Why spraying is better

With a paint sprayer, it’s incredibly easy to apply the material evenly and to cover the entire surface. The end result is a smooth and even layer of paint. When using a brush, brush marks tend to appear.

To the explanation