Modern wall design with wood

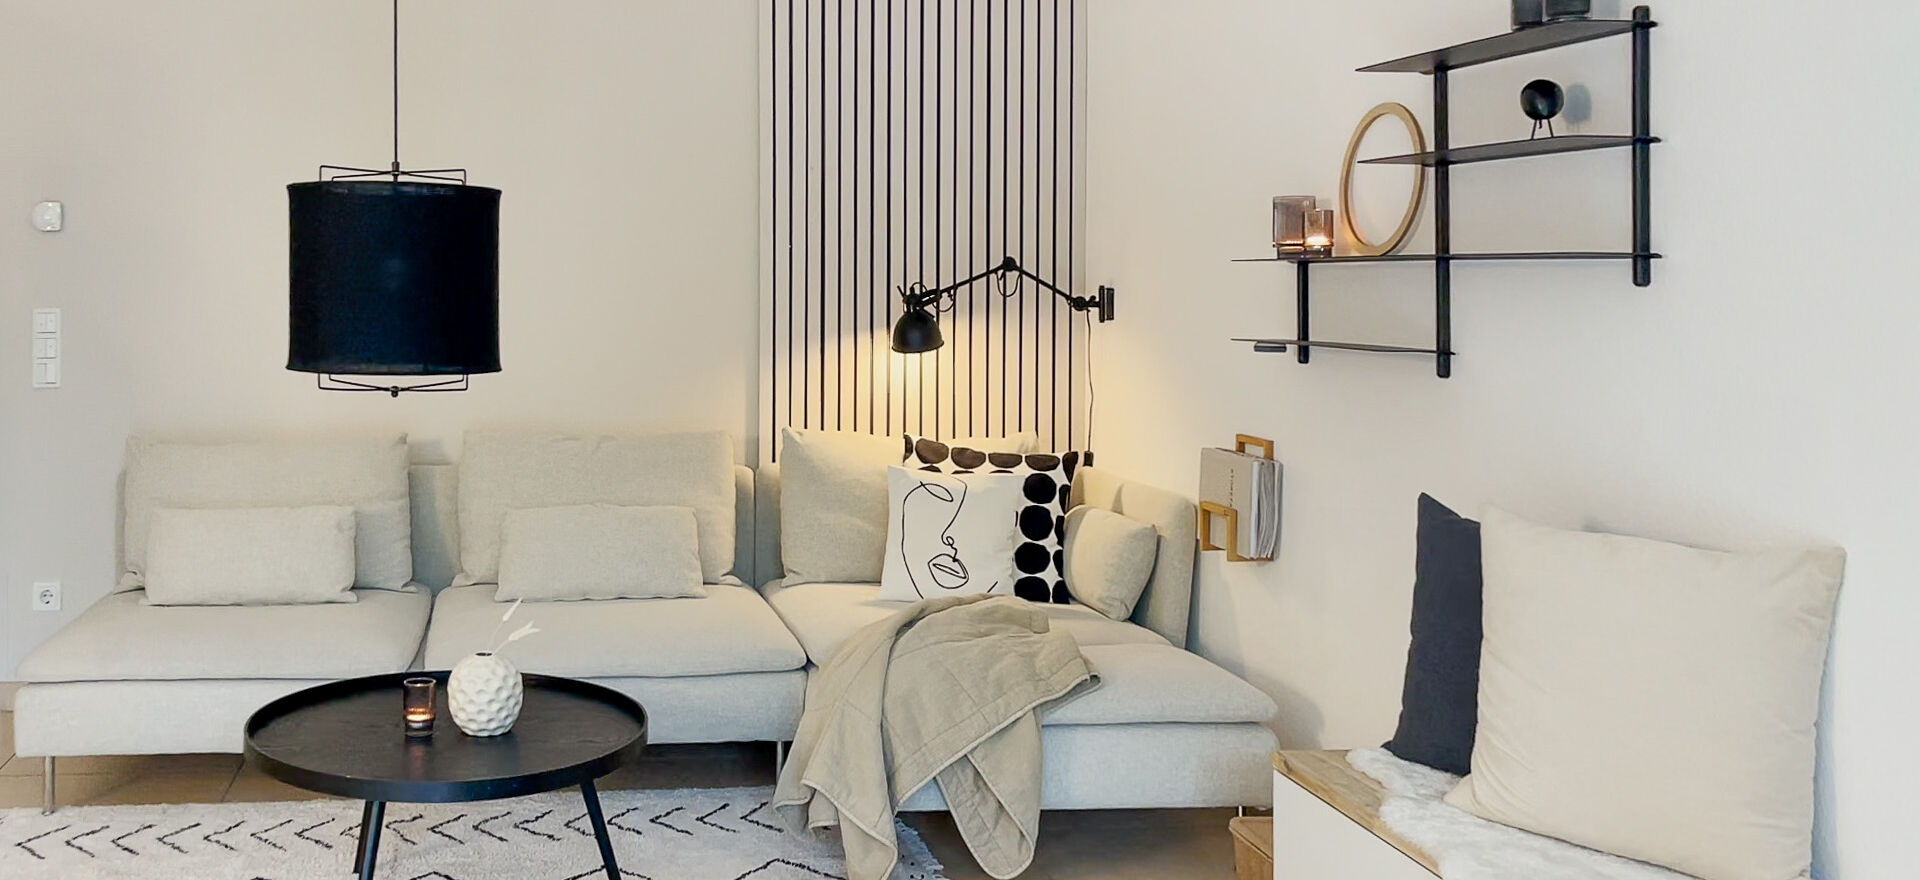
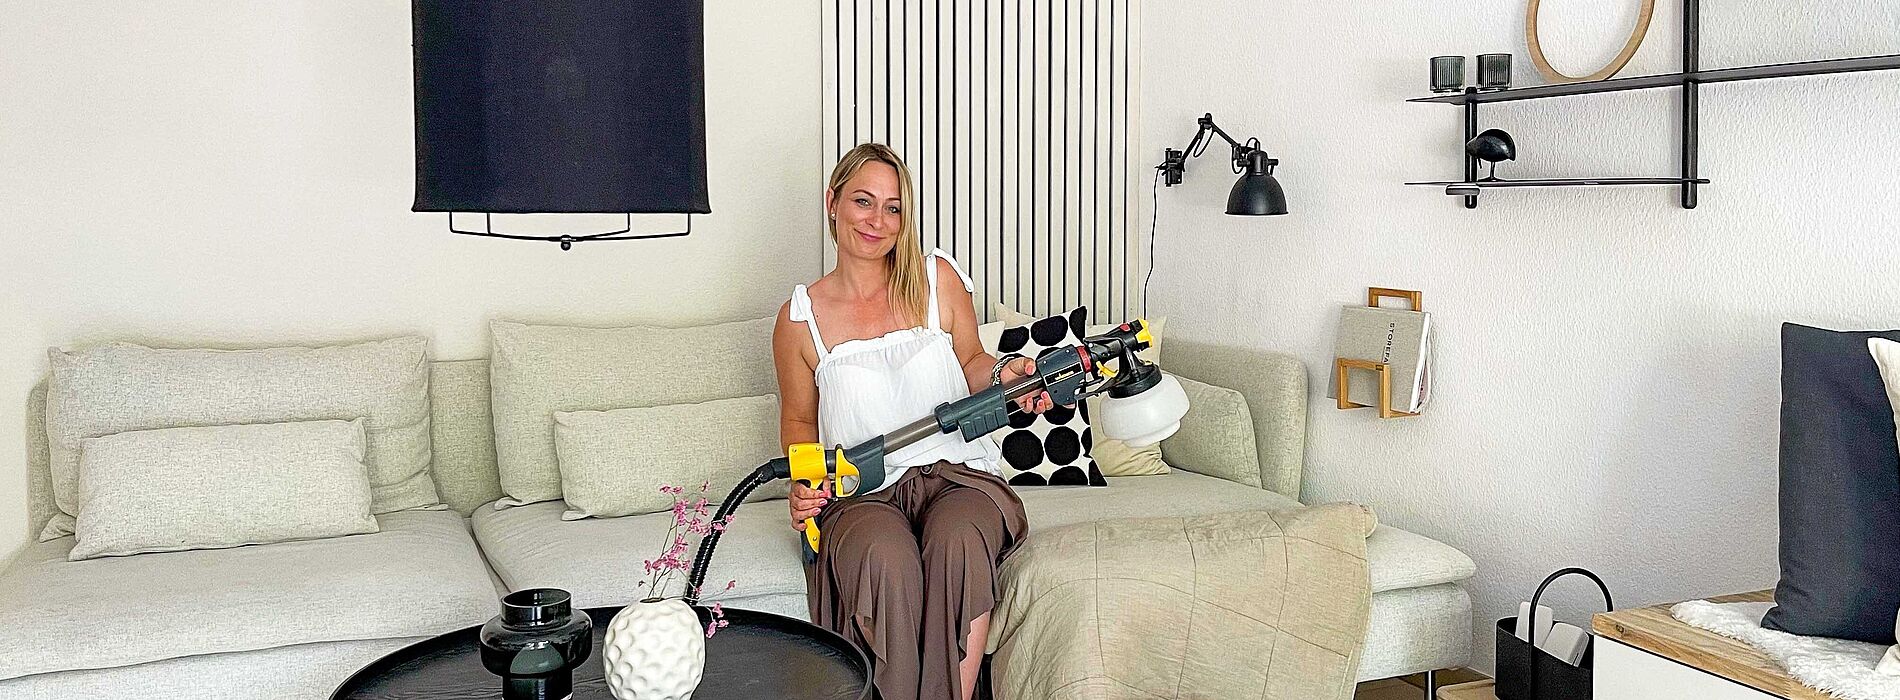
Diverse, modern wall designs are not only in demand, but also a real show stopper next to simply designed walls. Using wood as a natural material creates a very natural and homely look. There are extremely individual possibilities for implementation here, and there are no limits to the imagination. Together with Aneta (Instagram: anetas_leben), we want to give you some inspiration for a Scandinavian style modern wall design.

By viewing the video you agree that your data will be transmitted to YouTube and that you have read the privacy policy .

What you need for the wall design?

  • Wall paint: When selecting, make sure that the paint is suitable for applying with an (HVLP) paint sprayer
  • Long wooden strips
  • Wooden panel for the back wall
  • Long screws and nails
  • Masking material, e.g. Masking Set Universal Extra Masking Kit Premium

Step 1 of 6: Masking

Step 1: Masking

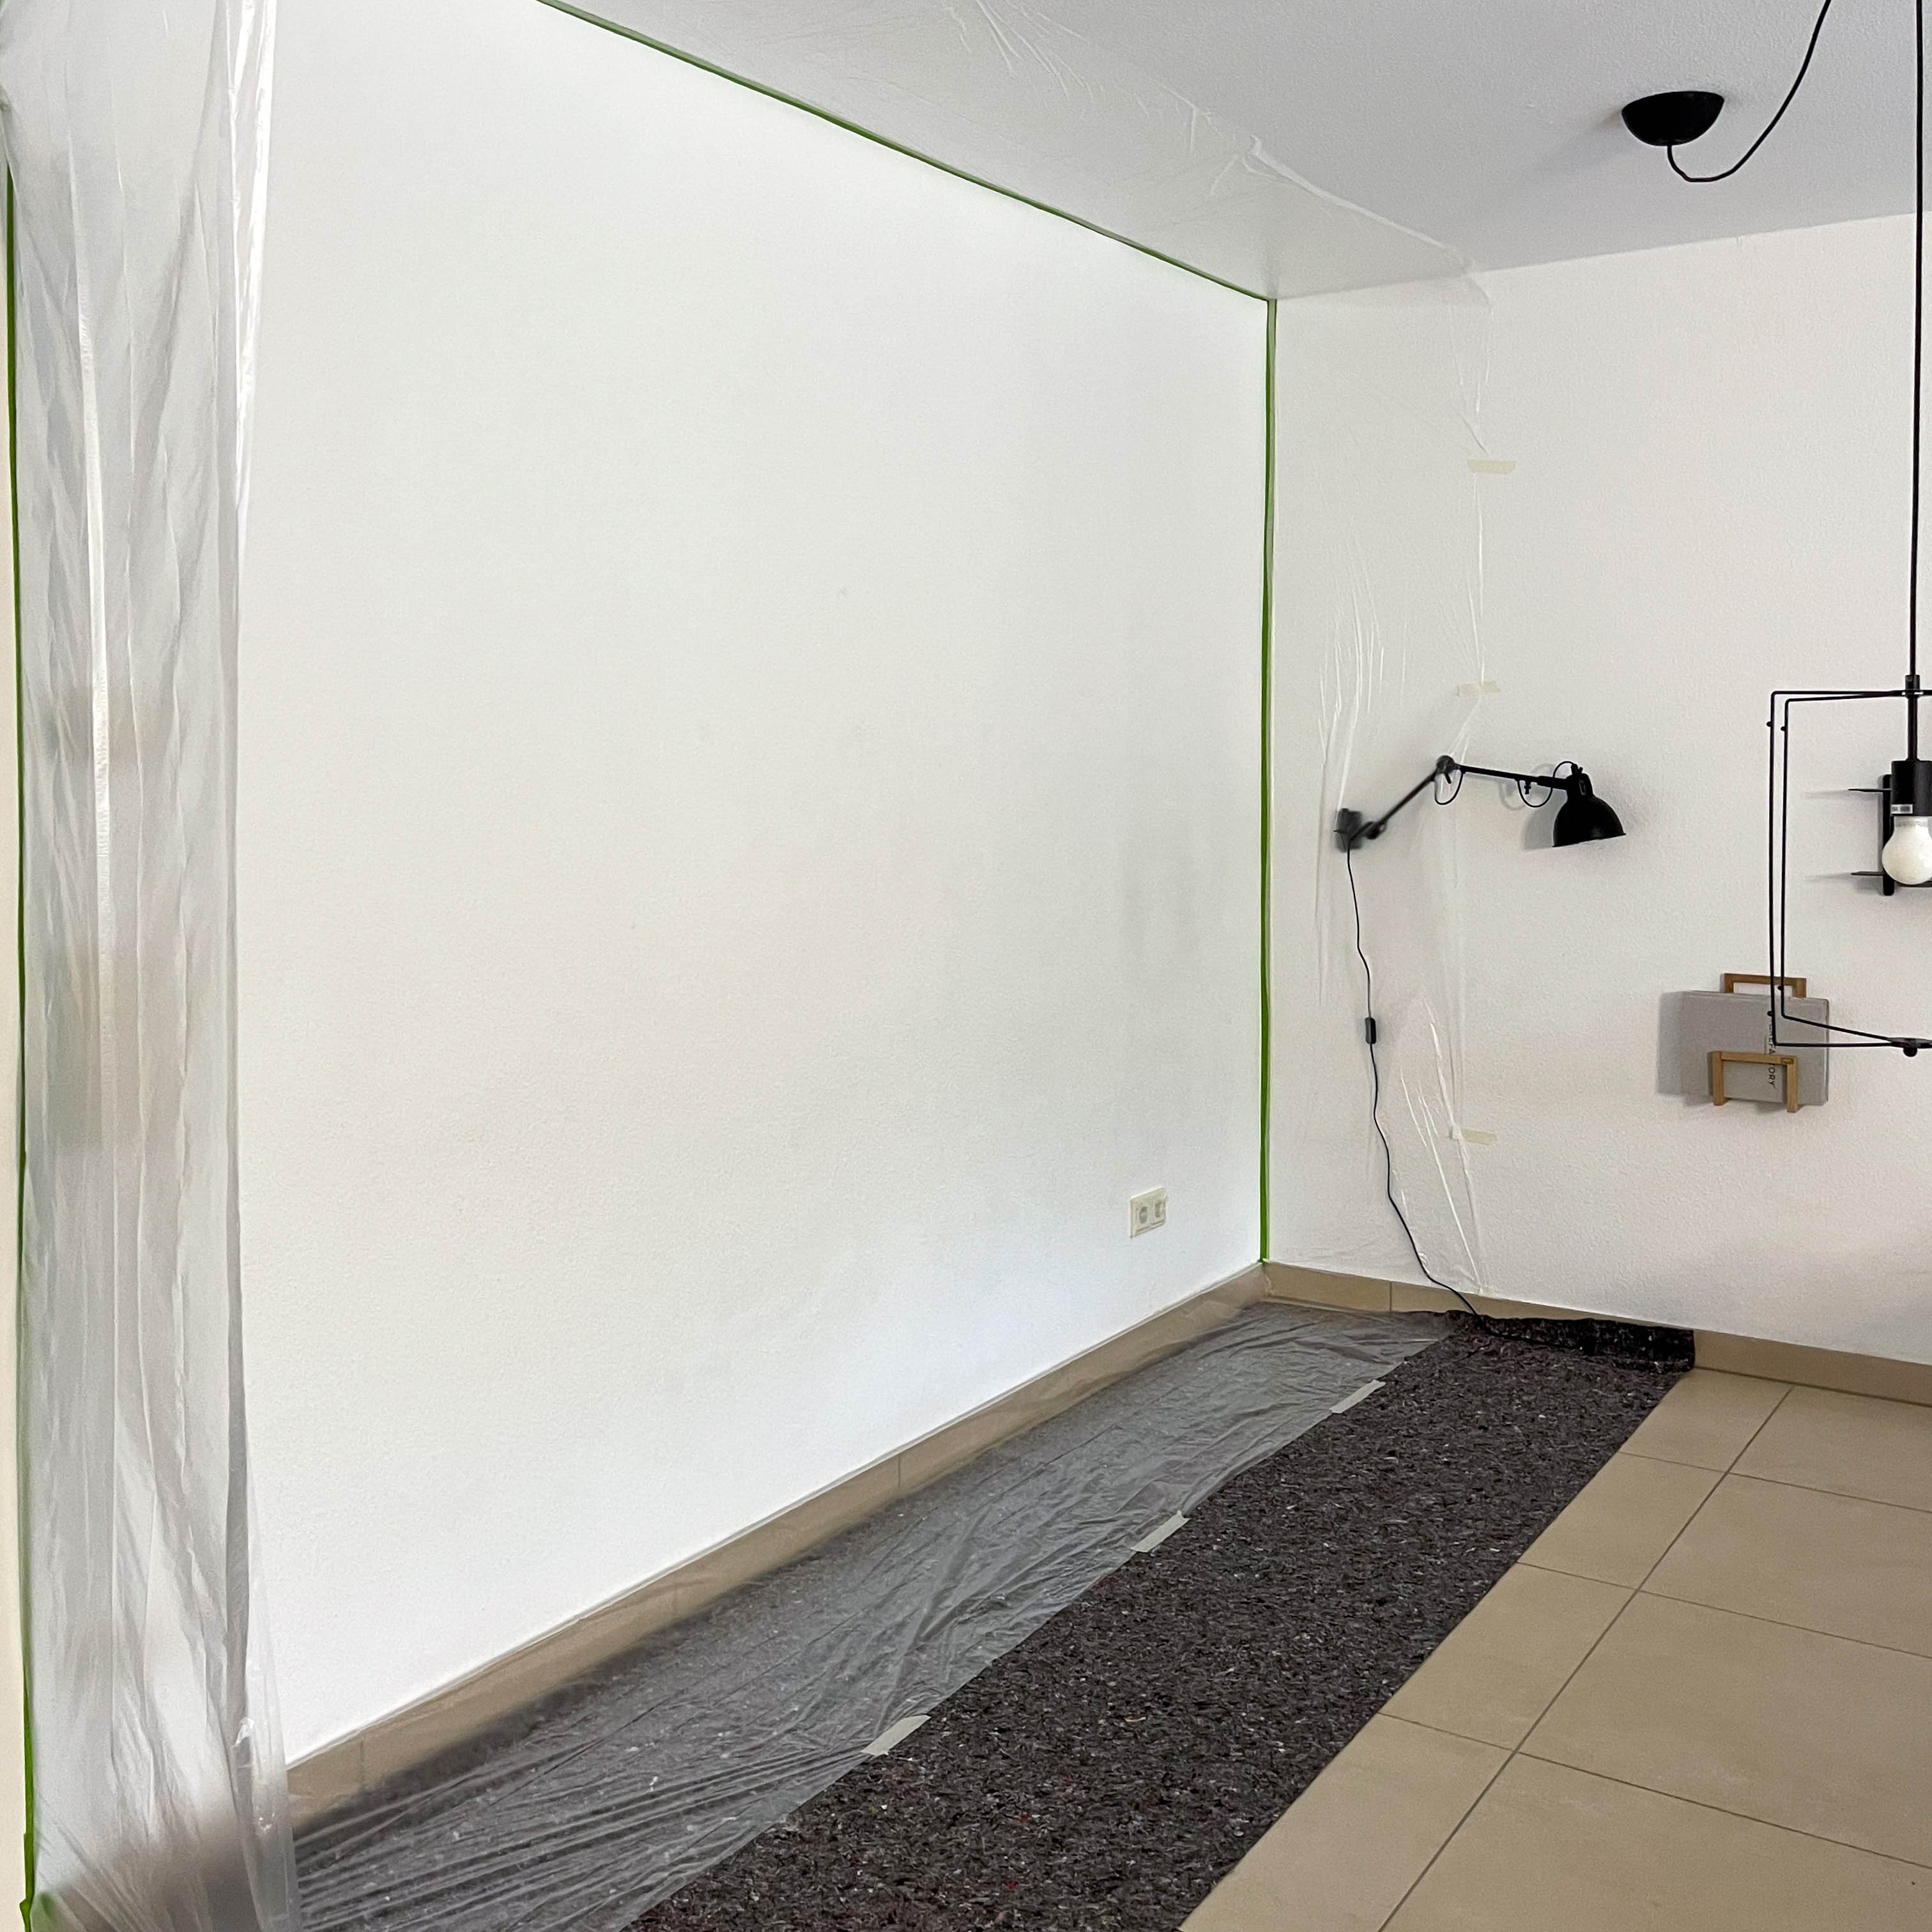
Tape the surrounding surfaces sufficiently. With the Mask-it set you can easily mask windows and doors or walls and ceilings. On the floor, a painter’s fleece or dust sheet is suitable.

Step 1: Masking

Tape the surrounding surfaces sufficiently. With the Mask-it set you can easily mask windows and doors or walls and ceilings. On the floor, a painter’s fleece or dust sheet is suitable.

Step 2 of 6: Prepare the sprayer

Step 2: Prepare the sprayer

Fill the selected paint into the wall paint attachment of your paint sprayer. Make sure that the wall paint is sufficiently diluted (approx. 10 – 15 %). If you are unsure, read the information provided by the paint manufacturer in the technical data sheet or askthe material manufacturer directly. You can also  find all the paints that have already been tested in our spray guide.

Step 3 of 6: Spray wood mouldings

Step 3: Spray wood mouldings

Aneta sprayed the wooden mouldings in the same colour as the wall, giving the design a harmonious and calm look. You can use the 3-way adjustable spray jet for the wooden strips and use the spot jet, for example. This narrow jet is ideal for the thin battens.

Step 3: Spray wood mouldings

Aneta sprayed the wooden mouldings in the same colour as the wall, giving the design a harmonious and calm look. You can use the 3-way adjustable spray jet for the wooden strips and use the spot jet, for example. This narrow jet is ideal for the thin battens.

Step 4 of 6: Spray back wall

Step 4: Spray back wall

Change the spray attachment on your paint sprayer from wall paint to wood and metal. Then spray the wooden panel for the back wall in the desired colour. In our example, the wooden panel is sprayed with an anthracite shade to create a contrast with the light wooden trims. Let everything dry well before you start the next step.

Step 5 of 6: Screw on the rear wall

Step  5: Screw on the rear wall

Now screw the dark grey back panel to your wall using suitable screws. Check for any power cables beforehand. If it is not to be fitted flush into the corner, then it is best to mark the spot.

Step 6 of 6: Attach wooden boards

Step 6: Attach wooden boards

As a final step, now attach your previously sprayed wooden boards to the dark grey back wall. It is best to use small nails here that are slightly longer than the thickness of the wood. You can also screw the wooden boards to the back wall from behind beforehand and screw to the back wall + boards together so that fewer nails are visible.

Icons8 easy

And you’re done!

The new wall design fits in perfectly with Aneta’s interior style – clean, with natural materials. It was very important to her to create a visual highlight on the wall, but still remain discreet. If you prefer a more contrasting look, you can also create a show stopper with darker shades for the wooden element. But you can also implement many other furnishing ideas from panels. How about building a coat rack yourself from the wooden slats? Decide for yourself with your individual wall design!

For questions, feel free to write to us on our social media channels: Wagner.DIY on Instagram or Facebook.

Before

After

Universal Sprayer W 690 FLEXiO

Universal Sprayer W 690 FLEXiO

With the W 690 FLEXiO you get two paint spray systems for the price of one: With the two spray attachments, the unit is suitable for both indoor and outdoor projects.

W 690 FLEXiO
Spraying varnishes: instructions & tips

Spraying varnishes: instructions & tips

Find out here how best to proceed when spraying varnish, what you should bear in mind, why it is worth spraying varnish and which equipment is suitable for this.

Spraying varnishes
Tipps tricks carina slider

Tips and tricks with Carina

We have summarised more tips on spraying wood and metal paints for you in our Tips and Tricks with Carina.

Apply glazes and lacquers correctly