Build your own outdoor kitchen: DIY building instructions for an outdoor cooking island

In summer, when the warm temperatures tempt us into the fresh air and we prefer to spend the whole day in the garden or on the terrace, it is also the season for barbecue fans. It's just a shame that the preparations for the outdoor BBQ have to take place indoors. How about combining the two - and doing it outdoors?

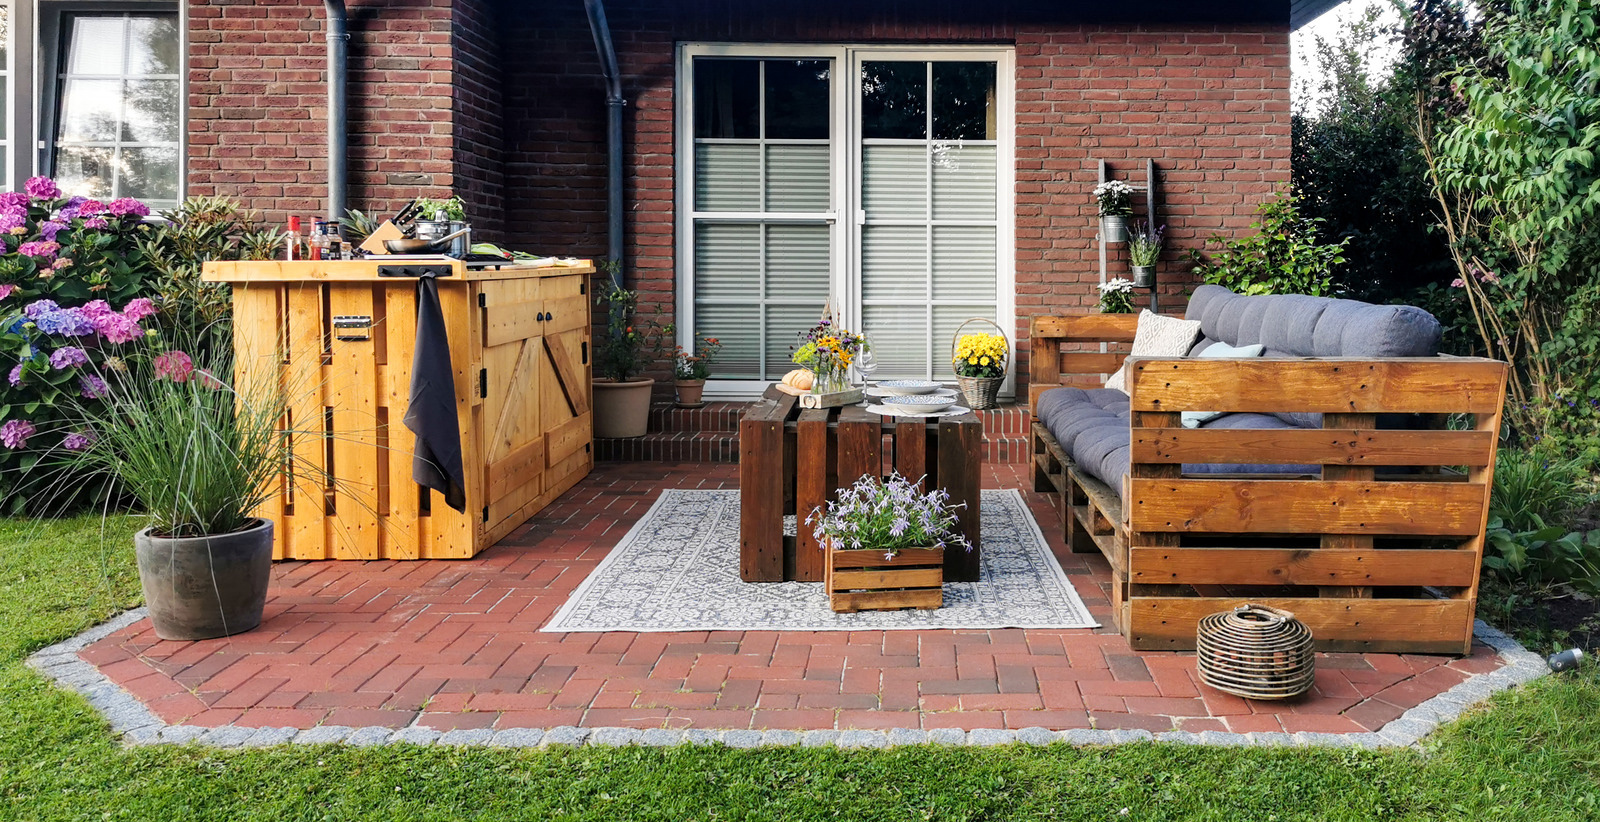
An outdoor kitchen made of pallets can be built yourself with a little skill and the right tools - such as the WAGNER W 590 FLEXiO paint spray system. Sari and Christian from the blog "Saris Garage" demonstrate it step by step and the result is impressive.

By viewing the video you agree that your data will be transmitted to YouTube and that you have read the privacy policy .

To build the garden kitchen you will need:

  • 13cm Screws
  • Plastic sheet or painter's fleece
  • Aluminium foil
  • Respiratory mask
  • Wood preservative/paint
  • 4 Euro pallets
  • Tongue and groove boards
  • Castors with brake
  • Triangular ledges
  • Square timber
  • Hinges in two sizes
  • Two door handles (here: Shell handles)
  • Magnetic catch
  • Large handles
  • Hook strips

A step-by-step guide: Build your own outdoor children's seating area

Step 1: Cut euro pallets

Step 1: Cut euro pallets

Start by roughly cutting all four pallets to the width of an EPAL block using a saw. When determining the final height, it's advisable to consider your own height to ensure the outdoor kitchen is ergonomically adapted to your personal needs. Don't forget to take the height of the wheels into account.

Step 1: Cut euro pallets

Start by roughly cutting all four pallets to the width of an EPAL block using a saw. When determining the final height, it's advisable to consider your own height to ensure the outdoor kitchen is ergonomically adapted to your personal needs. Don't forget to take the height of the castors into account.

Step 2: Connect the pallets together

Step 2: Connect the pallets together

Then use screws to connect the pallets together as an open front rectangle. When fixing the screws, screwed them through the upper and lower Epal block. This works best by using screw clamps.

Step 2: Connect the pallets together

Then use screws to connect the pallets together as an open front rectangle. When fixing the screws, screwed them through the upper and lower Epal block. This works best with the help of screw clamps.

Step 2: Connect the pallets together

Then use screws to connect the pallets together as an open front rectangle. When fixing the screws, screwed them through the upper and lower Epal block. This works best with the help of screw clamps.

Step 3: Fabricating the support frame for worktop

Step 3: Fabricating the support frame for worktop

The supporting frame for the worktop is made from squared timbers: To do this, the four beams are cut to the internal dimensions of the outdoor kitchen and attached to the underside of the structure with plenty of screws. Then fasten the upper construction beam with angle supports so that the load of the worktop and all the equipment are properly supported.

Step 3: Fabricating the support frame for the worktop

The supporting frame for the worktop is made from squared timbers: To do this, the four beams are cut to the internal dimensions of the outdoor kitchen and attached to the underside of the structure with plenty of screws. Then fasten the upper construction beam with angle supports so that the load of the worktop and all the equipment are properly supported.

Step 4: The worktop

Step 4: The worktop

The tongue and groove boards are now used to construct the worktop. It is said First measure, then cut to size and finally screw everything to the support frame. Of course, it is also possible to buy an appropriately sized wooden board from a DIY store.

Step 4: The worktop

The tongue and groove boards are now used to construct the worktop. It says: First measure, then saw to size and finally screw everything to the support frame. Of course, it is also possible to buy an appropriately sized wooden board from a DIY store.

Step 5: Frame-forming beams and floor slab

Step 5: Frame-forming beams and floor slab

Now follow the frame-forming beams and the floor: The three beams are cut at a 45 degree angle and attached to the pallets all around with screws. Tongue and groove boards can be used again for the floor. They are also measured, cut to size and attached to the lower frame with screws.

Step 6: Door construction

Step 6: Door construction

For the doors, lay the tongue and groove boards vertically next to each other and fix them with auxiliary boards so that they do not shift. Then fit a horizontal board to the other boards at the top and bottom with a little distance to the respective edge and fix it with one screw per board. Then do the same again for the second door. When everything is screwed together, the doors are shortened to the right length with the circular saw.

Step 7: Cross boards for the doors

Step 7: Cross boards of the doors

Now comes the icing on the cake for every door - the cross board. Use screw clamps to fix it to the horizontal boards, then mark the angle cuts on the wood and then use a jigsaw to cut the boards and screw them to the doors.

Step 7: Cross boards of the doors

Now comes the icing on the cake for every door - the cross board. Use screw clamps to fix it to the horizontal boards, then mark the angle cuts on the wood and then use a jigsaw to cut the boards and screw them to the doors.

Step 7: Cross boards of the doors

Now comes the icing on the cake for every door - the cross board. Use screw clamps to fix it to the horizontal boards, then mark the angle cuts on the wood and then use a jigsaw to cut the boards and screw them to the doors.

Step 8: Attaching the triangular strips

Step 8: Attaching the triangular strips

Triangular strips are fitted between the frame-forming beams and the worktop to ensure a neat finish. Before fixing them to the panel with the screws, it is advisable to pre-drill the battens. When everything is screwed on, the ends can be shortened to fit exactly with a jigsaw. With a finishing strip at the front, the cut edges become invisible.

Step 9: Sanding!

Step 9: Sanding!

Now all surfaces can be sanded smooth with the sanding machine. Run 220 grit sandpaper slowly and evenly over each surface.

Step 10: Attach castors to the bottom

Step 10: Attach castors to the floor

To make the outdoor kitchen not only chic but also practical, castors are attached to the bottom. This means that the heavy garden kitchen can be moved at any time. It is important to use castors that can be securely fixed by using the brake.

Step 11: Experiences with the WAGNER W 590 FLEXiO

Step 11: Experiences with the WAGNER W 590 FLEXiO

To apply the paint, place the outdoor kitchen on a tarpaulin or painter's fleece to protect the surface from paint; wrap the rollers with aluminium foil. With the WAGNER W 590 FLEXiO paint sprayer, the paint application is quick and uncomplicated. The paint, varnish or wood preservative of your choice is poured into the system, diluted if necessary and sprayed evenly onto the wood at a distance of about 10 cm.

Step 12: Adapt shelves

Step 12: Adapt shelves

For the shelves of the outdoor kitchen, the first thing to do is to build a supporting frame from squared timbers (previously cut and sprayed) and fasten it inside the kitchen frame with screws and brackets. The shelves are positioned on top and fastened with screws at even distances.

Step 12: Adapt shelves

For the shelves of the outdoor kitchen, the first thing to do is to build a supporting frame from squared timbers (previously cut and sprayed) and fasten it inside the kitchen frame with screws and angles. The shelves are positioned on top and fastened with screws at even intervals.

Tips and hints

You can find all the important information and tricks for spraying paints and varnishes here: :

Tips and Tricks

Step 13: Attaching the doors

Step 13: Attaching the doors

Two small and one large hinge are used per door to ensure sufficient stability. These are attached to the Epal block or to the frame boards with screws.

Step 13: Attaching the doors

Two small and one large hinge are used per door to ensure sufficient stability. These are attached to the Epal block or to the frame boards with screws.

Step 14: Door handles and accessories

Step 14: Door handles and accessories

For the final touches of the outdoor kitchen add door as well as handles for pulling the piece of furniture, hook rails and internal magnetic catches.

Step 14: Door handles and accessories

For the finale and that certain something of the outdoor kitchen, any door handles, handles for pulling the piece of furniture, hook strips and magnetic snaps from the inside can be attached.

Done! After spraying, it's time for a rest!

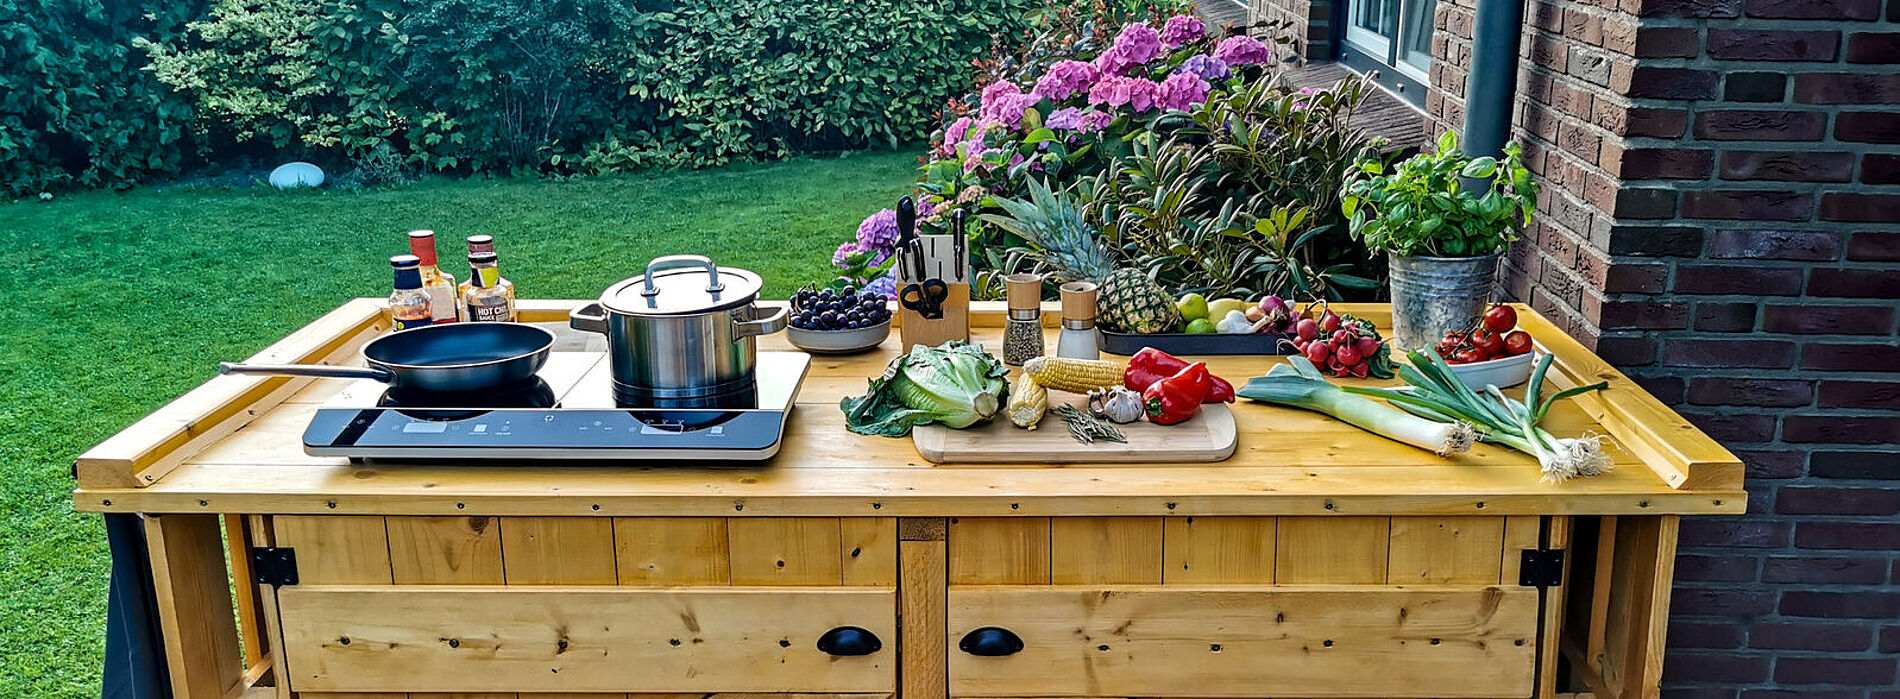
From now on, enjoy relaxed meals and barbecues outside in the garden, on the terrace or perhaps even on a large balcony during the summer season.

Our tip: Your personal outdoor kitchen can be adapted to your individual taste. In no time at all, a hotplate, refrigerator or additional storage space can be integrated. And where the barbecue finds its place depends entirely on the surroundings of the outdoor kitchen.

In this sense: On the grill, ready ... go!

Pallet DIY all-rounders for the garden

Do you still need the right seating for your new outdoor kitchen ? Then take a look at our following step-by-step guide :

Garden Lounge made from Pallets
W 590 FLEXiO

W 590 FLEXiO

Sari uses the W 590 FLEXiO Universal Sprayer from WAGNER to paint the bench made from pallets.
The unit can be used with almost all types of wood and metal paints, stains and varnish.

W 590 FLEXiO
Spraying woodstain: Guide & tips

Spraying woodstain: Guide & tips

Learn the best way to spray woodstain, what you should look out for, why it's worth spraying stains and what the best equipment is for it.

View now
Why spraying is better!

Why spraying is better!

With a paint sprayer, it’s incredibly easy to apply the material evenly and to cover the entire surface. The end result is a smooth and even layer of paint. When using a brush, brush marks tend to be visible.

To the products