Design your own room divider - instructions, tips and ideas for your home office

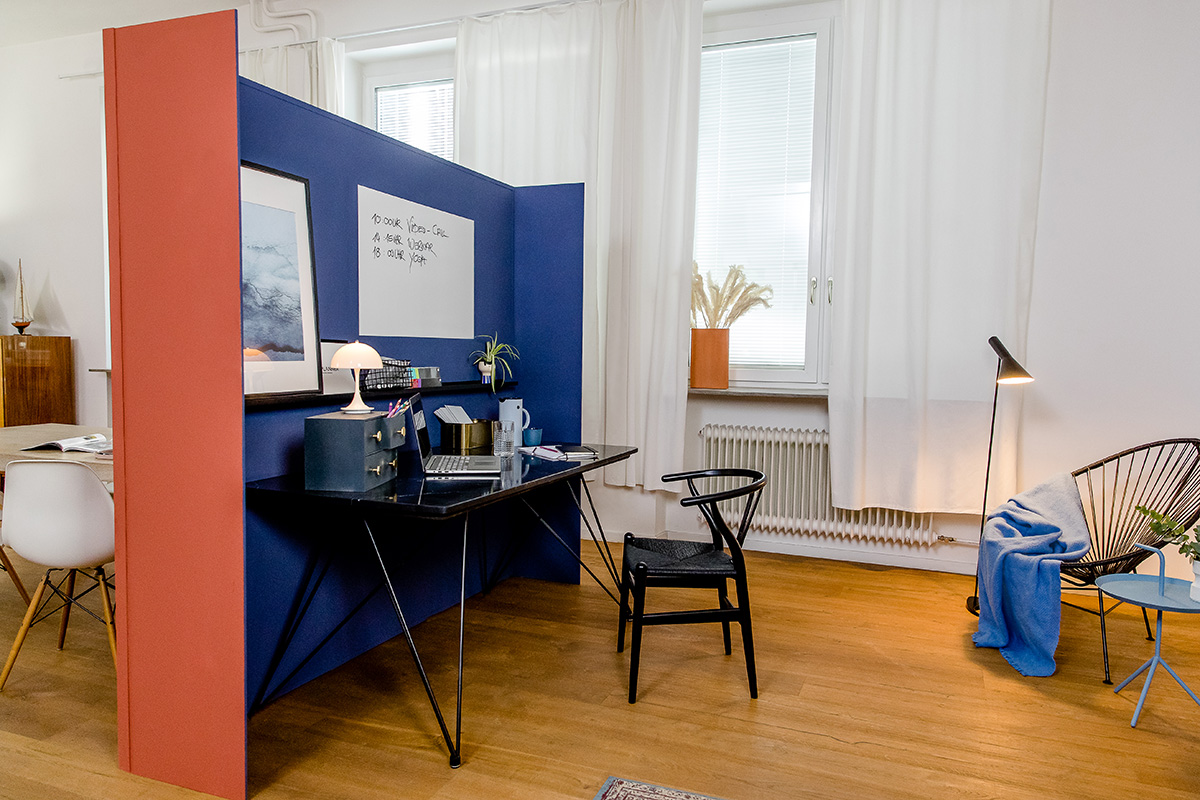
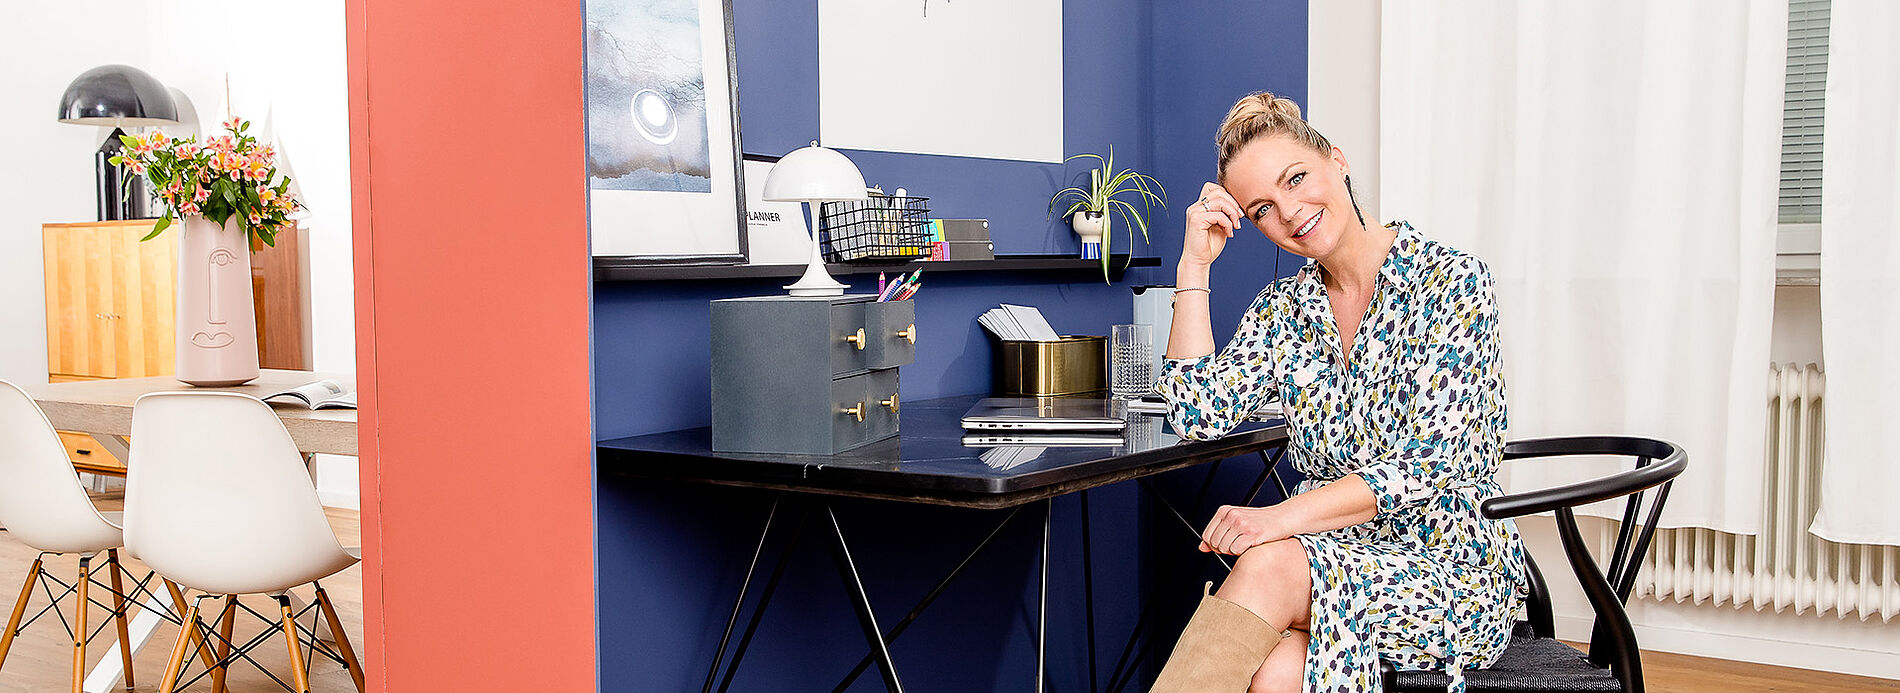
Working from home is currently experiencing an unprecedented boom. The new situation is posing a multitude of challenges to workers – from the technical equipment to virtual meetings, to the essential question of “Where should I actually work?” Not everyone has a separate room for their office, forcing many to work in their dining room, living room or kitchen. The lines between work life and personal life are blurring bit by bit and it is becomingly more and more difficult to close the laptop at night and then turn it off completely. A practical room divider doesn't just bring some order to the chaotic new work situation, it provides a dedicated area for mobile work and creates the perfect separation between work and personal life. Need some inspiration? Interior designer Eva Brenner shows how you can give both your home office and your dining room a modern, sophisticated look.

By viewing the video you agree that your data will be transmitted to YouTube and that you have read the privacy policy .

Step-by-step instructions to design your custom room divider

The construction of your perfect partition is ready or you decided to buy a ready-made room divider? Then it’s time for the design to partition your room in a way that both is functional and looks nice and distinctive. Eva Brenner shows you step-by-step how to stylishly stage your home office and integrate it perfectly into your interior.

You will need:

  • WAGNER paint spray system, e.g. the W 590 FLEXiO with the standard spray attachment that comes with it and an attachment for wall paint
  • Masking material: Tape with and without film
  • cardboard as a spray shield
  • dust sheet to lay on the floor
  • 1 DIY home office room divider: self-built or purchased
  • Wall paint in 2 different colours of your choice
  • Whiteboard paint
  • Decorations for the divider, e.g. picture ledges etc.

Step 1: Prepare and cover

Prepare and cover

Find a suitable place where you’d like to create your room divider. Cover the floor, surrounding furniture and any nearby walls here with suitable film. Prepare a cardboard box as well to protect edges while spraying.

Step 2: Prepare device for wall painting

Prepare device for wall painting

First use water to dilute the dispersion paint you’ve chosen for the living room side by about 5-10% (depending on the material and manufacturer) and load it into the spray attachment for wall paint. Now adjust your paint sprayer and set the spray jet and direction and the material volume. Spray a small amount onto a piece of cardboard to test whether the spray jet is coming out smoothly. If there are still small droplets of paint visable on the edge, you can adjust the material volume for example, or dilute the paint more.

2021 Wager EvaBrenner 11

Eva's painting tips:

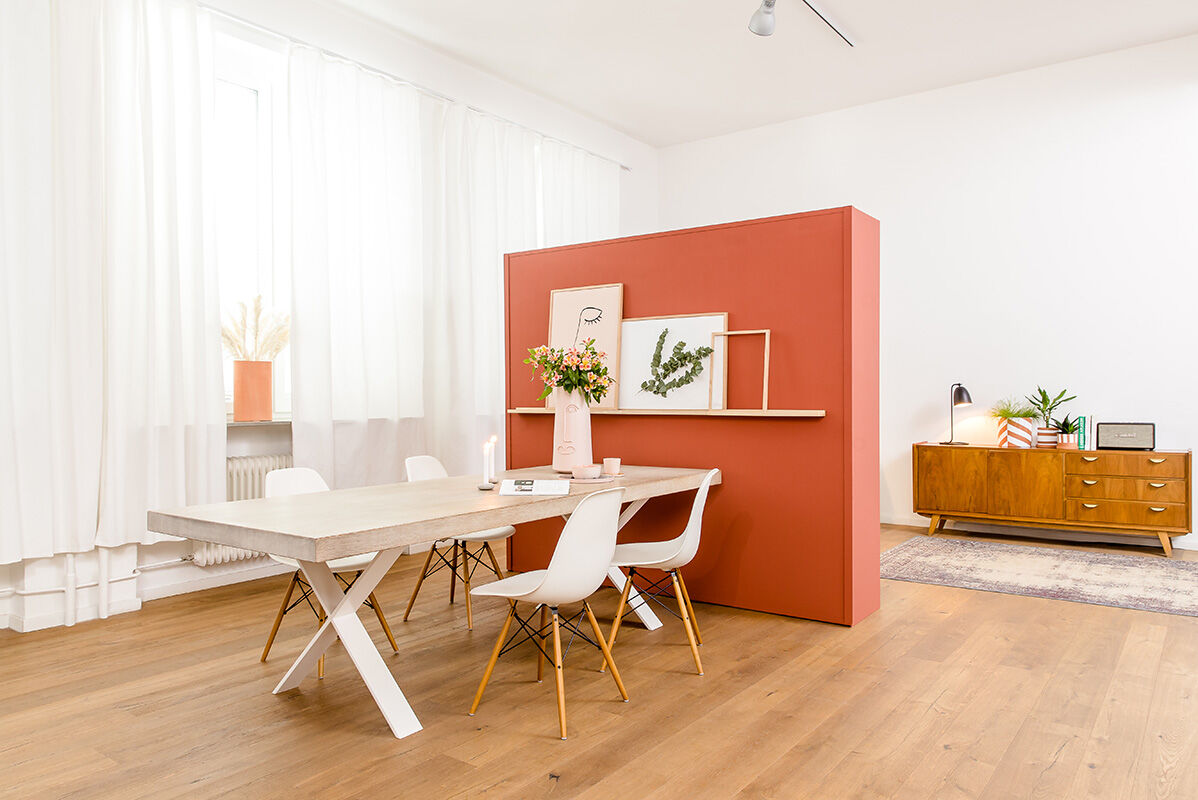
“I recommend a dark terracotta shade for the dining room. The colour is totally on trend for 2021 and makes for a good talking point and comfortable ambience. In contrast, the classic ultramarine I’ve chosen for the home office is calming, giving the area depth and an inspiring atmosphere.”

Step 3: Spray the wall paint onto the room divider

Spray the wall paint onto the room divider

Now it’s time to spray the wall paint! Always move the paint sprayer at a consistent distance of about 10 – 20 cm away from the room divider. Try to spray with as consistent a speed as possible, too. Make sure the paint passes overlap each other so that your result looks nice and even.
Tip: To make your work more precise, stick cardboard around the edges of your room divider to prevent any accidental.

Step 4: Coat the other side of the divider

Coat the other side of the divider

Now repeat the previous steps on the back of the divider. Wait a bit until the colour on the front is dry so you can mask the edges. For the second colour, you can just use a second wall paint spray attachment thanks to Click&Paint. Alternatively, thoroughly wash the attachment that you used for the first paint colour. After spraying, let both sides dry completely before you continue.

Step 5: Prepare whiteboard surface for home office divider

Prepare whiteboard surface for home office divider

Before you can spray on your practical whiteboard, you should mask the area thoroughly. Start with a high-quality painter's tape to precisely line the edges and then tape the surrounding areas using a tape with film, to prevent fine paint particles from getting into the fresh wall paint. Then sand the desired area as smoothly as possible using very fine sandpaper and wipe away the sanding dust with a microfibre cloth.

Step 6: Prepare whiteboard paint

Prepare whiteboard paint

Whiteboard paint is usually a 2-component material. This means you should start by mixing the two components together well and then wait about 5 minutes before diluting the paint with about 10% water. Load the whiteboard paint into your spray attachment for wood and metal paint (with the fence symbol) and spray a test sample onto a piece of cardboard.

Step 7: Spray whiteboard onto divider

Spray whiteboard onto divider

Using a cross-coat, apply a thin coat of paint and let it dry for about 30 minutes before proceeding to the second step. Spraying in a cross-coat pattern means applying the paint from top to bottom first and then left to right. Apply about 4-5 coats of the paint in this way you get a perfect writing surface for your whiteboard. After the last coat of paint, carefully pull off the tape. Let your whiteboard dry completely for at least 48 hours before you write on it for the first time with special whiteboard markers.

Now it's time to decorate the room divider

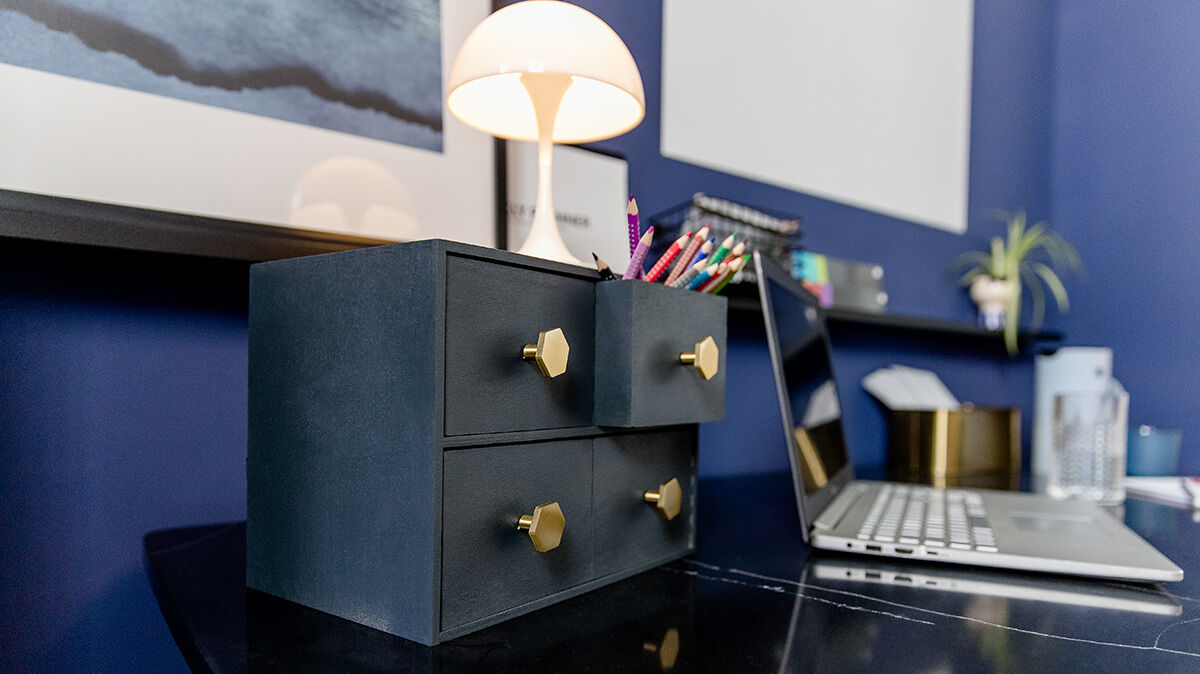
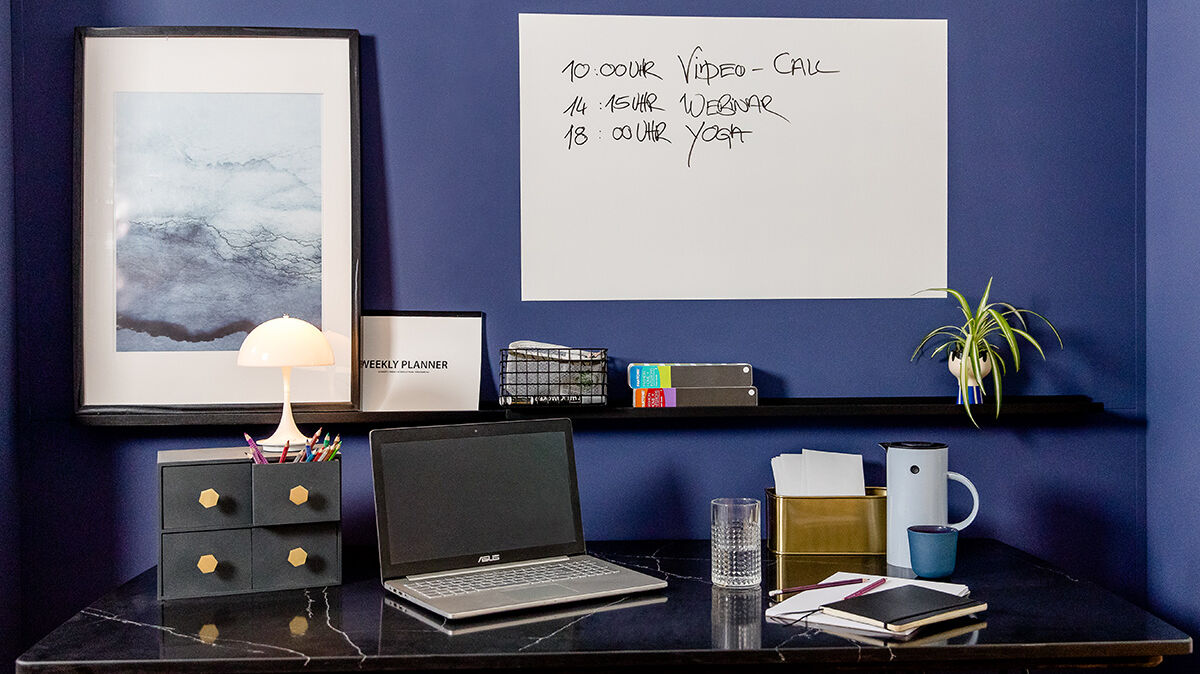
To put the finishing touches on your room divider, decorate both sides with appropriate accessories. For offices, there are pretty and practical items that quickly create order. For example, we chose a picture ledge that provides a spot to store whiteboard pictures and is also the perfect setting for invitations or postcards. On the living room side, Eva decided to put up another picture ledge, using lovingly selected works of art and objects to create an individual look. The room’s look can be changed up over and over again in just a few steps.

Tips and tricks for designing the home office partition wall

Cork - noise protection and a pin board

If you want a little more insulation, you can attach cut-to-size cork onto the partition wall with wood glue or industrial adhesive. It dampens noises a bit more - and you can use it as a pin board at the same time! Cork can also easily be sprayed with a colour of your choice. This way the pin board fits seamlessly into your colour concept or creates an exciting splash of colour in the overall look!

Hide the seam between the units with decorative strip or picture rail

Do you think the edge between the MDF panels is unsightly? Then you can attach a picture rail. Watch the video instructions above to see how!

Blackboard, whiteboard or magnetic paint for a custom note board

As you can see above, we have applied a chalkboard paint to our room divider to make a note board. Anyone who would like a whiteboard instead can use a whiteboard paint. Both of these colours can be combined with magnetic paint so that you can use magnets to attach papers or notes to your blackboard or whiteboard.

Storage space for your home office with wooden boxes

A lack of storage space is a common problem that comes up in home offices. A simple solution to this is to paint small wooden boxes and use them as storage for various office materials.

What are the advantages of a room divider?

You can use a room divider to separate a certain working area as your small office. This has several positive effects:

1. It helps you to maintain a work-life balance.

Many employees have difficulties switching it all off in their home office and distancing themselves from their work. This results in increased stress and this in turn can reduce productivity or have negative health consequences or even burnout. By separating the working and living area, you can explicitly “leave the room,” just like you also leave the office, and that way you do not see your work materials out of the corner of your eye during your free time.

2. It helps you to organise and set up the workplace.

You can set up your workplace to best suit you - and you don’t have to do it every day. With a separated workspace, you can leave your workplace untouched and don’t have to regularly dismantle it or rearrange it.

3. The room divider itself can serve as a work aid.

You can design your office with the room divider to best serve you. For example, the partition can be painted with chalkboard paint or a pin board can be attached to it. This gives you space for your notes or to-do lists and you can use the space as best as possible.

4. The room divider serves as a visual barrier for family members or roommates.

Anyone with a separate work room can shut the door. If you have set up your office in the living room, you will potentially be disturbed by family or roommates if you do not have a room divider. If you are sitting behind your room divider, it is a similar signal to closing the door in the office. The visual separation is also helpful for you, because you are not distracted by other people in your field of vision.

Build your own room divider

We've put together a step-by-step guide for you on our website along with a detailed list of all the materials you’ll need.

To the project

More projects

WAGNER Group W 590 Produktbild

W 590 FLEXiO

The flexible hand spray gun for indoor and outdoor use

W 590 FLEXiO
WAGNER Group W 690 Product

W 690 FLEXiO

The universal paint sprayer for interior and exterior use

W 690 FLEXiO
Produktfinder

WAGNER product finder

Here you can find more products.

To the products