Paint a wooden fence with an airless sprayer

Paint or spray the fence? This is the question many do-it-yourselfers ask themselves. Our answer is clear: If the wooden fence needs to be painted, spraying has a clear advantage. The application is not only faster, but the surface is also more thoroughly coated. Because when spraying, the paint gets into the deep cracks and grooves of the wooden fence. Also, the application is much more even, because you do not have paint brush marks on the surface of the fence. This means that there is also less exposed surface to be attacked by the weather and the coating protects your fence for considerably longer.

By viewing the video you agree that your data will be transmitted to YouTube and that you have read the privacy policy .

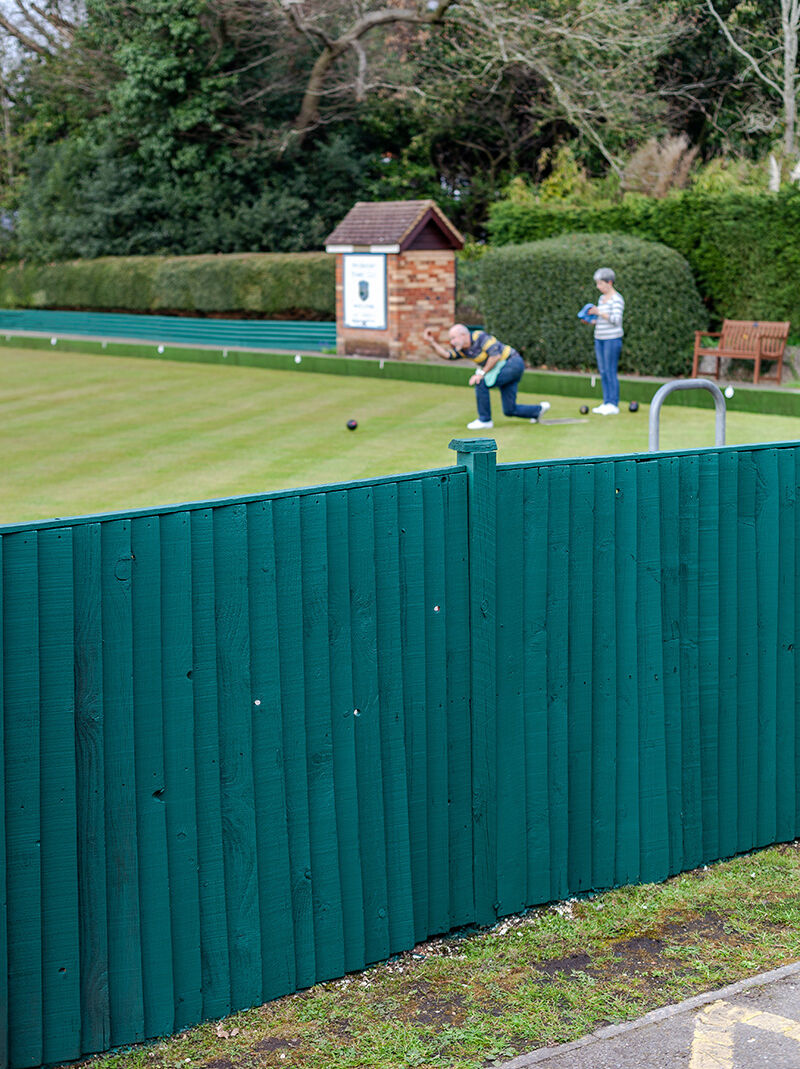
In our example we are dealing with a large wooden fence on a bowling club. Therefore an airless sprayer is used. The long fence is freshly painted in no time at all. The steps you need to follow when painting the wooden fence can be found in this guide.

Here's what you need:

  • Wire brush or long handled broom
  • Covering material
  • Paint in your desired colour

Step-by-step guide for wood fence painting

Step 1 of 4: Cleaning the surface

Cleaning the surface

First any peeling or flaking paint must be removed. A long handle broom is a great help for this, as it saves you from having to bend down. For stubborn areas you can use a wire brush. Make sure you remove all the dirt on the fence so that the paint adheres to the surface.

Step 2 of 4: Cover the working area well

Cover the working area well

Cover the surfaces under the fence well – you can use dust sheets or old cardboard for example. Make sure that the covering material properly covers the ground and that the spray jet does not cause it to "flutter". Alternatively, stick the cover material to the ground with masking tape.

Step 3 of 4: Preparing the paint and the Airless Sprayer

Preparing the paint and the Airless Sprayer

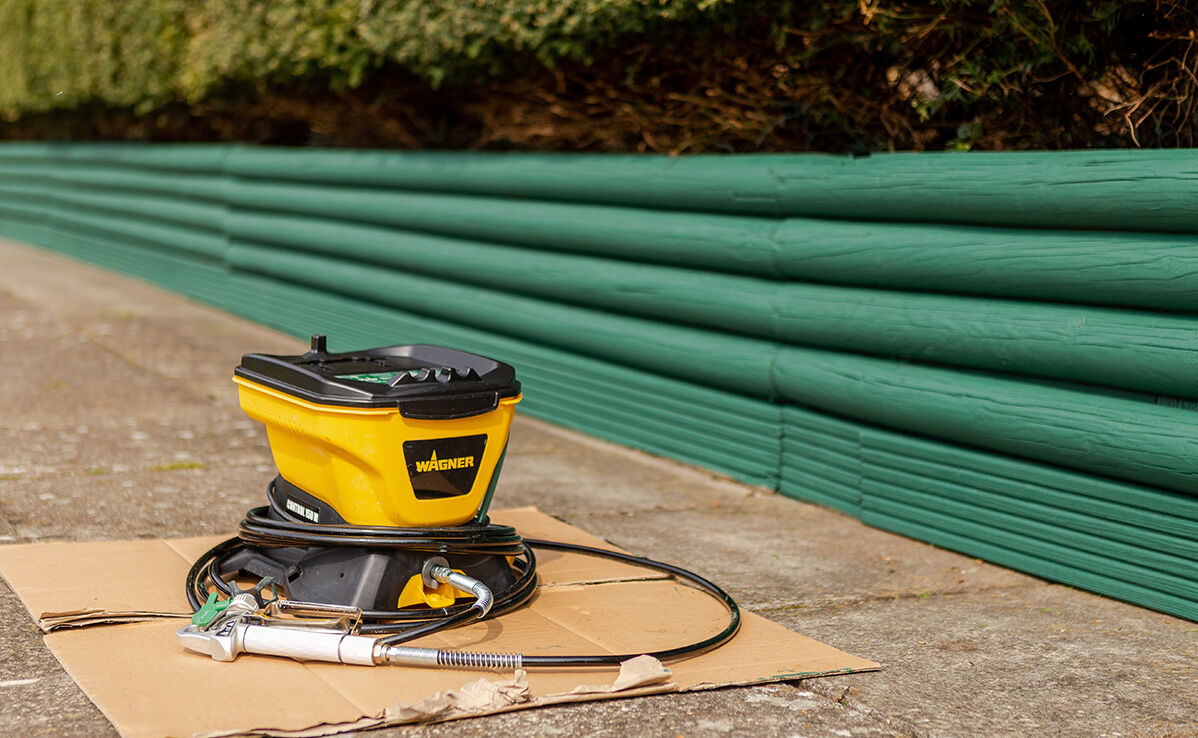
Stir the paint well and dilute if necessary, by following the instructions from the paint manufacturer. Then fill the paint into the paint sprayer container. To fill the sprayer, set the switch to the prime position and switch the unit on. As soon as the paint flows through the return hose, the unit is ready to start - you only now have to set the switch to "SPRAY". Do a test spray to see if you still need to adjust any of the settings. Use an old cardboard box or spray on the back of the fence for a test. You will find a detailed description of the settings of the airless sprayer in the enclosed operating instructions or in our product videos.

We recommend you wear a dust mask when spray painting and if necessary, wear glasses and gloves.

Step 4 of 4: Spraying a wooden fence

Spraying a wooden fence

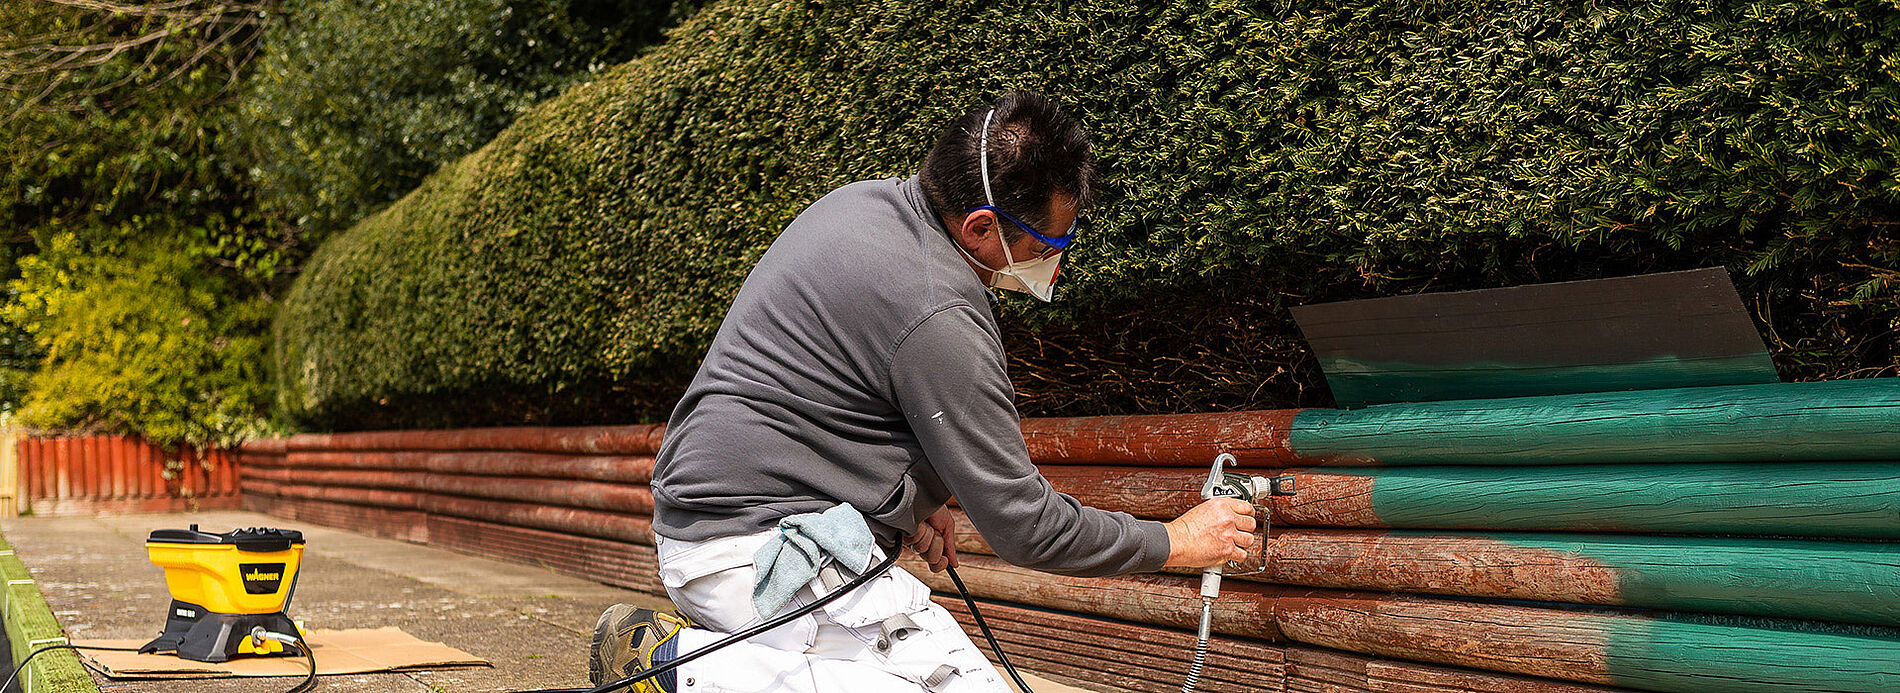
Now it's time for the spraying! Spray at a steady pace and at a distance of about 25-30 cm from the fence. Overlap the paint strips slightly so that the coating becomes uniform and even. Thanks to the spraying technique, paint is also applied in any gaps in the fence. It is also helpful to work in a crosscoat technique on uneven surfaces - i.e. first paint from left to right and then from top to bottom or vice versa. The wide paint jet can be adapted to your working direction - simply turn the nozzle holder on the front of the gun.

Tip: Use a piece of cardboard at the top of the fence as a spray shield, so the paint only coats what it is supposed to coat, namely the wooden fence

The result

With an airless sprayer, the entire wooden fencing of the club is repainted in no time and will withstand the weather again.

Control 150 M product 1

Control 150 M

The perfect introduction to the world of airless spraying for wall paints, wood preservatives, wood and metal paints.

Control 150 M
Produktfinder

WAGNER product finder

Here you can find more products.

Go to products
2361507 W100 Indoor ApplicationPicture Close up

Spraying varnishes: Instructions & tips

Learn here how best to proceed when spraying varnish, what you should look out for, why it's worth spraying varnishes and what the best equipment is for it.

Spraying varnishes