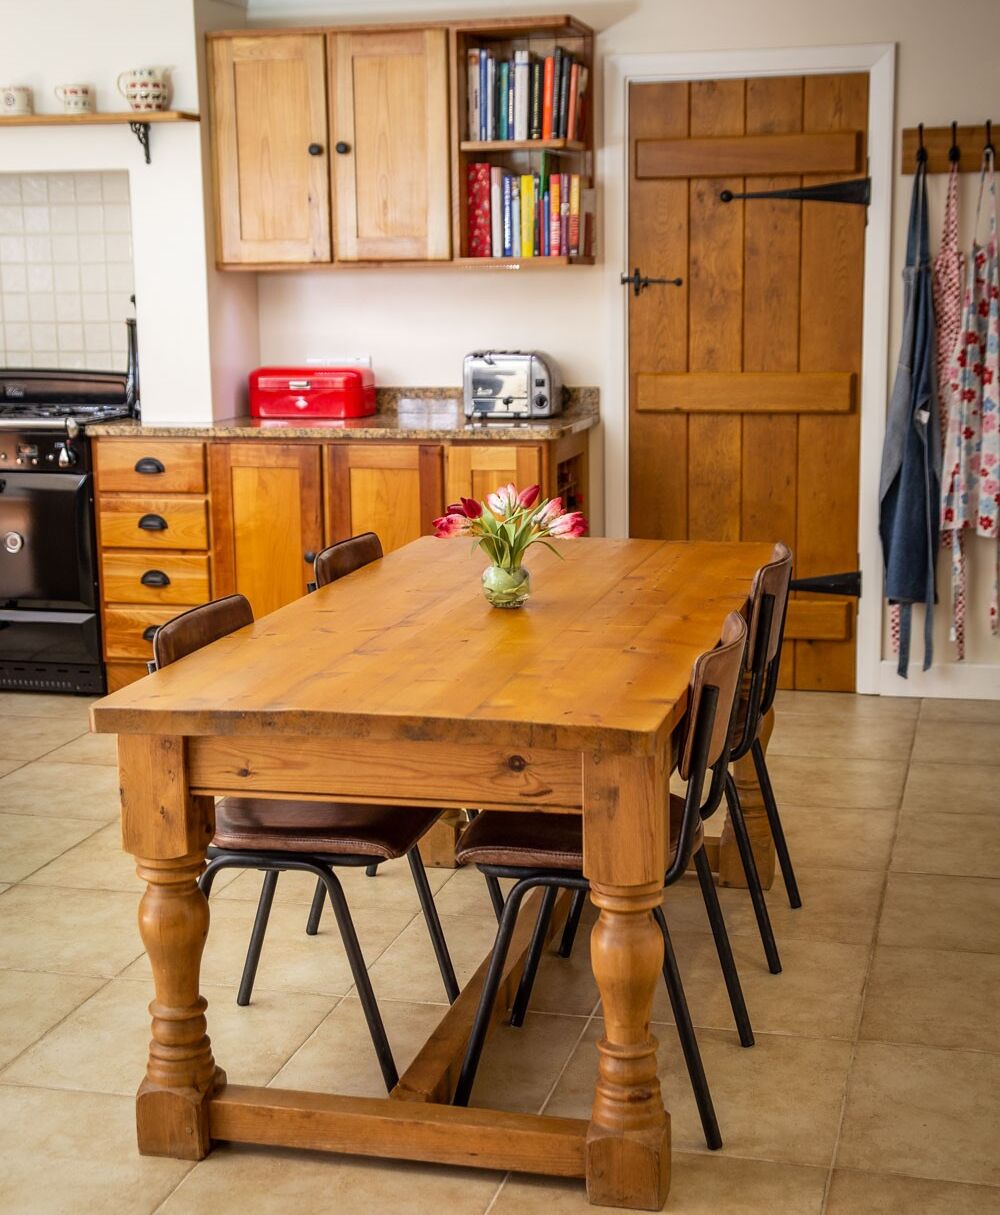
Do-it-Yourself: Varnishing a dining table

A beautiful, large wooden table is the ideal invitation to cook food and invite friends round to share it with you. But what to do if your table is a little tired and the traces of everyday use have left it looking a little shabby? Whether it be an old piece of inherited furniture, a bargain from the flea market or an expensive investment in the 1990s – we show you how you can quickly and easily make your furniture shine with new radiance. So that you can enjoy having guests around again!

By viewing the video you agree that your data will be transmitted to YouTube and that you have read the privacy policy .

You will need:

  • Wire wool
  • Sandpaper
  • Wood cleaner
  • Brush or microfibre cloth
  • Dust mask
  • An old wooden table in need of restoration (flea market purchases and old junk shops are a great place to find old tables)
  • Varnish or paint

Restoring is not about returning furniture to a “new” condition. Instead, it's about preserving the old furniture. In other words, your table doesn't need to look like new, but instead it should retain its old charm.

Step-by-step guide for varnishing a dining table

Step 1 of 9: Removing old paint

Preparation Heatgun 750x750px

As the first step, if possible, the table top should be removed. This allows the top and the legs of the table to be worked on more effectively. When painting or varnishing surfaces, it is important to remove the old paint, varnish or wax first. To do this, use a heat gun and a scraper to loosen and remove the paint from the surface.

Step 2 of 9: Cleaning the surface

Preparation cleaning surface 1 750x750px

If there are still traces of old wax, dirt or paint on the table, you first need to thoroughly clean the surface. Rub a piece of wire wool soaked in wood cleaner over the surface in the direction of the grain in order to remove the old finish. We recommend wearing gloves for this.

Step 3 of 9: Remove left-overs

Preparation cleaning surface 3 750x750px

Remove any left-over residue with a scraper or a paper towel.

Step 4 of 9: Repeat on the legs

Preparation cleaning surface 4 750x750px

Repeat this process on the legs of the table and ensure that you get into all the cracks and grooves. Now leave the table to dry.

Step 5 of 9: Sanding the surface

Preparation sanding 750x750px

Once dry lightly sand the table top and legs to smooth the surface and give a key for the new coating to adhere to. Remove any remaining dust with a brush or microfibre cloth.

Step 6 of 9: Preparing the paint sprayer

Preparation filling varnish 750x750px

The paint spray gun is ready to use in just a few steps. Fill the paint container about 3/4 full with the paint or varnish you want to apply. If necessary, dilute the material in accordance with the manufacturer's instructions. Use the supplied stirring stick for this. Each notch represents a 10% dilution.

We recommend wearing a dust mask throughout the spraying process.

Step 7 of 9: The spraying process...

Spraying table 2 750x750px

In the next step, the paint or varnish is sprayed directly onto the surface. If you want to apply a colour, you should first spray on a primer. Allow this to dry and then apply another coat to achieve the best result. Then apply the top coat in your desired colour.
First spray the table top, squeeze the trigger approx. 10 cm before the edge. Move the gun at a steady pace and keep it at a distance of approx. 15 cm from the surface. Spray the entire length of the table in a single pass.

Step 8 of 9: ...briefly explained

Spraying table 1 750x750px

As soon as you reach the edge of the table, release the trigger and change direction. This avoids the build-up of thicker layers of paint when you change direction at the end of each pass. Remember to squeeze the trigger again about 10 cm before the edge so that you are already moving when you start to spray. Overlap the previous layer by around 1/3 so that you achieve even coverage. As soon as you have reached the other edge, repeat the process until you have covered as much of the surface as possible.

Step 9 of 9: Spraying the table legs

Spraying table 3 750x750px

Allow the paint to dry according to the manufacturer's instructions. If you are applying several layers of paint, spray these in the opposite direction to each other. This is known as the cross coat technique. Once you have sprayed the table top, spray the table legs.

The result

An old wooden dining table becomes the focal point for any dining room. It turns every meal into a triumph!

More projects

WAGNER Group W 100 Produktbild

Wood&Metal Sprayer W 100

The handy solution for small and medium-sized projects with paints and varnishes

Wood&Metal Sprayer W 100
Produktfinder

WAGNER product finder

Here you can find more products

Go to products
Warum spruehen

Why spraying is better

With HVLP paint sprayers you have a clear time advantage compared to brushes and rollers.

To the explanation