Spraying stone cladding walls

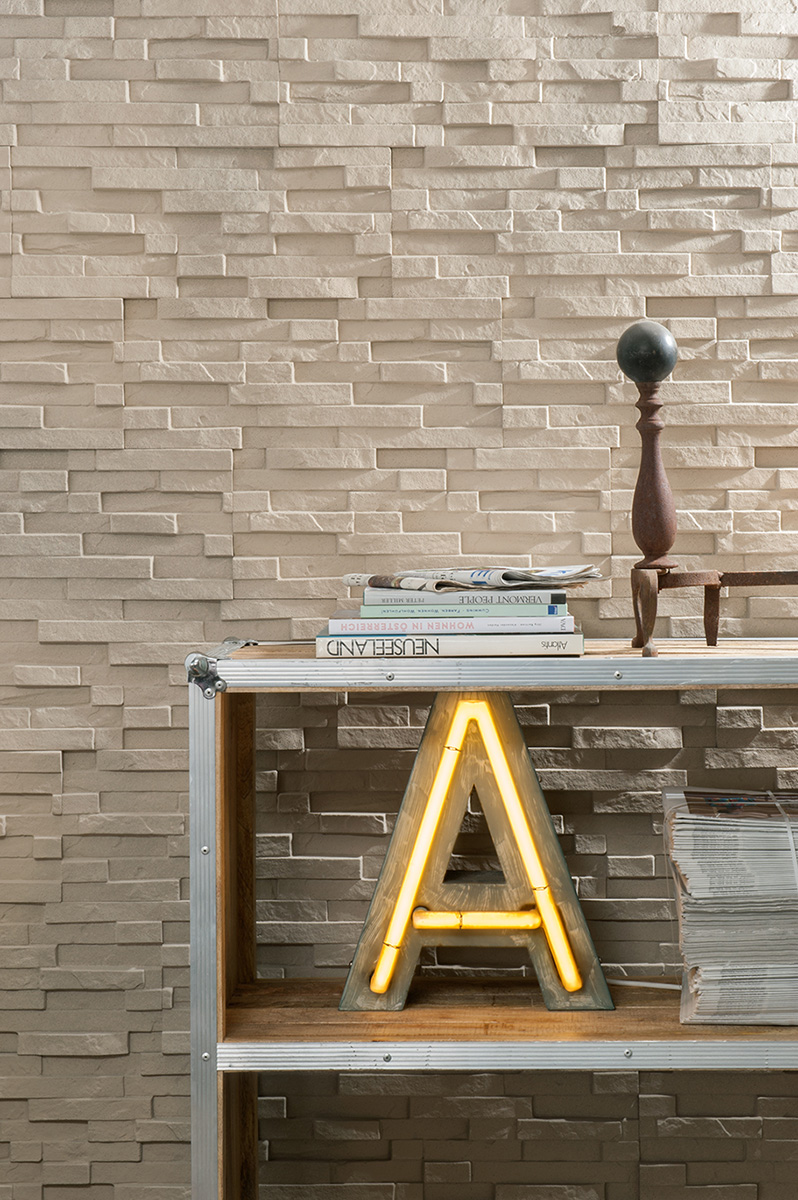
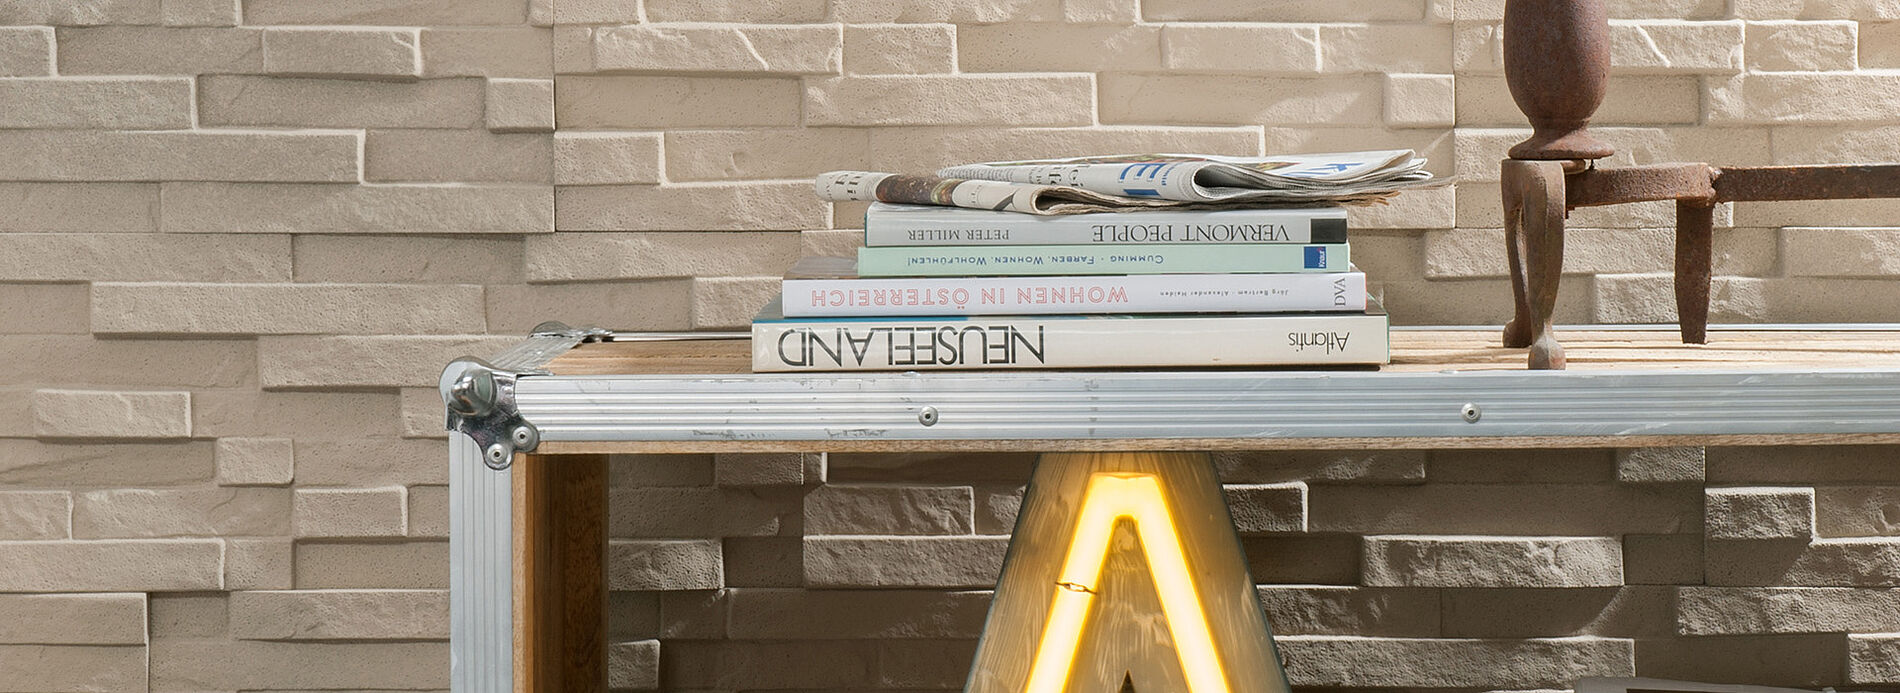
The industrial chic look is inspired by old factories and its minimalist effect creates a clear and stylish look. Exposed walls further emphasise this industrial feel. A distinct advantage of spraying textured surfaces is that the texture of the wall remains intact and there is no flattening of the surface due to paint build-up.

  • Painter's fleece
  • Wall paint for interior walls

Step-by-step instructions for a wall in industrial chick look

Step 1 of 3: Preparing the wall

Preparing the wall

Mask around the wall to be sprayed with masking tape and cover. Also cover the floor with cardboard and/or dust sheets.

Preparing the wall

Mask around the wall to be sprayed with masking tape and cover. Also cover the floor with cardboard and/or dust sheets.

Step 2 of 3: Preparing the sprayer

Preparing the sprayer

Open the paint tin of your chosen colour using the end of the included stirrer. Fill paint up to the 3/4 mark on the paint container and dilute if required. Place the stirrer against the base of the filled paint container. The distance between the notches represents a dilution of 10%. Stir the paint well and carry out a test spray. The spray nozzle can be positioned in three different directions. A horizontal jet to work from top to bottom, vertical for right to left or detailed for particularly intricate areas. The small wheel allows the quantity of paint to be fully adjusted.

Step 3 of 3: The spraying process

The spraying process

Start with the corners and edges and then spray the surfaces. To ensure an even application, spray the wall at a constant distance. After spraying, allow the paint to dry in accordance with the manufacturer's instructions.

Clean the spray attachment thoroughly with water or solvent after use.

The result: a wall with the trendy industrial chic look

More projects

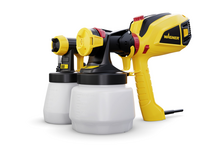
WAGNER Group W 590 Produktbild

W 590 FLEXiO

The flexible hand sprayer for indoor and outdoor use

W 590 FLEXiO
Produktfinder

WAGNER product finder

Here you can find more products

Go to products
Warum spruehen

Why spraying is better

With HVLP paint sprayers you have a clear time advantage compared to brushes and rollers.

To the explanation