Illuminated side table and stool for outdoor use: DIY guide to build it yourself

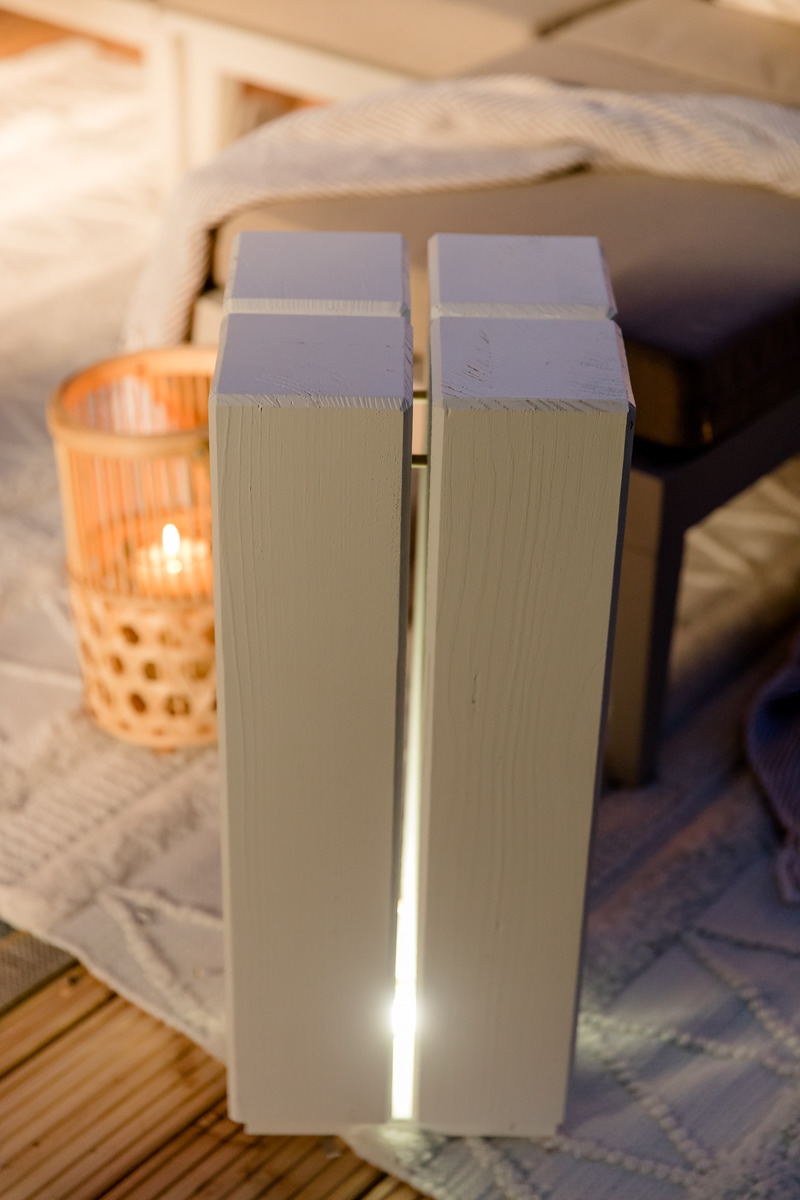
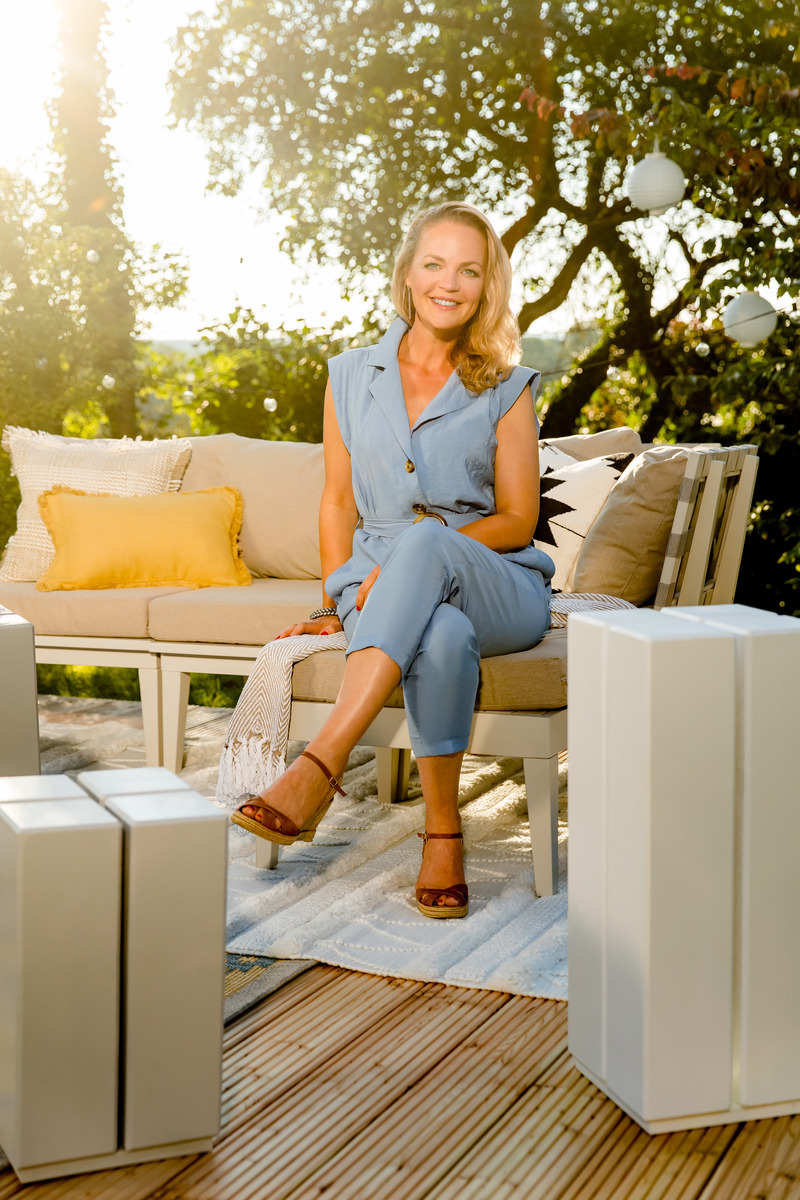
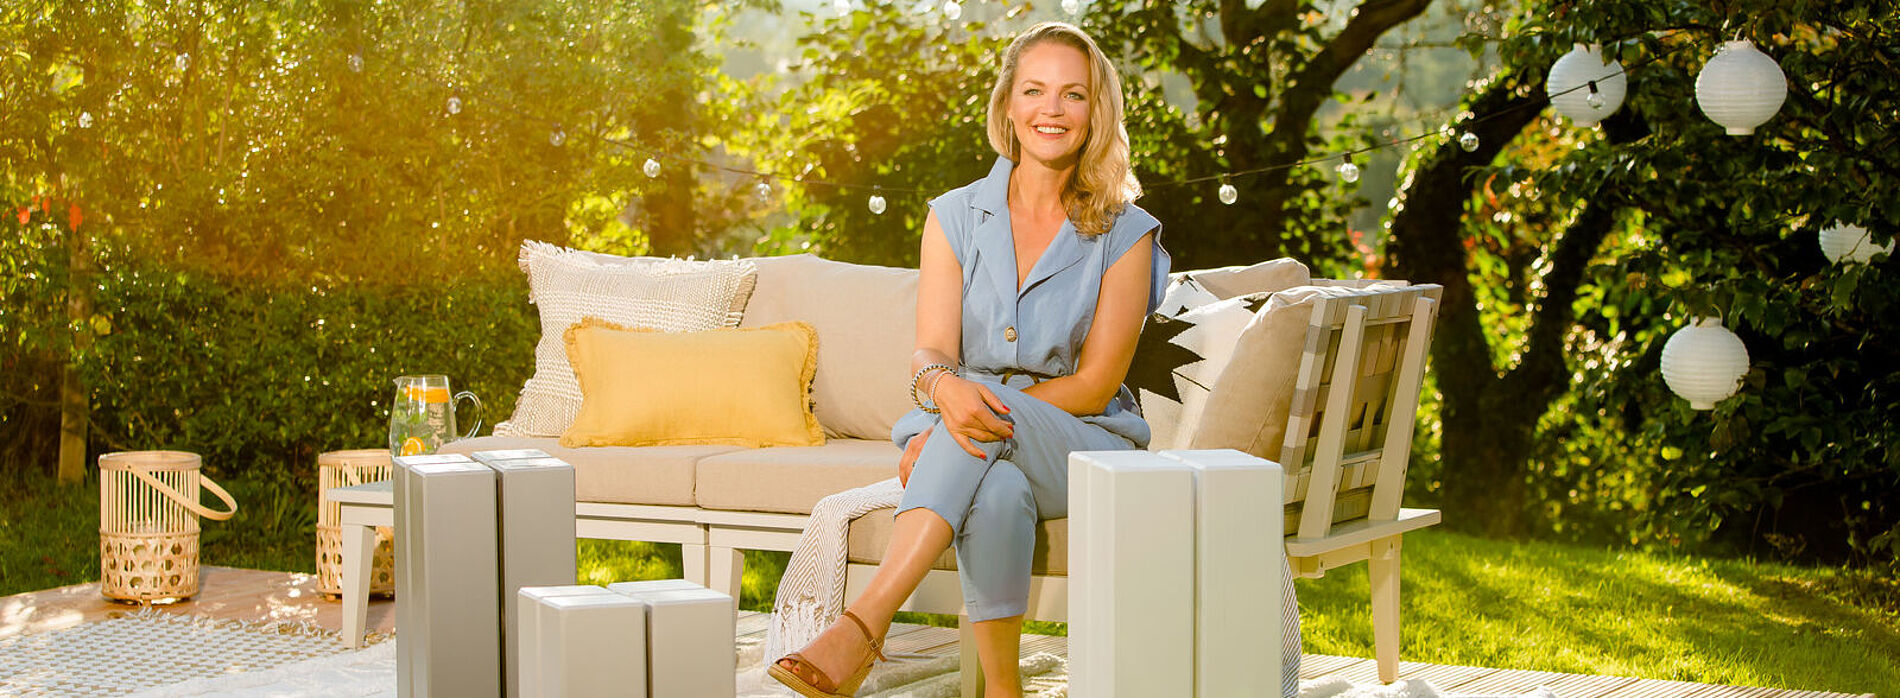
Building a side table for the garden or terrace yourself as a DIY-er is quite simple. The result is even more beautiful when LED lights are added, because light and wood complement each other perfectly. The indirect lighting adds elegance. Our light sculptures made of wooden beams and LED lamps are at the same time stools to put your feet up on and side tables for the outdoor area. With a WAGNER spray unit, the wood quickly shines in the shade of your choice - matching the colour of the LED lights, which you can also choose to suit your tastes! And because this DIY project is so easy to do, it also makes a great gift. In our building instructions, together with Eva Brenner, we show you step by step how to build your own side table or outdoor seating stool with your own design from wooden beams and lights.

By viewing the video you agree that your data will be transmitted to YouTube and that you have read the privacy policy .

To build the outdoor stool, you will need:

  • Cordless screwdriver
  • Rubber mallet
  • Spray system from Wagner, e.g. the W 590 FLEXiO
  • Crown drill
  • Masking tape
  • Pencil
  • Folding ruler
  • Adhesive
  • Fabric tape (Gaffa tape)
  • Wooden beams
  • LED lights
  • Plugs
  • Paint for primer
  • Coloured paint in your desired colour
  • Square wooden plate for the LED light
  • 4 screws

A step-by-step guide: Build your own illuminated stool & side table

Step 1 of 7: Priming the wooden beams

Step 1: Priming the wooden beams

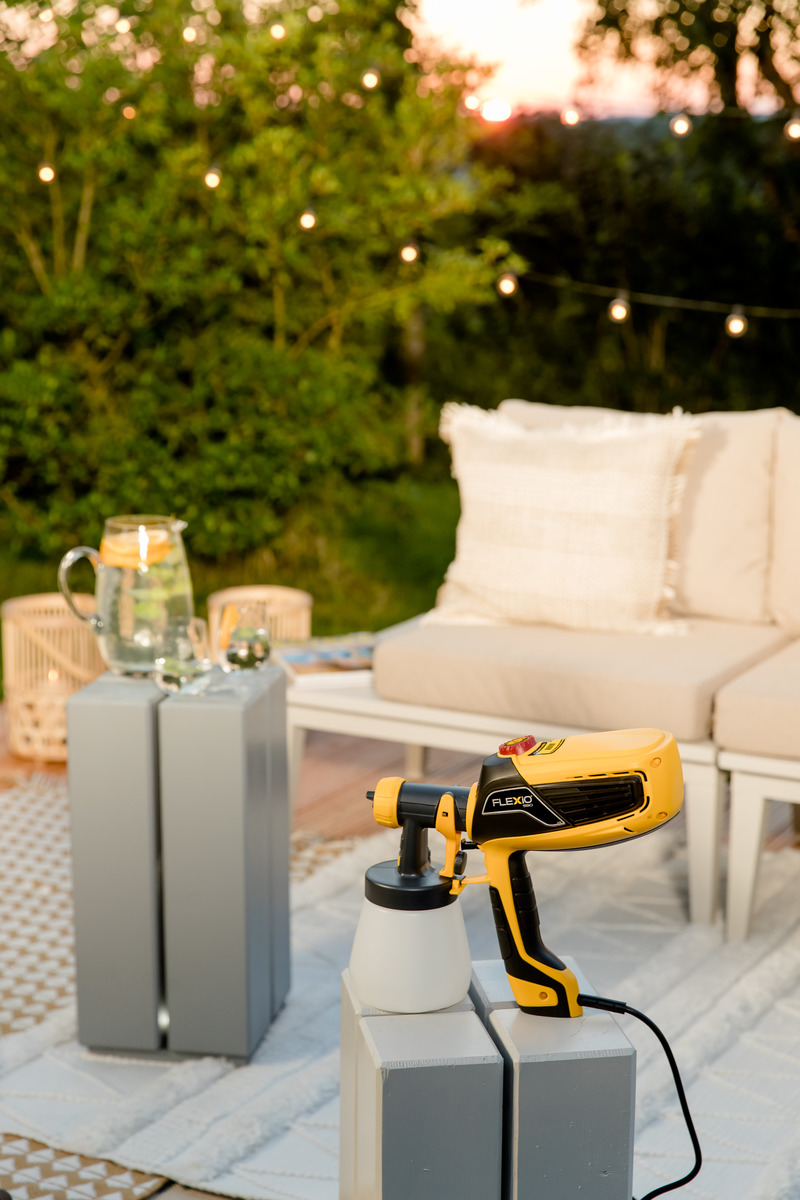
You can have the wooden beams cut to size at the DIY store beforehand. The length then determines the height of the stools. Now it's straight on to spraying on the primer with the W 590 FLEXiO. Use the paint attachment for spraying. The correct settings are important - the "Air Power" should be set to maximum for working with paint. Then allow the primer to dry

Step 2 of 7: Painting the wooden beams

Step 2: Painting the wooden beams

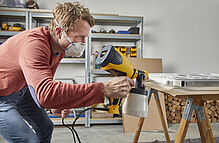
Mask off the substrate well before spraying with paint if it is not going to be sprayed. With the paint spray system, only one spraying process is needed. The air volume can be adjusted with the FLEXiO: when working with viscous materials, set the volume to at least level 6. Ensure when painting to maintain a consistent distance from the wooden beam and make the spray movements even.

Step 3 of 7: Drilling holes for the plugs

Step 3: Drilling holes for the plugs

Draw the marks for the holes with a soft pencil. Make sure that the distances between the holes and the edge are the same for both wooden beams. Use masking tape on the drill as a marker so that you do not drill too deep into the wooden beam.

Step 3: Drilling holes for the plugs

Draw the marks for the holes with a soft pencil. Make sure that the distances between the holes and the edge are the same for both wooden beams. Use masking tape on the drill as a marker so that you do not drill too deep into the wooden beam.

Step 4 of 7: Applying glue and inserting the plugs

Step 4: Applying glue and inserting the plugs

Fill the drilled holes with glue. Then fix the plugs in place with the rubber mallet and make sure to hit them straight. You can also carefully straighten the plugs with the hammer if they become a little skewed due to the hammering.

Step 5 of 7: Putting the beams together

Step 5: Putting the beams together

The plugs and the holes now fit perfectly into each other. Line them up and join them with hammer blows. Make sure that the gap between the wooden beams remains the same size at every point.

Step 6 of 7: Putting pairs of beams together

Step 6: Putting pairs of beams together

Now join the two pairs of beams together to form a stool. To do this, drill holes for plugs again, but make sure that the new holes are slightly offset from the existing plugs. Otherwise, proceed in the same way as in steps 3 - 5.

Step 7 of 7: Positioning the LED light

Step 7: Positioning the LED light

Using the crown drill, drill a recess for the LED light in a square plate that is slightly smaller than the circumference of your stool. Now push the light through the recess and fix it to the underside of the plate with the fabric tape. Attach the board to the bottom of the wooden sculpture with the cordless screwdriver and the four screws. 

DIY outdoor stool and side table in one: tips and tricks for design

What type of wood is most suitable for outdoor furniture?

Rustic furniture made of solid wood with good workmanship is weatherproof and beautiful to look at. And which type of wood is best for garden furniture? Teak and pine have proven to be classics for this.
However, larch or Douglas fir are also suitable for outdoor use.

What paint is most suitable for DIY outdoor furniture?

If you want to place the DIY side table or garden stool outdoors, a waterproof paint is recommended.

What spray attachment is most suitable for DIY outdoor furniture?

The Wood&Metal Extra Standard spray attachment is suitable for spraying the wood sculpture using the FLEXiO W 590. It is specially designed for the application of paints, varnishes, wood preservatives, primers and oils on small and medium-sized objects such as your LED wood sculpture.

A wide range of design options: LED sculpture as a decoration, side table and outdoor stool made of wood

Of course, you can also vary the design of the light sculpture. The design for the side table or stool can be more minimalist or jazzed up with additional details. Build several of the small pieces of furniture at different heights. Or you can place a few tables of the same height next to each other. In this way, you create a kind of sideboard that you can complement with another decorative element such as a lantern or a potted plant. To make the stool easy to move, mount castors on the underside.

Place a cosy fur cushion on the seat to make the seat cube even more comfortable. Of course, the wooden construction can also serve as a side table - for example as a complement to this cosy beach chair. Let your creativity run free. You also have a free choice of colour design. LED lights come in numerous shades. This way you can perfectly match the sculpture to your garden décor. 

No matter which colours you use, whether you use the sculpture as a seat or as a storage surface: your DIY wooden construction is a bright eye-catcher in every case.

W 590 FLEXiO

W 590 FLEXiO

The flexible paint sprayer for interior and exterior use

W 590 FLEXiO
WAGNER Product Finder

WAGNER Product Finder

You will find further products here

To the products
Spraying woodstain: Guide & tips

Spraying woodstain: Guide & tips

Learn the best way to spray woodstain, what you should look out for, why it's worth spraying stains and what the best equipment is for it.

Spraying varnishes