Build your own modern wooden bench - embraced by nature

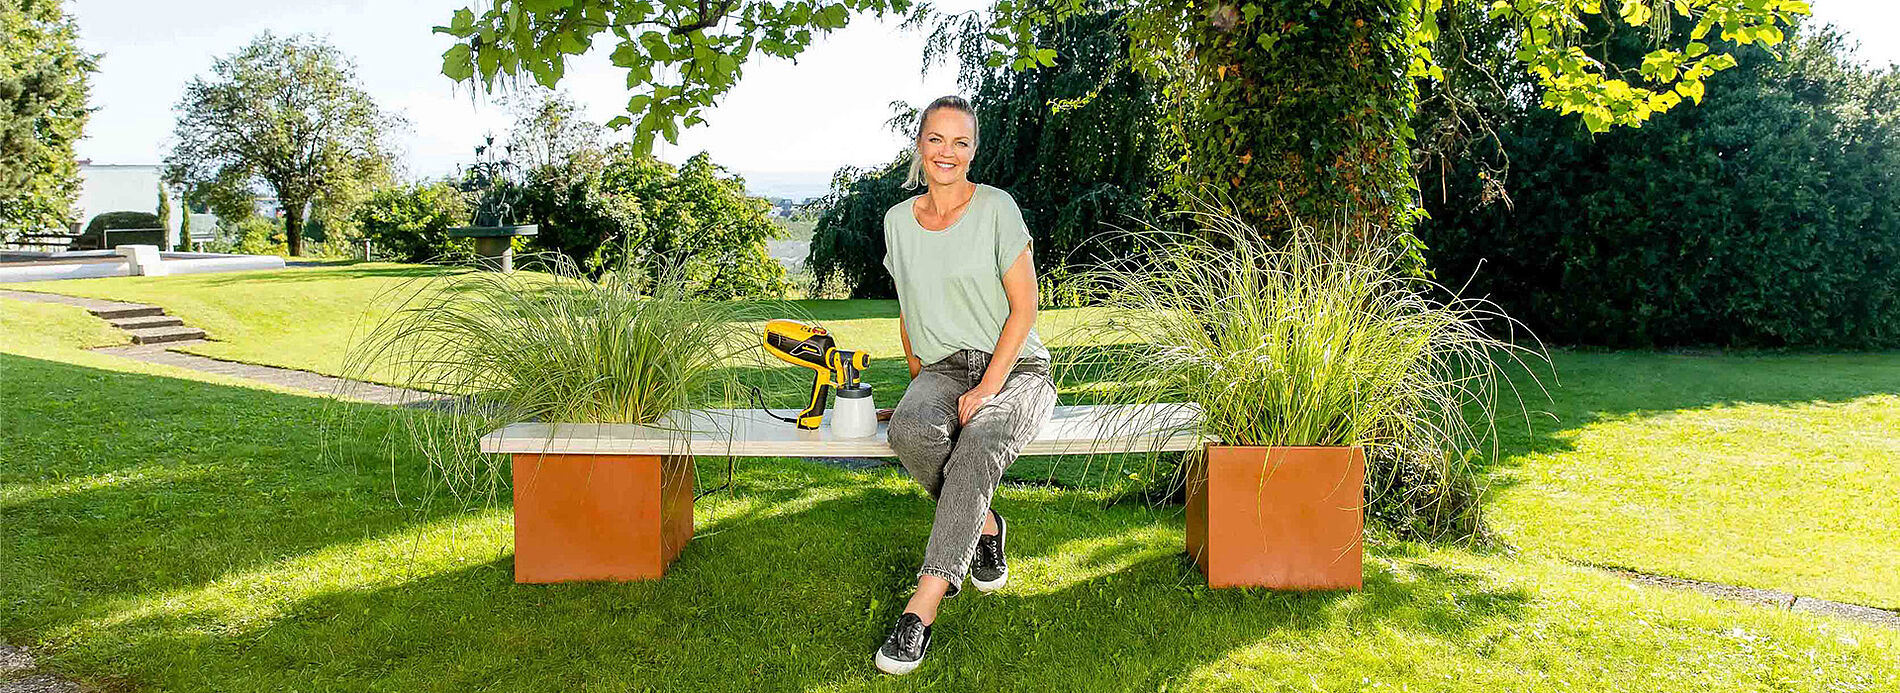
Eva Brenner shows how to easily build a wooden bench with planters.

Garden features such as wooden benches or planters are part of the traditional standard elements in one's own green garden space in a wide variety of styles. When it comes to planters, there are numerous fantastic options from concrete to new or old terracotta pots to the classic wood look. Garden benches, on the other hand, are almost always made of wood or plastic. So why not combine both elements in a modern way and build your own individual seating from the planters? We want to make your DIY heart beat a little faster and show you together with Eva Brenner step-by-step how to do it:

By viewing the video you agree that your data will be transmitted to YouTube and that you have read the privacy policy .

What you need:

  • Masking material
  • Sandpaper
  • 2 equal-sized, sturdy, square planters
  • 2 identical, sturdy wooden boards (length approx. 1.70 m - not longer than 2 m, otherwise the bench will wobble too much)
  • Paint or wood preservative
  • Wooden strips for joints and corners
  • 24 screws (∅ 4 mm, 35 mm long, stainless steel)

A step-by-step guide:

Step 1 of 6: Place plant pots

Step 1: Place plant pots

The legs for the wooden bench are formed by two planters. These should be stable, ideally be square and able to withstand the weight of several people. The height of the planter also ultimately determines the seat height of the garden bench.

Step 2 of 6: Positioning large boards

Step 2: Positioning large boards

Suitable planters have been selected? Then you can now continue with the big boards. These are placed on the planters offset to each other. The exact position is determined by placing one board flush up to the outer edge, while the other board protrudes a little beyond the inner edge so that the fixing strip can still be attached there. Mark the position of the boards with a pencil, this is where the fixing strips will be attached in step 4.

Step 3 of 6: Connecting boards

Step 3: Connecting boards

So that the two large boards are connected and get the required stability, connect the boards with four wooden slats. Screw the wooden slats on from below so that the screws are not visible later and do not interfere when sitting. Also make sure that no screw breaks through. Fasten each wooden strip with four screws.

Step 4 of 6: Attach fixing strips

Step 4: Attach fixing strips

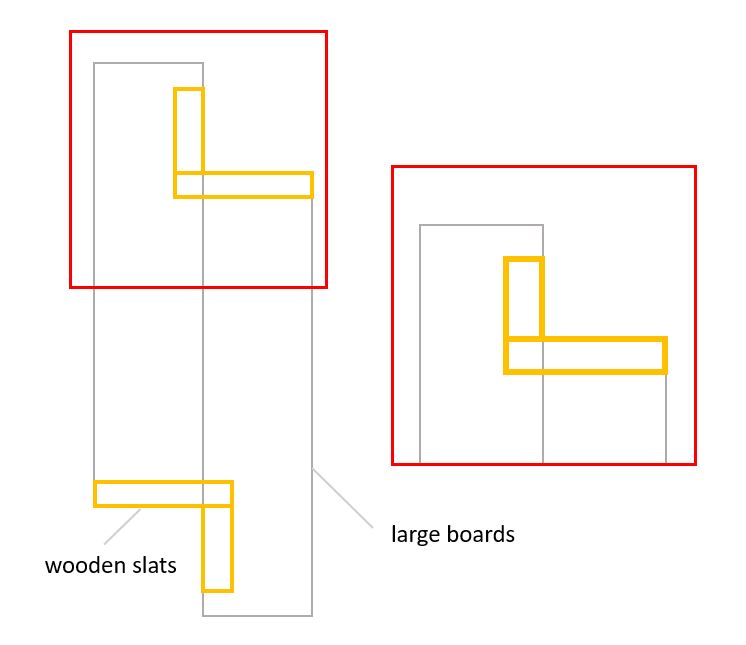
You've almost made it! Next, the fixing strips. These ensure that the wooden bench subsequently holds onto the planters and does not slip or wobble. Use our sketch as a guide, you will find it above under the required material. Screw abatten crosswise and flush to the shorter wooden board. The width of the crossbar should extend into the wooden board in line with the horizontal bar. Now place the other slat on top of the cross slat. The horizontal bar should not be screwed on flush, but leave an appropriate plant pot width to the end.

Step 5 of 6: Spray bench

Step 5: Spray bench

After the construction work, the last thing to do is the fun bit of spray painting. Now dilute your paint with approx. 10% water. Pay attention to the instructions of the paint manufacturer. Perform a spray test on a piece of cardboard, if the spray is even and large enough, you are ready to go. Spray the desired colour at an even speed and at right angles to the object. Be careful not to spray too close to the wooden bench, otherwise the paint will be applied too thickly and form runs.

Step 6 of 6: Enjoy!

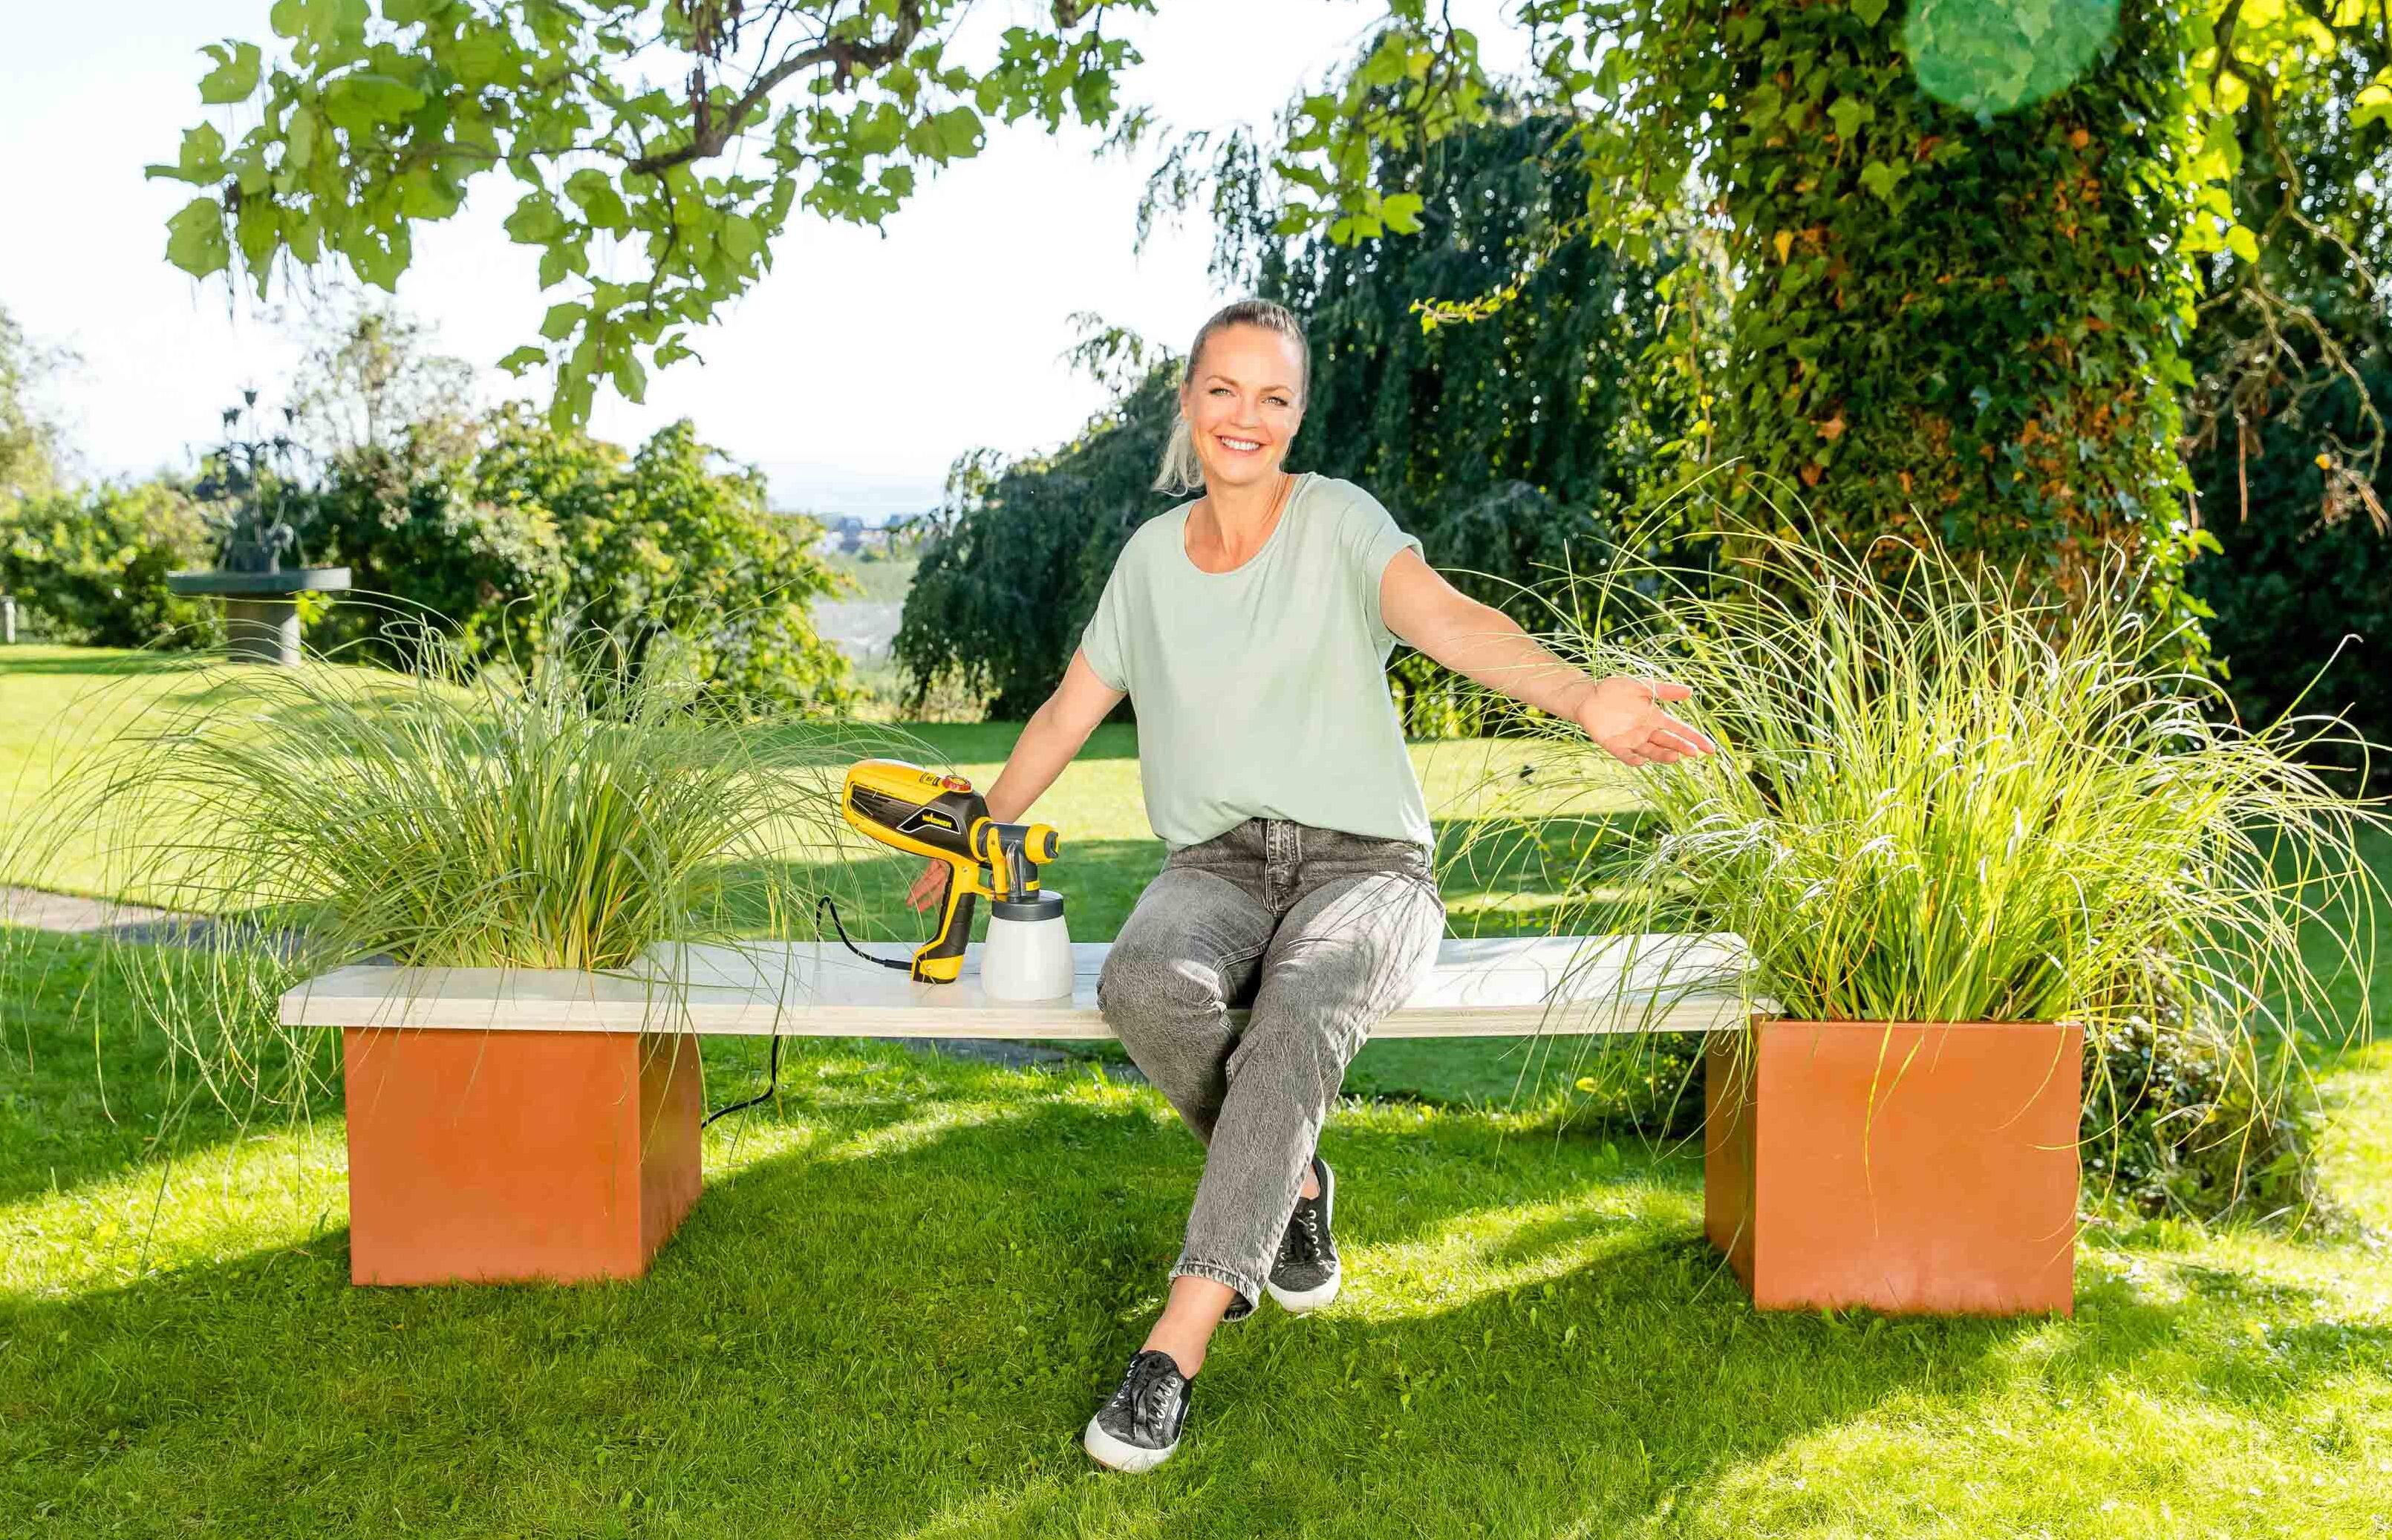
Holzbank mit Pflanzenkübeln, Eva Brenner und W 590 FLEXiO Ergebnis

The wooden bench is finished and looks really great! Eva thinks it wasn't even that hard, was it! Do you have questions about the wooden bench or are you looking for the best paint sprayer for your project? Feel free to write us your comments on our social media Instagram, Facebook or YouTube. We look forward to sharing with you. And if you're in the mood for more great DIY ideas, check out Aneta's covered bench. Have fun with your next paint project, the WAGNER-DIY team.

The result

Universal Sprayer W 590 FLEXiO

Universal Sprayer W 590 FLEXiO

The flexible paint sprayer for interior and exterior use

W 590 FLEXiO
Spraying woodstain: Guide & tips

Spraying woodstain: Guide & tips

Learn the best way to spray woodstain, what you should look out for, why it's worth spraying stains and what the best equipment is for it.

Spraying varnishes
Tips and tricks with Carina

Tips and tricks with Carina

We have summarised more tips on spraying wood and metal paints for you in our Tips and Tricks with Carina.

Apply glazes and lacquers correctly