Instructions: Bedroom wall design with panels and colour

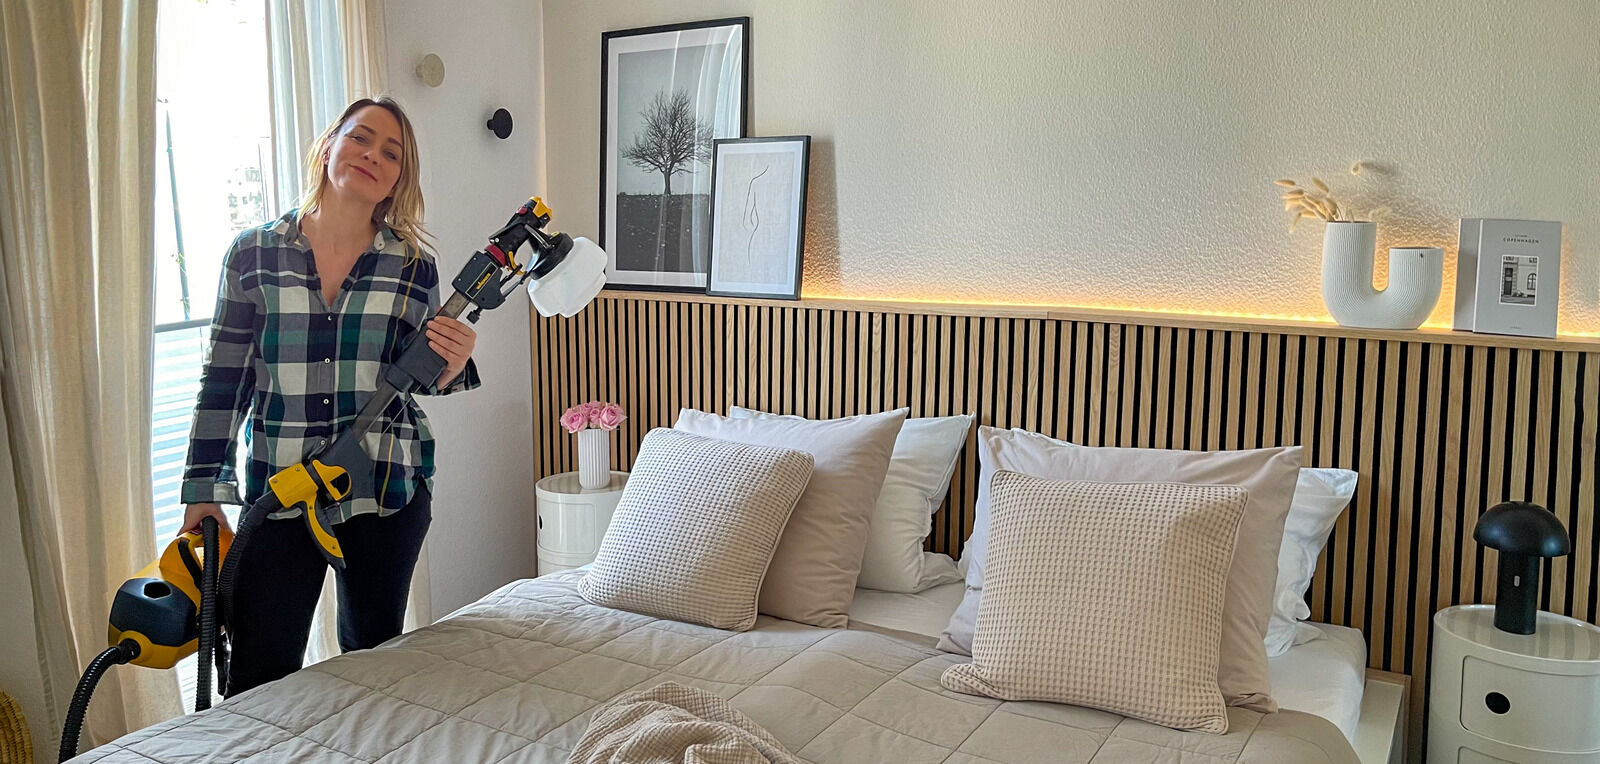
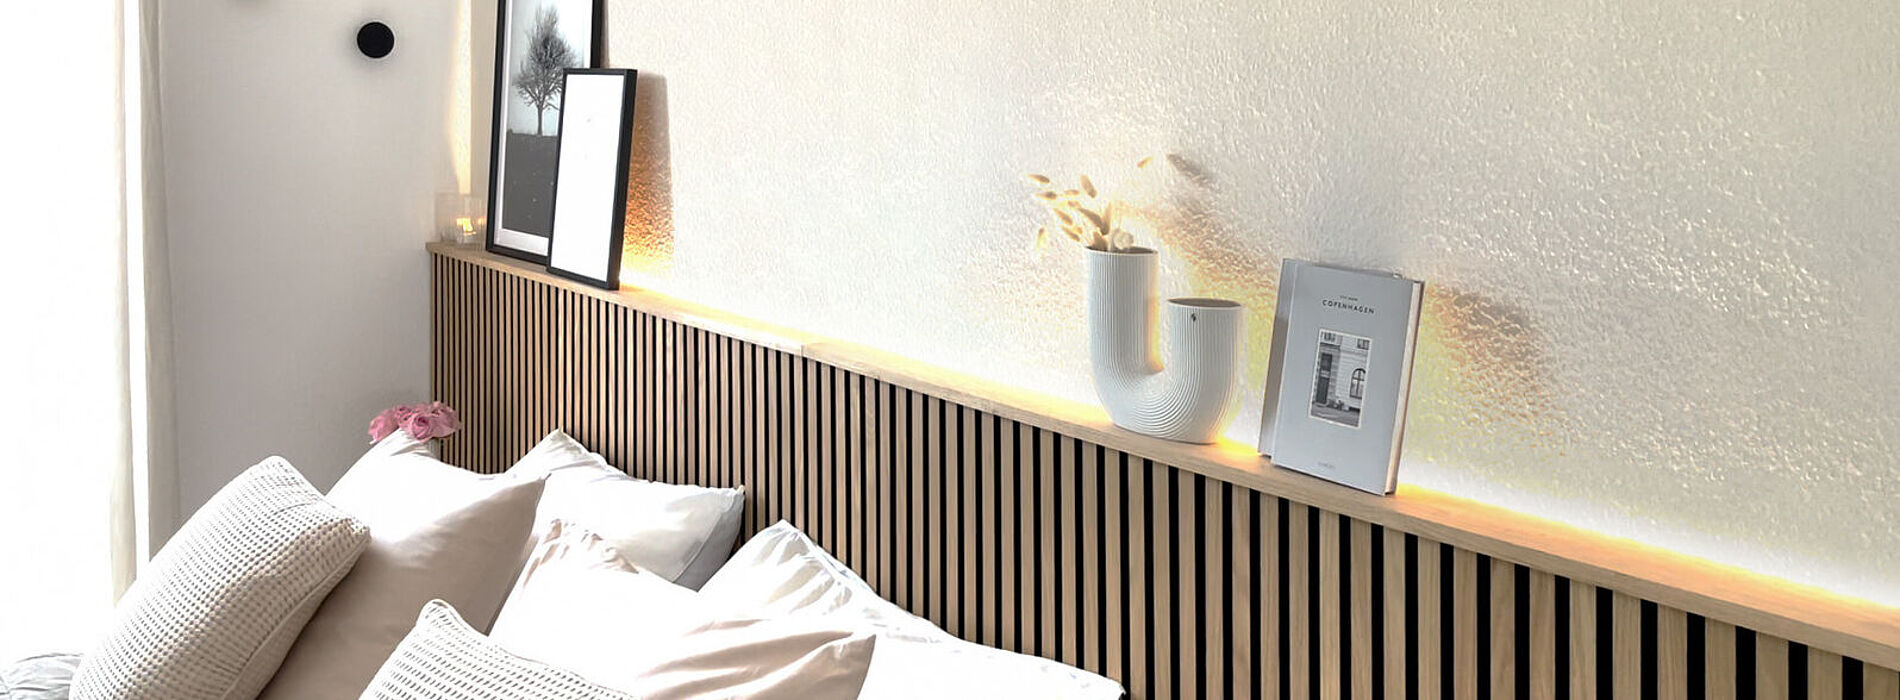
With a DIY wood panel wall and the right wall paint, Aneta creates cosiness through a creative wall design in her bedroom interior. And best of all: a wood panel wall is very easy to build yourself. Here are the instructions from Aneta: Modern wall design with wood.

The paint sprayer Universal Sprayer W 690 FLEXiO from Wagner makes spraying the wall and painting the DIY wood panel wall quick and easy. LED lights behind the bed give the room and its furnishings a cosy atmosphere thanks to the indirect lighting.

By viewing the video you agree that your data will be transmitted to YouTube and that you have read the privacy policy .

A step-by-step guide: Bedroom wall design with Scandi-style panels

Would you like to design the wall behind the bed in your bedroom yourself? Wooden panels are a great wall decoration in the trendy Scandi interior design. They are particularly practical if there is not much room for decoration in the bedroom, as they offer additional storage space. This accent wall will turn your bedroom area into a focal point. Wooden panels are real all-rounders in interior design; for example, they can also be used to make a very simple build your own coat rack.

  • Respiratory mask
  • Dust sheet
  • Masking tape
  • Wooden battens
  • Oak board as shelf
  • DIY wall paint
  • LED strip light
  • Sufficient screws and angles for fastening

Step 1: Masking

Step 1: Masking

Mask the edges of the wall before you start spraying. Use a dust sheet and masking tape.

Step 2: Pour the paint into the paint container of the W 690 FLEXiO

Step 2: Pour the paint into the paint container of the Universal Sprayer W 690 FLEXiO

Dilute the paint with water and stir vigorously until everything is well mixed. Pour the paint into the paint sprayer's paint container.

Step 3: Perform a test

WAGNER Sprühtest

Check the spray pattern with a piece of cardboard to ensure the dilution is correct and that the paint coverage is good.

Step 4: Spray on the wall paint

WAGNER Wandfarbe aufsprühen

It’s time to start spraying! Consistent perpendicular movements give you the best result. The handle extension means you can also reach the upper edges.

Now align the suction tube depending on how you are going to work - forwards if you want to spray downwards and backwards if you want to spray objects overhead. Now screw the spray attachment onto the container.

The spray jet can be adjusted three ways so that you can adapt it perfectly to your way of working and projects. Always perform a test spray on a piece of cardboard first so that you can find the ideal settings for you.

Universal Sprayer W 690 FLEXiO von WAGNER: Der praktische Helfer für DIY-Projekte

Der Universal Sprayer W690 FLEXiO von WAGNER ist mit seinem optionalen Verlängerungsarm ein praktischer Helfer für die Schlafzimmer-Wandgestaltung mit Farbe. Das Sprühgerät ist ideal für spontane kreative Köpfe wie Aneta, die ihre Projekte zu Hause selbst umsetzen möchten. Der W 690 eignet sich nicht nur für die Wandflächen, sondern auch für Einzelteile, wie beim Selbstbauen der Paneele. Hier lassen sich die Latten einzeln mit Farbe besprühen – so geht es am schnellsten.

W 690 FLEXiO

Step 5: Screw wooden beams to the wall

Step 5: Screw wooden beams to the wall

Screw two brackets to each wooden beam. This creates a wooden construction of two beams each at the top and bottom. Now attach them to the bedroom wall using the brackets and screws.

Step 6: Attach wooden panels

Step 6: Attach wooden panels

Insert the wall panels into the recesses under the wooden beams and screw them to the beams. Fix it with two screws at the top and one screw at the bottom. You can match the colour of the screws with that of the panels.

Tip: If, instead of conventional wooden panels, you opt for Acoustic panels you will not only have a decorative focal point for your bedroom wall design, but also a pleasant room acoustics. With their acoustic foam base, they reduce reverberation in rooms as well as high and medium frequencies.

Step 7: Glue the LED strips to the beams

Step 7: Glue the LED strips to the beams

With the LED strips, you provide atmospheric indirect light which makes it even more cosy. The LED lamps can be conveniently controlled via an app on your smartphone.

Step 8: Attach the board for decoration

Step 8: Attach the board for decoration

An oak board forms the upper part of the construction. You can place decorations such as a vase or a picture on this additional shelf to add further accents - let your ideas run wild.

The result

For questions about equipment or the instructions, feel free to write to us on our social media channels: Wagner DIY on Instagram, Facebook or Pinterest.

A step-by-step guide: Wooden wall panelling in the children's room

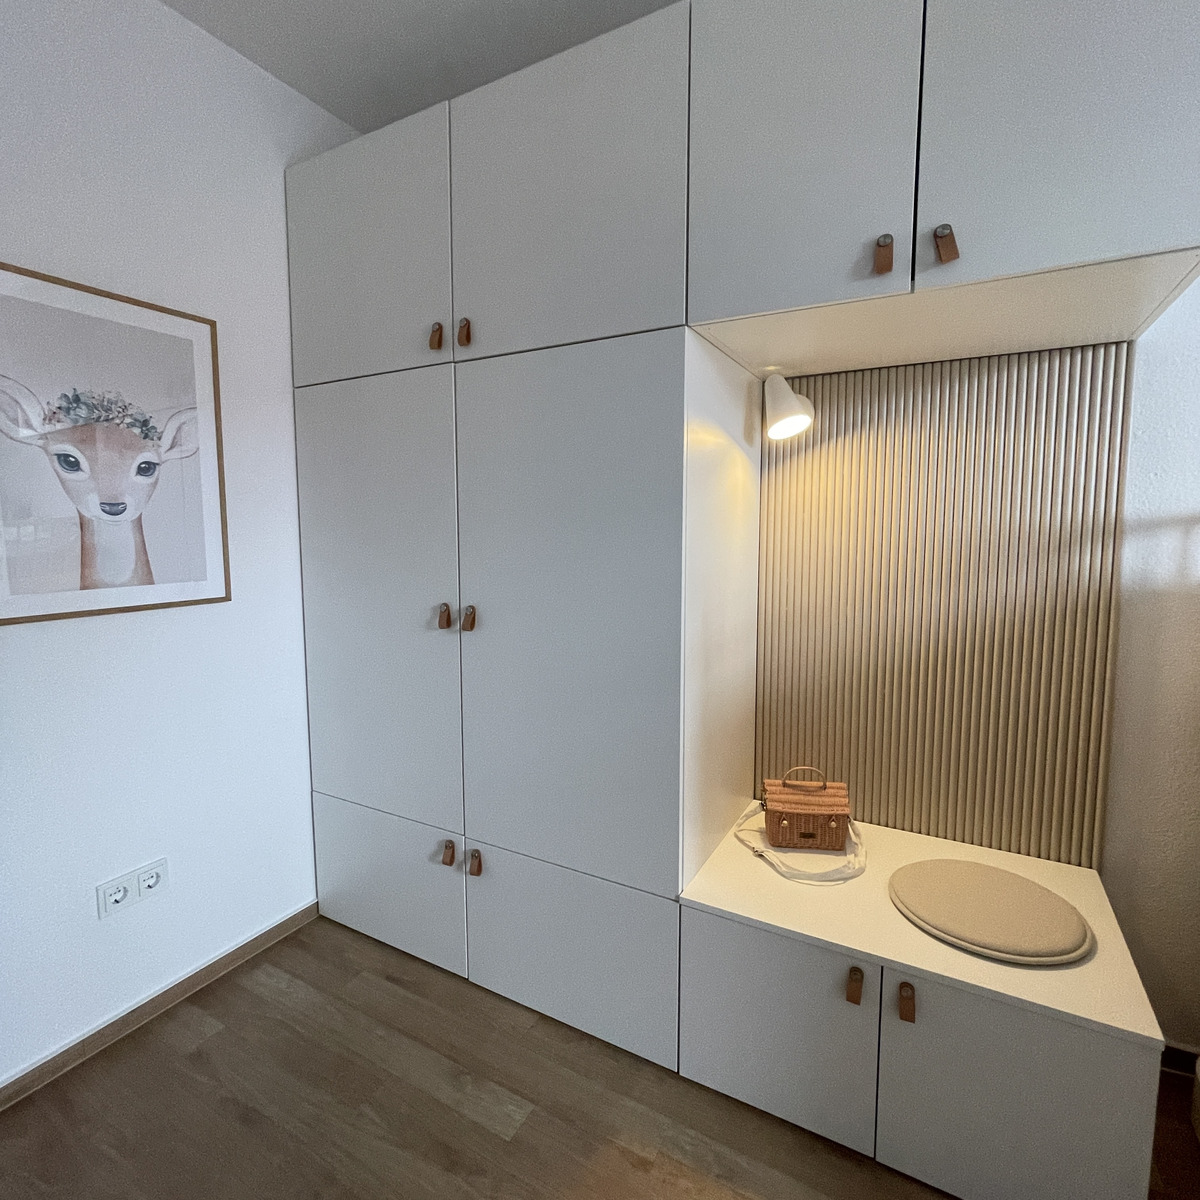
In addition to the bedroom wall design, DIY wood panels can also be used in other rooms. How about the children's room? Wood panel walls create a trendy and natural look in the children's room and can be coloured as required. The panel also works well as a decorative element for the seating area of a cabinet.

  • Semi circular slats
  • 0.5 cm thin chipboard
  • Desired colour for spraying the wall panel
  • Masking Wood glue

Step 1: Cut the slats to size and glue them

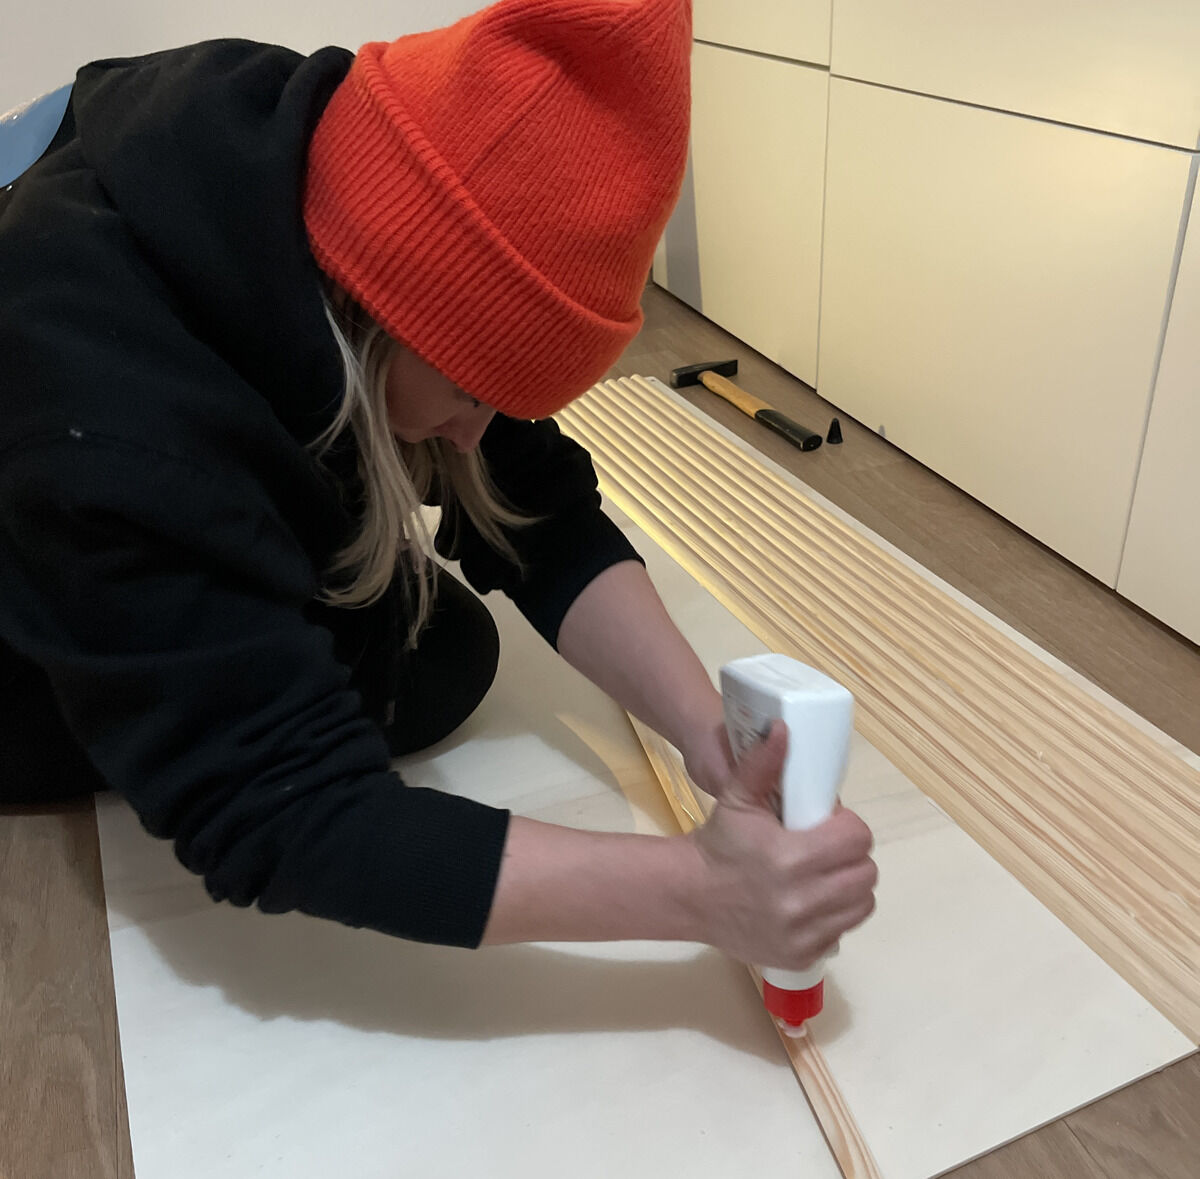
Cut the slats to the desired length and then glue them to a chipboard panel as the basis for the wall panelling. Start with the second batten so that you can later glue the holes to the last two battens on the left and right. Be careful not to use too much glue.

Step 2: Spray back wall with battens

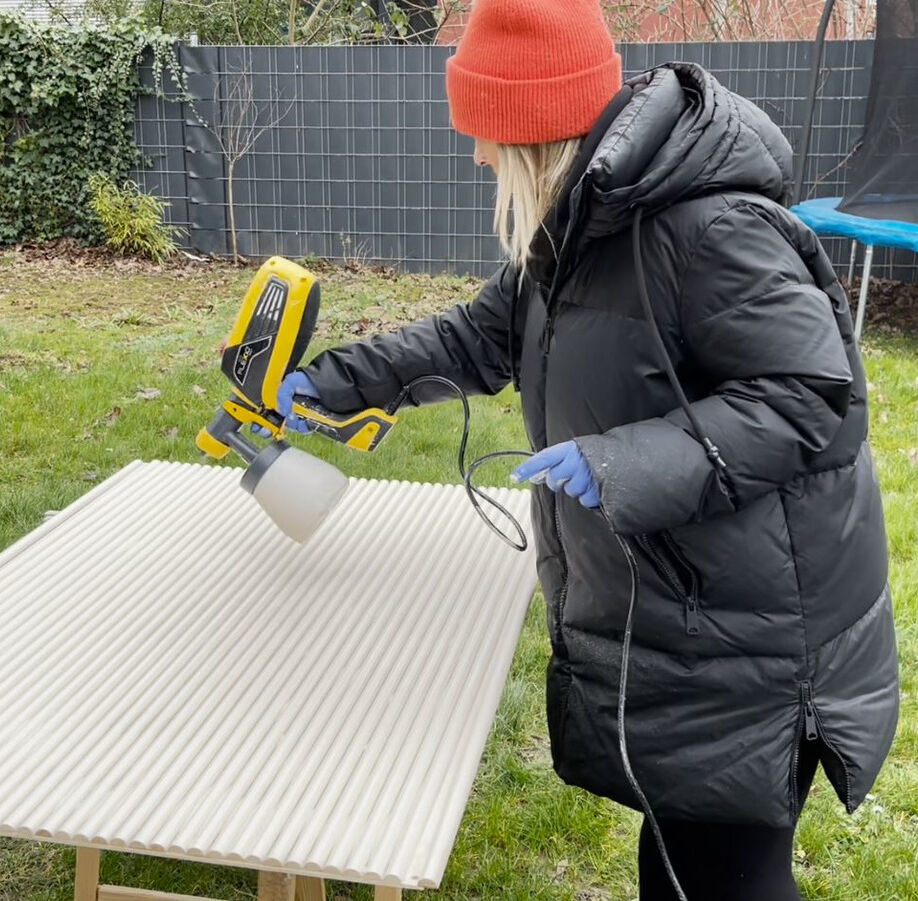
Now spray the entire wall covering with the battens with paint. Suitable for this task is the W590 FLEXiO paint sprayer ideal, as the fine material application during spraying distributes the paint evenly, even in the grooves. Whether plain or in bright colours - everything is possible.

Step 3: Attach lamp 

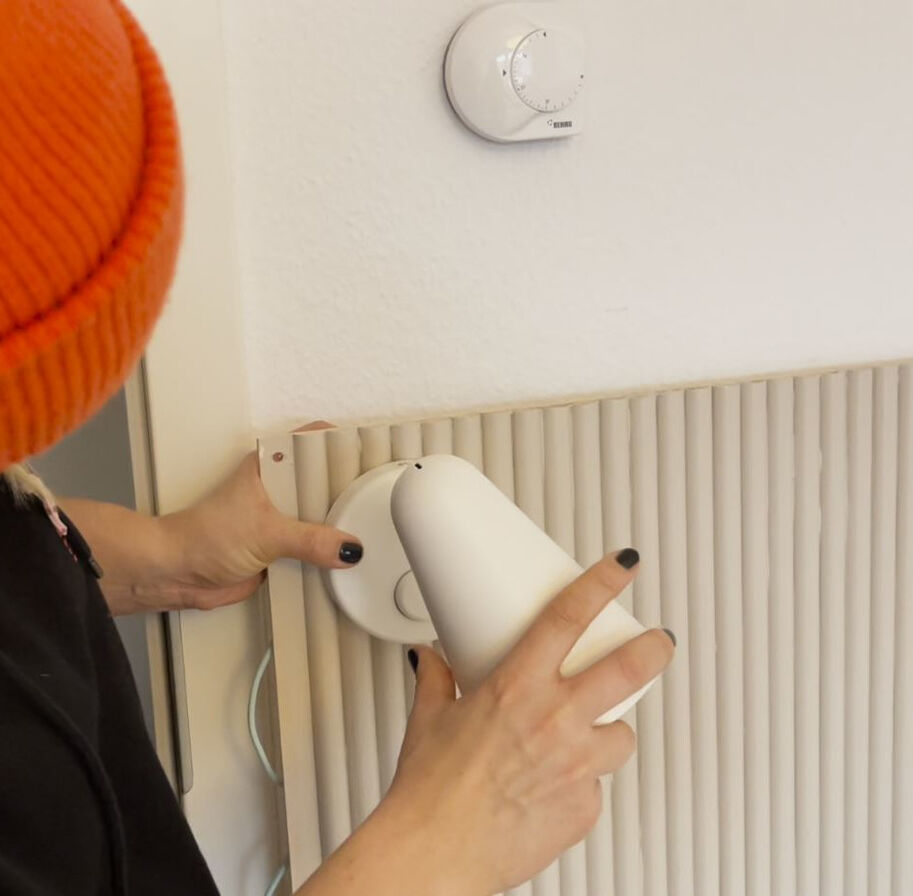
To set the scene for the wall covering with an additional light source, simply attach a lamp. You can hide the cable behind the wall by drilling a hole in the wall covering. Now screw the panelling onto the wall.

The result

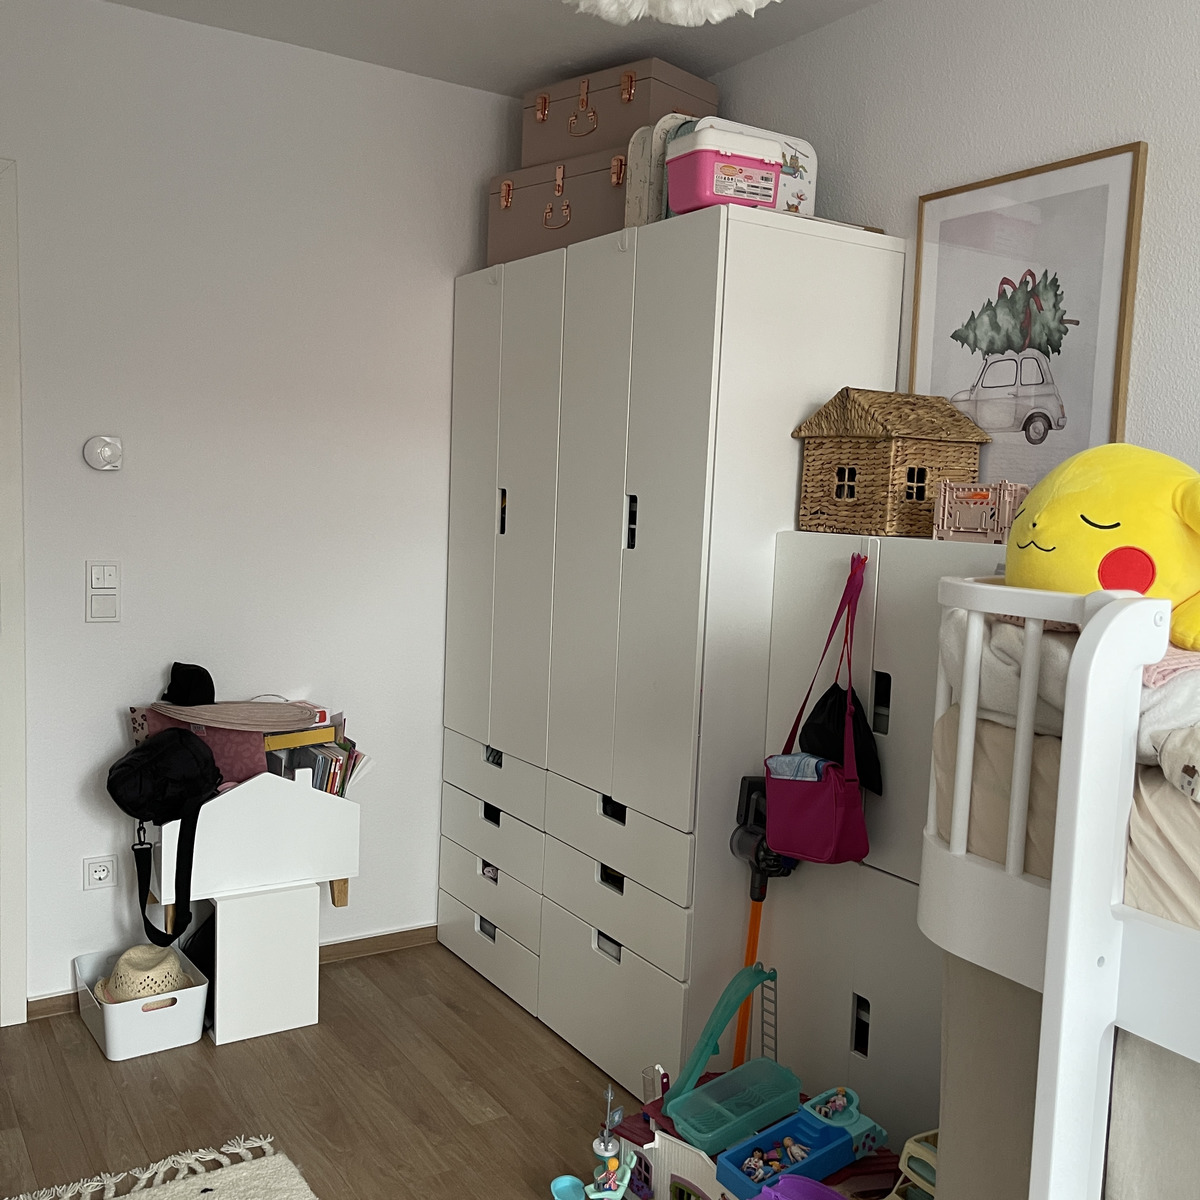
Before

After

Universal Sprayer W 690 FLEXiO

Universal Sprayer W 690 FLEXiO

The W 690 FLEXiO brings you two spray systems for the price of one: The two spray attachments make the sprayer suitable for both interior and exterior use. 

W 690 FLEXiO
Spraying woodstain: Guide & tips

Spraying woodstain: Guide & tips

Learn the best way to spray woodstain, what you should look out for, why it's worth spraying stains and what the best equipment is for it.

Spraying varnishes
Spray wall paint

Spray wall paint

Water based wall and ceiling paints for interior use, such as emulsion paints, can be easily sprayed on with a Wagner paint sprayer. In this guide, you will find out what you should bear in mind when spraying wall paint.

Spraying wall paints