Create an outdoor living room with pallet furniture

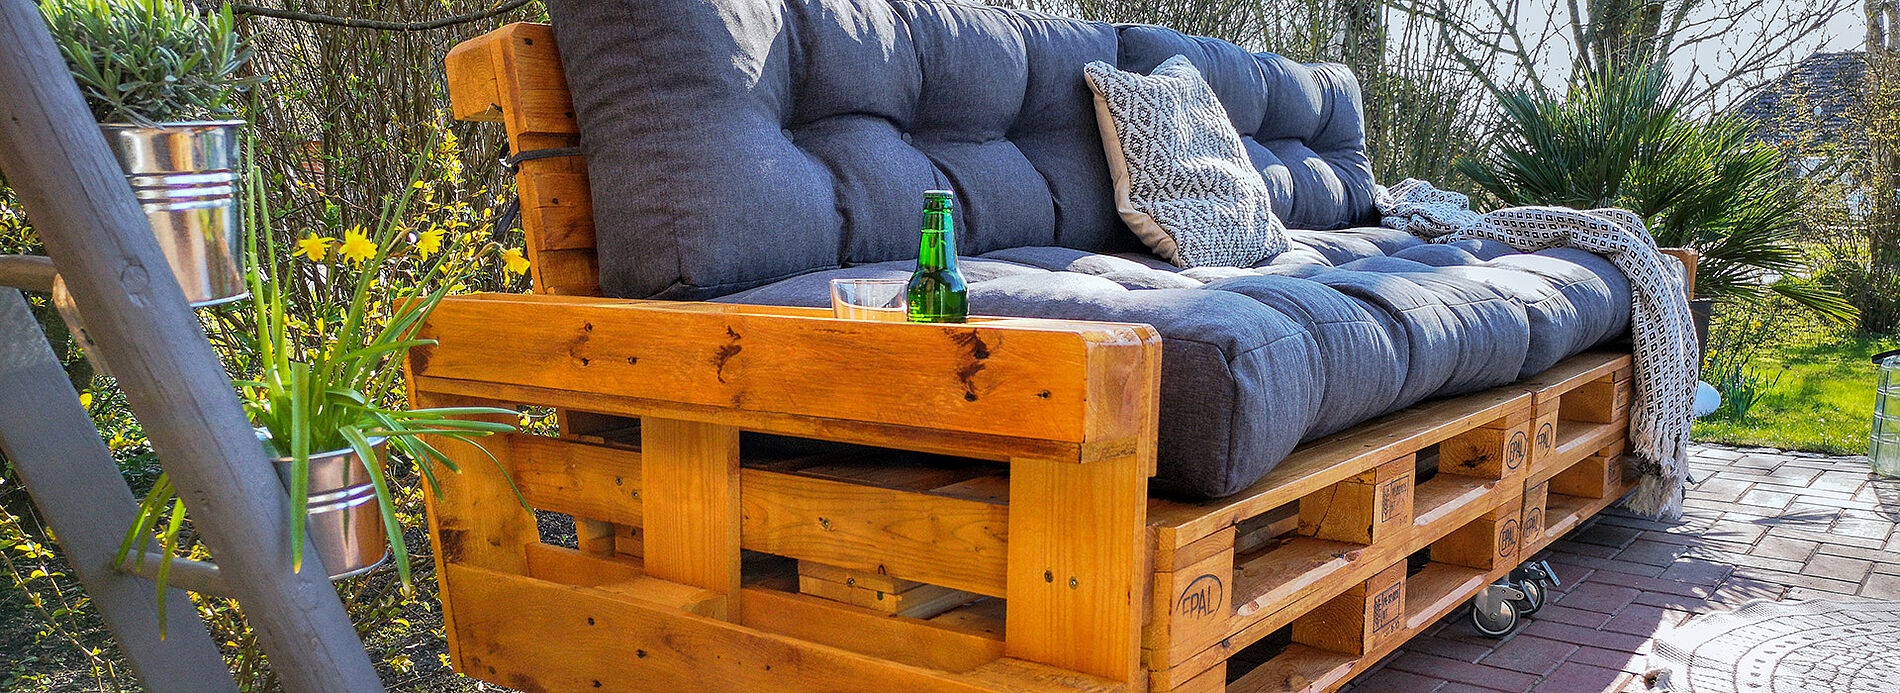
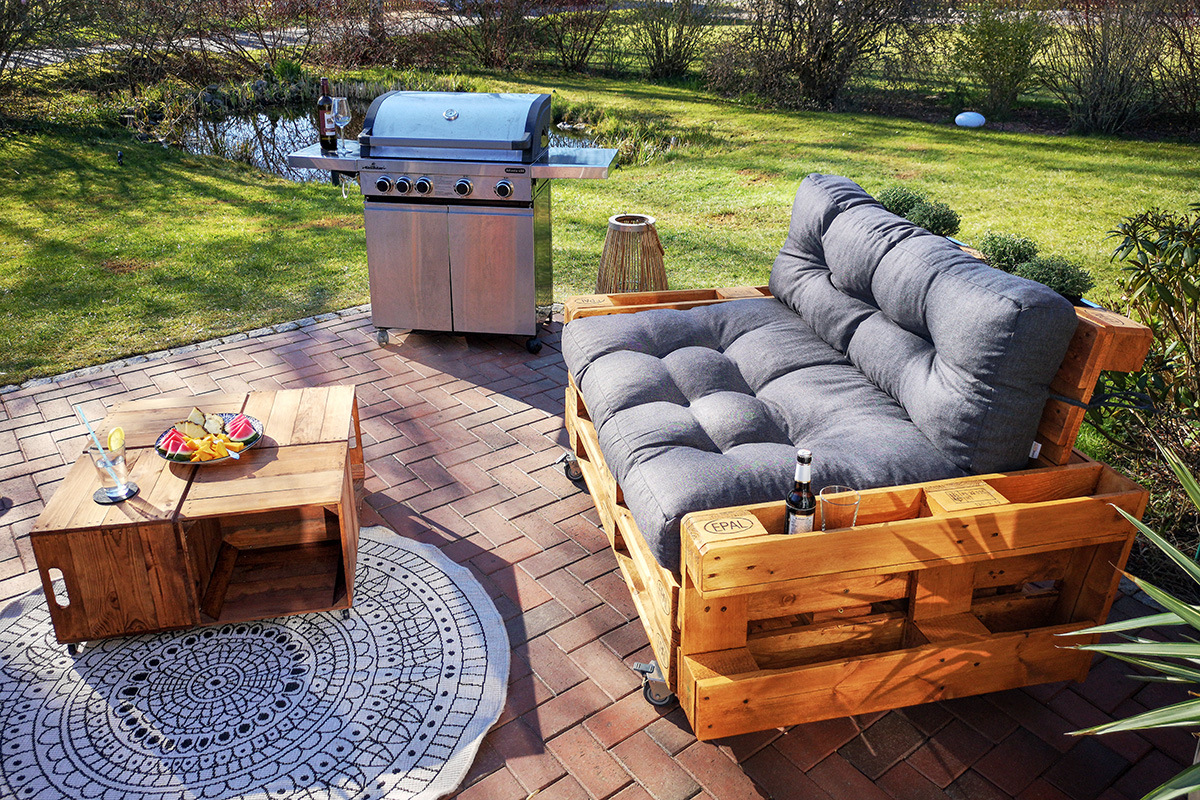
A customised open-air living room in the garden – it sounds like hours of relaxing in the sun, unwinding and taking it easy with the whole family. In our tutorial, we show you step-by-step how to easily create a cosy lounge nook in your outdoor area out of Euro pallets. Two seat units and a small table – and your homley open-air area is done.

By viewing the video you agree that your data will be transmitted to YouTube and that you have read the privacy policy .

Our pallet professionals, Sari and Christian from the YouTube channel “Saris Garage”, always recommend using new pallets for DIY furniture, which can be purchased in DIY stores or online. With used pallets, there’s no way of knowing everything that has been transported on them and what harmful substances could have seeped into them. You should always make sure to use solid wood pallets, as they last much longer outdoors. The wood in pallets made of particle board disintegrates much faster outside due to the effects of weather.
The great part about Sari and Christian’s example design is that the pallets for the furniture don’t have to be disassembled or cut up – which saves loads of time and effort. It also forms a giant seat where you can stretch out to your heart’s content or sit down with the whole family.

You will need:

  • Paint spray system, e.g. Universal Sprayer W 590 FLEXiO
  • Jigsaw
  • Cordless drill with wood drilling attachment
  • Cordless screwdriver
  • Grinder
  • Sandpaper
  • Mask, safety goggles, gloves

For each seating unit (bench)

  • 4-5 Euro pallets (depending on whether you’re building 2 armrests or 1)
  • Long wood screws (approx. 13 cm)
  • Strips of wood for backrest (approx. 120 cm long, 4 cm wide)
  • Wooden board for top of armrest
  • Wooden board for cupholder
  • Exterior Wood and metal paint
  • Optional: 4 sturdy rollers (2 with locking brakes)

For the table

  • 4 fruit crates
  • Screws

Step-by-step guide to building a garden lounge

Step 1 of 6: Screw together the seat for the pallet furniture

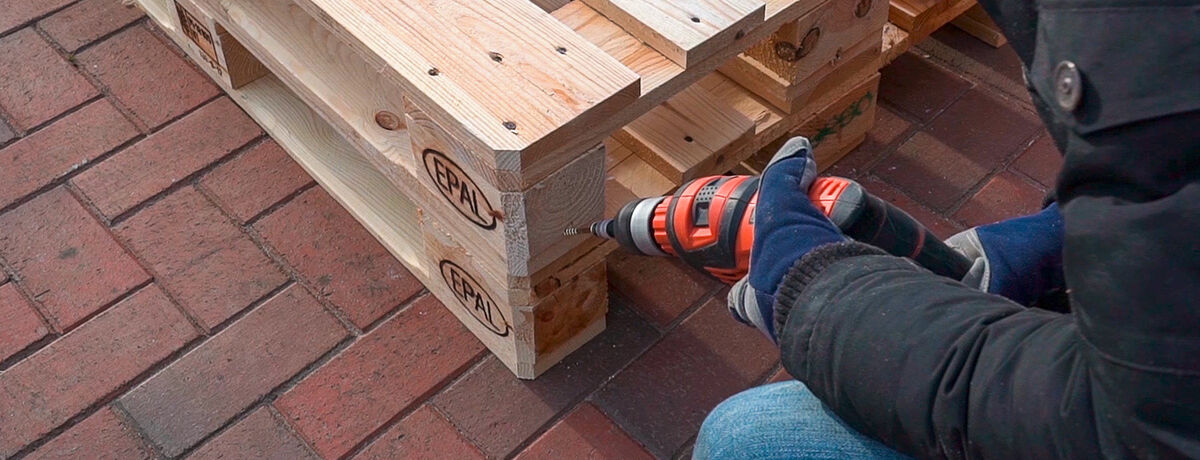
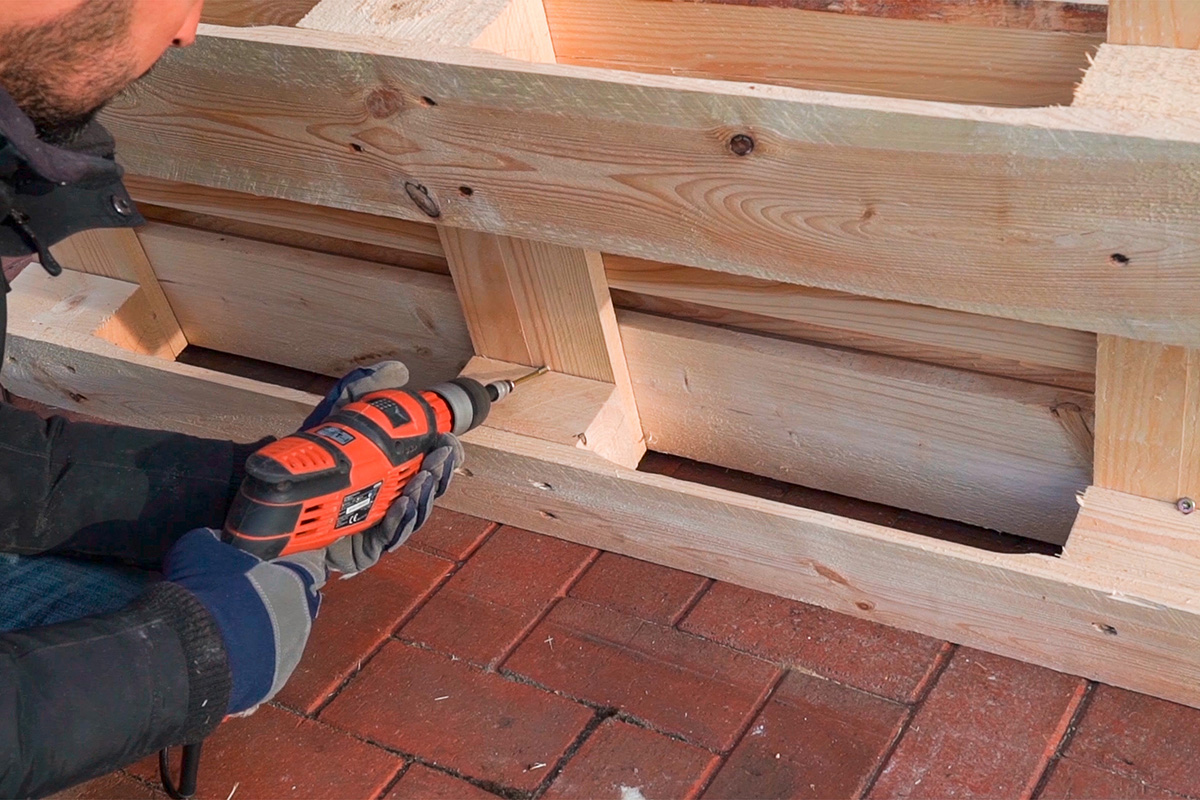
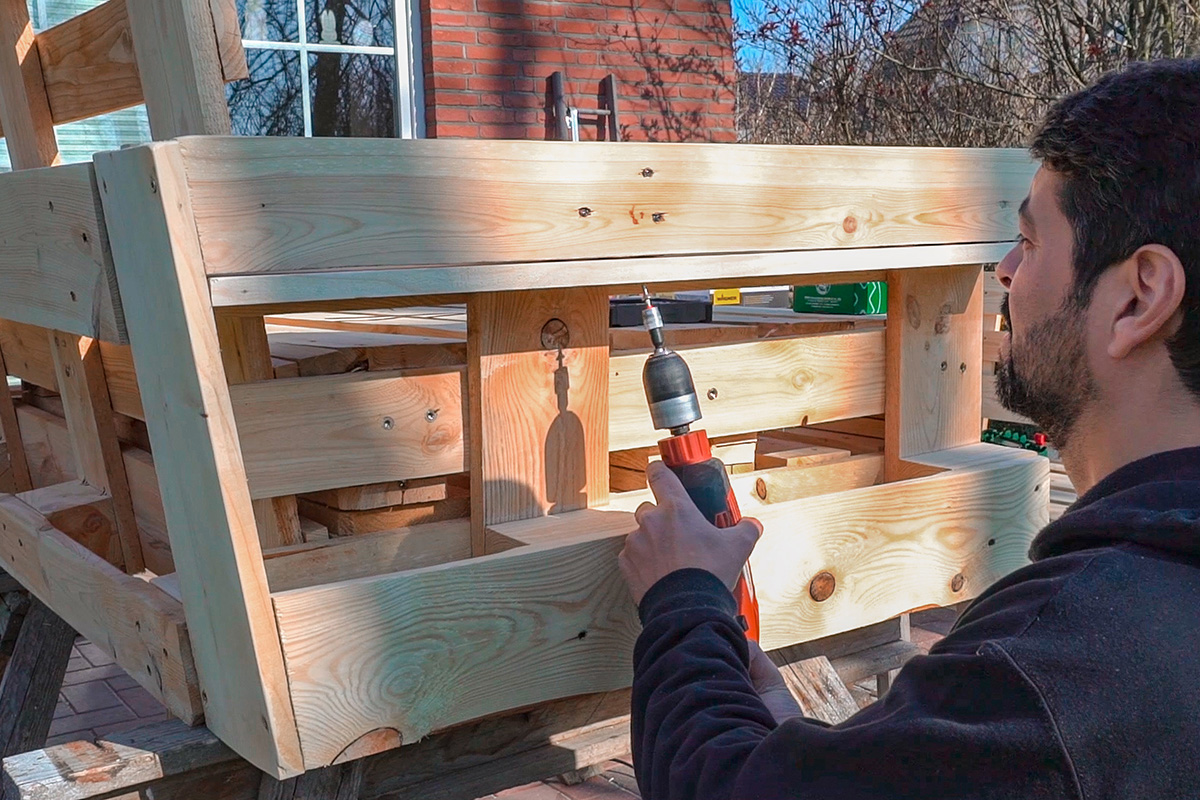
Stack two pallets together, parallel to each other. Then screw long screws at an angle through the EPAL blocks on each side to form a sturdy connection between the pallets (left and right). The front part can be left out if you prefer the way it looks, the screws on the sides already make the base frame extremely sturdy.

Step 2 of 6: Build the backrest for the pallet furniture

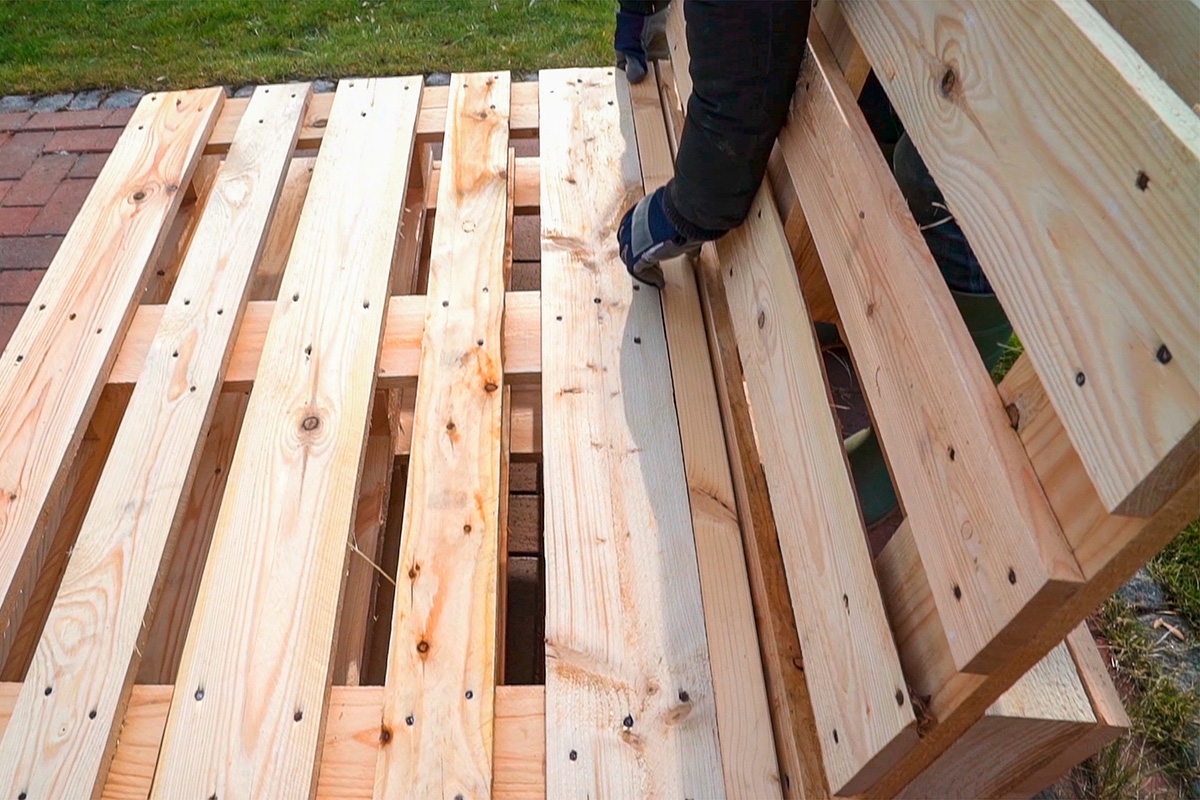
Now it’s time for the backrest. Sari and Christian prefer a slanted backrest, which not only looks nice but is also really comfortable. However, doing this shouldn’t alter the dimensions too much, or you will end up needing cushions in special sizes later, which can get expensive. The easiest way to slant a backrest is to extend the seat with a slat. Cut the slats to match the length of the pallet. The wider the slat is, the more slanted the backrest will be (approx. 4 cm in our example).

Doing2

Doing3

Use screws approx. 13 cm long to screw the backrest to the slat and the seat at multiple points (directly underneath the seat, in the middle and on the bottom). If you would like to place two units next to each other, like in our example, make sure to attach the backrests at the exact same angle. You do not need to attach armrests to the sides that touch each other.

Step 3 of 6: Attach armrests with flat area for setting objects down

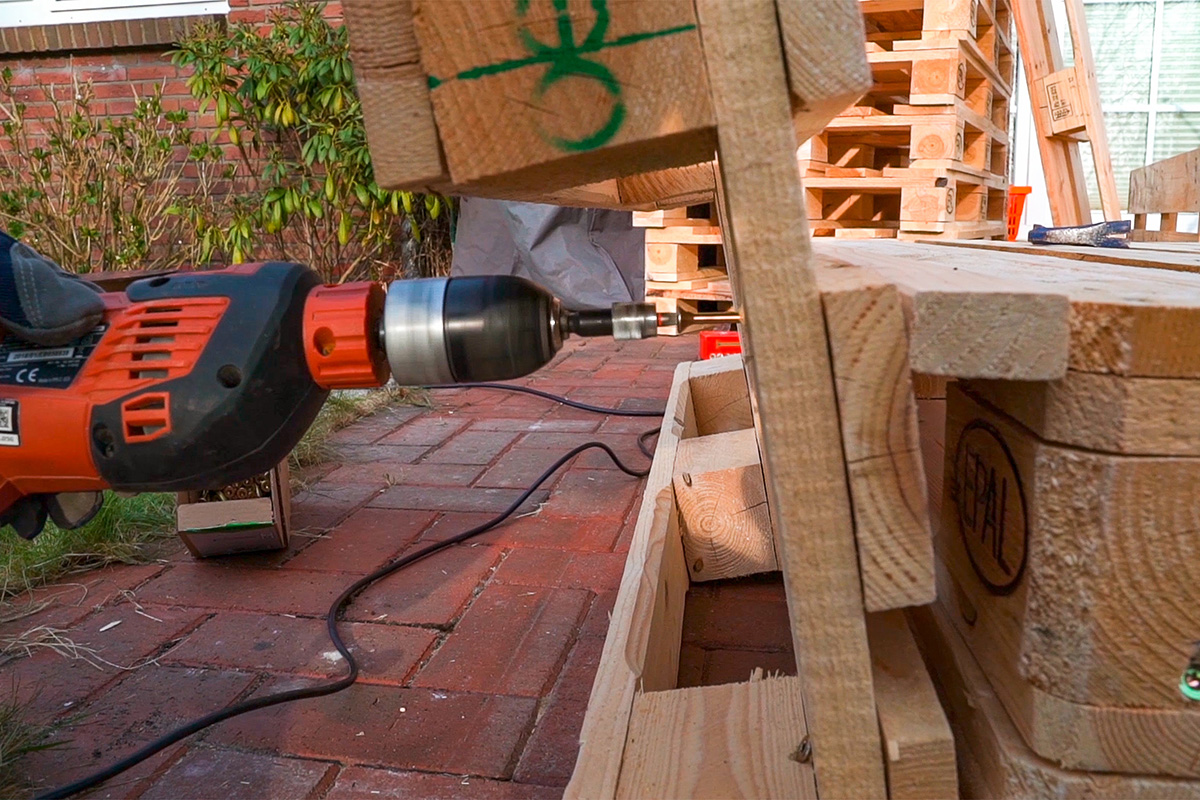
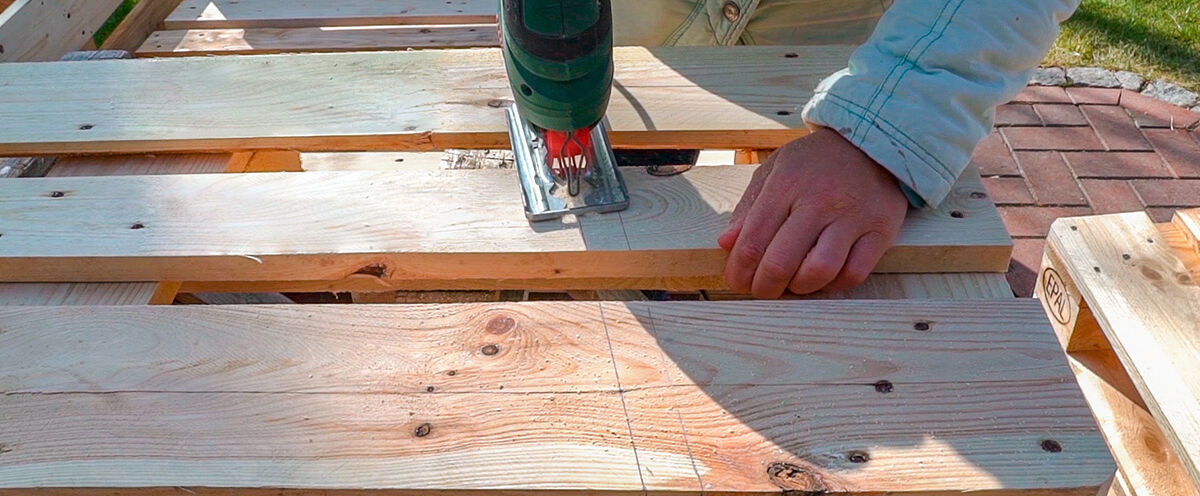
Armrests don’t just make sitting more comfortable, they can also serve as flat areas to set drinks or the like. To do this, use a jigsaw to trim another pallet to three boards along the middle EPAL blocks.

Doing7

Doing8

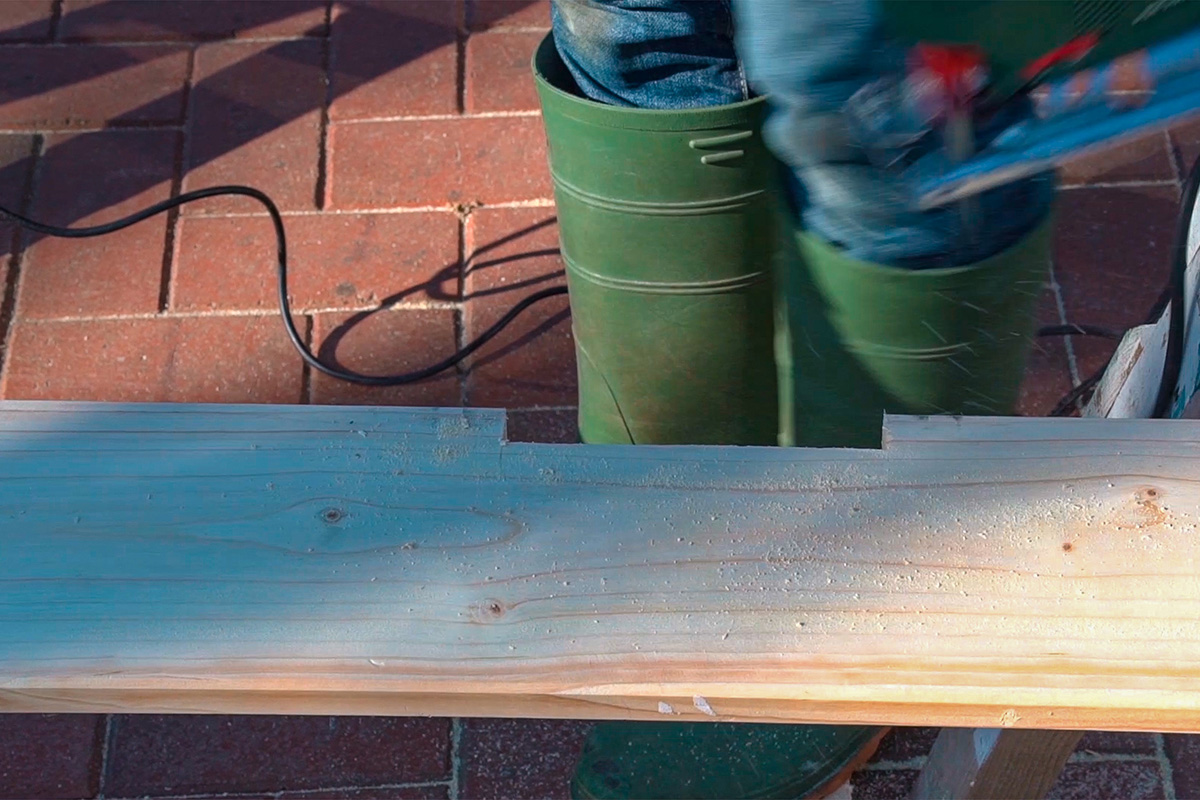
To adjust the armrest angle to that of the backrest, position them flush against the front of the seat and then use a ruler and pencil to draw the angle along the unit for the armrest.

Doing9

Doing10

It’s important to subtract the thickness of the board that will be attached to the back of the armrest later before cutting. Then trim the front and back of the armrests along the lines drawn and copy the angle on the second armrest.

Finally, build the backs of the armrests. These can be made out of old wood scraps. To do this, simply hold the board against the armrest to get the desired dimensions and then trim.

Doing12

Doing13

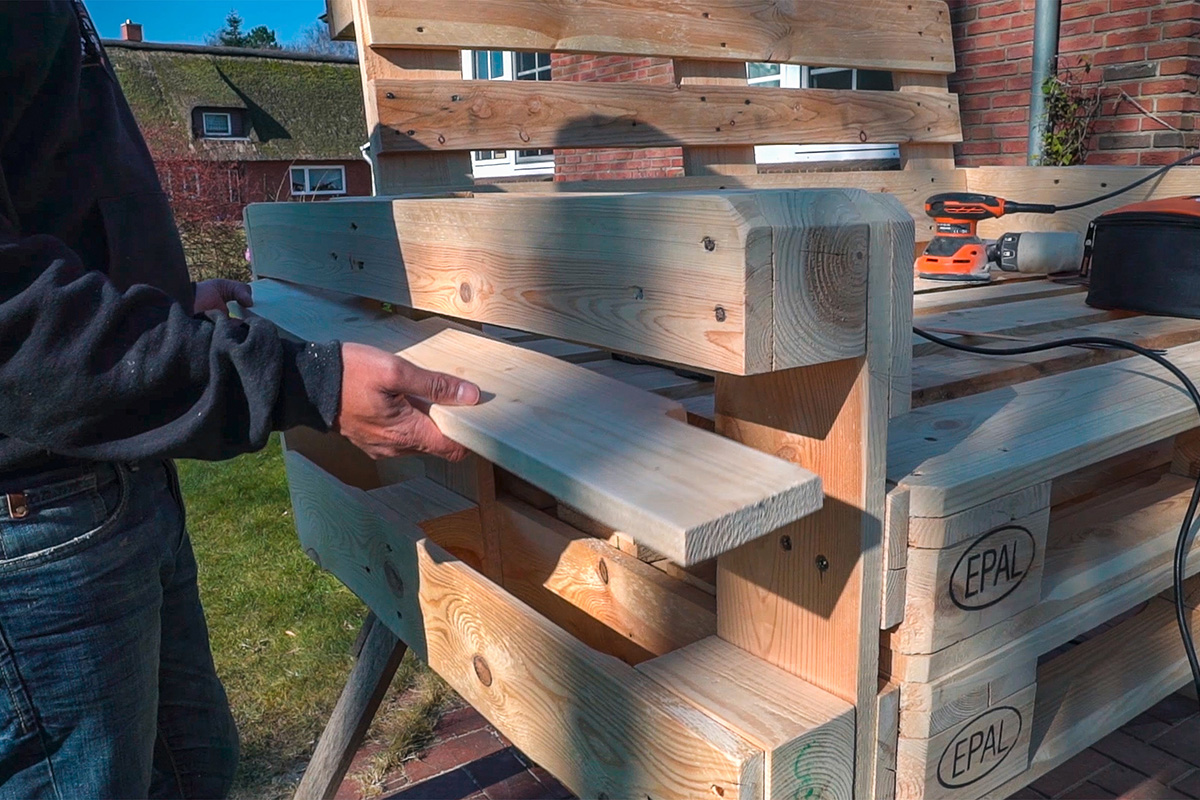
Then fasten the armrests to the seat with screws and, finally, screw the top onto the armrest from behind. Everything should fit flush together.

Doing14

Doing15

The last board serves as a tray under the armrests – allowing drinks to be safely set down, for example. The same principle applies here: hold up, draw the necessary recesses, trim and fasten with screws.

Step 4 of 6: Sanding pallet furniture

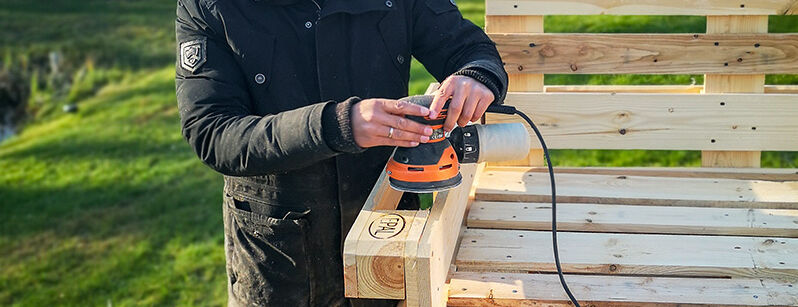
At this point, the pallets have already been sanded down well by the factory. However, there are still a few spots that have to be sanded down to create a smooth surface that will be gentle on cushions later.

Step 5 of 6: Coating pallet furniture

To protect pallet furniture from the effects of weather such as rain, heat etc., it should be stained or painted at this point. The advantage of staining is that it preserves the wood grain texture, while paint gives you an evenly coloured surface. First prepare your paint spray system (e.g. the Universal Sprayer W 590 FLEXiO) and the stain or paint. Depending on how viscous your material being processed is, the stain or paint should be diluted with some water. Stir everything well and you’re ready to go. Simply fill the clear container with the stain or paint, screw on the spray head and connect the entire spray attachment to the base unit. If you hear a “click” as it latches in, you’ve done it right. We always recommend doing a spray test on an old box or a piece of scrap wood – this lets you check the perfect setting for the device in combination with your material. Please always wear a respirator, even when working outside. Now spray the object from a consistent distance and don't change directions until you are past the pallet. This will give you a perfect result in no time.

Lounge Bilder Saris Garage   Wagner  129  ret

Lounge Bilder Saris Garage   Wagner  136  ret

Sari and Christian appreciate their paint spray system primarily for the speed with which it works, as well as the ease with which it can reach all the corners and edges – a huge plus especially for pallet furniture.

Step 6 of 6 (optional): Fasten rollers, add plants, build a table

If you want, you can make your lounge furniture mobile by simply screwing four sturdy rollers to the bottom of the unit – two of the rollers should have locking brakes.

Lounge Bilder Saris Garage   Wagner  100

There are already ready-made plant inserts for pallets that can be purchased for adding plants to lounge furniture. These fit perfectly and only have to be inserted into the slots in the pallet.

Lounge Bilder Saris Garage   Wagner  43

A perfectly sized table can be built out of four fruit crates – just coat the crates with the same paint as the furniture. Then arrange the four crates into a square so that each side has one opening. Now screw each crate to the adjacent one from the inside. That’s it!

The result

With this garden lounge made of Euro pallets, there’s nothing left to stand in the way of your next summer holiday at home! Just lean back and enjoy the fruits of your labour!
Tip: With the right pallet cushions, pillows and blankets, you can make your seating nook even cosier. Other great garden furniture can be made from pallets. How about building a mud kitchen yourself for your children? While you relax on your garden lounge, you can watch the little ones playing at the outdoor kitchen made from pallets.

W 590 FLEXiO

W 590 FLEXiO

The flexible hand spray gun for indoor and outdoor use

W 590 FLEXiO
WAGNER Produktfinder

WAGNER product finder

Here you can find more products

Go to products
Spraying varnishes: Instructions & tips

Spraying varnishes: Instructions & tips

Learn here how best to proceed when spraying varnish, what you should look out for, why it's worth spraying varnishes and what the best equipment is for it.

Spraying varnishes