Painting a garden bench

Nowhere can you enjoy a balmy summer night better than outside in your own garden, on the patio or a balcony. It is really enjoyable being on your own garden bench, which not only serves as a seating area, but is also nice to look at and visually enhances your home. However, weather influences and natural wear and tear cause garden furniture to age quickly. This can be remedied by a fresh coat of paint, which not only makes the bench look as good as new but can also give it a completely new look. Painting a garden bench with a brush or roller however is very time consuming. With a sprayer it is much faster and easier. In addition, when spraying, the paint gets deep into any cracks in the wooden bench and the paint is applied much more evenly, which means that it is less susceptible to weathering and your garden furniture remains protected for much longer. In these instructions we will show you what you need to consider in order to paint wooden garden furniture quickly and easily and to give it a new shine.

By viewing the video you agree that your data will be transmitted to YouTube and that you have read the privacy policy .

Here's what you need:

  • Sponge or brush, detergent and cleaning bucket
  • Wire brush
  • Sandpaper
  • Microfibre cloth
  • Dust sheet
  • Dust mask, goggles, gloves
  • Paint, wood preservatives or stain

Step-by-step guide for painting a wooden garden bench

First of all, the garden bench must be thoroughly cleaned. In addition to plenty of warm water, it is recommended to use detergent, a sponge or a brush. Depending on how dirty the bench is, a pressure washer can speed up this process. After cleaning, rinse the garden furniture with clean water and leave it to dry.

If the old paint is already flaking off, remove as much of it as possible with a wire brush - we recommend wearing gloves. Work methodically and do not forget the underside and the spaces between the slats. Once all loose paint and dirt has been removed, old paint spots and unevenness can be sanded smooth using sandpaper to achieve a smooth finish when painted. Finally, remove any dust by dusting the surface with a microfibre cloth or brush.

Top tip: You can also use your WAGNER sprayer to blow the dust away from the surface - simply use it with an empty spray attachment.

Step 1 of 4: Wear PPE (personal protective equipment)

Wear PPE (personal protective equipment)

We recommend that you always wear a respirator mask when spraying, as well as wearing glasses and gloves if necessary.

Step 2 of 4: Prepare the paint, wood preservative or stain

Prepare the paint, wood preservative or stain

Use the stirrer stick supplied with the spray system to mix the paint. The material is "ready to spray" when it runs off the stick evenly without leaving any trails on the surface. If this is not the case, the material should be diluted as recommended by the manufacturer. In this example a white, opaque paint is used. Fill the paint container of the spray attachment with the desired amount of paint and place the stirring stick upright in the container to see which notch the paint reaches. Each notch corresponds to a 10% dilution. So for a 10% dilution, simply add water or solvent to the next notch and stir vigorously.

Top tip: Paints and wood protection is easier to apply at room temperature. If necessary, you can simply dilute your paint with warm water!

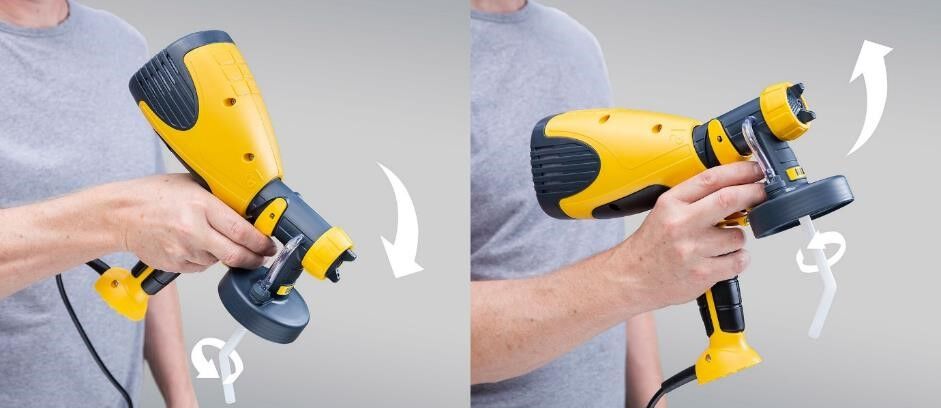
Align the suction tube according to the way you work - forwards if you spray mainly downwards and backwards if you spray objects overhead.

The spray jet setting of the paint spraying system is as variable as your projects and working method. The spray jet can be adjusted in three ways - horizontal or vertical flat jet and pinpoint detail jet - for precise spraying.

Step 3 of 4: Test spray onto cardboard

Test spray onto cardboard

To check your spray pattern, we recommend checking the settings of the sprayer beforehand on a piece of cardboard or the supplied test poster. This will help you to find the right setting for the air and material quantity. If you are spraying paint for the first time, we recommend starting with a low material quantity and then gradually increasing it.

Step 4 of 4: Spray Paint the bench

Spray Paint the bench

Turn the bench upside down and start spraying the inside of the legs and the bottom of the seat. First spray the hard to reach areas between the slats, as well as angles and corners. Use the detailed spray setting for this. Then it is time to spray the main surfaces. Turn the bench over again and spray the legs in the same way, followed by the seat and finally the front and back of the arm and backrest. Using the "flat" spray jet is best for coating the surface quickly. After your newly painted garden furniture has completely dried, consider applying a second coat to the bench. This will protect the surface even better against weather conditions, wear and tear and other external influences.

Top tip: Always press the trigger about 10 cm before the object so that you are already moving when you start spraying. Spray at a steady pace and keep a distance of about 15 cm from the surface. When you reach the end of the object you are spraying, release the trigger and change direction. This will prevent thick layers of paint from building up at the end of each pass when changing direction. For an even and consistent result, overlap each pass by about 30%.

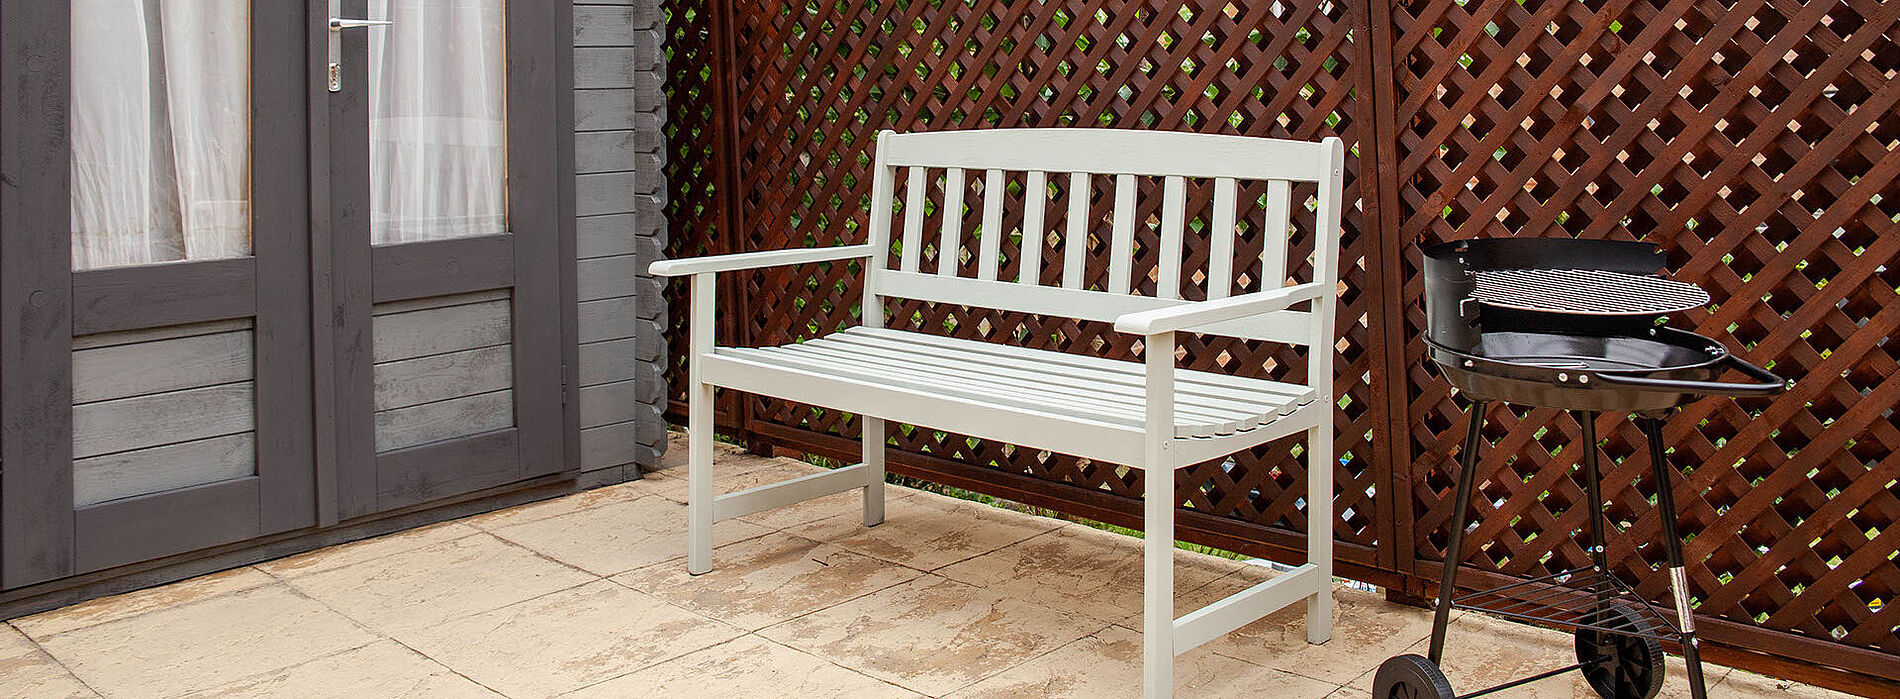
The result
Wood&Metal Sprayer W 100

Wood&Metal Sprayer W 100

The handy solution for small and medium-sized projects for wood and metal paints.

Wood&Metal Sprayer W 100
WAGNER product finder

WAGNER product finder

Here you can find more products

Go to products
Spraying varnishes: Instructions & tips

Spraying varnishes: Instructions & tips

Learn here how best to proceed when spraying varnish, what you should look out for, why it's worth spraying varnishes and what the best equipment is for it.

Spraying varnishes