Do-it-yourself: Painting Wooden Fences

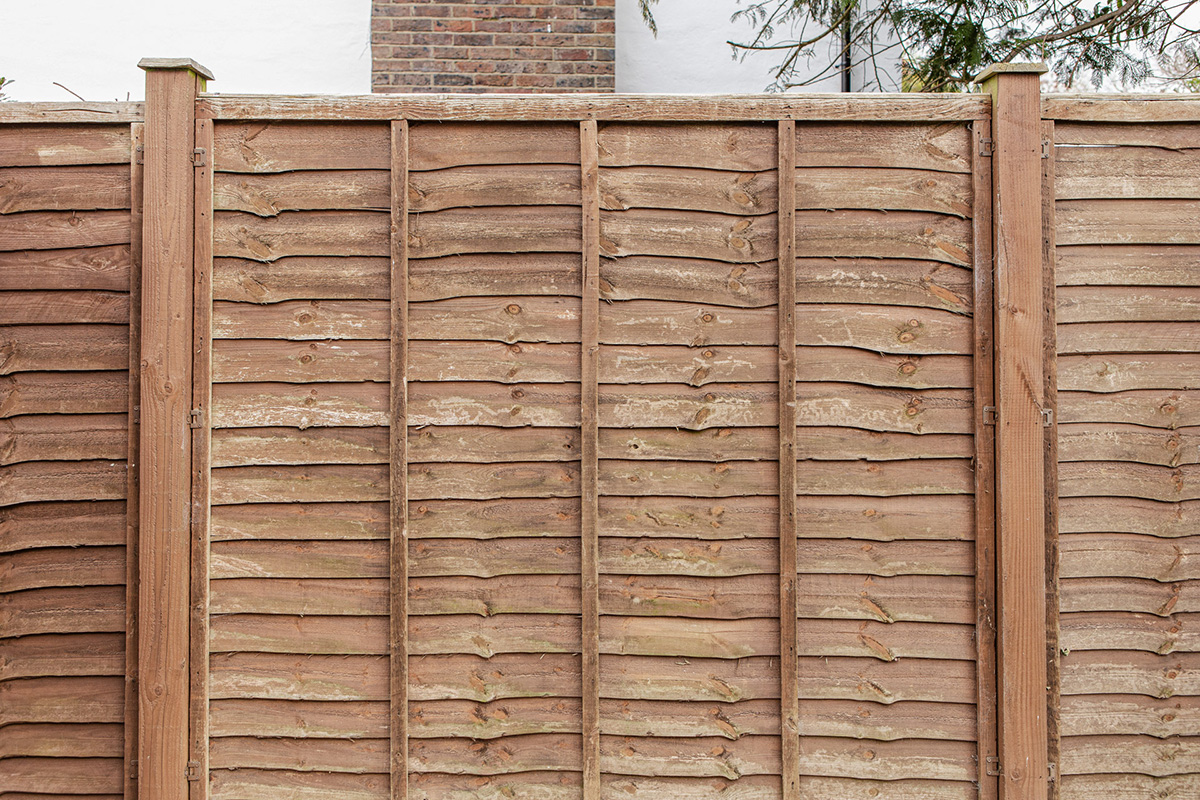
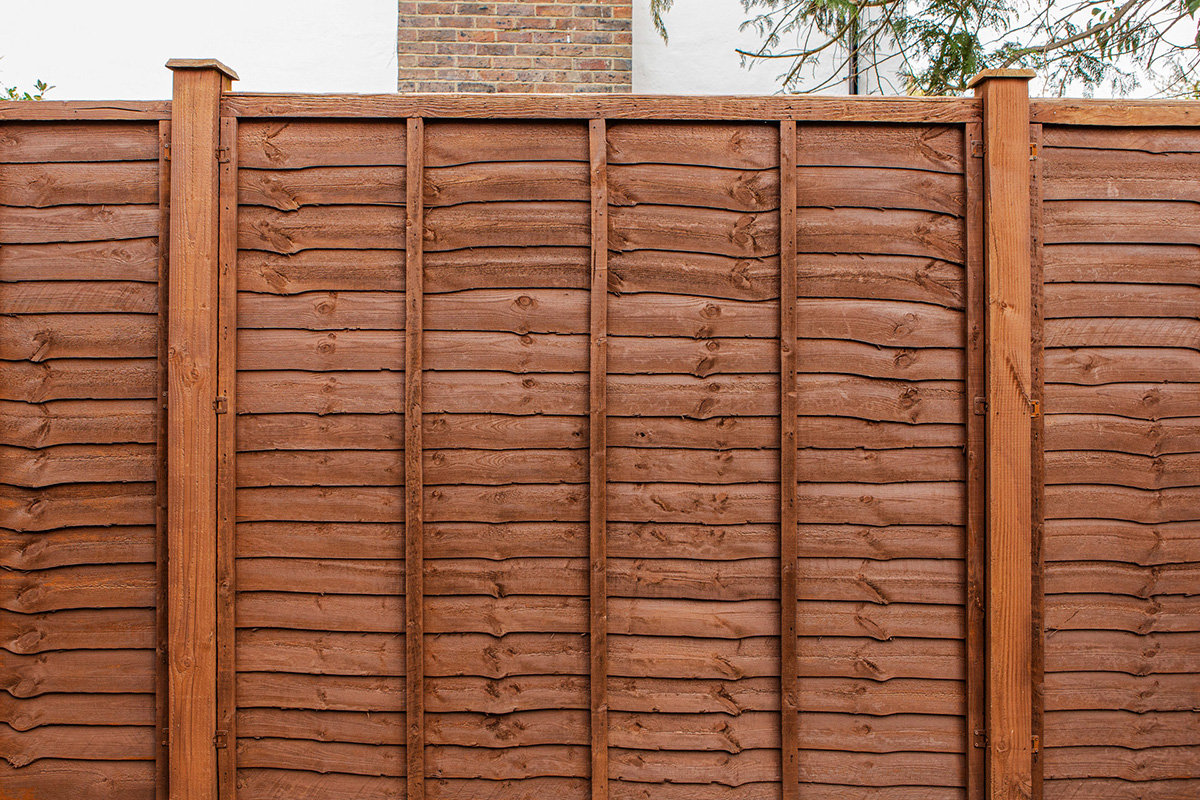
Wooden fencing enhances your garden and provides privacy but in order for it to keep looking good it needs regular maintenance. This includes applying wood preservative, stain or paint to protect the wood and enhance its appearance. Painting a wooden fence with a brush is a very slow and tedious process and it is difficult to cover all the surfaces. Using an electric paint sprayer speeds up the process and ensures the entire surface is covered. Renovating a fence can even become a fun. We will show you all the necessary steps to give your fence a new coat of paint - whether with wood preservative, stain or paint.

By viewing the video you agree that your data will be transmitted to YouTube and that you have read the privacy policy .

You will need

  • WAGNER paint sprayer for example W 100
  • Tools for repair (e.g. Hammer)
  • Wire Brush, sponge, cleaning bucket, hose or pressure washer if available
  • Respirator mask, goggles and gloves if necessary
  • Wood preservative, stain or paint

Step-by-step instructions for painting fences

Step 1 of 6: Cleaning the surface

Cleaning the surface

Start by thoroughly cleaning the fence. Use a wire brush to remove any loose paint, dirt or algae. Then if available use a pressure washer or a hose and sponge to thoroughly clean the surface and let it properly dry.

Top tip: You can use your Wagner sprayer to remove dust from the surface and especially from the cracks - just use an empty spray attachment.

Step 2 of 6: Always wear the right protective equipment

Always wear the right protective equipment

We recommend that you wear a respirator mask and if necessary, glasses and gloves for the following steps.

Step 3 of 6: Preparing the fence

Preparing the fence

For the best results repair or replace any damaged portions of the fence panels, posts or caps in advance. Individual fence panels can be completely removed (if possible) if you have concrete posts for example and sprayed separately of mask off any areas you do not want to spray.

Step 4 of 6: Preparing the paint

Preparing the paint

Use the supplied stirrer to mix the paint. The paint is "ready to spray" when the material runs off the stirrer smoothly without leaving trails on the surface of the paint. If you need to dilute the paint follow the paint manufacturer's instructions. Each notch on the stirrer represents a 10% dilution. Fill the paint reservoir with the desired amount of paint.

Top tip: Check on the container how the material is to be diluted. If the recommendation is to clean your tools with water, you only need to add water to dilute the paint.

Align the suction tube (white angled tube in the spray attachment) depending on how you are going to work. Forwards if you are mainly spraying downwards and backwards if you are mainly spraying objects overhead. Now set the spray jet. Do you prefer to spray from left to right, from top to bottom or with pinpoint accuracy?

The paint sprayer spray jet can be adjusted three ways: horizontally, vertically and a detailed jet for precise spraying. To check your spray pattern, please carry out a test spray, for example on a piece of cardboard. This will help you find the right spray setting that suits you best. Start with the lowest paint quantity setting and increase it until you have found the desired paint quantity setting.

Top tip: Always press the trigger about 10 cm before the object you are about to spray so that you are moving when you start spraying. Spray at a consistent speed and keep it about 15 cm away from the surface. When you reach the end of the spray object, release the trigger and change direction. This prevents thicker layers of paint from forming at the end of each pass when you change direction.

Step 5 of 6: Painting Fence

Painting Fence

Now start to paint the fencing working in a cross-coat direction. This is how it works: Apply the first layer from top to bottom, then apply the second layer, spraying from left to right. By doing it this way, you reach the whole surface and achieve a perfect coverage and therefore a complete protective coating. In order to avoid contaminating adjacent plants, trees and other objects, use an old cardboard box as a spray shield. Hold it parallel to your spray movements.

Step 6 of 6: Remove masking material

Remove masking material

Finally remove the masking material. To avoid peeling off the dry paint make sure you remove the masking tape when the paint is not completely dry.

The result

The fence enhances the look of your garden and brings it back to life. The fence not only looks much better, but it is restored and protected. The fencing not only beautifies your garden boundary, but it is also protects it from the weather – sun, rain and frost. We hope you have fun protecting and making your garden fence beautiful again.

Particularly with trellis, spray painting is a real time saver compared to using a brush. With the paint sprayer you can spray the stain, wood preservative or paint easily into the smallest cracks.

By viewing the video you agree that your data will be transmitted to YouTube and that you have read the privacy policy .


The result

WAGNER Group W 100 Produktbild

Wood&Metal Sprayer W 100

The handy solution for small and medium-sized projects with paints and varnishes

Wood&Metal Sprayer W 100
Produktfinder

WAGNER product finder

Here you can find more products

Go to products
Spraying varnishes: Instructions & tips

Spraying varnishes: Instructions & tips

Learn here how best to proceed when spraying varnish, what you should look out for, why it's worth spraying varnishes and what the best equipment is for it.

Spraying varnishes