Spraying primers: Guide & tips

Are you wondering whether a primer is necessary for your project – and how primers should be applied? Or perhaps you want to spray primer onto a wall, but are unsure how?

We've compiled everything you need to know about priming below, i.e. what primers actually are, when they're needed and what types of primer are available. Of course, you will also find instructions and tips on how to use primers when spraying.

What are primers?

Priming means pre-treating the substrate to prepare it for subsequent coating. This process compensates for any flaws in the surface and changes its properties to ensure the best possible results. The idea is to ensure that the final coating or floor covering adheres, works and looks exactly as intended. Primers are also called undercoats.

They are used on various interior and exterior surfaces: walls and floors, wood, metals and many other materials that require further treatment.

Primers: painting vs. spraying

Primers are usually heavily chemical based due to their complex properties. Many DIY enthusiasts and also tradespeople are therefore concerned that they will contaminate the substrates and surfaces with harmful substances. But there's no need to worry – many primers are now certified as low-pollutant, eco-friendly and safe for interior use. If they are also applied with the minimum amount of material possible, they can deliver their full effect without endangering the building materials and subsoil as well as people and the environment.

The easiest way to ensure an efficient application of primers is to spray them on. The material is atomised and applied to the surface precisely with reduced spray mist thanks to WAGNER technology. You also save time and effort as there's no need to laboriously cover large areas with paint rollers.

Nevertheless, you can of course also apply primers with the usual tools. For example, a short-pile paint roller is ideal for creamy materials on smooth substrates, while a long-pile lambskin roller is ideal for more fluid materials.

Tip: If you want to spray on the primer, ask an expert to advise you beforehand as not all primers are suitable for spraying.

Instructions: Here's how to spray primers with our paint spray systems

Spraying a primer sounds far more difficult than it actually is. You can apply the primer to the substrate in only five steps, saving both material and time:

1. Surface preparation and personal safety

schritt 1 vorbereitung

Especially when using primers with a high solvent content, it is important to protect yourself properly. Therefore, always wear protective goggles and a dust mask, as well as gloves. Open windows and doors and allow any vapours to escape.

Also, prepare the surface well. Mask off the surrounding areas in the usual way to protect them. Thoroughly clean off any loose material such as dirt, dust and residues of paint, wallpaper or plaster. Also fill any cracks and cavities. The aim is to ensure the substrate is as clean, dry and even as possible.

2. Prepare the primer

schritt 2 grundierung vorbereiten

Read the manufacturer's instructions. Can the primer be diluted? If it is on the thick side, you should dilute it to ensure effortless application with your paint sprayer.

Then pour the primer into the paint container.

3. Preparing and setting the device

schritt 3 geraet vorbereiten

Next, check the settings on your device. Adjust the pressure or air volume and the material quantity. You can also align the spray jet vertically or horizontally on the nozzle.

Before you start, you can check the settings by spraying onto the supplied test poster or simply on a piece of cardboard.

4. Spraying on the primer

5 O3 A0394

Now it's time for the main step: the actual spraying! Ensure that the spraying distance and angle of the spray head to the surface remain constant. Avoid pivoting movements to ensure an even application of primer.

Start moving first and then operate the trigger to prevent too much material being applied at one point when starting to spray.

5. Clean the device

Reinigung farbspruehsystem

WAGNER paint spray systems are very easy to clean. You can disassemble them very easily! The individual components are then simply rinsed out with warm water. With airless units, all you have to do is hold the suction and return hose in a bucket of water and switch on the device – it cleans itself completely automatically.

Tip: Many primers are no longer water-soluble after drying. Therefore, it's best to clean your device immediately after use when the primer is still liquid!

How do primers work?

Primers can have one or more of the 5 basic functions:

icons8 wasser 500

Reducing absorbency

Some materials need water in order to set, as well as sufficient time to fully harden. Examples of these are mortar, plaster and tile adhesives. However, if the substrate absorbs too much water too quickly, this is called "premature drying". This impairs the effect of these applied substances – they then become brittle and fragile. As a result, wallpaper or tiles will not stick properly to the adhesive or will quickly flake or fall off.

Some materials need water in order to set, as well as sufficient time to fully harden. Examples of these are mortar, plaster and tile adhesives. However, if the substrate absorbs too much water too quickly, this is called "premature drying". This impairs the effect of these applied substances – they then become brittle and fragile. As a result, wallpaper or tiles will not stick properly to the adhesive or will quickly flake or fall off.

icons8 tisch 500

Equalisation of different absorption rates

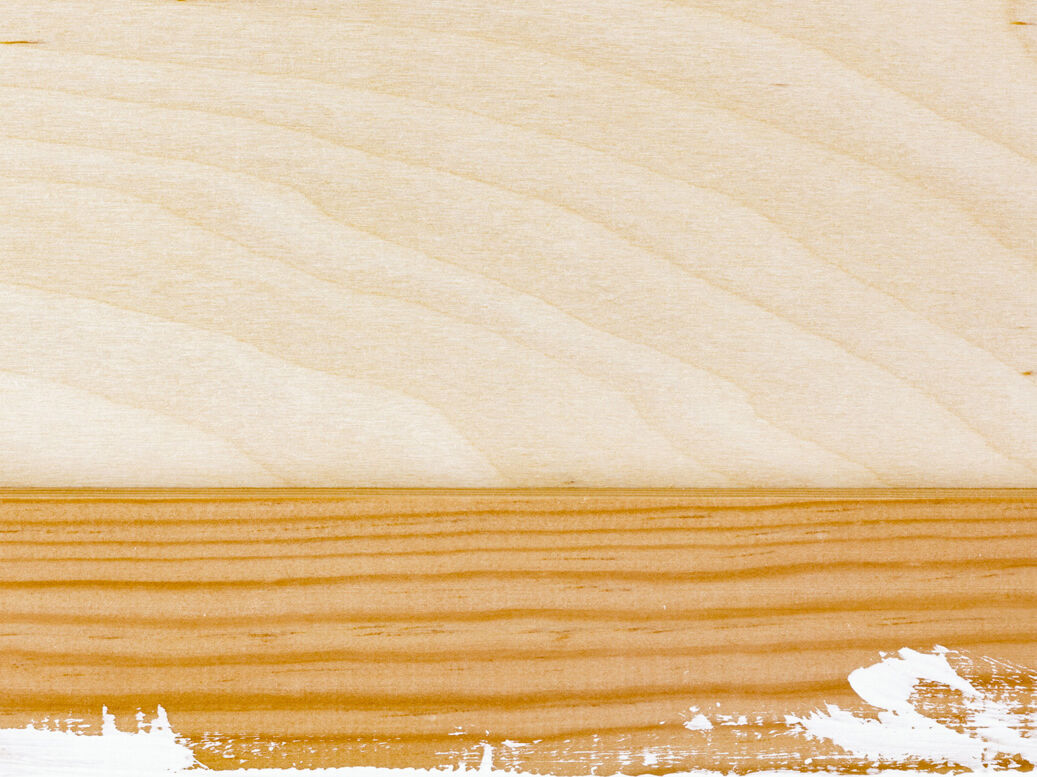
Substrate materials absorb paint relatively evenly across their surface. On a wood panel, for example, there may be a subtle difference due to variations in the wood grain, however such variations are relatively minor.

However, if paint or a similar material is to be applied to a substrate consisting of several different materials, the results may differ significantly. This may also be the case, for example, on any areas of a surface that have been "made good" and on different wall coverings, filled plasterboard and glued wood. Let's take a filled plasterboard sheet as an example: the plasterboard and filler have different properties. If a paint is applied directly, the differences in the material become apparent, for example due to different colour shades or a different level of gloss finish. These differences can rarely be corrected by simply painting over them several times.

A primer is used to adapt the material properties and ensure the coating material produces an even finish.

icons8 physik 500

Strengthening the substrate and binding particles

No matter how rigorously you brush down and wipe the surface, it's simply not possible to remove 100% of the dust and dirt. In order for coatings to adhere well, residues such as dust, clay, sand, lime as well as chalk and colour pigments need to bound.

In addition to strengthening the substrate, this also has the advantage of preventing plaster or render from being contaminated with paint.

Note: after sanding down surfaces in an old building, new plaster should always be applied – a penetrating primer will not help here.

icons8 fuellfarbe 500

Ensuring adequate adhesion between the substrate and coating

Some surfaces are so smooth and non-absorbent that not even mechanical adhesion (so-called interlocking or clawing), can take place. If paint is applied, it may simply run down the surface.

In this case, the substrate can be roughened using a film-forming primer – these primers contain plastic particles that physically roughen the surface, to which the coating can then adhere.

icons8 schild 500

Waterproofing and creating a barrier against contaminants

The primer acts in every respect as a barrier between the substrate and the coating, preventing any mutual interference.

For example, this ensures that residual moisture from the substrate cannot swell or dissolve the coating; and conversely, that moisture from the freshly applied coating cannot swell the substrate. This is prevented by completely filling the pores in the substrate, thus preventing any water penetration.

This barrier also prevents contamination by other substances, such as nicotine stains on the substrate or soot, water stains, wood components or fats and oils. Besides visibly altering the final colour, these substances may also affect the function and durability of the coating.

What types of primer are available?

1. Adhesive primers

These primers are used to roughen smooth and non-absorbent substrates by means of plastic particles. This makes a bond possible in the first place and ensures that the final coating adheres to the surface. It also prevents wooden surfaces from swelling.

2. Barrier primers

By applying an (almost) impermeable layer, barrier primers prevent, for example, stains from showing through from the substrate or any transfer of substances between the substrate and the coating. However, they allow vapour diffusion, i.e. they are breathable so that water can evaporate.

3. Plaster bases

These primers are similar to barrier primers, but are primarily designed for decorative plasters. They contain a grain size that allows better interlocking or clawing.

4. Penetrating primers

This is usually colourless and is often used in dry construction to reduce – and compensate for differences in – absorbency rates. They are typically based on alkyd or acrylic resin and contain a lot of solvents, so some precautions must be taken when using them!

When are primers required?

Primers can improve the final result with a variety of coatings, such as special glossy and glitter paints. Moreover, decorative plasters adhere much better to a plaster base.

If the surface is too absorbent a primer should always be applied. You can easily test this by spraying a little water onto the surface. If it is absorbed quickly and completely, a primer is essential. Even non-absorbent or less absorbent surfaces are easier to work on with a primer. If the surface to be coated consists of more than one material or is heavily stained, a primer should also be sprayed on.

In addition, a primer is ideal with varnishes, because it prevents the water from being absorbed by the wood instead of evaporating. This results in a durable protective film.
Priming is also worthwhile for chalk paints as well as "chalking paints" (i.e. paints in which white chalk particles detach over time) because it ensures that they are much harder to rub off.

Ergebnis Dekorputz spruehen

Decorative plaster

Das Ergebnis: ein Bilderrahmen im Shabby Chic Look

Vintage style picture frame

Garten Theke

Garden counter

Tip: Always choose the primer that is the least polluting. This protects not only the DIY-ers or tradespeople and the residents but also the environment. The Giscode seal (solvent and hazardous substance content) as well as the EMICODE seal (test mark for environmental and indoor hygiene) are helpful signposts here.

Which paint spray system is best for primers?

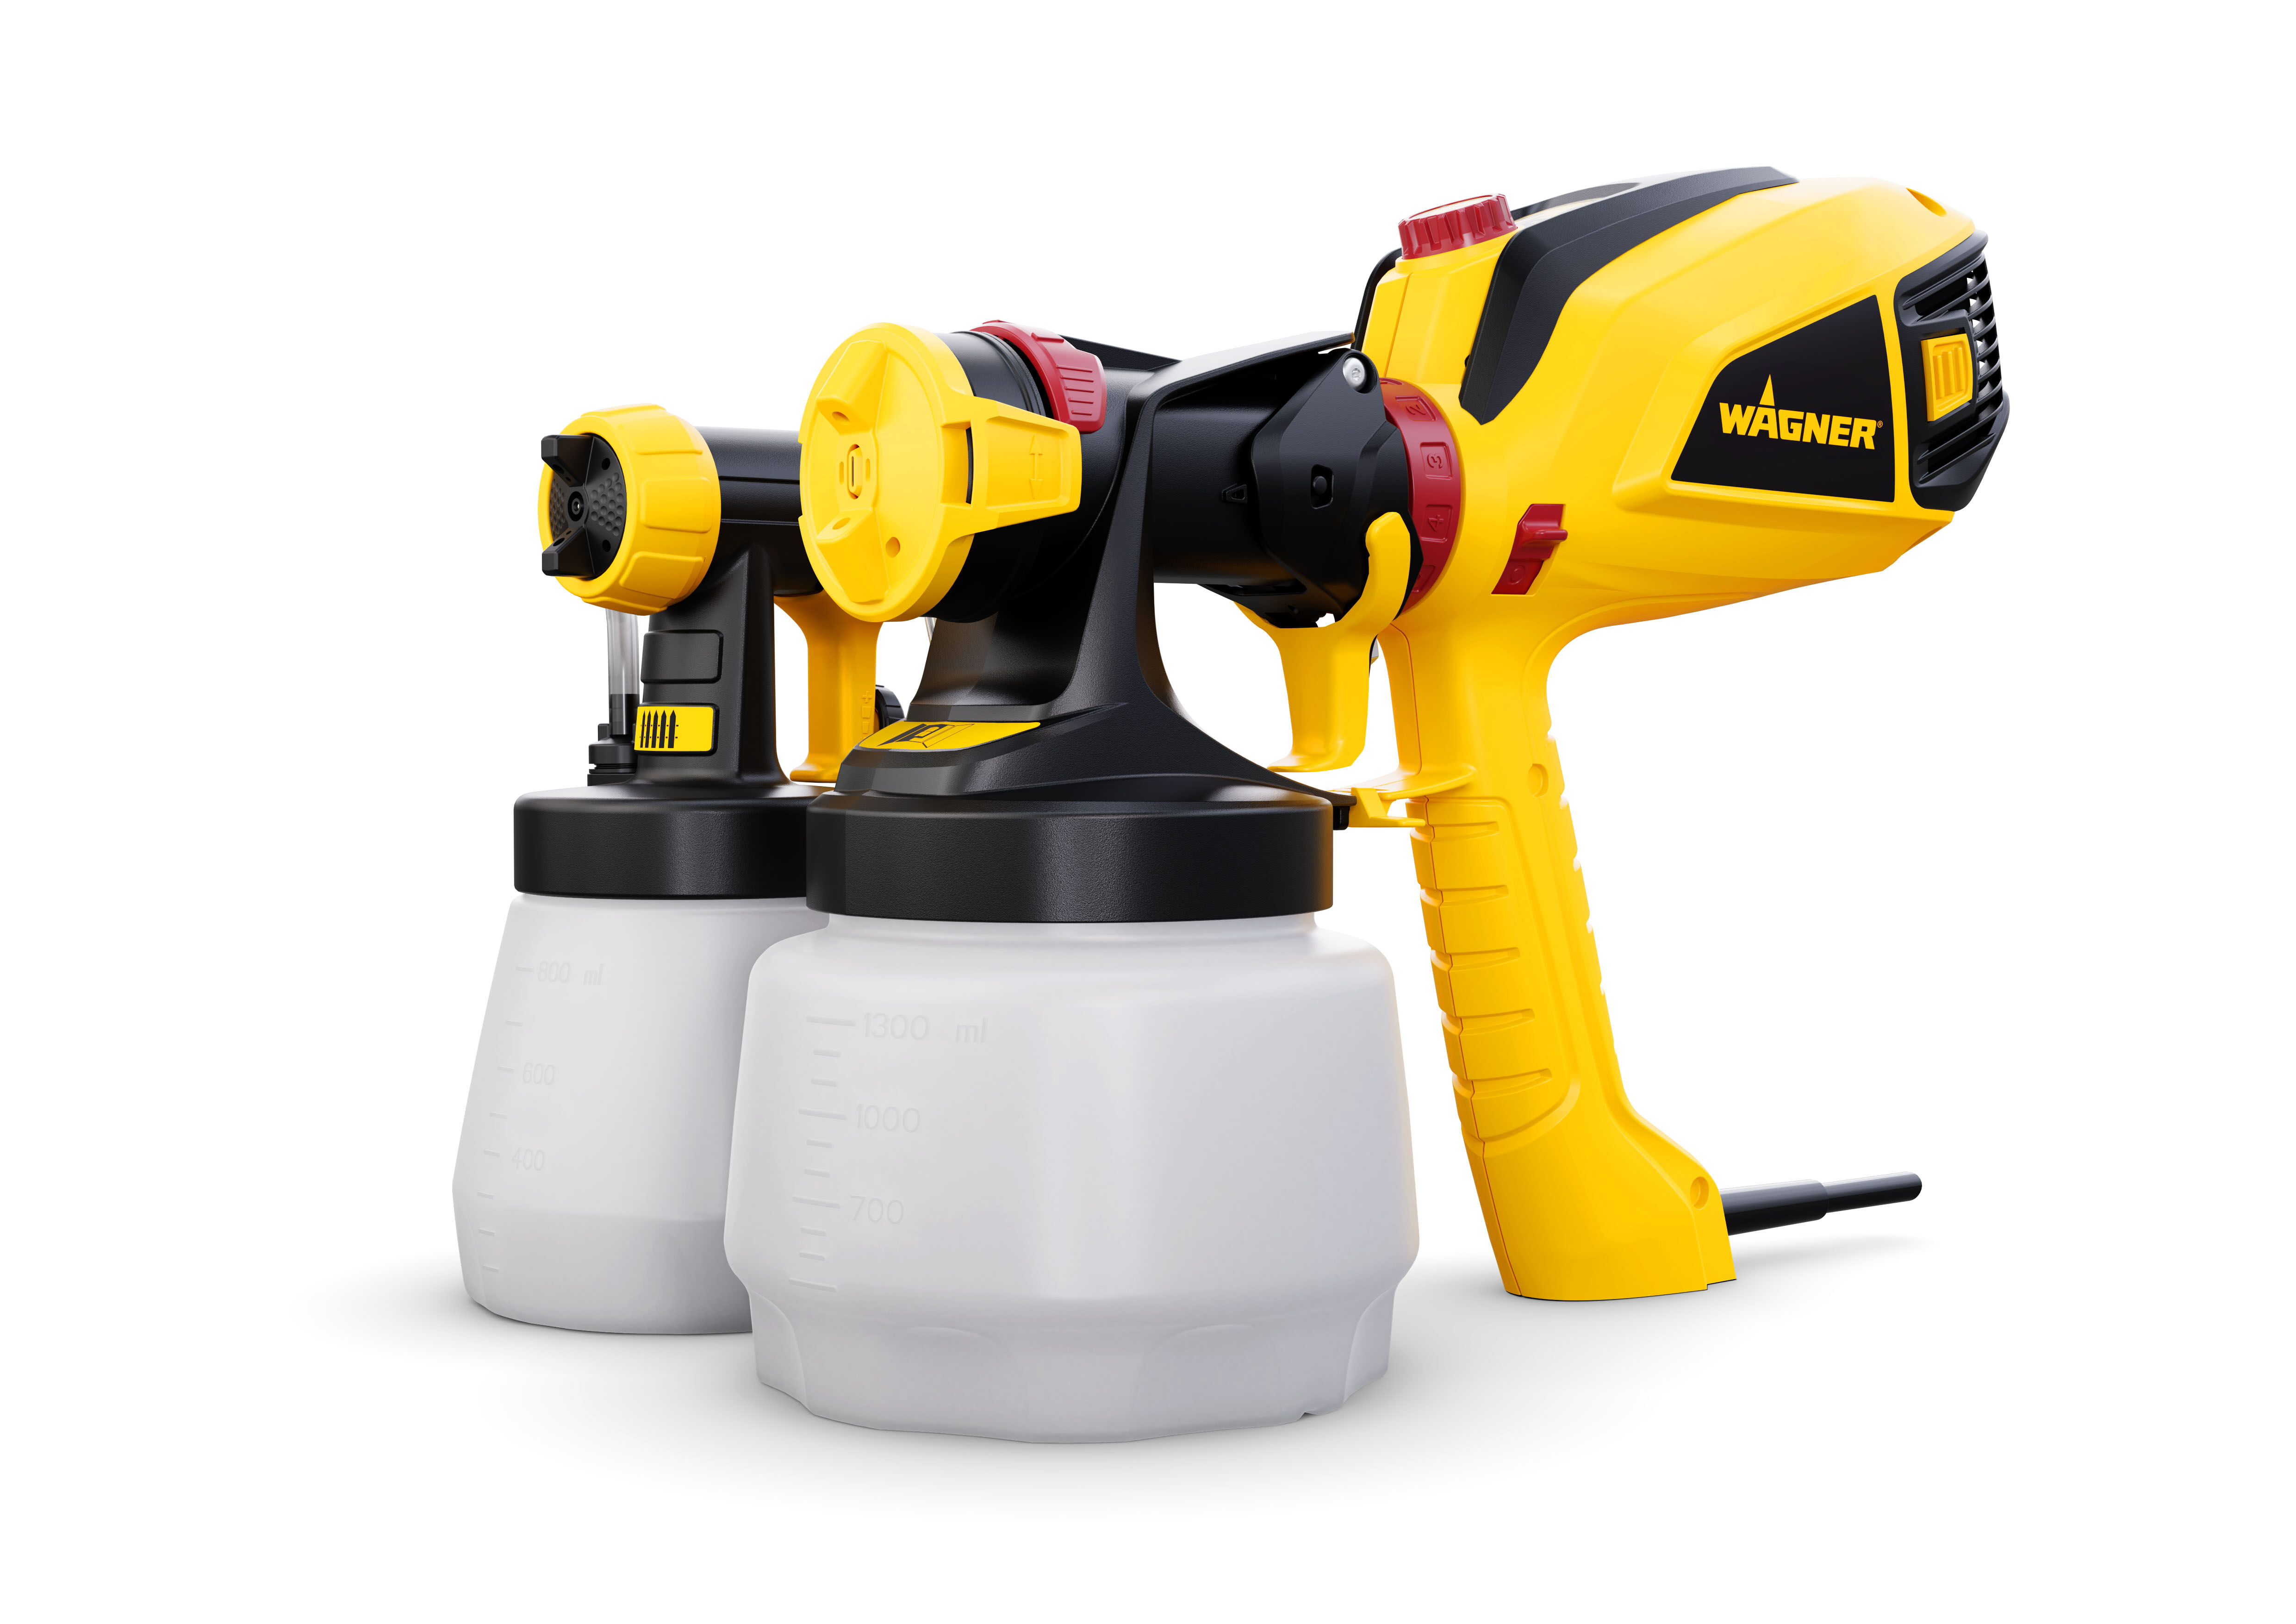
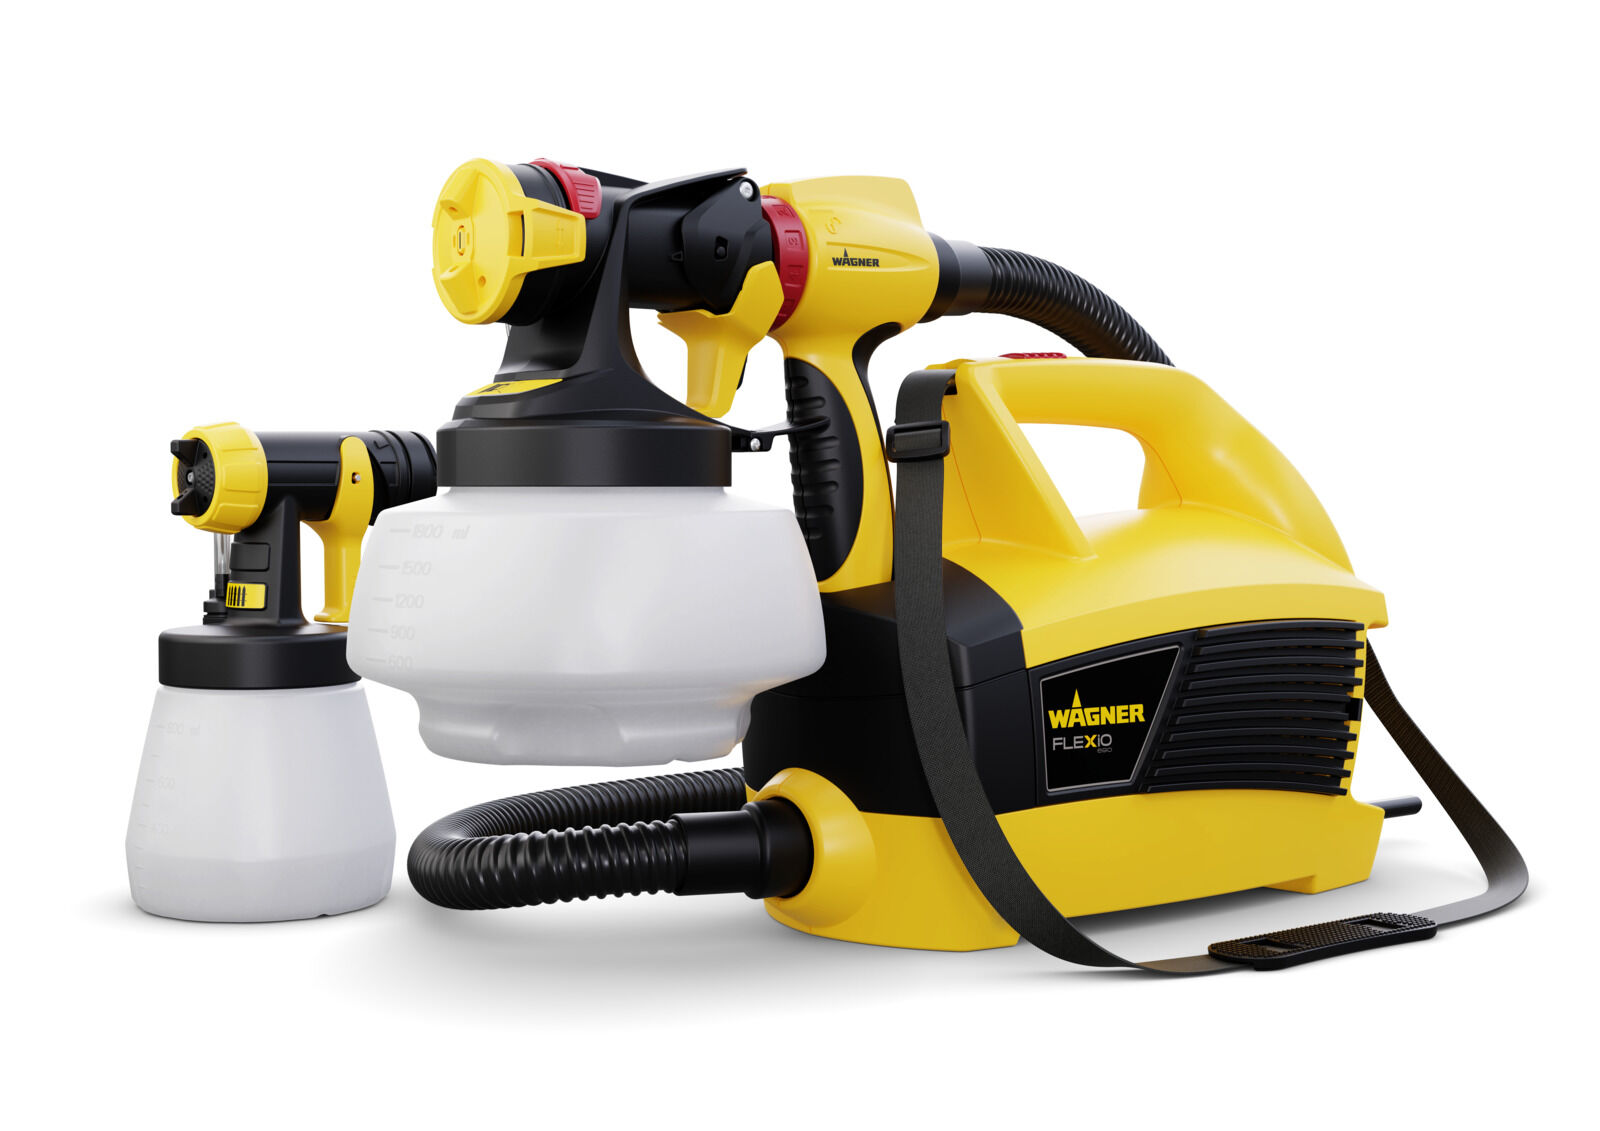
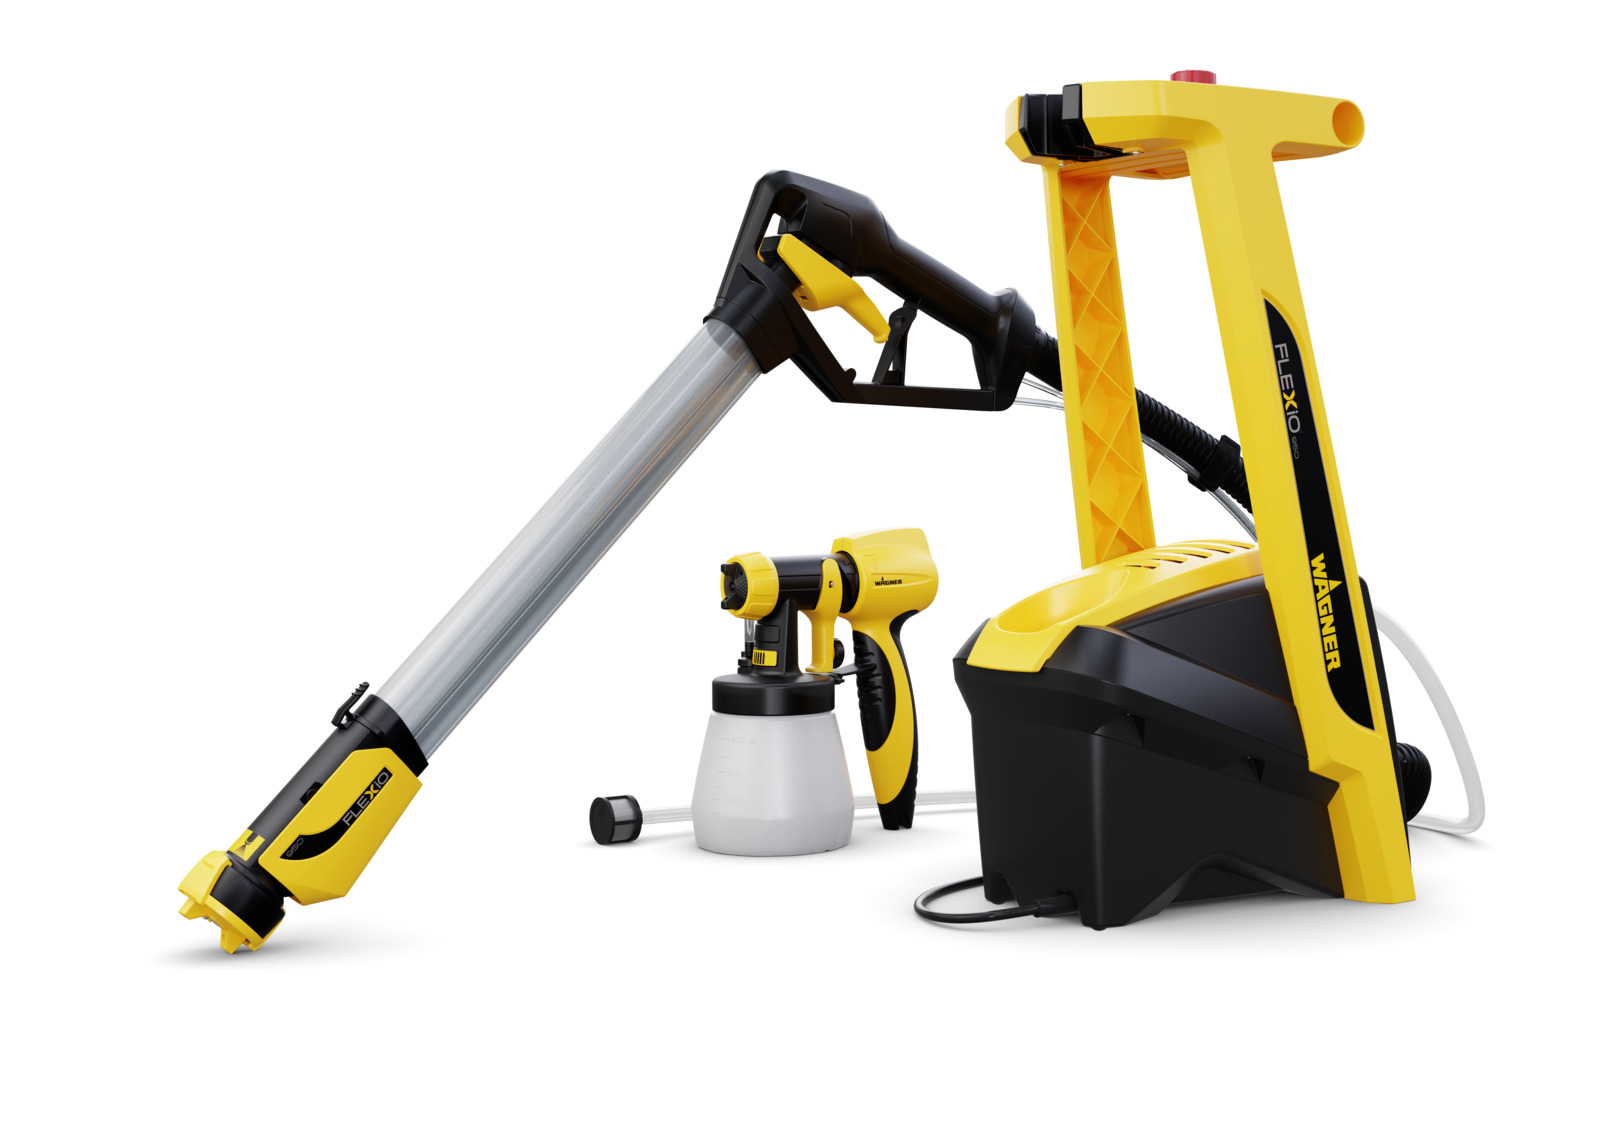
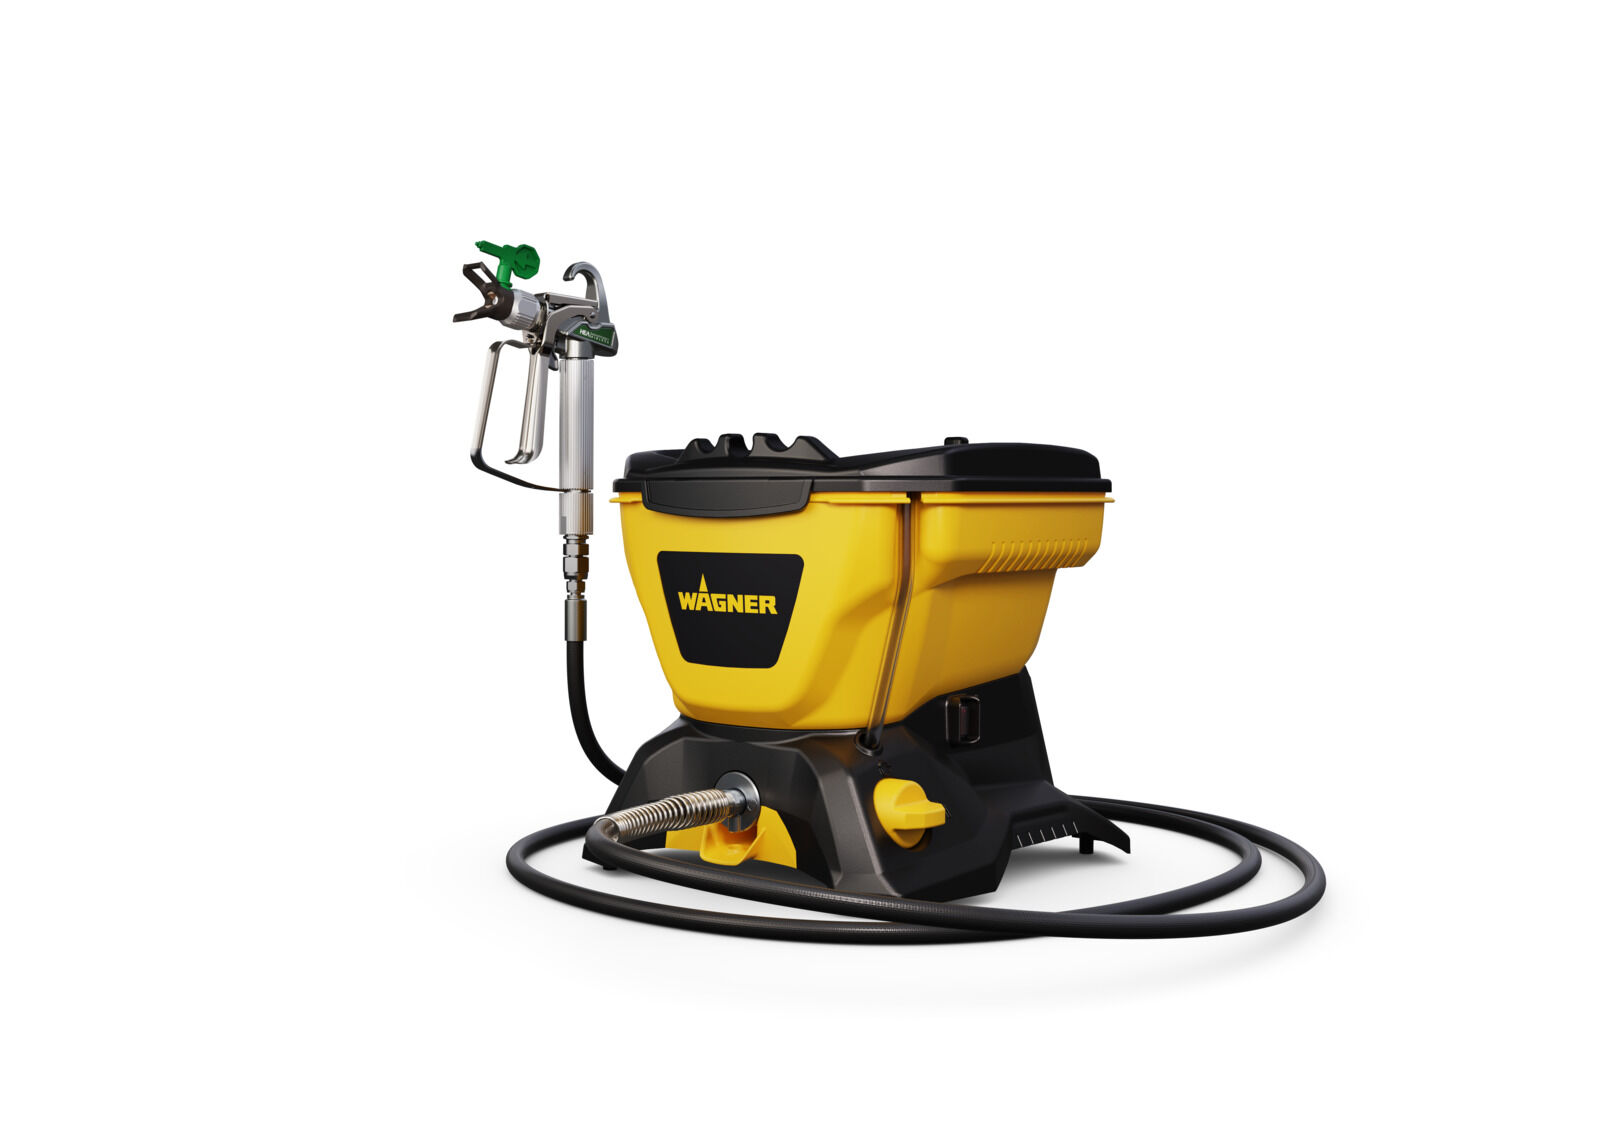
For primers, you have the choice between our handy HVLP paint sprayers and our airless units.

Spraying primers with our HVLP paint spray devices

HVLP stands for "High Volume, Low Pressure" and describes how these devices work. The material is atomised by means of high air volume and low air pressure. For thin or dilutable primers, we recommend the following devices:

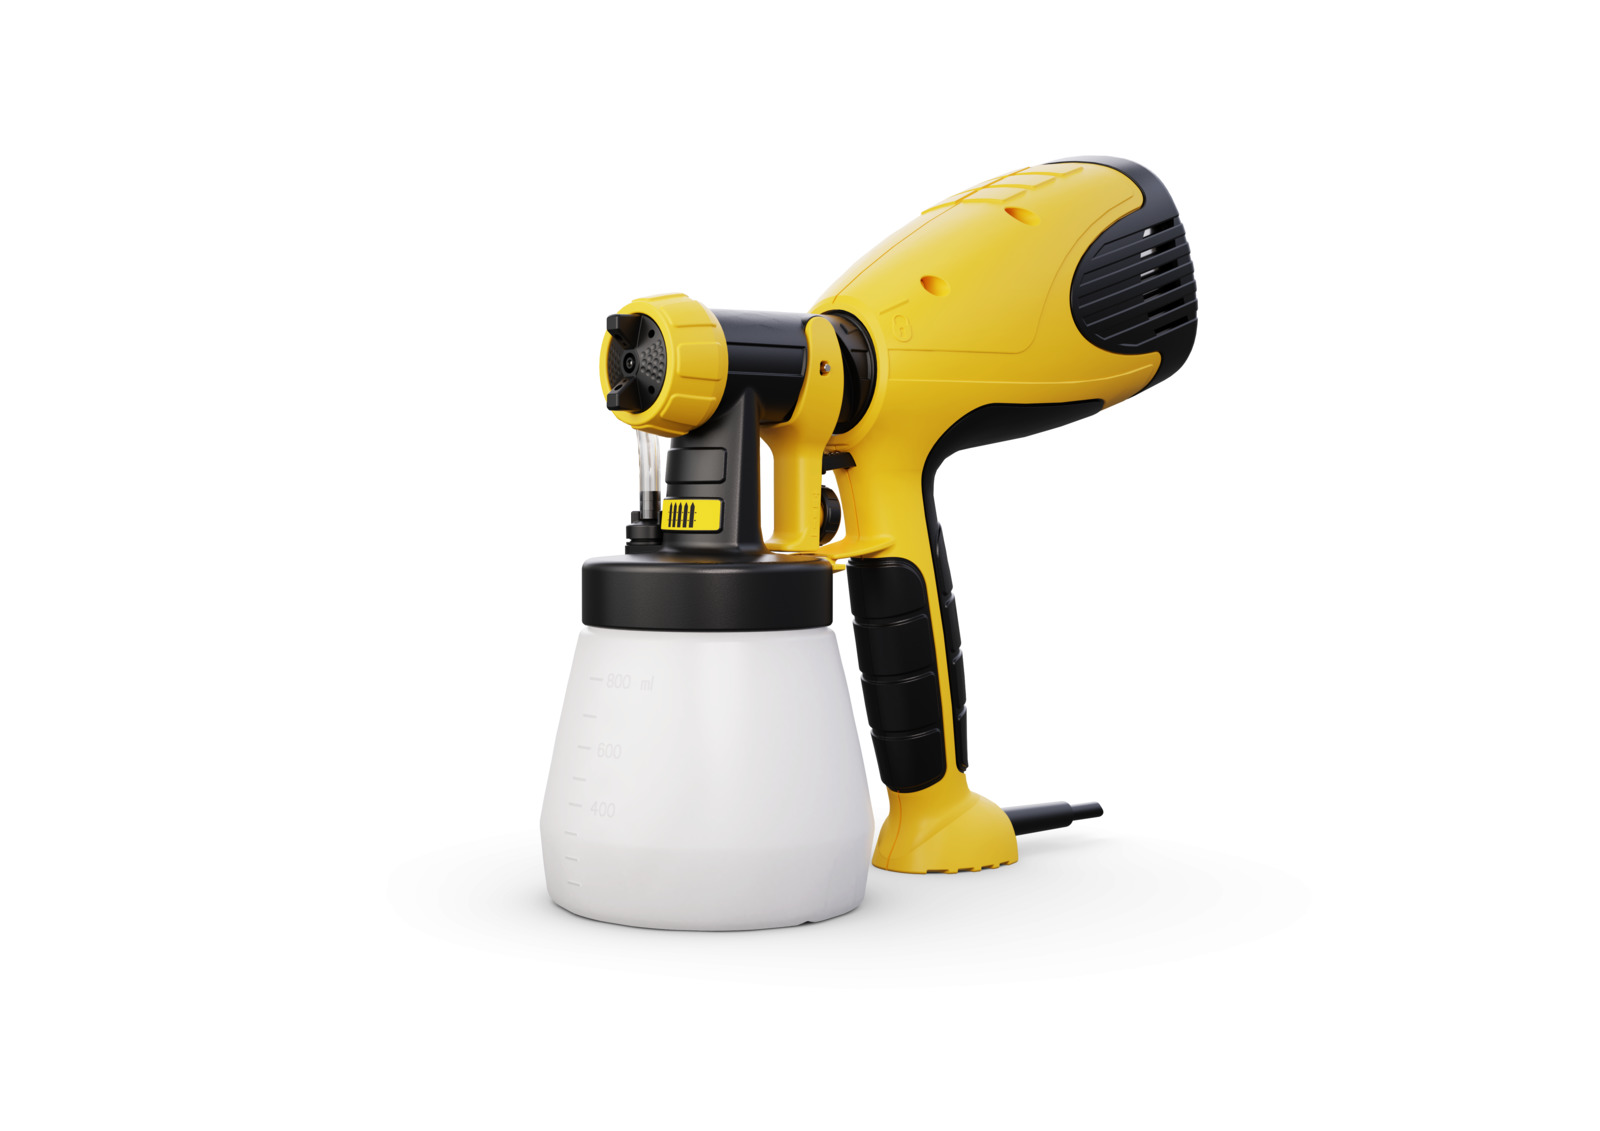
Wood&Metal Sprayer W 100

Wood&Metal Sprayer W 100

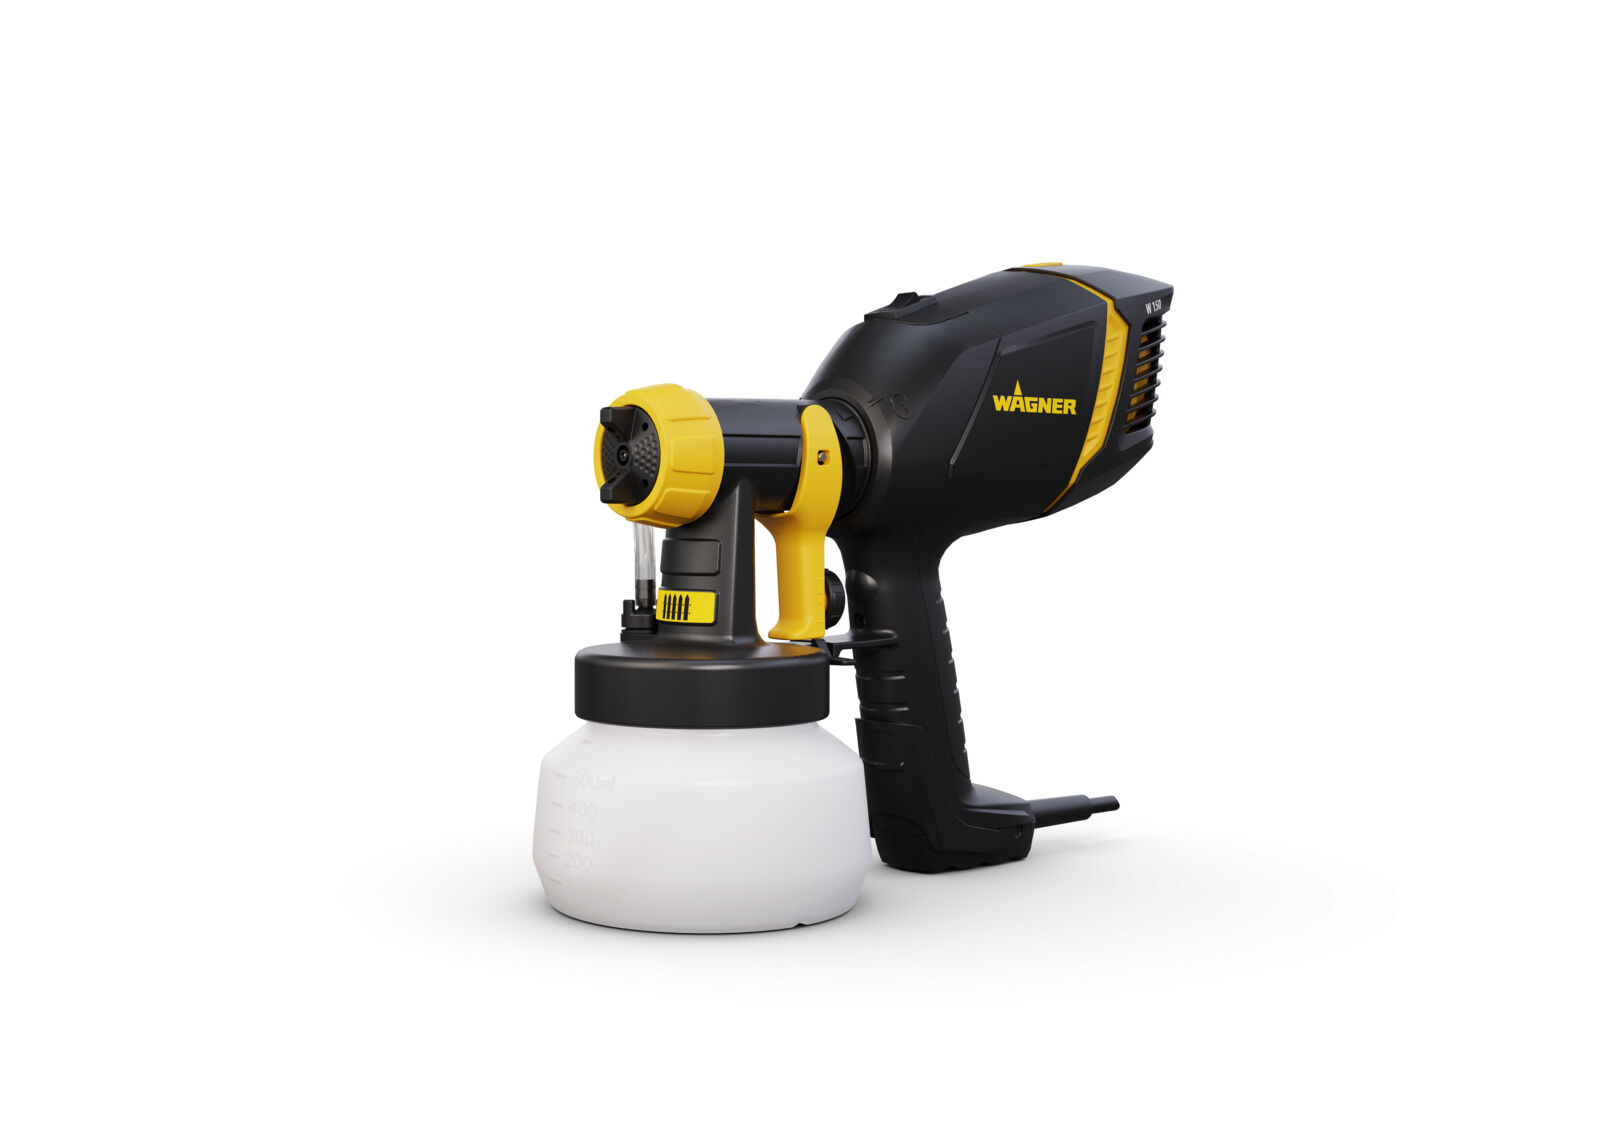
Wood&Metal Sprayer W 150

Wood&Metal Sprayer W 150

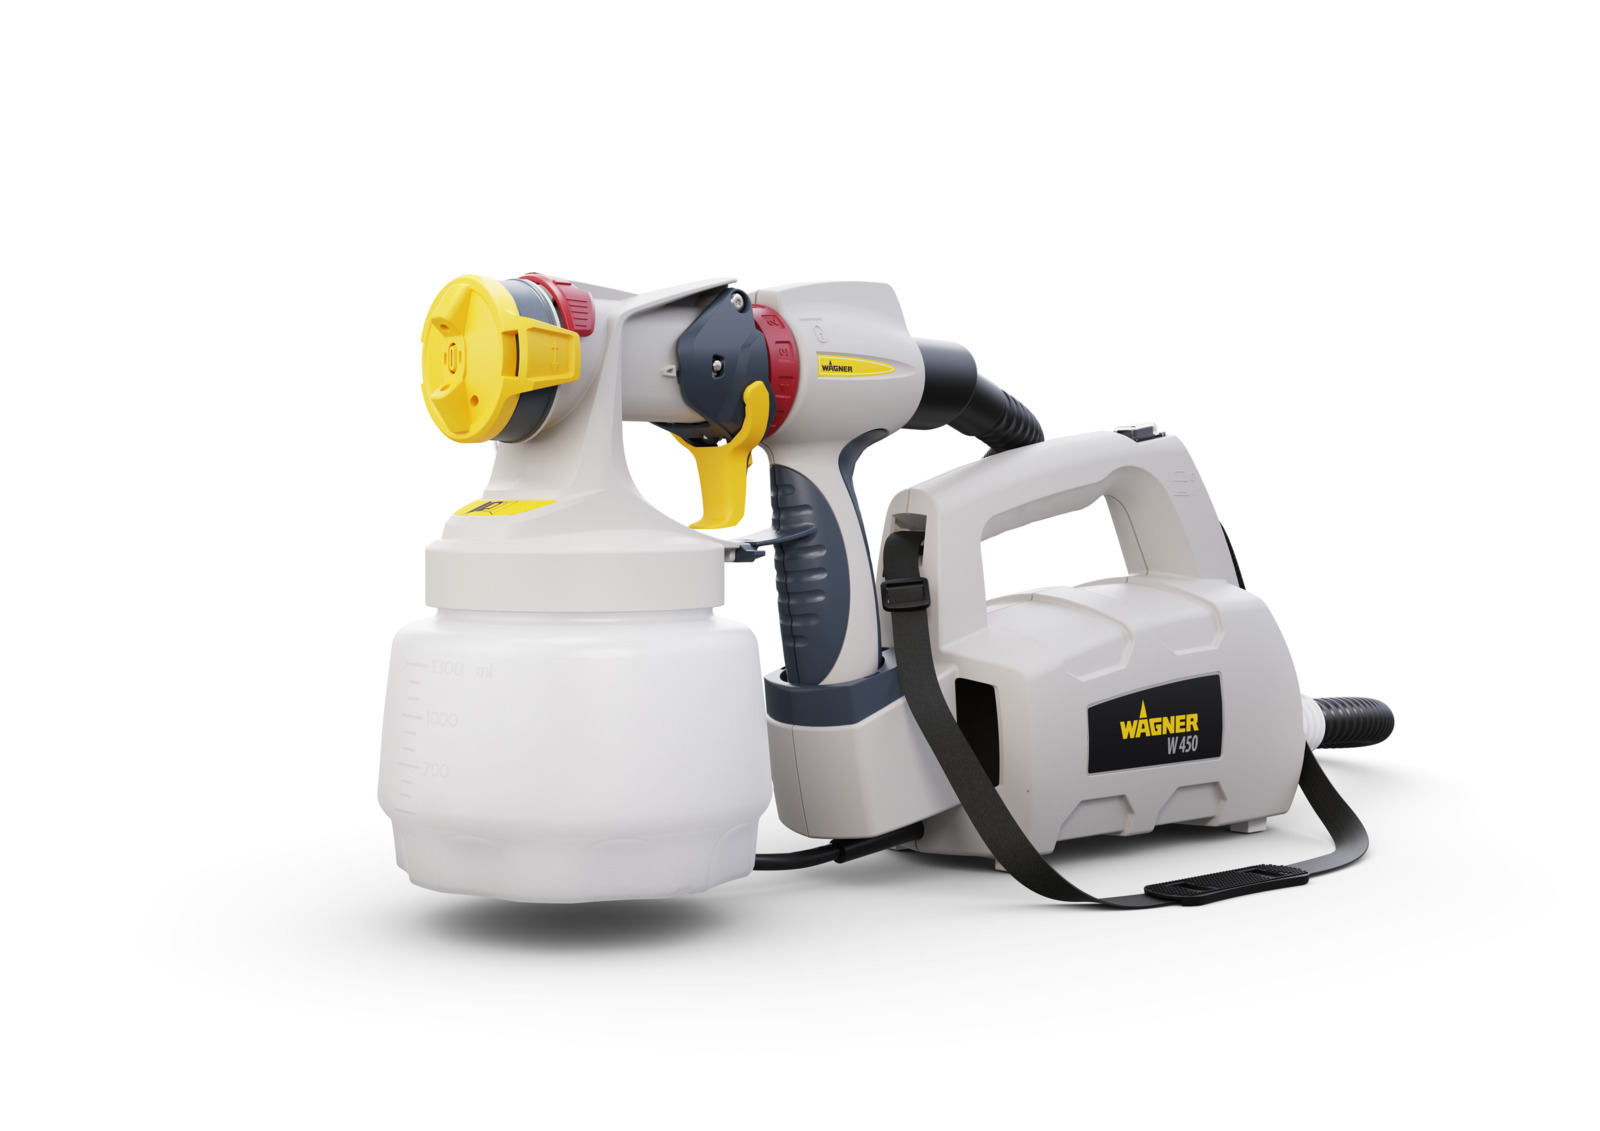
WallSprayer W 450

WallSprayer W 450

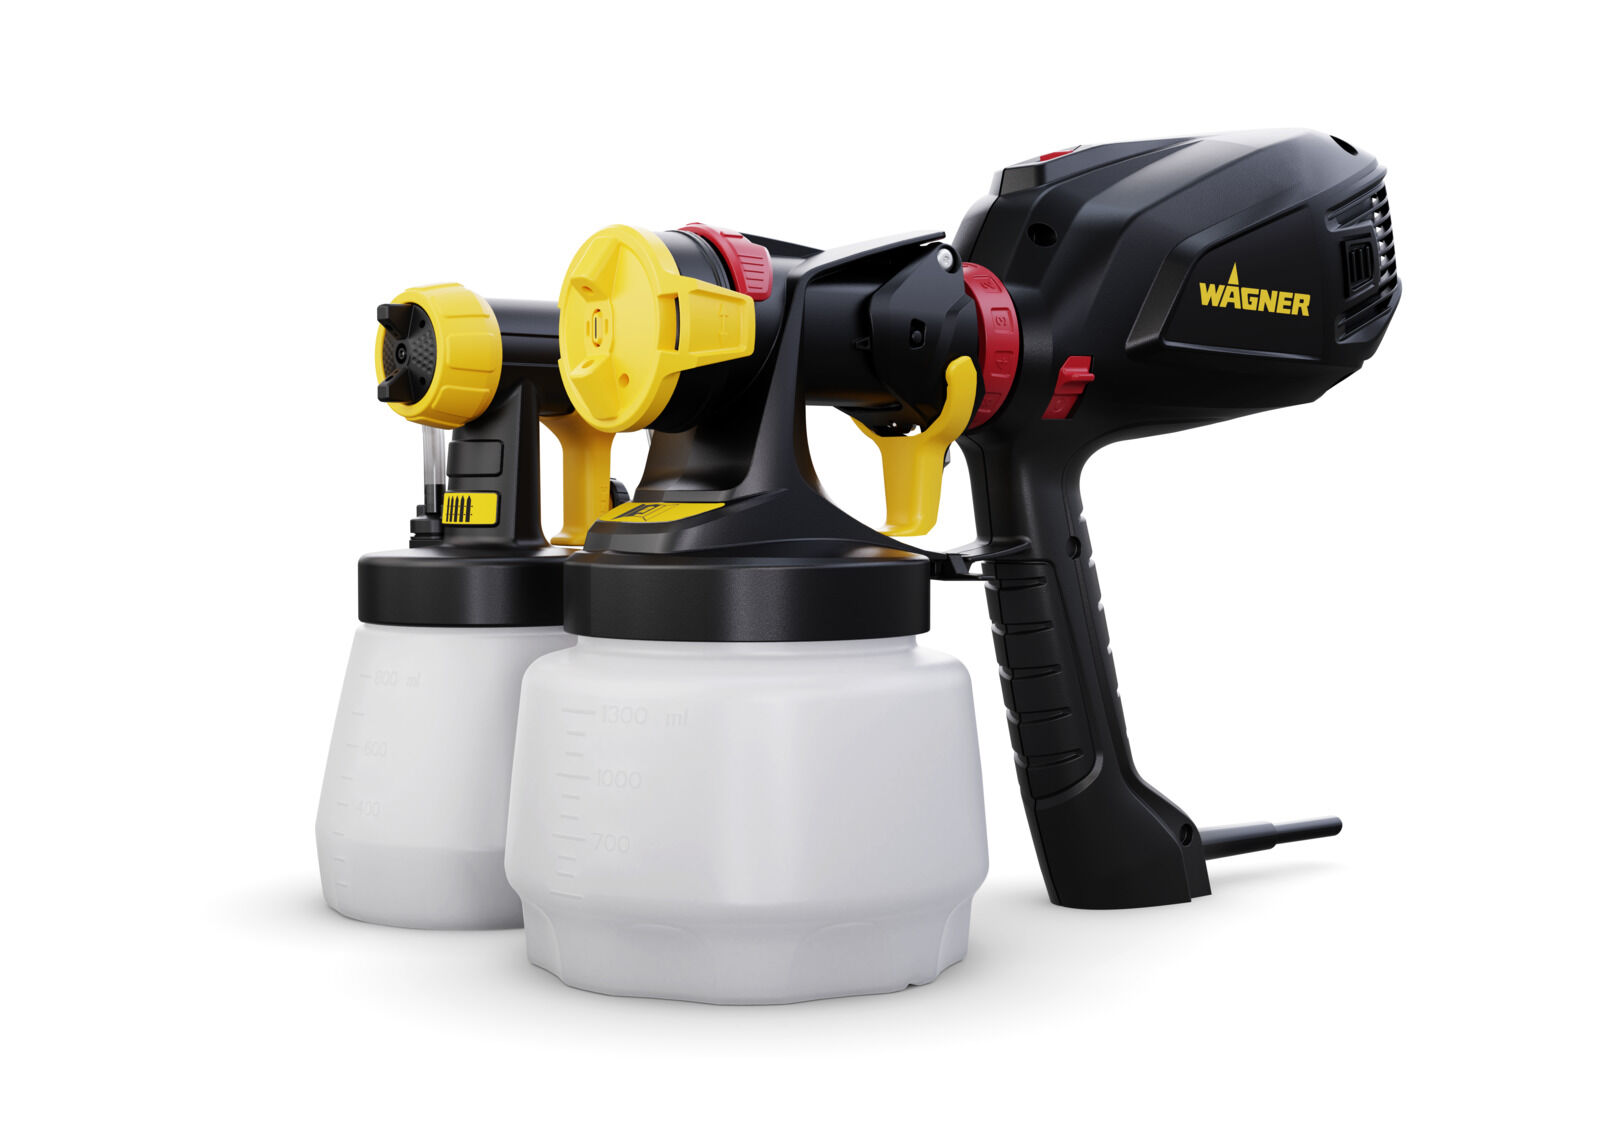
Universal Sprayer W 575 FLEXiO

Universal Sprayer W 575 FLEXiO

Universal Sprayer W 590 FLEXiO

Universal Sprayer W 590 FLEXiO

Universal Sprayer W 690 FLEXiO

Universal Sprayer W 690 FLEXiO

Universal Sprayer W 950 FLEXiO

Universal Sprayer W 950 FLEXiO

Spraying primers with our airless devices

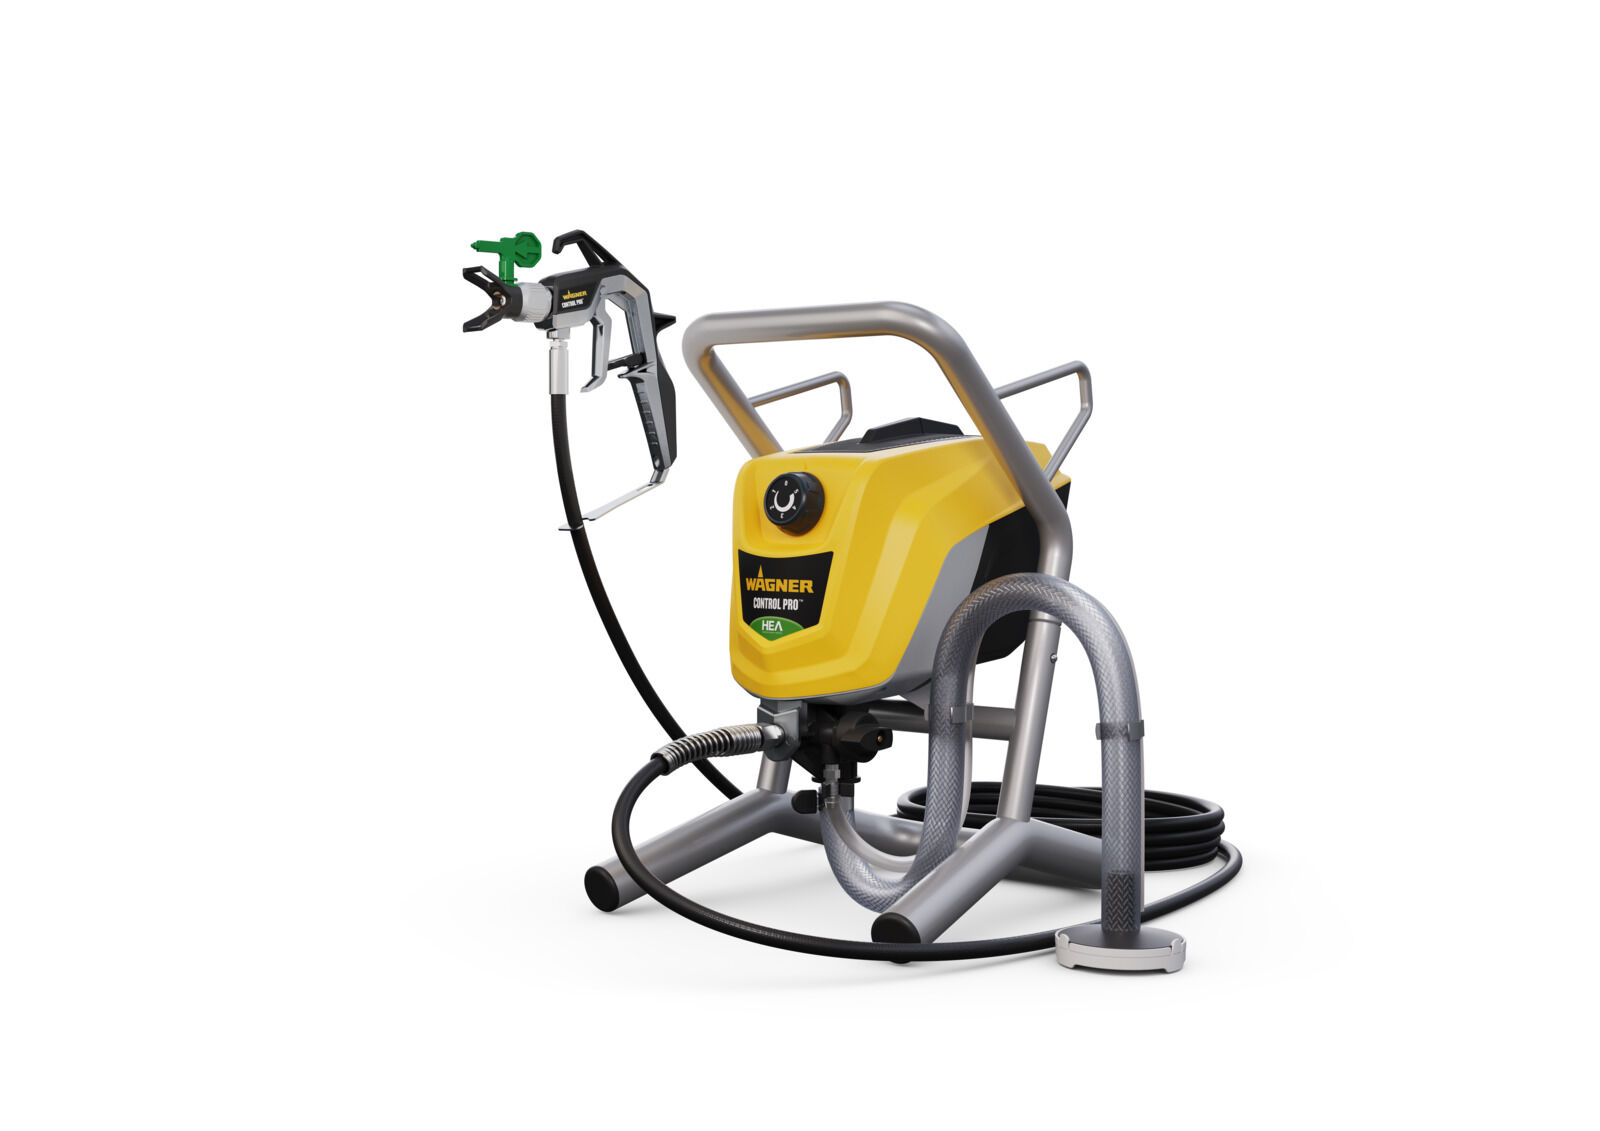
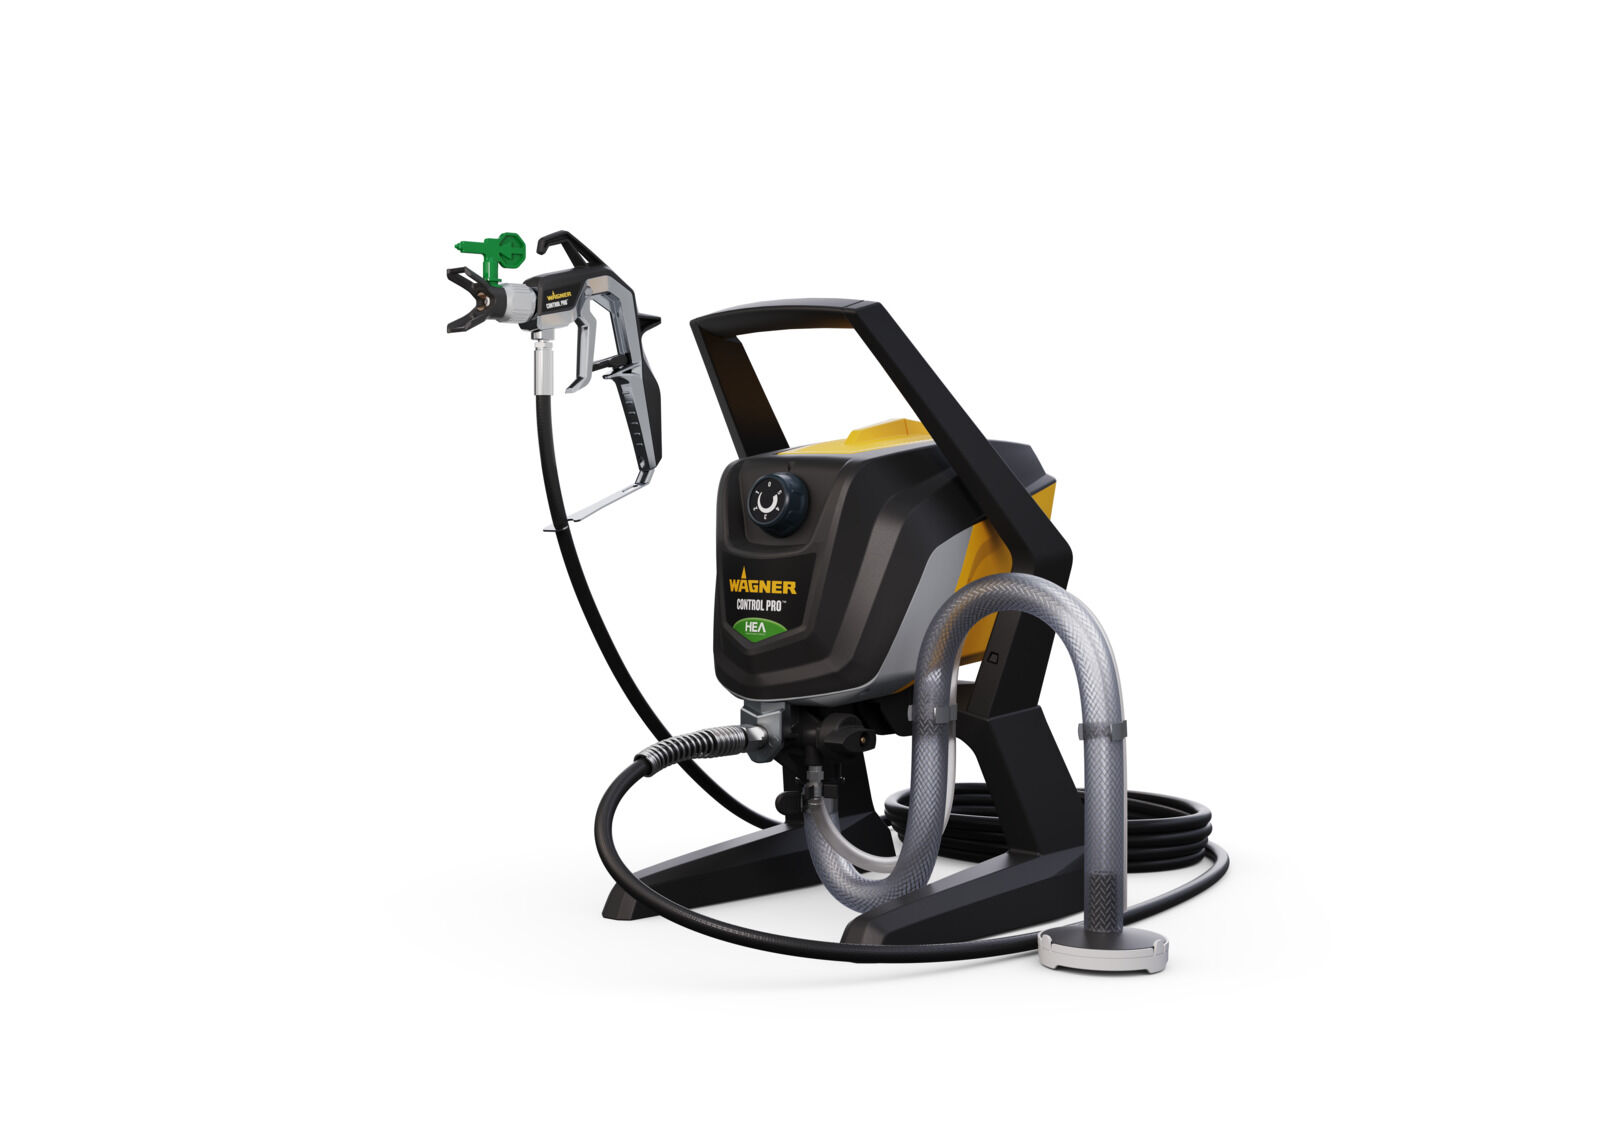
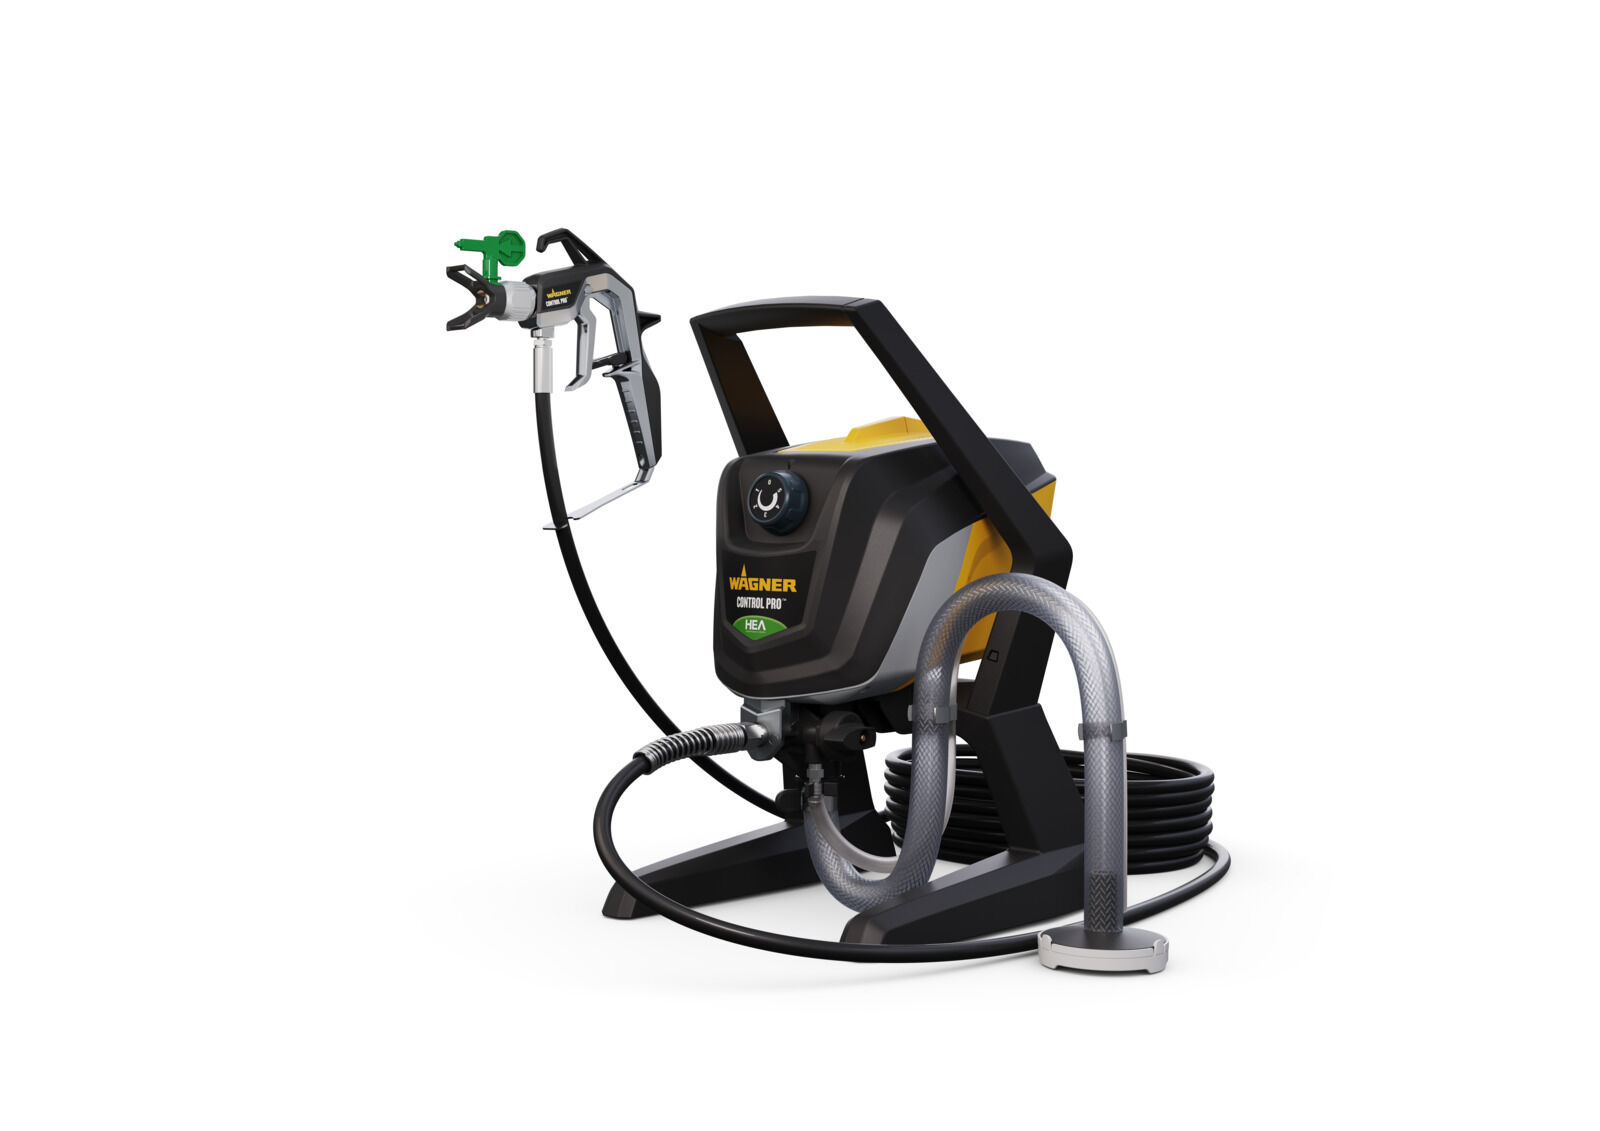
For thicker primers or those that cannot be diluted, you may need more power: our airless devices are ideal for this. In these systems, the primer is not dissipated using air, but by the material pressure alone. The following devices are suitable for spraying primers:

Airless Sprayer Control 150 M

Airless Sprayer Control 150 M

Airless Sprayer Control Pro 250 M

Airless Sprayer Control Pro 250 M

Airless Sprayer Control Pro 350 M

Airless Sprayer Control Pro 350 M

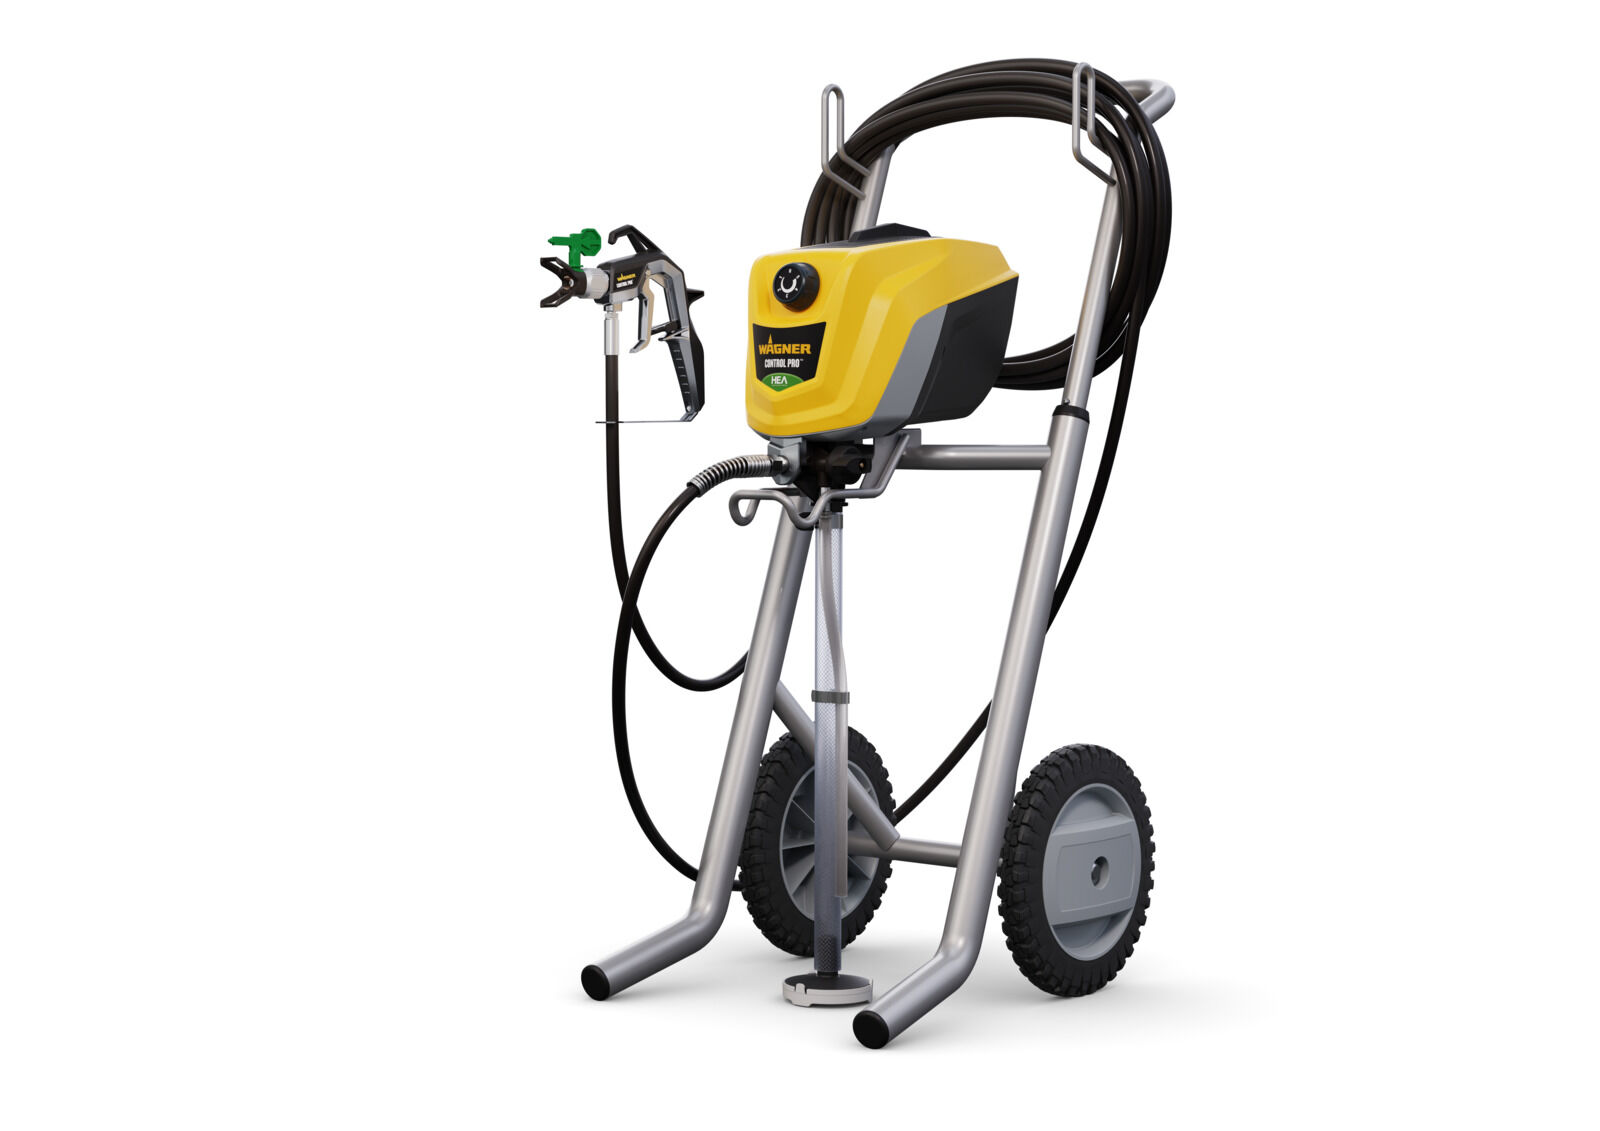
Airless Sprayer Control Pro 250 R

Airless Sprayer Control Pro 250 R

Airless Sprayer Control Pro 350 R

Airless Sprayer Control Pro 350 R