By viewing the video you agree that your data will be transmitted to YouTube and that you have read the privacy policy .

You will need:

  • Auxiliary board
  • possibly concrete slabs
  • 8 Euro pallets
  • Weather resistant coating
  • long screws (12-13 cm)
  • Optional angle
  • Wooden strips
  • Pond liner
  • Grid

Build and fill a raised bed yourself: A quick guide

Building a raised bed is easy if you follow the right tips. You will find the most important questions in advance below. Below we show you instructions on how to build and fill a wooden raised bed from Euro pallets yourself.

Building a raised bed from pallets: A step-by-step guide:

Step 1 of 6: Level the area for the raised bed

Step 1: Flatten the area for the raised bed

Preparation is important. With the help of a spirit level and a board, you can level the surface before building the raised bed.

Step 1: Level the raised bed

Preparation is important. With the help of a spirit level and a board, you can level the surface before building the raised bed.

Step 2 of 6: Lay concrete slabs

Step 2: Spread concrete slabs

To protect the wood, you can place the corner posts of the raised bed on concrete slabs. This is particularly helpful if you want to leave the raised bed in this location for a long time, as the moisture in the soil could otherwise damage the wood.

Step 2: Lay concrete slabs

To protect the wood, you can place the corner posts of the raised bed on concrete slabs. This is particularly helpful if you want to leave the raised bed in this location for a long time, as the moisture in the soil could otherwise damage the wood.

Step 3 of 6: Spray raised bed

Step 3: Spray raised bed

To ensure that you enjoy your wooden raised bed made from Euro pallets for a long time, it is important to protect the wood from the weather. To do this, spray the sides of the pallets with a wood preservative to protect the wood from the weather. The best way to do this is to use one of our paint sprayer such as the Universal Sprayer W 590 FLEXiO.

Tip: If required, dilute the wood preservative with water to prevent blockages in the nozzles.

Step 3: Spray raised bed

The spray gun has the advantage over a brush that it can easily reach hard-to-reach places on the Euro pallets. This makes the work easier and spraying takes much less time. 

Step 4 of 6: Place wooden pallets in a rectangle

Step 4: Place wooden pallets in a rectangle

It is only neccesary to spray the visible areas, as the inside of the pallets will later be protected by plastic sheets. In our instructions for painting a raised bed with Sari by Saris Garage, you will find all the details for painting a DIY wooden raised bed.

Set up the pallets in their desired shape, in our case it is a rectangle.

Step 5 of 6: Connecting pallets with screws

Step 5: Connecting pallets with screws

To make it stable connect the pallets with screws (12-13 cm long) above or below the pallet blocks. Attach additional wooden slats from the inside with screws to avoid expansion over time of the raised bed by the heavy soil.

Step 6 of 6: Line raised bed with sheeting

Step 6: Line raised bed with plastic sheeting

Line the inside of the raised pallet bed with chicken wire, weed control fabric, plastic sheeting or a pond liner material that you have cut to size beforehand.

Fill the raised bed: These layers go into a raised bed

The individual raised bed layers provide optimal care for the plants and serve as a natural fertiliser. Work with different compostable garden waste when filling the raised bed. Proper layering later leads to a balanced biological cycle within the bed.

  • 1. Layer: The organic drainage prevents waterlogging and ensures good aeration. It consists of coarse materials such as branches, twigs, prunings and shredded material.
  • 2. Layer: Autumn leaves provide the raised bed with important nutrients such as calcium and iron. They help earthworms and other microorganisms to thrive and therefore drive the biological cycle in the raised bed.
  • 3. Layer: Turf sods turned upside down. These store the water and ensure that the raised bed does not dry out. Alternatively, you can use grass cuttings, straw, cardboard or small animal litter for this layer.

With all these raised bed layers, your plants will not need any additional artificial fertiliser.

  • 4. Layer: Raw compost. Vegetable plants mainly need nitrogen to grow, but also minerals such as potassium, phosphorus and magnesium. All this is contained in raw compost. It also contains earthworms and isopods, which improve the quality of the soil enormously by loosening it, mixing it, structuring it and eating plant residues. Earthworms also create channels in the soil layers which make the raised bed water supply even better.
  • 5. Layer: Garden soil.
  • 6. Layer: Compost soil.

Building a raised bed: The most important questions

When is a good time to build a raised bed?

Would you like to use your raised bed the following spring? Then the creation of a raised bed in autumn is optimal.
But building a raised bed is also possible just before planting.

How high should you build the raised bed?

Basically: A raised bed is usually about 80 cm high. The height of the individual layers depends on the total height of the raised bed.

What is the best substrate for a raised bed?

If you build a raised bed yourself, also make sure you have the right substrate. It is important to line the area under the raised bed with chicken wire and fabric foil. This will keep out pests such as voles. Also ensure that the foundation is level so that water can drain away evenly.

Which location is suitable for a raised bed?

Would you like to build your raised bed on the balcony? This works on both a north and south-facing balcony. The south-facing balcony is suitable for a Mediterranean herb raised bed. On a rather shady north balcony, fuchsias, busy lilies or aconites thrive. A raised bed on the terrace is no longer a rarity either. However, both on the terrace and on the balcony, direct contact between the bed and the soil is not possible. Therefore, the possibilities for planting are limited. The conditions in a raised bed on the balcony or terrace are more like those of plants in a container. This is why vegetables often do not thrive as well as in a raised bed in the garden.

You can also create a raised bed in the greenhouse. Here, protection from the weather offers a clear advantage.

The garden is the ideal location for a raised bed. The conditions for plant growth are most suitable here. The location of your raised bed in the garden should be close to the water supply. Also pay attention to the lighting conditions. A north-south direction is recommended here. Also, do not place the raised bed under trees, hedges or shrubs. Arrange the plants according to size so that they do not take away each other's light. Herbs are best sown around the edges.

Build a raised bed yourself: Suggestions and inspirations

Would you like to grow your own vegetables in a raised bed? Not a problem! With a little patience you will soon be able to grow and harvest vegetables such as lettuce, cabbage, carrots, onions, radishes, turnips, tomatoes, leeks, cucumbers, beans, peas and much more. To help the plants grow, you can also build a trellis yourself.

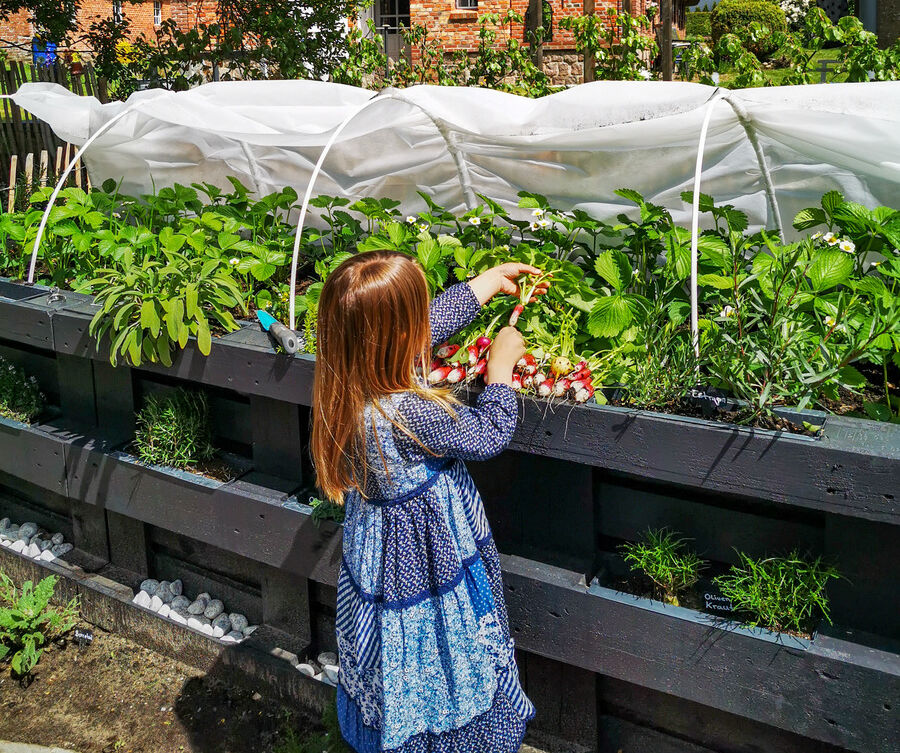
Here are some more raised bed ideas: A mobile raised bed is also a creative way of gardening. And a small raised bed on wheels can beautify many a balcony in a city flat. Are there any little hobby gardeners in your family? A raised bed for children would be a great surprise. You can build a small raised bed with wine crates, for example. Together, the whole family can then colourfully paint the side walls. Later, the raised bed can be raised with supports. Have fun building your own raised bed!

W 590 FLEXiO

W 590 FLEXiO

The flexible spray unit for interior and exterior use

W 590 FLEXiO
WAGNER Product Finder

WAGNER Product Finder

Here you will find more products

To the products
Spraying woodstain: Guide & tips

Spraying woodstain: Guide & tips

Learn the best way to spray woodstain, what you should look out for, why it's worth spraying stains and what the best equipment is for it.

Spraying varnishes