Building a table in industrial design

What about making your own furniture that goes perfectly with you and your style? You can find a modern solution in Industrial Design – a trend that everyone’s talking about. But what makes it so special? Quite simply: This style places no limits on creativity and can be conjured up in our homes easily.

We show you how you can build such a stylish piece of furniture in the Industrial Design style yourself in just a few steps.

You will need:

  • WAGNER paint spray system (e.g. Wood&Metal Sprayer W 100)
  • Pilot drill bit
  • Sander and sandpaper
  • Battery-powered screwdriver incl. attachments
  • Screwdriver
  • Microfibre cloth
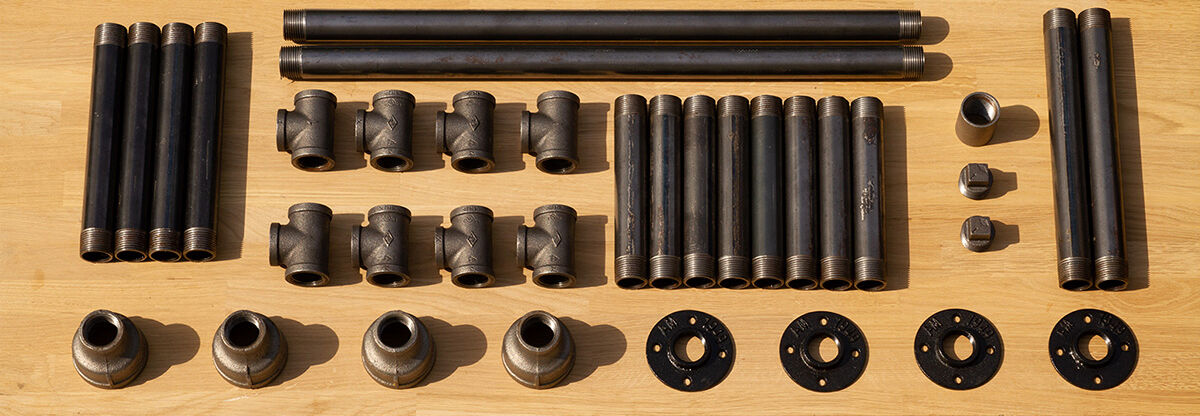
  • 8 x steel tube 1“ 200mm
  • 4 x steel tube 1“ 250mm
  • 2 x steel tube 1“ 300mm
  • 2 x steel tube 1“ 650mm
  • 8 x stainless steel T-pieces
  • 4 x stainless steel reducing part (2” to 1”)
  • 4 x stainless steel floor flange 1”
  • 2 x stainless steel sealing plugs 1”
  • 1x stainless steel sleeve 1”
  • 1x wooden worktop 145x30cm
  • 16 x wood screws
  • Varnish

Video-Tutorial

By viewing the video you agree that your data will be transmitted to YouTube and that you have read the privacy policy .

You can buy the pipes new in the DIY store or online. However, they are also very charming in a used condition. You can get these from various suppliers on the Internet.

Step-by-step guide for a table in industrial design

Step1 of 8: Preparing the tabletop

Preparing the tabletop

Start by preparing the wooden tabletop. Before you apply the paint, you should lightly sand the surface of the wood and round off the edges. Then remove any dust with a brush or microfibre cloth.

Step 2 of 8: Preparing the paint sprayer

Preparing the paint sprayer

First, you should stir the paint with the supplied stirring rod to mix the paint. Then fill the paint container approx. 3/4 full and thin the paint if necessary following the paint manufacturer’s instructions. Each notch on the mixer corresponds to a dilution of 10%.

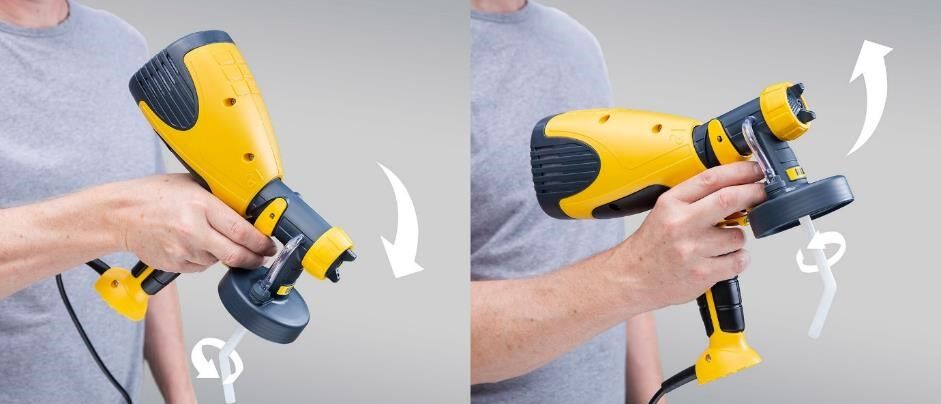
Before you place the spray attachment on the device, align the suction tube according to the direction of work – to the rear when spraying objects overhead and to the front when spraying downwards. For this project, the suction tube should be aligned to the front.

Now set the spray jet to suit your requirements. The spray jet can be adjusted three-ways – horizontally, vertically and diagonally. Carry out a test spray to find the right setting.

Step 3 of 8: Spraying the edges

Spraying the edges

First spray the edges of the tabletop with the diagonal (detail) setting. Always hold the paint spray system so that you maintain a distance of approx. 15 cm from the surface.

Step 4 of 8: Spraying the surfaces

Spraying the surfaces

Now continue with the surfaces. For this, turn the nozzle vertically (up and down). Begin at the top end of the worktop and pull the trigger during the movement. For best results, move the spray gun at a consistent speed, maintaining a consistent distance from the surface. Spray from the top at a uniform distance (approx. 15 cm). As soon as you reach the bottom of the tabletop, release the trigger and change direction. Overlap the previous layer by approx. 50% so that you achieve an even coverage. Now allow the paint to dry according to the manufacturer’s instructions. If you have to apply another coat of paint or varnish, apply it in the opposite direction. This is called the cross-coat technique. After the material has dried, you can flip the tabletop over and repeat the process on the other side.

Tip: If the material is applied too thickly, drips can form. It is therefore better to spray several thin layers.

Step 5 of 8: Assembling the pipes I

Assembling the pipes I

Layout the pipes and connectors as they will be assembled to each other. Then loosely connect the pipes for the table legs together. Repeat the process with the other end.

Assembling the pipes I

Layout the pipes and connectors as they will be assembled to each other. Then loosely connect the pipes for the table legs together. Repeat the process with the other end.

Assembling the pipes I

Layout the pipes and connectors as they will be assembled to each other. Then loosely connect the pipes for the table legs together. Repeat the process with the other end.

Step 6 of 8: Assembling the pipes II

Assembling the pipes II

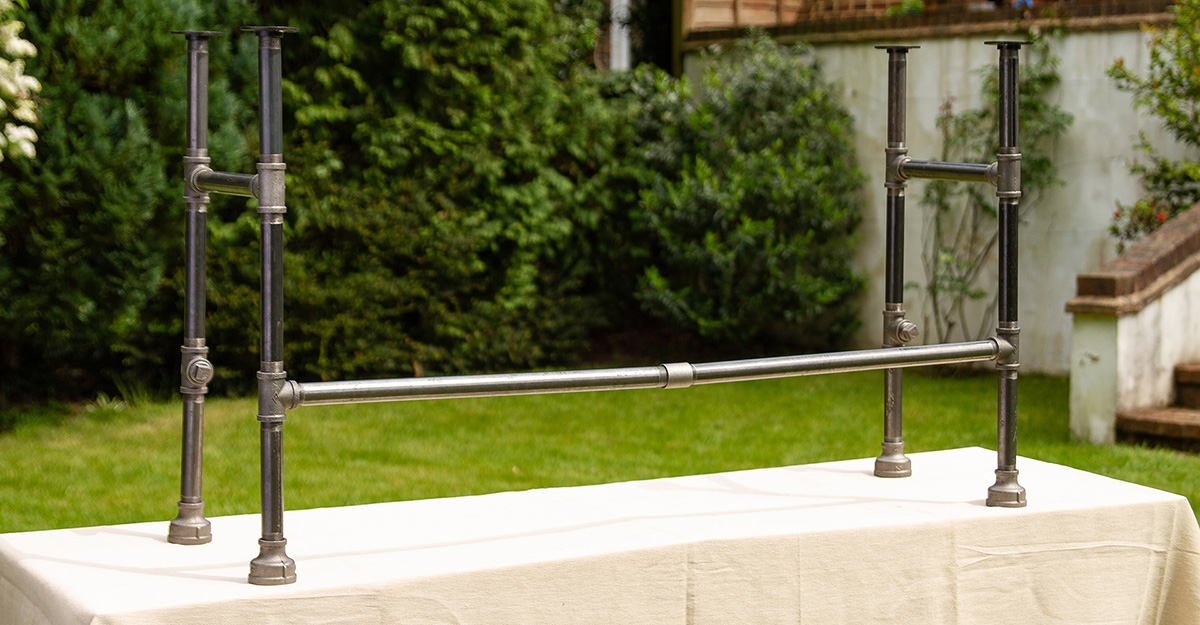
When both ends are ready, connect them to the long support pipes and the connecting sleeve. The base for the table is now complete.

Assembling the pipes II

When both ends are ready, connect them to the long support pipes and the connecting sleeve. The base for the table is now complete.

Step 7 of 8: Positioning of the table legs

Positioning of the table legs

In the next step, fasten the legs to the tabletop. Ensure that the legs are positioned straight by measuring the exact position.

Step 8 of 8: Drilling holes and screwing legs

Drilling holes and screwing legs

Next, drill holes at the indicated points and screw the end piece to the tabletop. Your Industrial Design Table is finished!

Drilling holes and screwing legs

Next, drill holes at the indicated points and screw the end piece to the tabletop. Your Industrial Design Table is finished!

The result

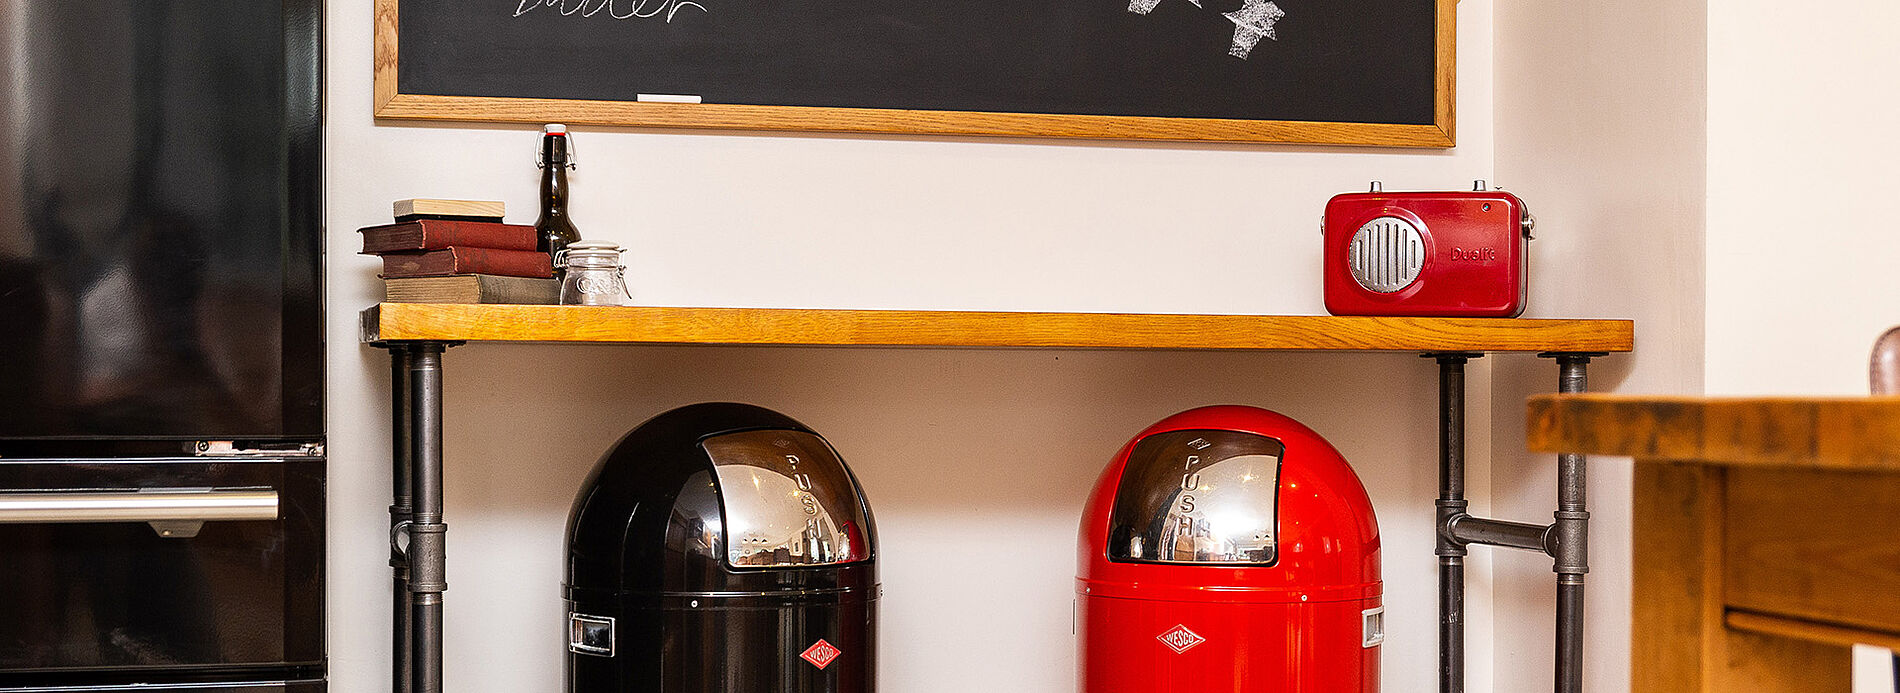
You can now place the table anywhere you like in your home. Whether it's used as an additional worktop in the kitchen, as a sideboard in the living room or hall, or as a smart storage surface in the bedroom - the Industrial Design Table works in every room and is a real head-turner!

More projects

WAGNER Group W 100 Produktbild

Wood&Metal Sprayer W 100

The handy solution for small and medium-sized projects with paints and varnishes

Wood&Metal Sprayer W 100
Produktfinder

WAGNER product finder

Here you can find more products

Go to products
2361507 W100 Indoor ApplicationPicture Close up

Spraying varnishes: Instructions & tips

Learn here how best to proceed when spraying varnish, what you should look out for, why it's worth spraying varnishes and what the best equipment is for it.

Spraying varnishes