Guide to making a shabby chic picture frame

You are a vintage lover and don't want to make old things look old, but want them to look shabby? This guide will show you how to turn an old wooden picture frame into a trendy Shabby Chic piece of jewellery in just a few steps.

  • Fine sanding block
  • Coarse sanding block
  • Microfibre cloth for wiping away dust
  • 1 wooden picture frame
  • Chalk paints in the required colour
  • Masking material

Video guide

By viewing the video you agree that your data will be transmitted to YouTube and that you have read the privacy policy .

Step-by-step guide for a picture frame in shabby chic look

Step 1 of 4: Getting the materials and sanding

Getting the materials and sanding

Collect all the materials together from the materials list. If you do not have an old picture frame at home, you can easily find one at a flea market or charity shop. Before you apply new paint to the wooden frame, the frame must first be lightly sanded. This removes any old layers of paint and helps the new paint to stick better. Then wipe off any sanding dust thoroughly with a microfibre cloth.

Step 2 of 4: Preparing for the paint application

Preparing for the paint application

Mask off your working area well. For additional protection, you can create a "spray booth" out of cardboard and secure it to the table. This will allow you to spray the picture frame from all sides. Carefully stir the chalk paint, add it to the paint sprayer and then dilute if necessary by (5 - 10 %) to achieve the correct consistency . Give it another good stir. Set the material delivery volume on the paint sprayer to the minimum.

Decorating tip: You can spray the picture frame in two different colours. Firstly in white, for example, then allow it to dry. Then spray over it in a different colour. This creates the effect later on that the frame was originally white and has been repainted.

Preparing for the paint application

Mask off your working area well. For additional protection, you can create a "spray booth" out of cardboard and secure it to the table. This will allow you to spray the picture frame from all sides. Carefully stir the chalk paint, add it to the paint sprayer and then dilute if necessary by (5 - 10 %) to achieve the correct consistency . Give it another good stir. Set the material delivery volume on the paint sprayer to the minimum.

Decorating tip: You can spray the picture frame in two different colours. Firstly in white, for example, then allow it to dry. Then spray over it in a different colour. This creates the effect later on that the frame was originally white and has been repainted.

Step 3 of 4: Paint application

Paint application

Now spray the wooden picture frame in thin layers - ideally going over the same area two or three times - to avoid drips. When sprayed, the paint easily penetrates all of the grooves and detail in the frame. Then let the chalk paint dry thoroughly.

Tip: To avoid "chalky" fingers when you have finished, it is a good idea to seal the paint by spraying the picture frame with a transparent varnish.

Paint application

Now spray the wooden picture frame in thin layers - ideally going over the same area two or three times - to avoid drips. When sprayed, the paint easily penetrates all of the grooves and detail in the frame. Then let the chalk paint dry thoroughly.

Tip: To avoid "chalky" fingers when you have finished, it is a good idea to seal the paint by spraying the picture frame with a transparent varnish.

Step 4 of 4: The used look

The used look

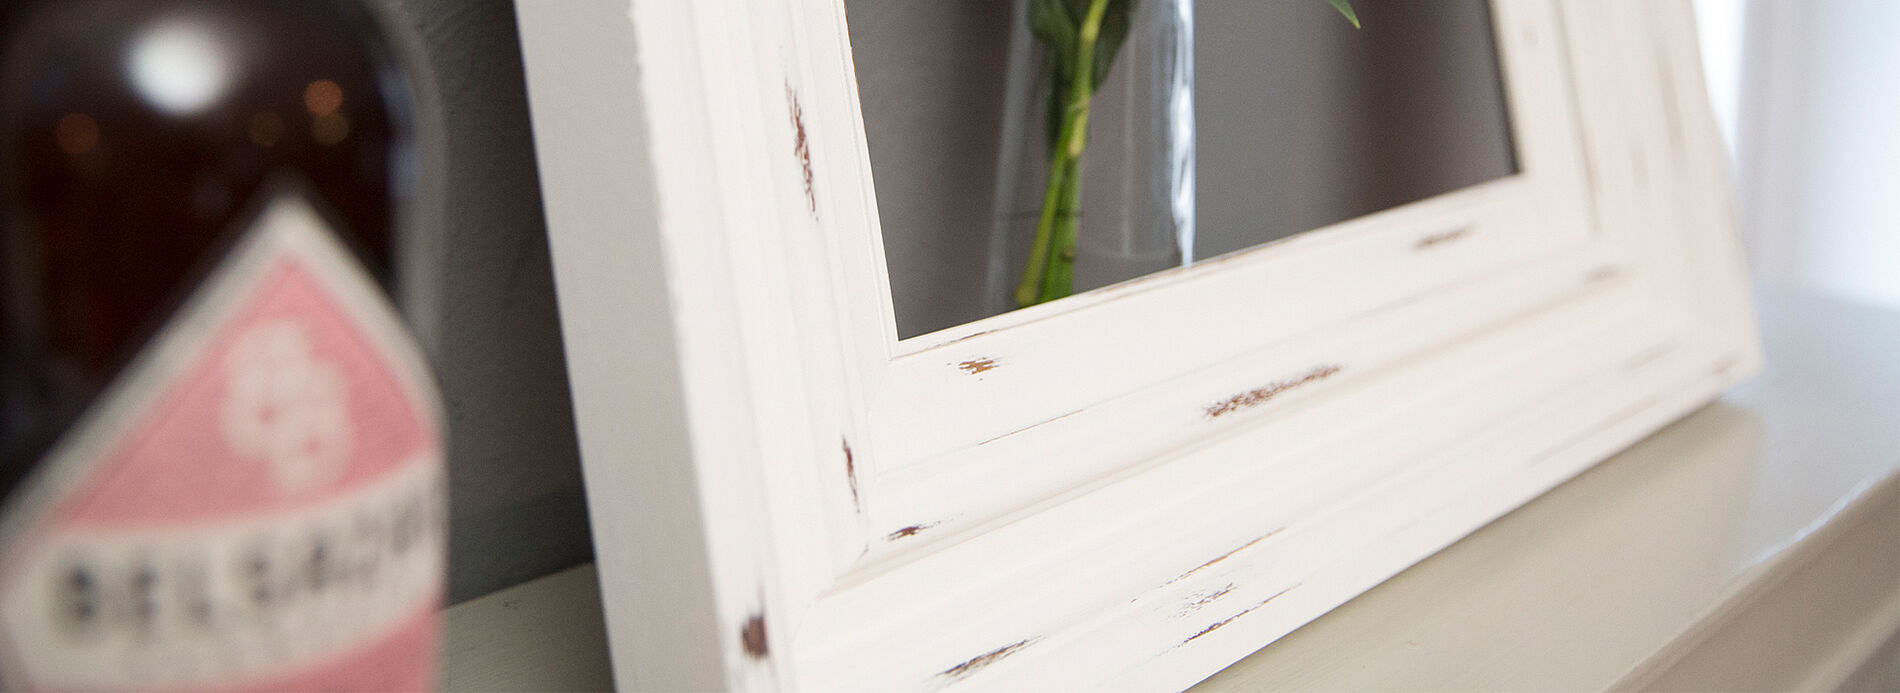
Now use a coarse sanding block to work on the parts of the frame where you want the original colour to show through. This is done very quickly at the edges, but the flat surfaces will need a little more effort. Sand as many areas as you like to create those "signs of wear"..

The used look

Now use a coarse sanding block to work on the parts of the frame where you want the original colour to show through. This is done very quickly at the edges, but the flat surfaces will need a little more effort. Sand as many areas as you like to create those "signs of wear".

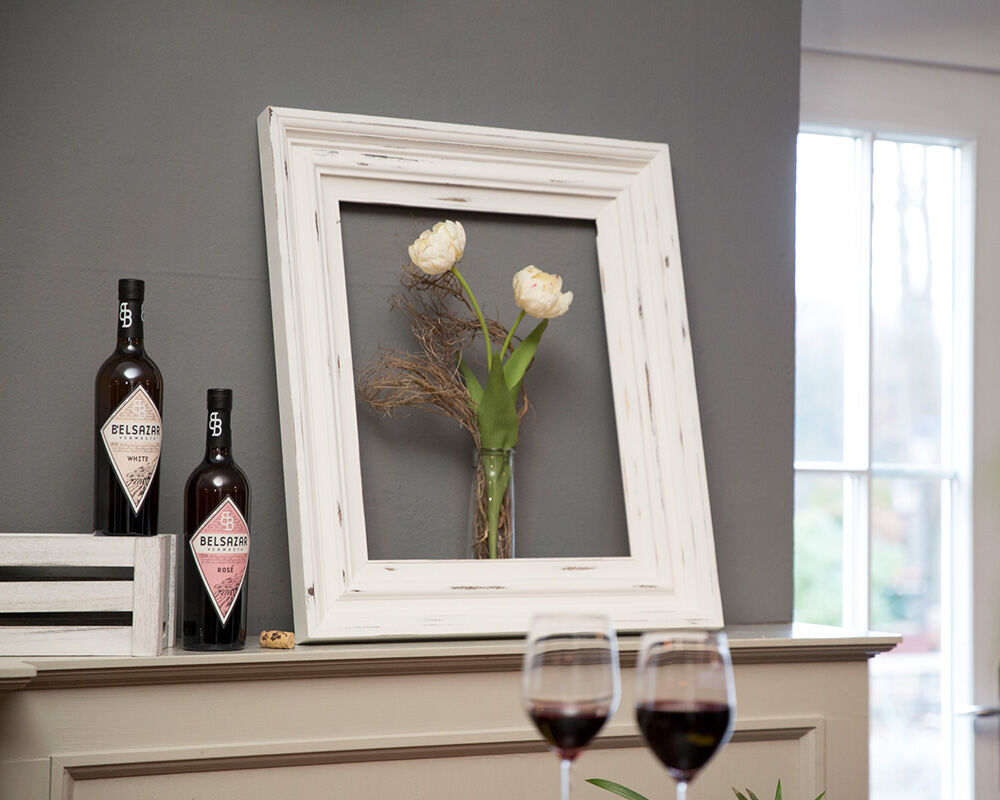
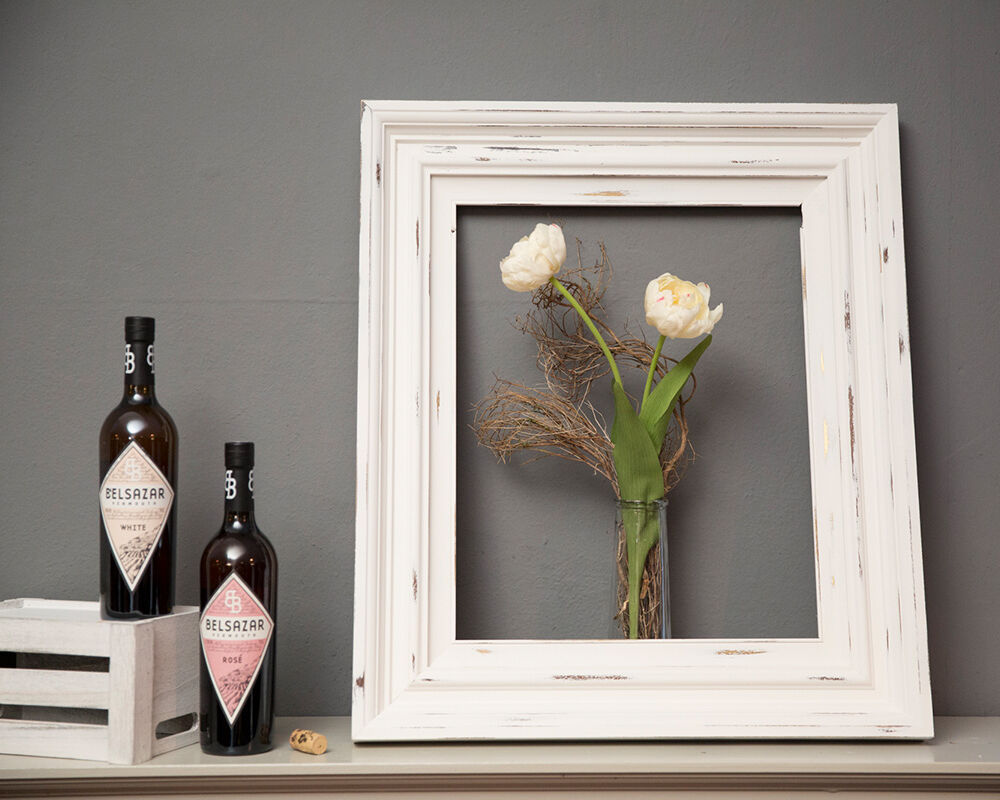
The result: a shabby chic picture frame

Mehr Projekte

WAGNER Group W 590 Produktbild

Universal Sprayer W 590 FLEXiO

The compact hand-held paint sprayer for interior and exterior use

W 590 FLEXiO
Produktfinder

WAGNER product finder

Here you can find more products

Go to products
Why spraying is better

Why spraying is better

With HVLP paint sprayers you have a clear time advantage compared to brushes and rollers.

To the explanation