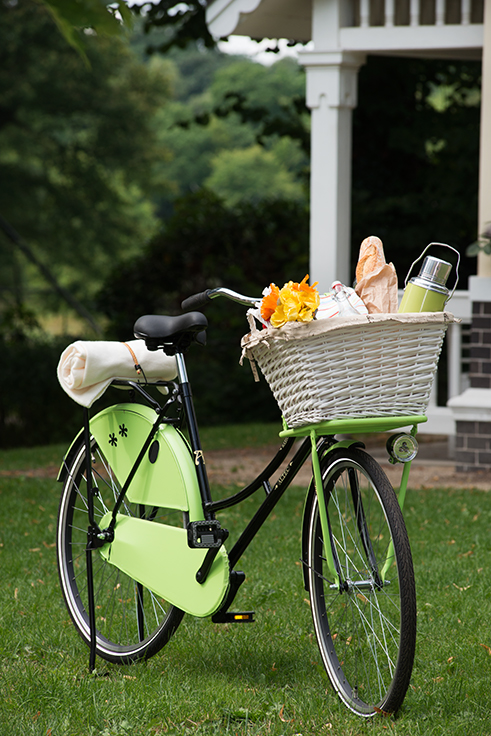
Instructions for spraying a bicycle

Almost everybody has a bike at home. But if you feel your two wheels are a bit too boring, you can easily spice them up a bit. Spray your bike in your favourite colour or apply some extra patterns. This is a very easy way to create a unique bike that will be a real eye-catcher on every ride.

  • 120 grit sandpaper
  • Lacquer in desired colour
  • maybe stickers

Step-by-step guide for spraying a bicycle

Step 1 of 4: Preparing the bike

Preparing the bike

Disassemble the surfaces that are not going to be sprayed. Only the frame of the bicycle should be sprayed. Sand this lightly with 120-grain sandpaper. Rust must be completely removed. In addition to changing the colour, you can also decorate your bike with stylish designs. Simply use stickers and spray over them. After drying, the stickers can easily be removed.

Step 2 of 4: Preparing the sprayer

Preparing the sprayer

Open the paint tin using the end of the included stirrer. Align the suction pipe of the spray adapter forwards. Fill the paint container with paint to the ¾ level and thin according to the manufacturer's specifications. Use the included stirrer. Place the stirrer against the base of the filled paint container. The distance between the notches represents a dilution of 10 %. Afterwards, stir the paint thoroughly.

Step 3 of 4: Setting up the sprayer

Setting up the sprayer

Now carry out a test spray. The spray nozzle can be adjusted in three different directions: horizontal paint jet for working from top to bottom, vertical paint jet for working from right to left, detailed spray for precise work. The small wheel on the trigger allows the quantity of paint to be fully adjusted.

Step 4 of 4: The spraying process

The spraying process

The parts to be painted should be suspended or placed in a way that no marks arise during spraying. Start with corners, edges and angles and then spray the surfaces. Maintain a constant distance to the object while spraying. Only change the direction of spray when the sprayer is pointing away from the object. This avoids a build-up of thicker layers of paint during direction changes. Allow the paint to dry according to the manufacturer's instructions.

The result: a unique bike

Mehr Projekte

WAGNER Group W 100 Produktbild

Wood&Metal Sprayer W 100

The handy solution for small and medium-sized projects with paints and varnishes

Wood&Metal Sprayer W 100
Produktfinder

WAGNER product finder

Here you can find more products

Go to products
Spraying varnishes: Instructions & tips

Spraying varnishes: Instructions & tips

Learn here how best to proceed when spraying varnish, what you should look out for, why it's worth spraying varnishes and what the best equipment is for it.

Spraying varnishes