Instructions for spraying wall stripes

Would you like to brighten up a dull wall with a few colourful stripes? From discreet to striking, horizontal to vertical - stripes are an absolutely classic look. We will show you here how to spray perfect edges. 

  • Laser spirit level (alternatively pencil, spirit level and ruler)
  • Wall paint for indoor use
  • Tape
  • Masking film
  • Painter's fleece

Step-by-step guide for spraying wall stripes

Step 1 of 3: Preparing the wall

Preparing the wall

Mark out the area of the wall you want to apply stripes to. A laser spirit level is ideal for marking the gaps. It projects a straight line at the desired angle on the wall and all you then need to do is align the masking tape. Alternatively, you can use a pencil, a spirit level and a folding ruler. Press very lightly with the pencil to make it easier to paint over the mark. Then cover the edges with masking tape. In addition, cover the floor with cardboard and/or shielding fleece.

Tip: Use high quality masking tape as this will adhere better to the wall and ensure minimal gaps between the tape and the surface.

Preparing the wall

Mark out the area of the wall you want to apply stripes to. A laser spirit level is ideal for marking the gaps. It projects a straight line at the desired angle on the wall and all you then need to do is align the masking tape. Alternatively, you can use a pencil, a spirit level and a folding ruler. Press very lightly with the pencil to make it easier to paint over the mark. Then cover the edges with masking tape. In addition, cover the floor with cardboard and/or shielding fleece.

Tip: Use high quality masking tape as this will adhere better to the wall and ensure minimal gaps between the tape and the surface.

Step 2 of 3: Preparing the sprayer

Preparing the sprayer

Open the tin containing your chosen colour of paint using the included stirrer and align the suction pipe on the spray attachment so that it is facing forwards. Fill paint up to the 3/4 mark on the paint container and dilute it. Place the stirrer against the base of the filled paint container. The distance between the notches represents a dilution of 10%. Stir the paint well and carry out a test spray. The spray nozzle can be positioned in three different directions. A horizontal jet to work from top to bottom, vertical for right to left or selective for particularly intricate areas. The small wheel allows the quantity of paint to be continuously adjusted.

Step 3 of 3: Trick

Trick

For straight edges, always spray the base colour onto the wall first. This is particularly important in the case of uneven surfaces, for example woodchip wallpaper. To do this, seal the masked area in white, for example. I.e. paint over the edges of the masking tape. The base colour will fill all uneven areas and prevent runs in the stripe colour applied later. Let this area dry for a short while and then spray the surface in your chosen colour. To ensure an even application, spray the wall at a constant distance. Remove the masking tape before the paint forms a film. Clean the spray attachment thoroughly with water after use.

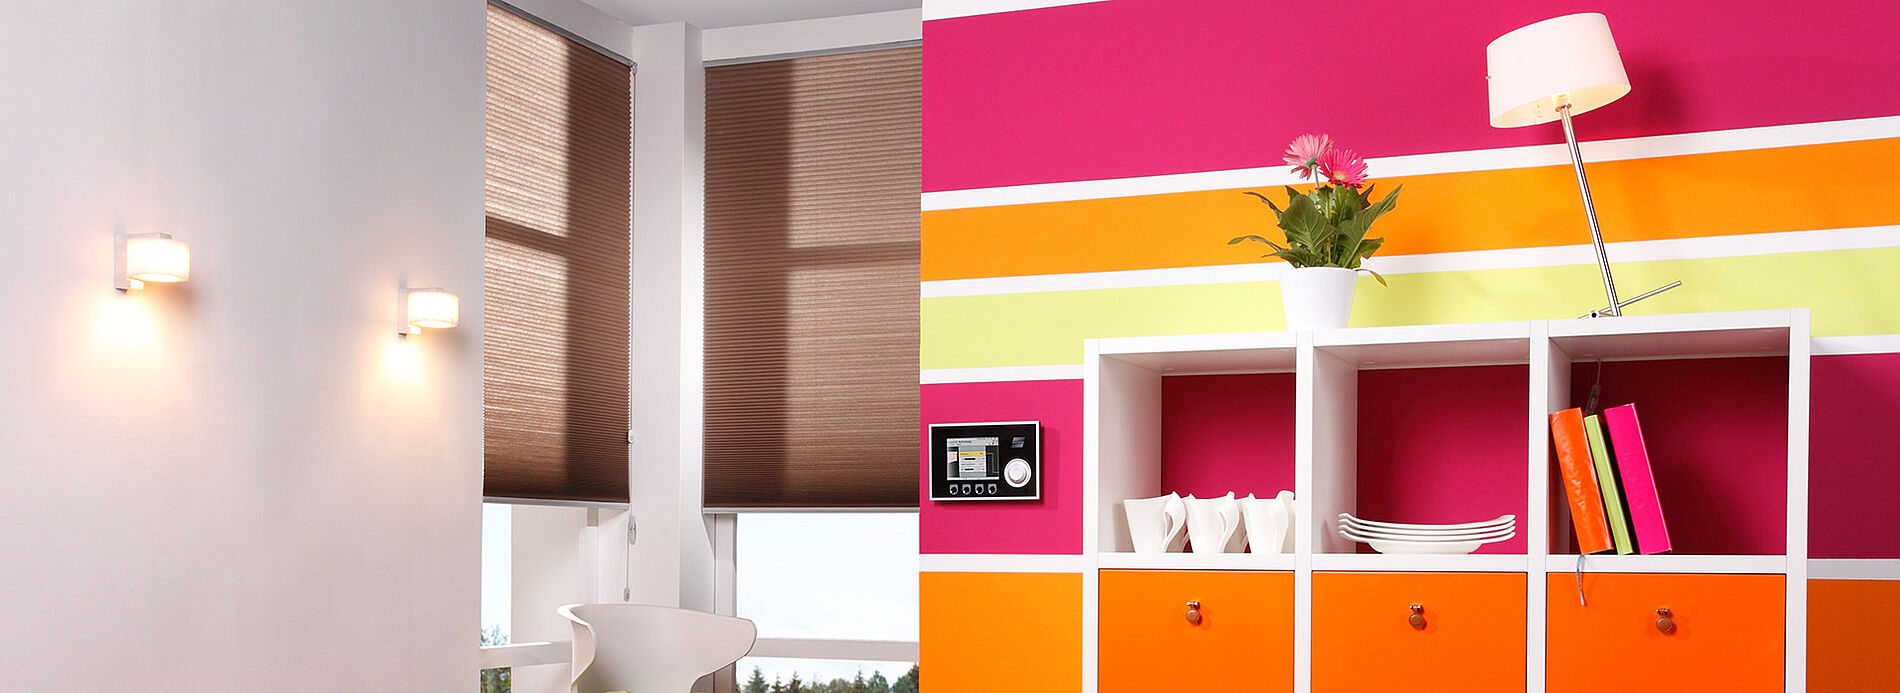
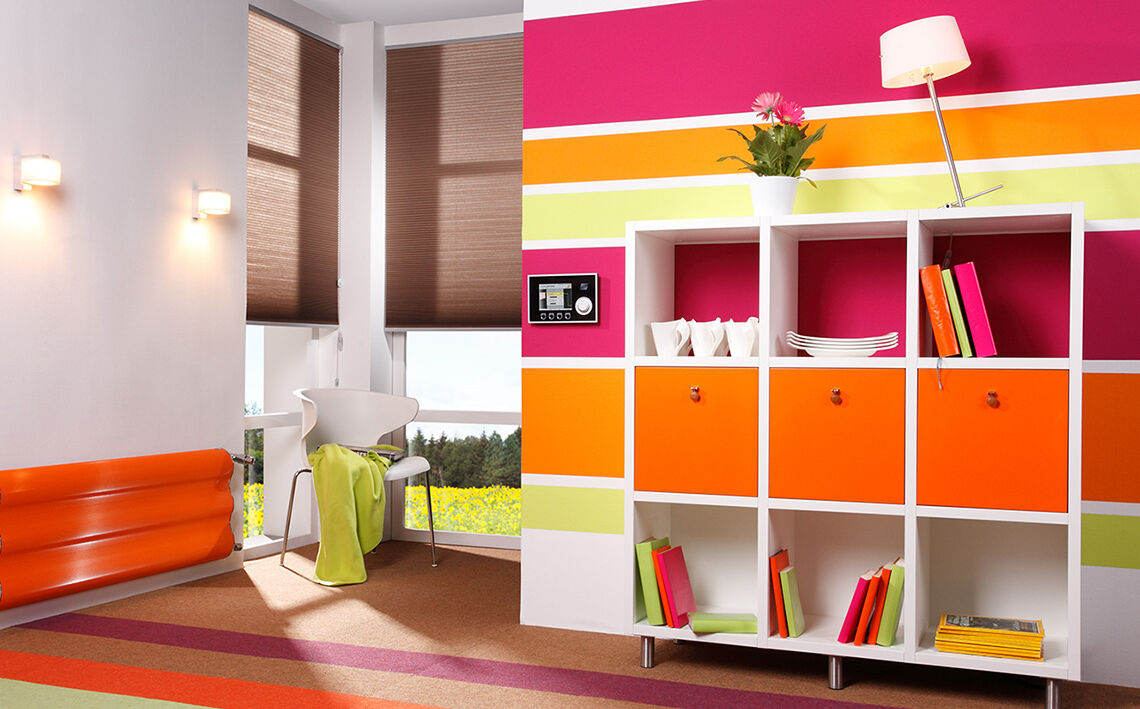
The result: clear edges and a truly personalised wall

Mehr Projekte

WAGNER Group W 590 Produktbild

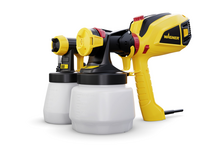
W 590 FLEXiO

The flexible hand sprayer for indoor and outdoor use

W 590 FLEXiO
Produktfinder

WAGNER product finder

Here you can find more products

Go to products
Warum spruehen

Why spraying is better

With HVLP paint sprayers you have a clear time advantage compared to brushes and rollers.

To the explanation