Two-tone interior design for the kitchen

Add colourful accents!

Every day we see amazing living spaces par excellence on Instagram, Pinterest and Co. Photos of apartments owned by interior-design bloggers, in which absolutely everything is just right. Large, bright rooms, stylish furniture and a perfectly coordinated colour scheme.

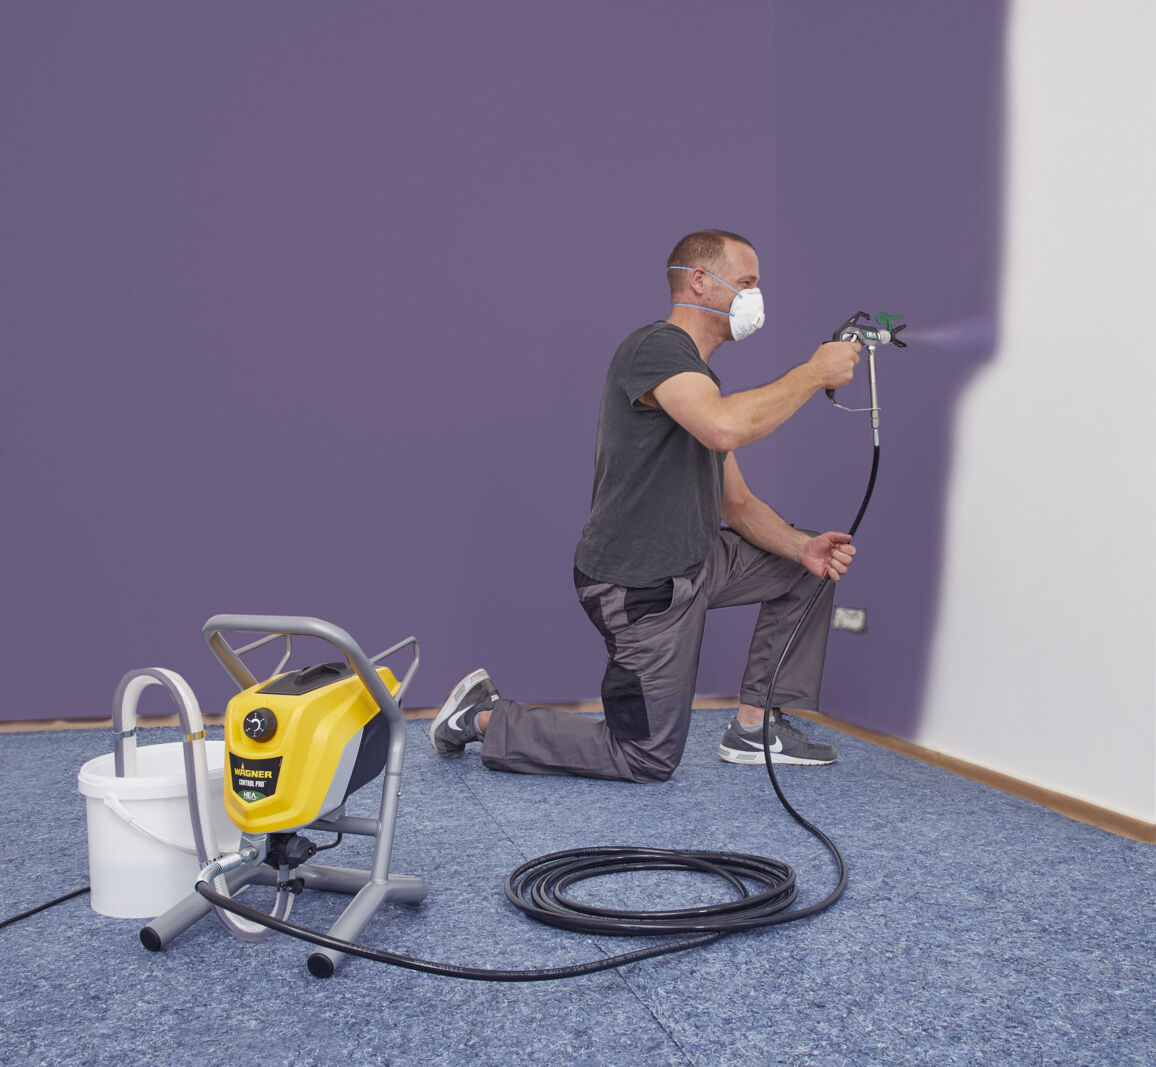
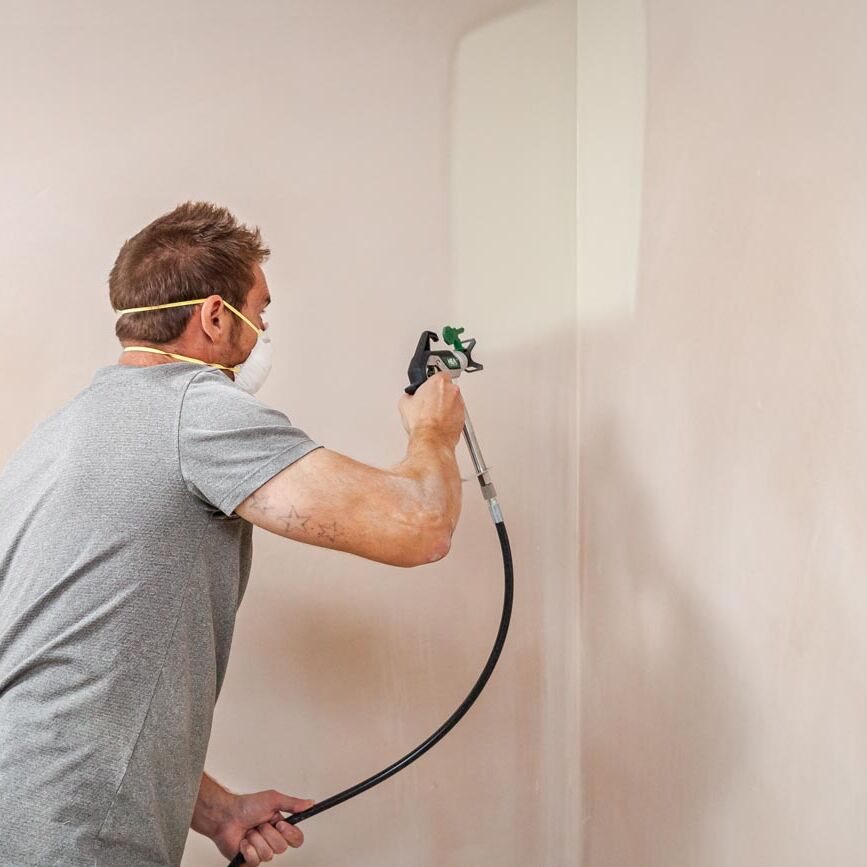
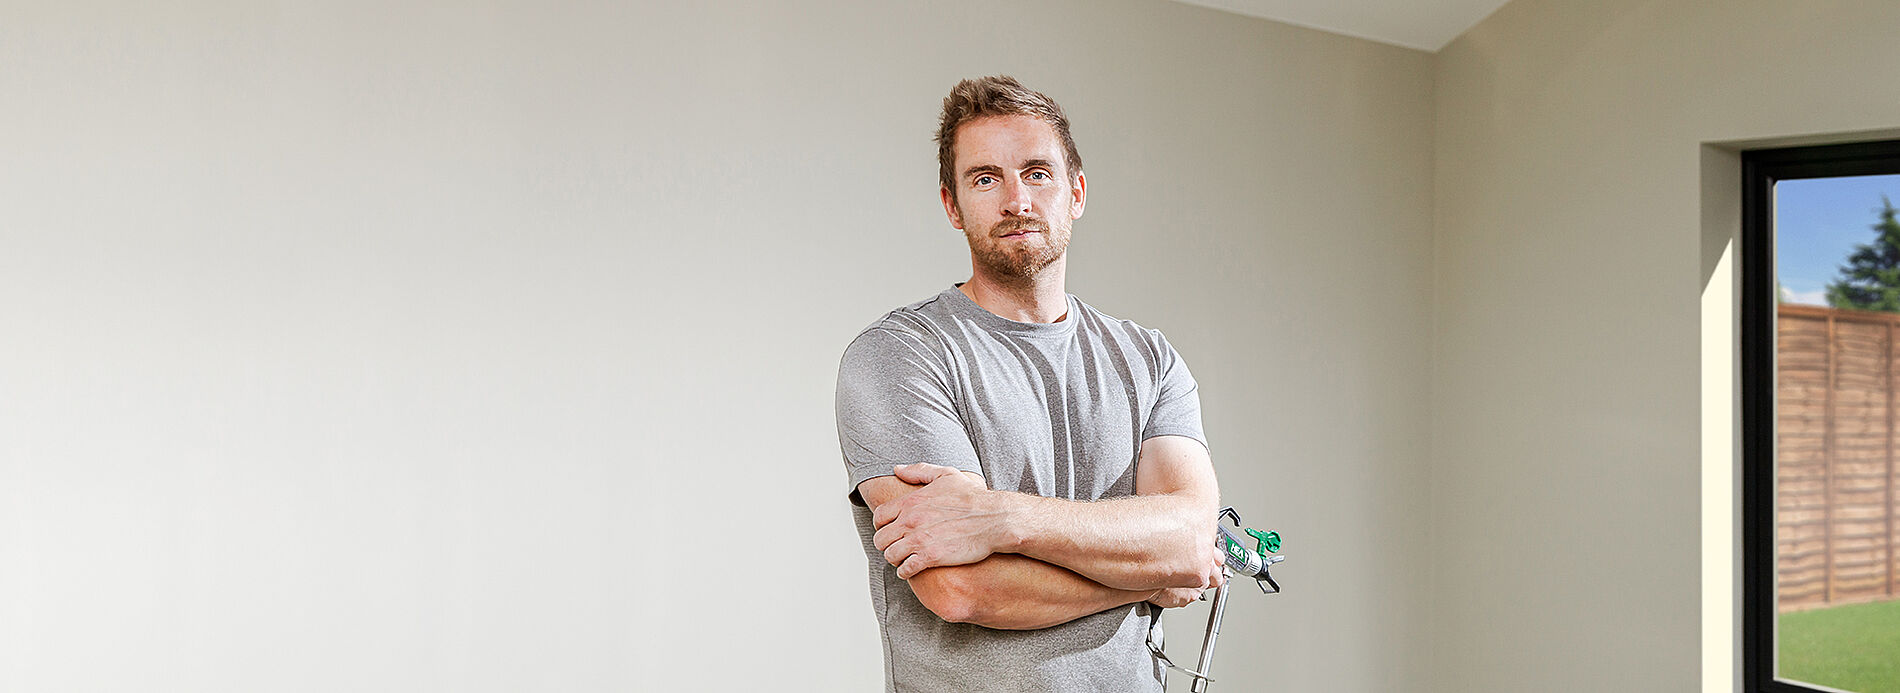
However, in reality it's not always possible to achieve the same results within your own four walls. One solution might be a renovation or even a new extension. This not only enlarges your living space, but also allows you to redivide and redesign the room layout. DIY expert Simon dared to take this step and built his new kitchen in an extension. To create a cosy atmosphere in the newly created room, he has chosen colourful, contrasting walls in a slightly earthy, beige tone. The extension is finished, the walls are plastered, only the paint is missing. And how best to apply this to the wall? Simon's “weapon of choice” is an airless sprayer as a fast and professional way to apply his new paint. In fact, he uses his trusty all-rounder, the Control Pro 250 M airless paint sprayer, for precisely this purpose.

What is airless? What are the advantages of airless spraying? And what are the benefits of the new Control Pro sprayers with HEA technology?
With airless technology, a pump delivers the paint material under pressure and forces it through the nozzle. This atomises the material to form a jet that coats the surface you want to paint. Advantages over painting with a brush or roller:

  • Time savings: apply paint up to 10x faster
  • Achieve an even coat of paint in only one application
  • Direct suction from the paint bucket
  • No cutting in: corners and edges can be cleanly and easily sprayed

By viewing the video you agree that your data will be transmitted to YouTube and that you have read the privacy policy .

You will need:

  • Masking tape with integrated Electrostatic cover sheet, masking tape
  • Covering material for the floor
  • Dust mask
  • White and beige emulsion paint

Preparing the room

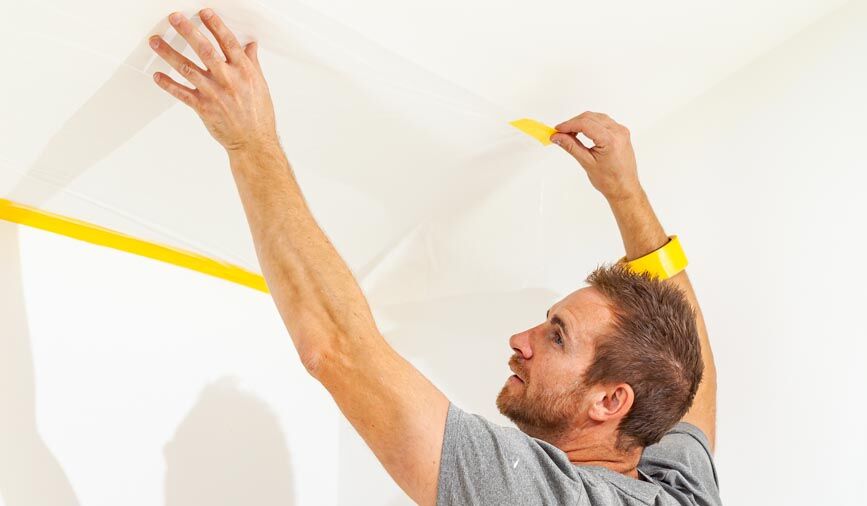
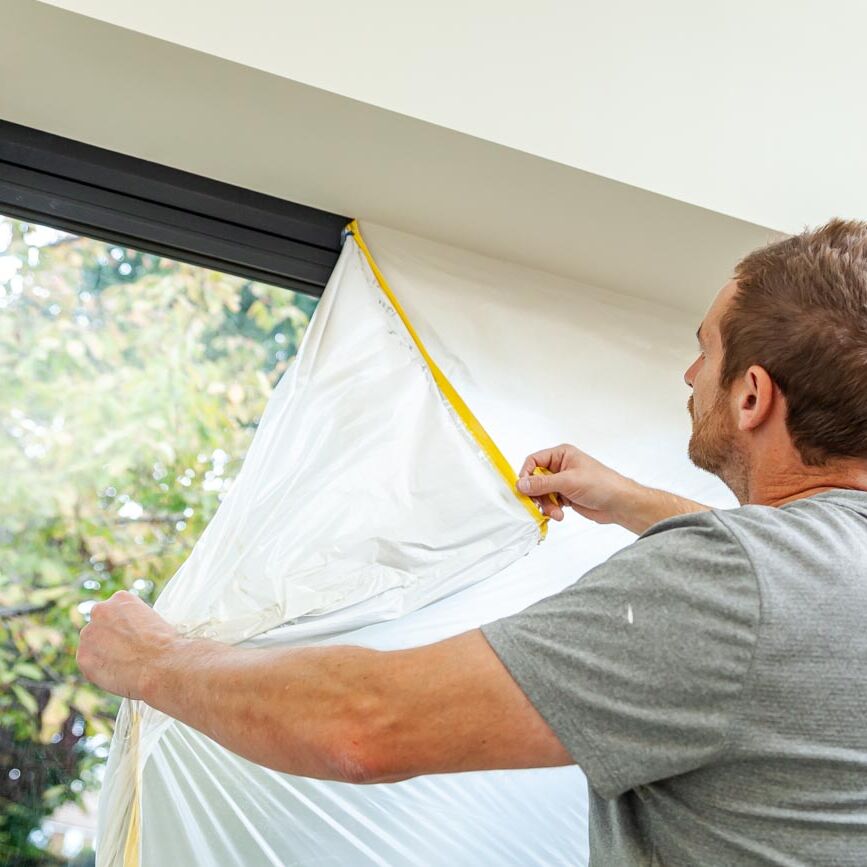
Since Simon's project is a new extension, he does not yet have any furniture or ornaments that need to be removed. But of course he still needs to cover the windows, doors, sockets, switches and the floor. Since he will apply the paint with an airless sprayer, the correct masking technique is essential. The masking tape must seal the film along its entire length to ensure it doesn't “flap” about when sprayed. Simon therefore uses a masking film with integrated masking tape. He applies this along the top edge of the window, folds out the film and covers the side and bottom edges with some additional masking tape.

For quick masking, especially of ceilings, electrostatic masking films with integrated masking tape is ideal.

Preparing the paint

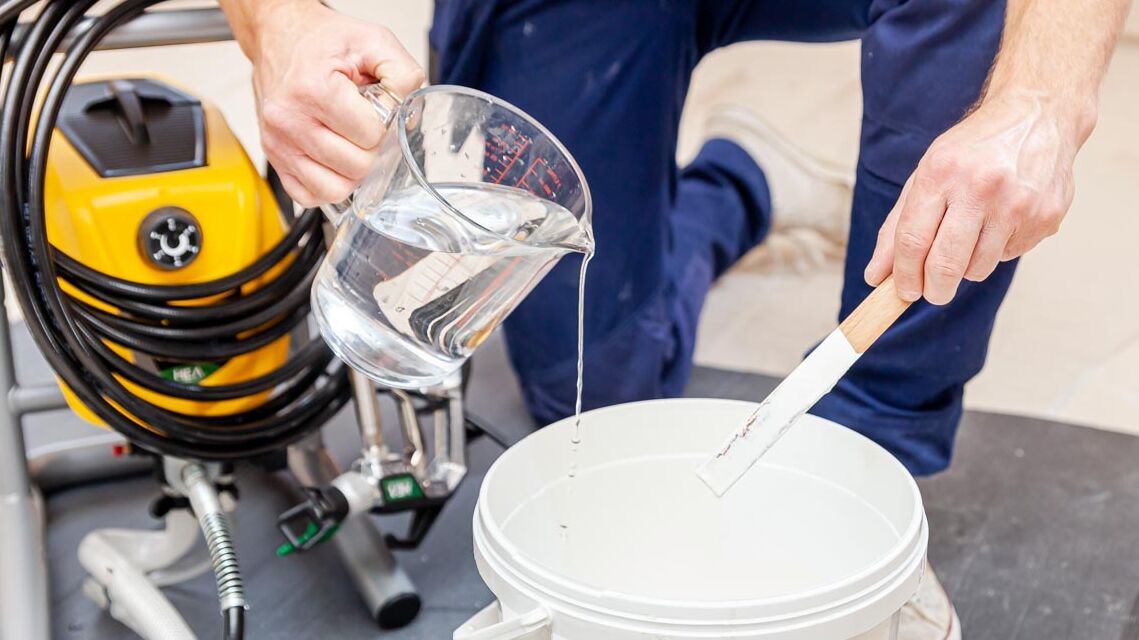
Each wall paint must be stirred well before use, as the heavier paint particles settle on the bottom over time. For most paints, it's a good idea to dilute them with water – depending on the brand and type. Be sure to mix the water thoroughly with the paint.

Preparing the airless sprayer

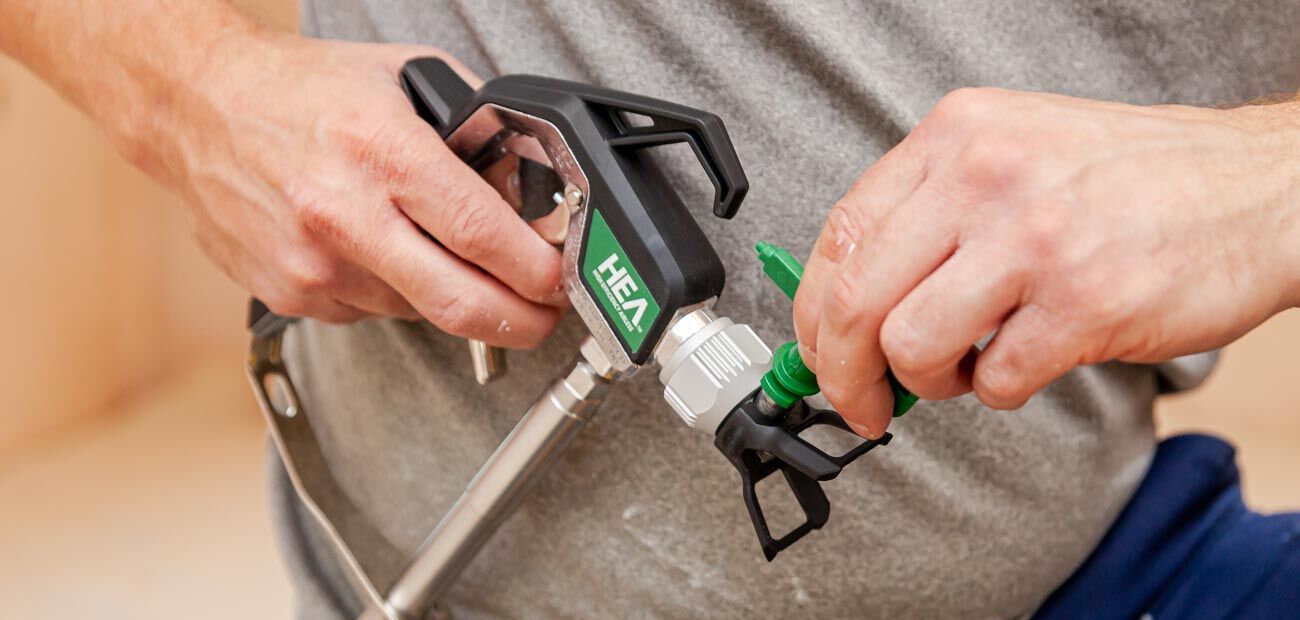
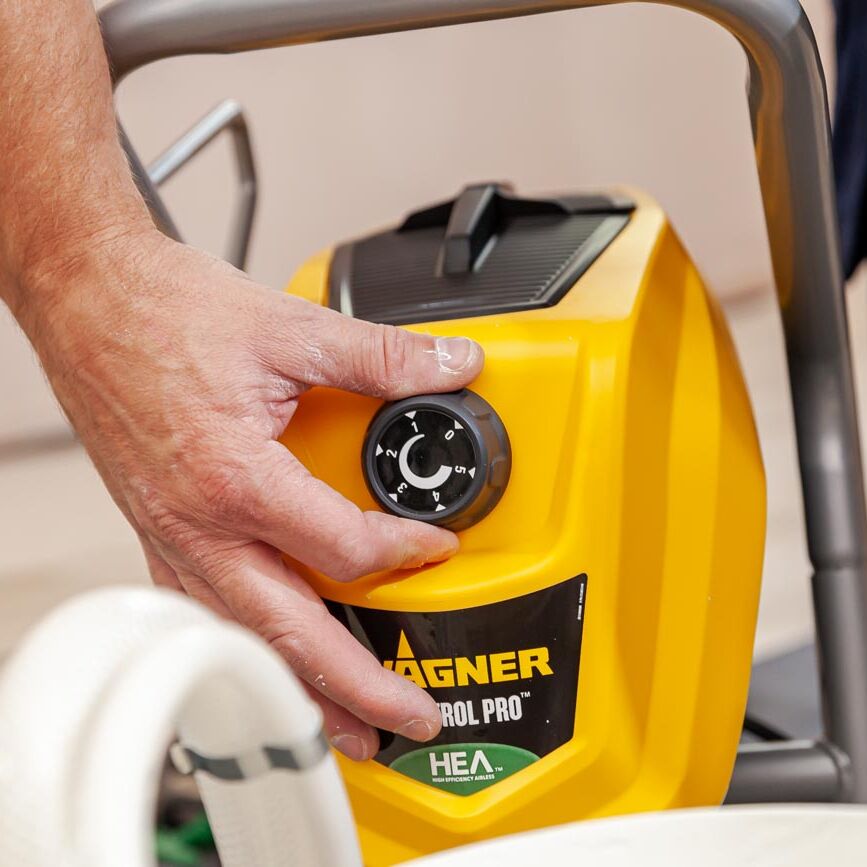
Simon will first coat the ceiling and walls with white paint. He fills the device with paint by placing the suction nozzle directly into the paint bucket. Follow the necessary steps in the operating instructions or watch our set-up video. Once the device is filled with paint, select the appropriate nozzle. For wall paint this is the enclosed nozzle (size 517). Simon inserts the nozzle into the nozzle holder.

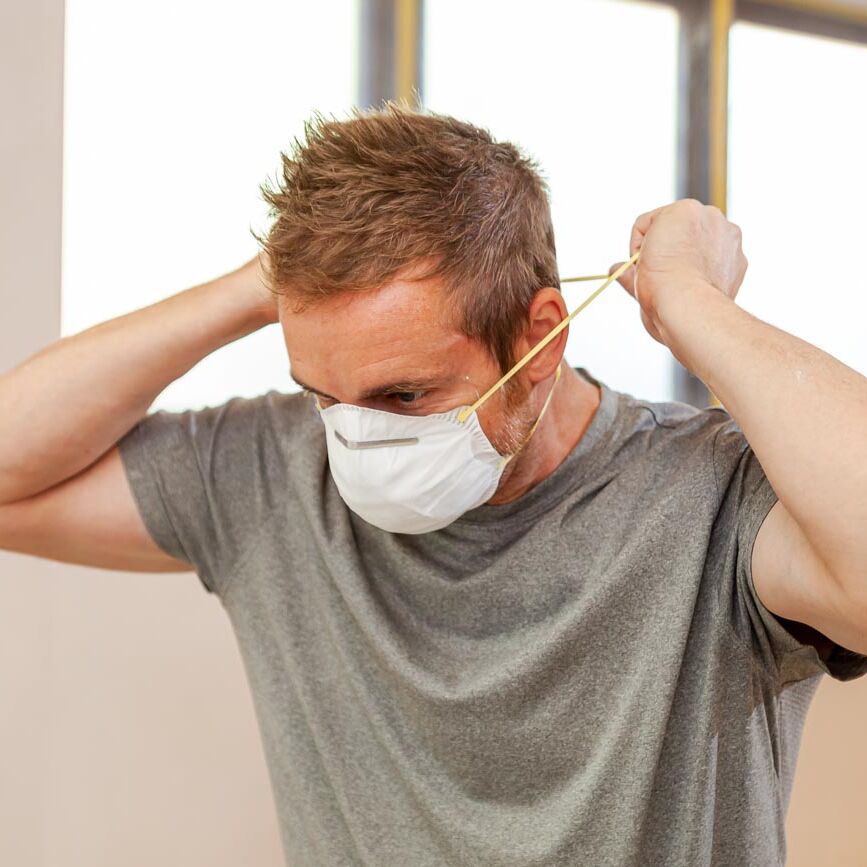
For your own protection it is advisable to wear a face mask. You can also protect yourself with gloves and safety goggles..

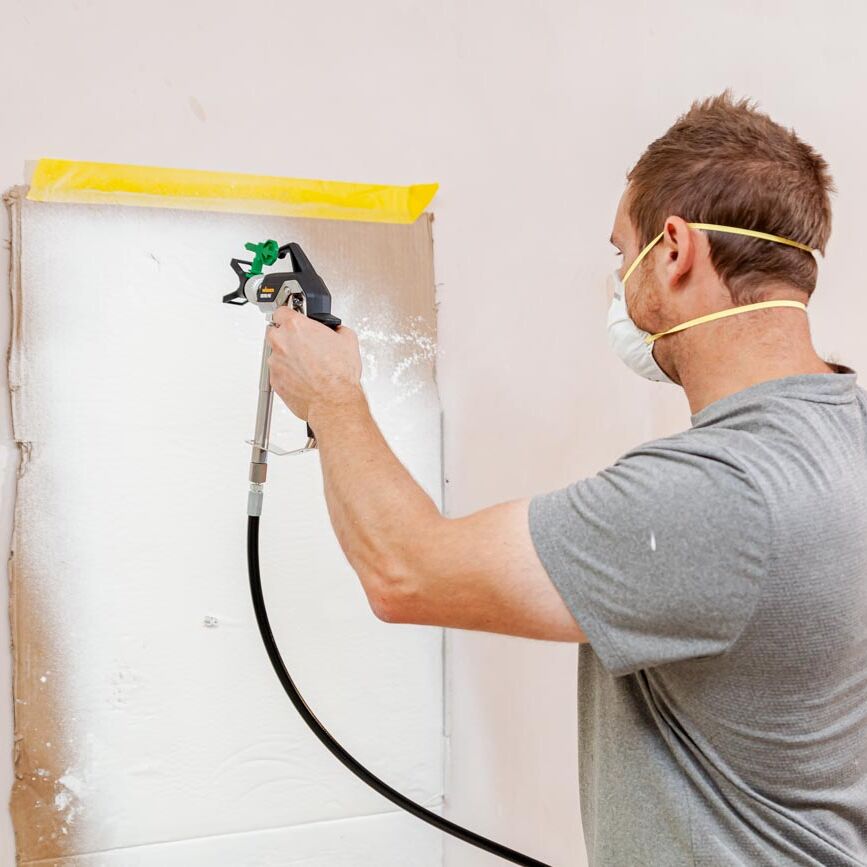
Familiarise yourself with the device and check that everything is set correctly. The best way to do this is to perform a spray test. Simon uses an old cardboard box for this, which he attaches to the wall with masking tape and then sprays a few stripes.

Different manufacturers produce paints with different compositions in terms of the pigments, binders and fillers. Therefore, some interior wall paints are thicker and more viscous than others. The correct viscosity is important to ensure optimum application of the paint. Water-based wall paints must be diluted with water. We tested paints from various manufacturers and determined whether they should be diluted with water – and if so, by how much – in order to obtain an optimal spray pattern. In our Online-Sprayguide you will find information about the tested materials. Simon tests the viscosity of the paint for spraying using a wooden stick. If correct, the paint should run smoothly off the stick without leaving trails on the surface.

Applying paint to the ceiling and walls

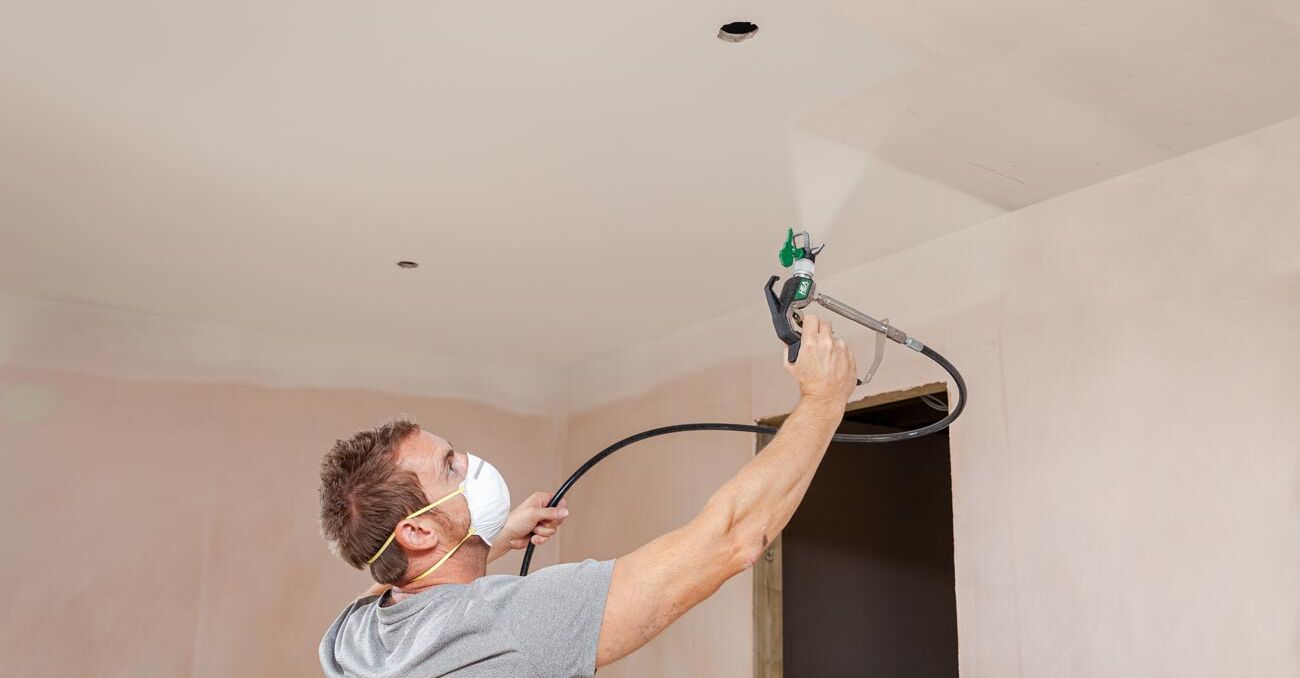
Next, Simon begins coating the surfaces with white paint. He starts with the ceiling and sprays row by row with an overlap of about 30%, maintaining an even spraying distance of 20 – 25 cm and always trying to apply the paint at right angles to the surface. When using a sprayer, a single coat is sufficient for most substrates. A second coat is only necessary on highly absorbent or textured walls and ceilings – and then preferably in a cross-coat pattern. Cross-coating means the second coat of paint is applied to the wall or ceiling at right angles to the first. After the ceiling, Simon also sprays the walls in order to create a pristine finish.

Colour design for individual walls

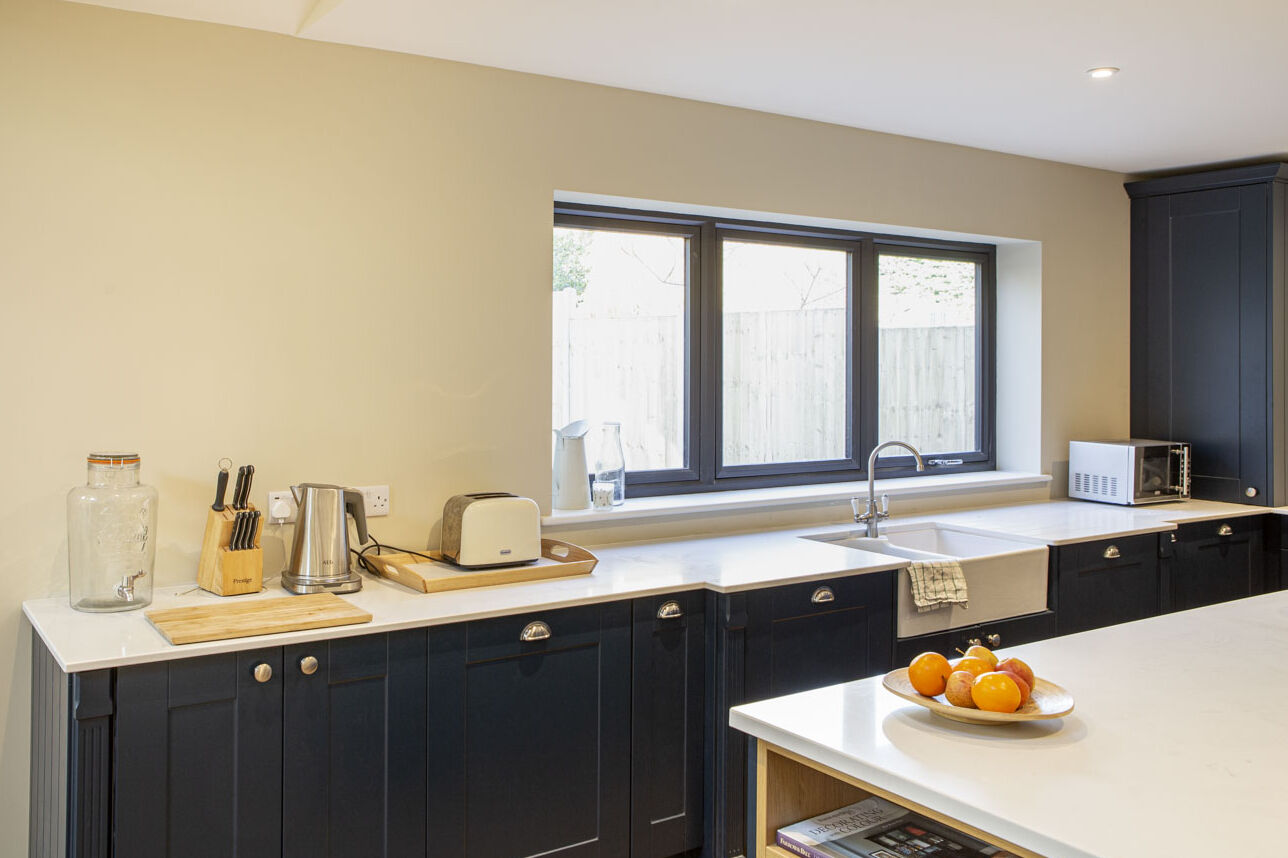
And now it's time to add some colour! Simon wants to create a contrast between the new kitchen units and the walls behind them. He has opted for a light beige tone that gives the room a homely and comfortable feel. Once the white ceiling and walls have fully dried, he masks off the ceiling.

How do you change colours with an airless sprayer?

As with conventional rollers, a colour change with an airless sprayer requires intermediate cleaning. First, the paint that is still in the device is returned to the paint bucket and then it is cleaned. Cleaning an airless sprayer is not complicated – simply suck water from another bucket and let it circulate through the device. Replace the water twice and clean the nozzle and nozzle holder separately with water. Then refill the device with paint and you're good to go. First, Simon applies the beige paint in the corners. This is also where another great advantage of spraying comes into play – there's no need to prepare the corners and edges with a brush and the wall surfaces are also finished in next to no time. Allow the applied paint to dry briefly again and then the masking can be removed. Simon removes the film from the windows and ceiling.

The result

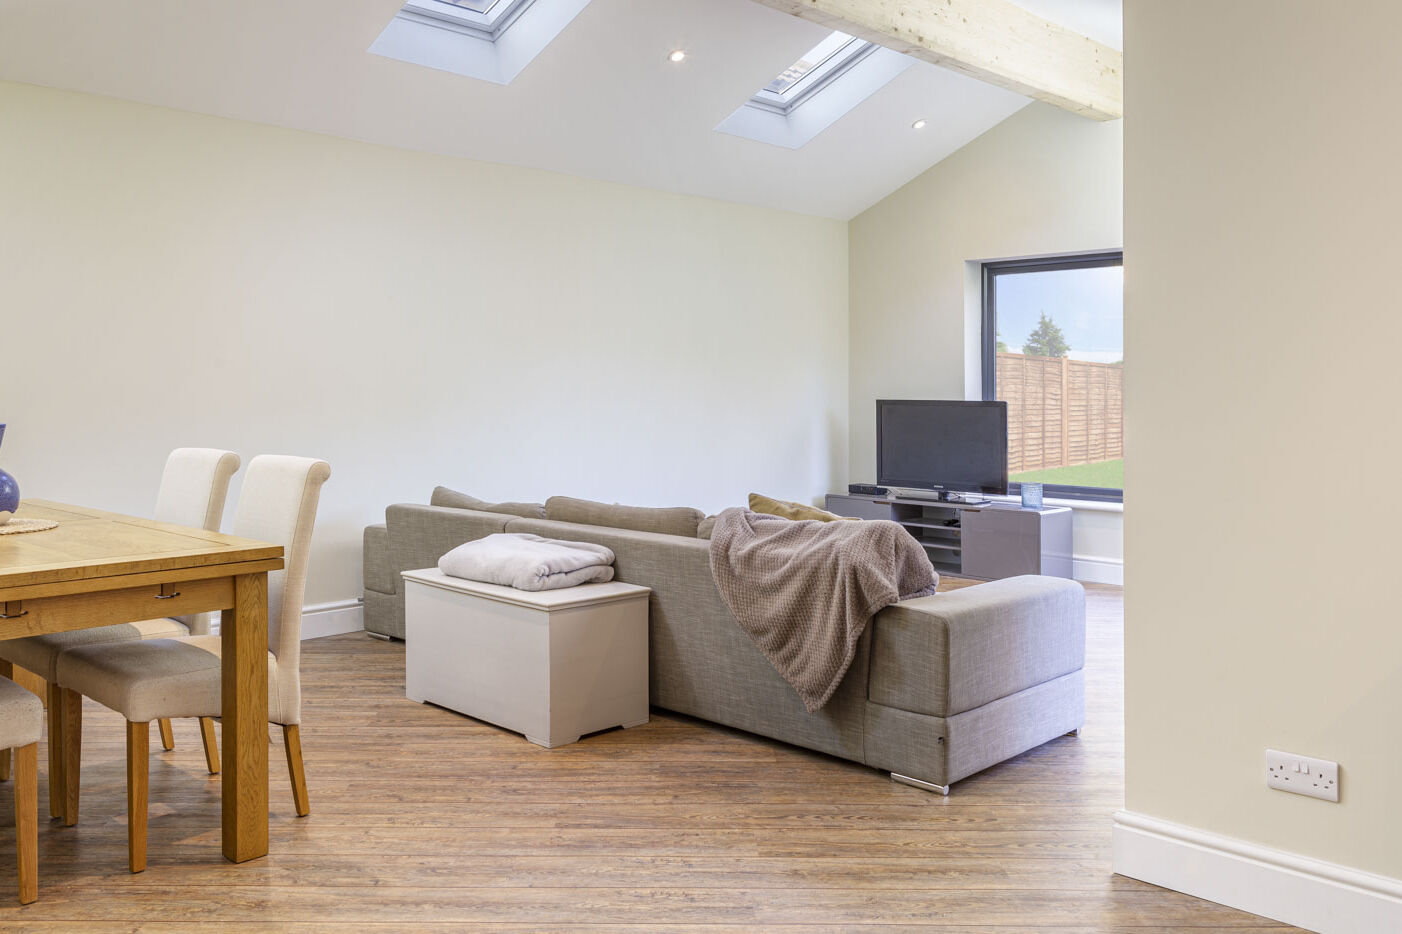
The result is a structurally and colourfully redesigned room in a harmonious white and beige colour scheme. Simon can feel proud of his work – his new kitchen exudes a homely ambience and is a space in which guests will feel welcome. The colour accents are perfect here!

More projects