• Folding ruler
  • Pencil
  • Masking tape
  • Drop cloth
  • Painter’s tape
  • Respiratory mask
  • Cardboard for the stencil
  • Cardboard for spray tests
  • A round object for tracing
  • Water-based wall paint (grey + yellow)
  • Water for diluting

Step-by-step guide for wall design with templates

Step 1 of 10: Draw and cut out the wall stencil

Babyzimmer Wandgestaltung Schritt 1

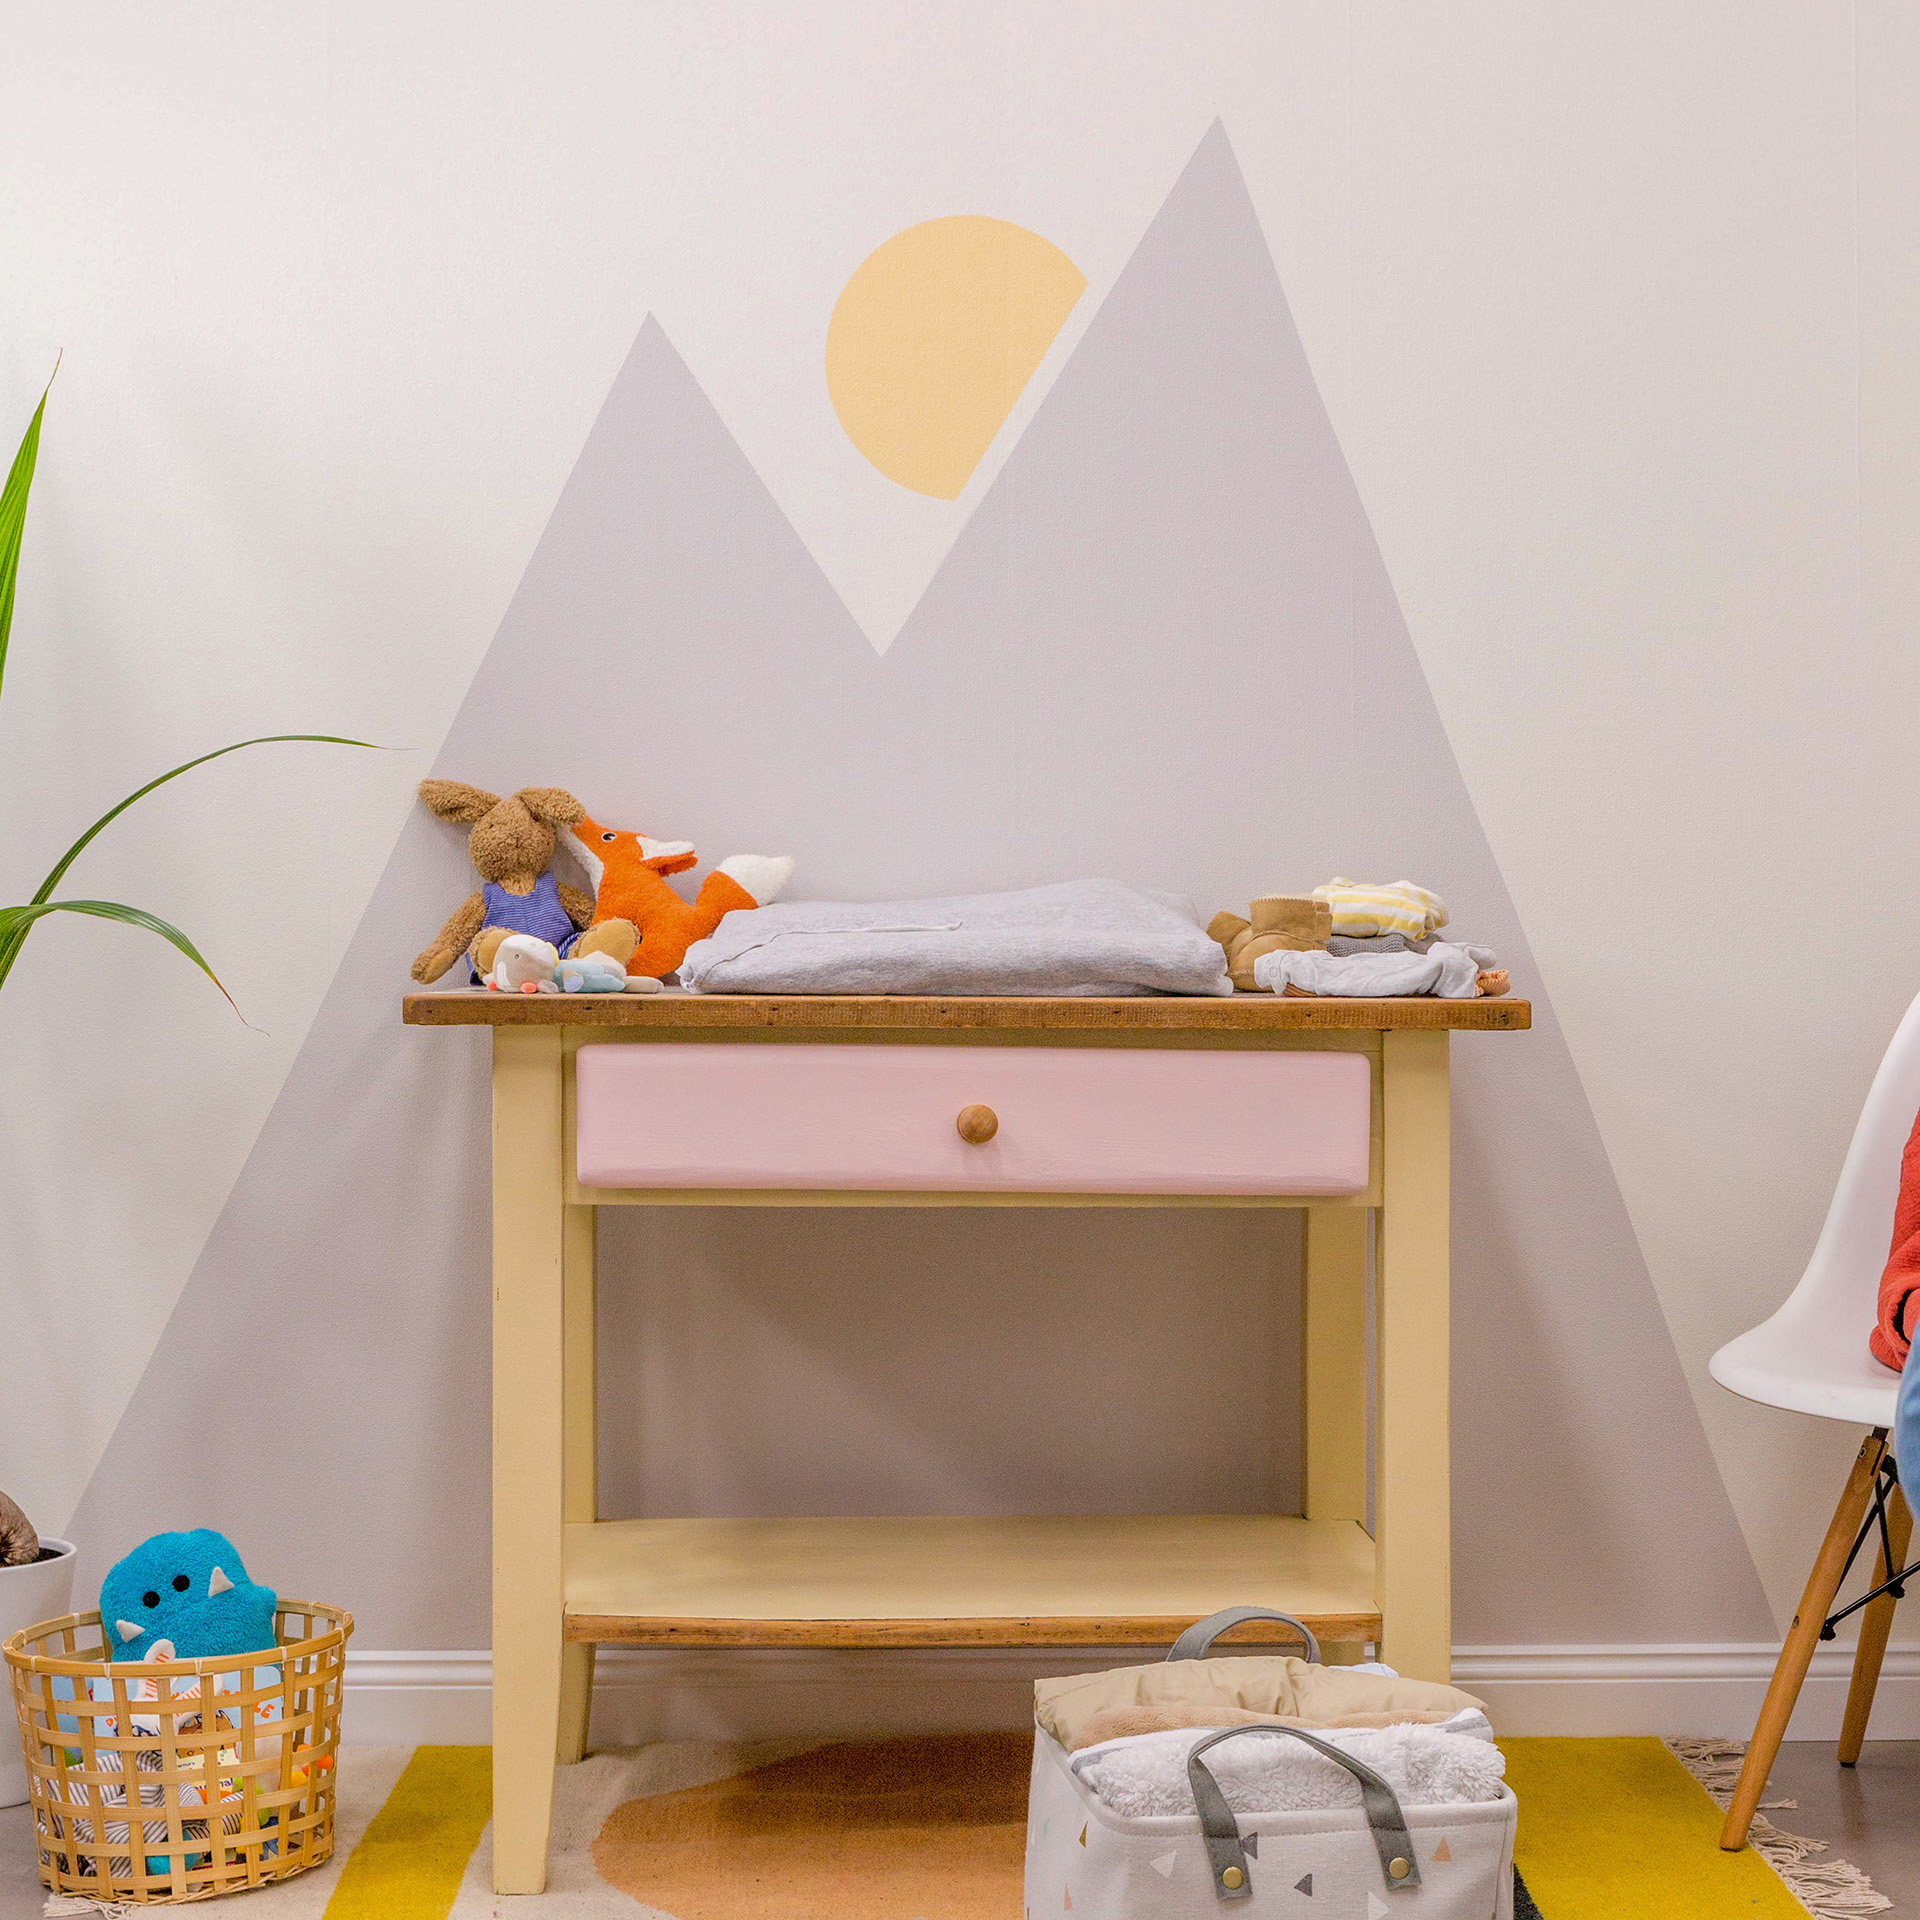
We start with the wall design and have chosen a stylised mountain silhouette with the rising sun. We need a stencil so that the sun on the wall is evenly spherical. We make this out of a piece of cardboard using a round cutting board. Simply trace the shape of the board with a pencil. In order to let the sun disappear behind the mountain later, we cut off a piece of the circle. Mark this with a ruler. The sun can be cut out perfectly with a cutter.

Step 2 of 10: Prepare the wall

Babyzimmer Wandgestaltung Schritt 2

Now we are missing the mountains on the wall. Tape the outline of these on the wall. Take a step back to look at the layout and correct until you are pleased with your mountain landscape. Adhere the sun stencil to the wall at the appropriate angle to one of the mountains. Now lay out a drop cloth or plastic sheet on the ground.

Step 3 of 10: Preparing and diluting the paint

Babyzimmer Wandgestaltung Schritt 3

Stir the paint well in the bucket. Now add the wall paint for the sun into the container. Stir the paint vigorously with the paint stirrer and test the paint application via a spray test on a piece of cardboard. If the paint application is not yet uniform, the paint can be diluted with water. Depending on the paint, we recommend diluting by 5 – 10%. The paint stirrer we provide will help you with the perfect measurement thanks to its scale. Each notch corresponds to a 10% dilution. Add water in small steps so that the paint does not get too diluted. Keep testing between dilutions.

Step 4 of 10: Assembling the paint sprayer

Babyzimmer Wandgestaltung Schritt 4

Screw on the paint container and ensure that the suction pipe is facing forward. Assemble the spray attachment and the turbine. The “click” tells you that everything is correctly locked into place.

Many well-known paint manufacturers now carry special paint for nurseries, which are particularly low in pollutants and are environmentally friendly. Ask your hardware store about it!

Step 5 of 10: Amount of material & spray intensity

Babyzimmer Wandgestaltung Schritt 5

Use the “Air Power” adjustment wheel to adjust the amount of air, i.e. the spray intensity of the paint sprayer. As you can see, there is a recommendation scale for different types of paint, from varnish to wall paint. The settings vary from paint to paint. That is why you have to test with your paint. In addition, the material volume can be adjusted. You can regulate here how much paint is sucked out of the paint container and sprayed. So if you feel that the paint application is too diluted, you can adjust the material volume here.

Step 6 of 10: Respiratory protection

Babyzimmer Wandgestaltung Schritt 6

Please put on a mask beforehand to protect yourself from inhaling paint fumes.

Step 7 of 10: Spraying the sun

Babyzimmer Wandgestaltung Schritt 7

Now you can get started. First spray the sun. This is best done in horizontal or vertical, slow and even passes. Spray horizontally to the wall at a distance of about 10 cm and ensure that the passes always overlap by about 1/3. After waiting a few minutes, you can remove the stencil and admire your work. We don't want the sun to dry completley. Otherwise this could lead to an uneven line.

Step 8 of 10: Masking

Babyzimmer Wandgestaltung Schritt 8

Now the white wall around your design as well as the sun must be protected. This is best done by taping up a combination of adhesive tape and paper. This is available as combined rolls at your DIY store.

Step 9 of 10: Spraying the mountains

Babyzimmer Wandgestaltung Schritt 9

Now you can continue with the mountains. After a quick cleaning of the wall paint spraying attachment, we change the paint and test and dilute this too before we spray on the wall. With this larger area, it is recommended to spray the edges first. Along the baseboard and the tape. Then we fill in the area in the mountains in vertical passes.

Step 10 of 10: Magic moment

Babyzimmer Wandgestaltung Schritt 10

The magic moment of peeling off has come! After waiting for a few minutes, you should be able to peel off the tape and will be rewarded with beautiful clean edges for your efforts.

The result

More projects

WAGNER Group W 590 Produktbild

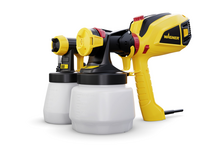
W 590 FLEXiO

The flexible hand spray gun for indoor and outdoor use

W 590 FLEXiO
Produktfinder

WAGNER product finder

Here you can find more products

Go to products
Warum spruehen

Why spraying is better

With HVLP paint sprayers you have a clear time advantage compared to brushes and rollers.

To the explanation