Make your own DIY blackboard for home

Individual size and design

For quite a while now, blackboards have been making their way back into the catering trade and into our homes. As pavement stoppers in front of cafés, as hand-written food and drink boards in bars and restaurants or even as an oversized shopping list in the kitchen: with thoughts handwritten and drawn, they let us pause, slow down and be more conscious in the fast-moving digital age. It is not without reason that such places attract us almost magically and coffee tastes worlds better there.
Why create a blackboard yourself instead of buying one? Quite simply, you can not only determine the perfect size of the board, but also choose the frame based on where it will be hung. Self-made blackboards are much nicer to look at than bought ones don‘t you think?

By viewing the video you agree that your data will be transmitted to YouTube and that you have read the privacy policy .

You will need:

  • Paint sprayer from WAGNER, e.g. Wood&Metal Sprayer W 100
  • Ruler
  • Sandpaper
  • MDF-board in desired size
  • Four matching frame parts or an old picture frame
  • Blackboard paint
  • Wood & Metal paint for the frame
  • Mounting brackets
  • Masking material and face mask

In order to make your own blackboard, it is best – depending on the size of the board – to have a workplace outside. Protect a large area using a dust sheet or an old, large sheet for example. A small garden table or similar can be useful to create an ergonomic work area while standing which will support the MDF board while you are working.

Step-by-step instructions for a DIY blackboard

Step 1 of 5: Cutting and sanding the material

Cutting and sanding the material

After you have chosen a suitable place for your workplace, cut the MDF board and frame to size or have everything cut to size in a specialist shop. Lightly sand down the wooden surfaces which will help the paint stick better.

Step 2 of 5: Get the paint sprayer ready for use

Get the paint sprayer ready for use

The paint spraying unit is ready for use in a few easy steps. Fill the paint container up to 3/4 full with the blackboard paint. Stir the paint with the supplied stirring rod and dilute it if necessary according to the paint manufacturer‘s instructions. Each notch on the stirring stick corresponds to a 10% dilution.

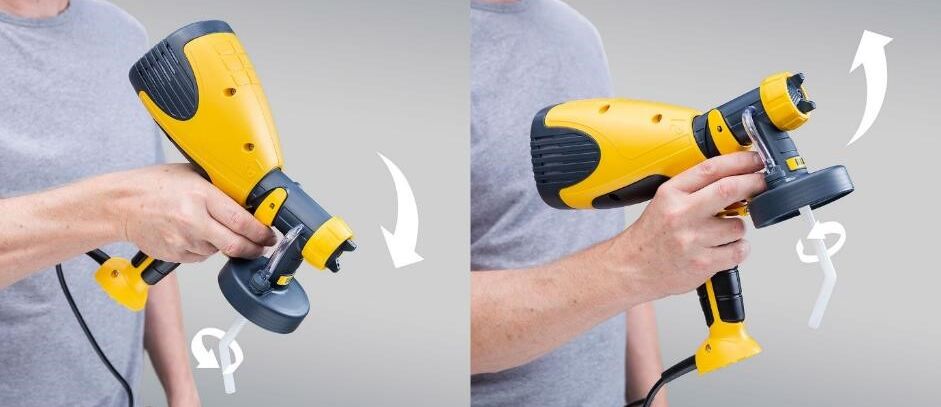
Before you place the spray attachment on the device, align the suction tube according to the direction of work – to the rear when spraying objects overhead and to the front when spraying downwards. For this project, the suction tube should be aligned to the front.

The spray jet can be adjusted in three ways – horizontal, vertical and round for detailed, precise spraying. Be sure to carry out a test spray on a scrap of cardboard to find the right setting for you.

Step 3 of 5: Painting MDF board with blackboard paint

Painting MDF board with blackboard paint

For a blackboard to be easy to write on the surface needs to be really smooth. With a brush or roller this is difficult to achieve, spraying the paint gives a very smooth even coverage of paint. Start by spraying the MDF always hold the sprayer about 15cm from the surface. Overlap the paint strips by about 30 percent. Allow the paint to dry repeated the process and apply a total of five coats onto the board.

Step 4 of 5: Paint the frame

Paint the frame

To paint the frame, first clean the spray attachment and adjust the paint sprayer to the new material as described above. If it is untreated or dark wood, apply a primer first. Let it dry and then apply the top coat in the desired colour and material.

If the paint is applied too thickly, drips can form, so it‘s better to spray thin coats and build up the layers rather than one thick coat.

Step 5 of 5: Assembling and mounting the chalkboard

Assembling and mounting the chalkboard

When the paint is completely dry, apply wood glue to the four parts of the frame, press them against the MDF board and let the glue dry really well. Mount one or more brackets on the back to be able to attach your new chalkboard to the wall.

Assembling and mounting the chalkboard

When the paint is completely dry, apply wood glue to the four parts of the frame, press them against the MDF board and let the glue dry really well. Mount one or more brackets on the back to be able to attach your new chalkboard to the wall.

Assembling and mounting the chalkboard

When the paint is completely dry, apply wood glue to the four parts of the frame, press them against the MDF board and let the glue dry really well. Mount one or more brackets on the back to be able to attach your new chalkboard to the wall.

Assembling and mounting the chalkboard

When the paint is completely dry, apply wood glue to the four parts of the frame, press them against the MDF board and let the glue dry really well. Mount one or more brackets on the back to be able to attach your new chalkboard to the wall.

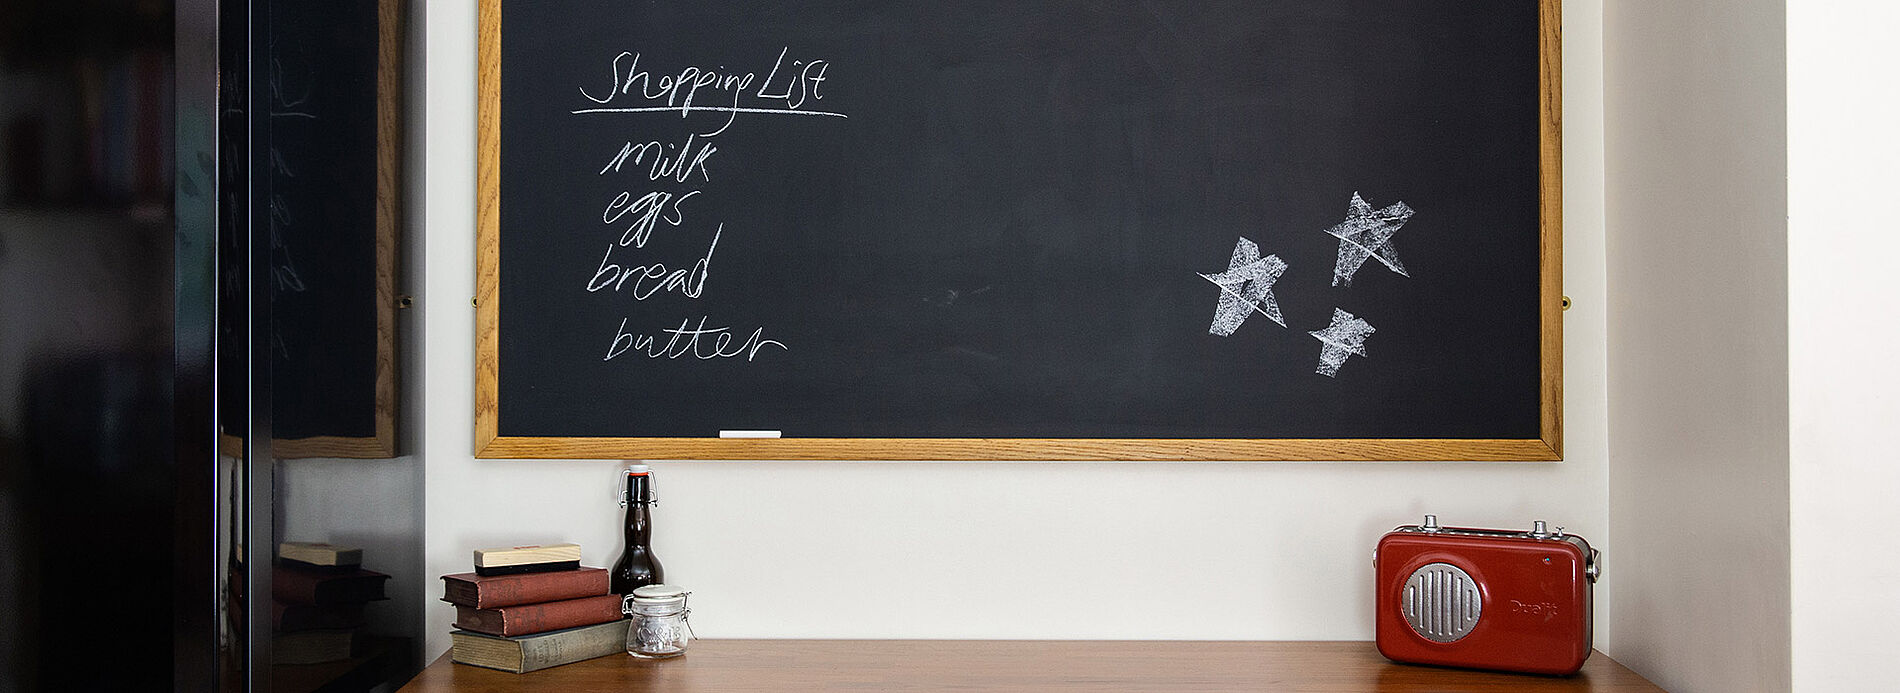
The result

More projects