Build your own wooden children's outdoor seating

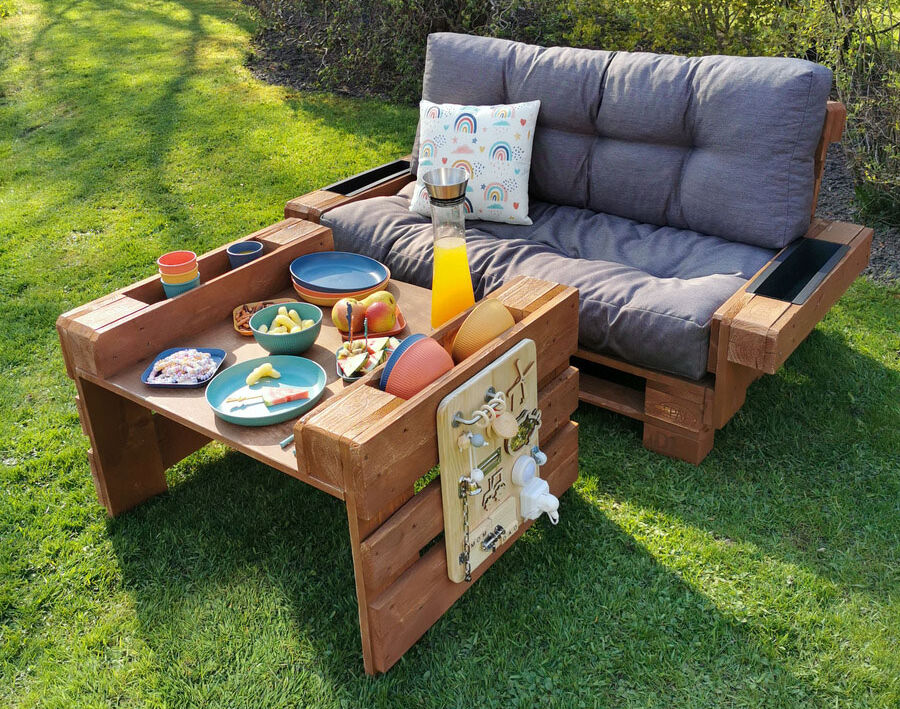
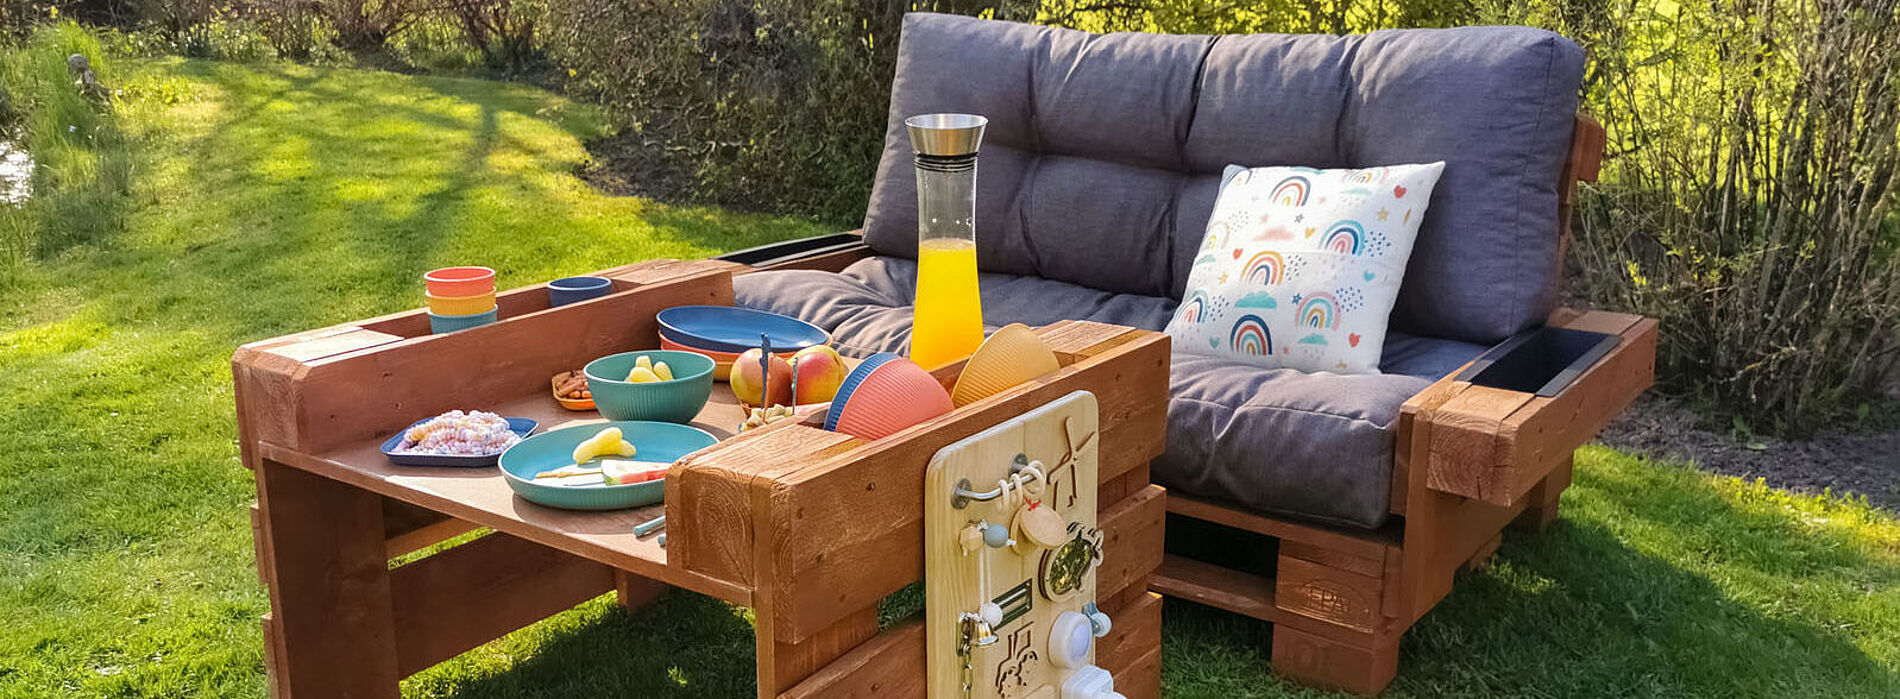
DIY children's furniture made from Euro pallets is inexpensive, stable and sustainable. In this step-by-step guide, we show you how to build a children's seating area with a table for your garden. With outdoor seating and the accompanying play or picnic table, children and adults can play and be creative together. With the paint sprayer from WAGNER, the children's seating is sprayed the right colour in record time. This gives both big and small guests a lot of pleasure!

By viewing the video you agree that your data will be transmitted to YouTube and that you have read the privacy policy .

What you need:

  • 4 Euro pallets
  • Wood for the table top
  • Water-based wood stain
  • Work gloves
  • Screws
  • Wood glue

A step-by-step guide: Build your own outdoor children's seating area

Building a children's table from Euro pallets

Step 1: Cutting the side walls

Kindersitzgruppe Seitenwaende zusaegen

Cut the side walls for the play table from two pallets with a jigsaw along the middle board. Turn the Euro pallets over and cut along the EPAL blocks.

Step 2: Lever out cross struts

Kindersitzgruppe Querstreben aushebeln

Lever out the cross struts on the middle EPAL block using a crowbar and hammer on both side walls.

Step 3: Cut off nails

Kindersitzgruppe Naegel absaegen

Cut off the nails on the pallets with a hacksaw. Please be sure to wear work gloves when doing this.

Step 4: Cutting the side walls

Kindersitzgruppe Seitenwaende zusaegen 2

Cut the side walls with the jigsaw. With the measurements you determine the required height for the children's table, in our example it is 52 cm. Keep the leftover piece.

Step 5: Adapt table top

Kindersitzgruppe Tischplatte anpassen

Cut the tabletop to size so that it is flush. To do this, simply subtract the thickness and width of the boards of the Euro pallet.

Kindersitzgruppe Tischplatte anpassen 2

Cut the tabletop to size so that it is flush. To do this, simply subtract the thickness and width of the boards of the Euro pallet.

Kindersitzgruppe Tischplatte anpassen 3

Cut the table top to size so that it is flush. To do this, simply subtract the thickness and width of the boards of the Euro pallet.

Step 6: Fasten table top

Kindersitzgruppe Tischplatte befestigen

Now attach the tabletop to the cut pallet pieces on all four sides with screws.

Build your own children's lounge furniture from Euro pallets

For the bench, you now need the other two Euro pallets and the leftover wood from the children's table.

Step 1: Set seat height

Kindersitzgruppe Sitzhoehe Festlegen

Place an EPAL block underneath a whole pallet on each side for a child-friendly seat height. For this use screws or wood glue.

Step 2: Cutting the backrest

Kindersitzgruppe Rueckenlehne zusaegen

For cutting the backrest, you need the second Euro pallet, which you cut along the second board.

Kindersitzgruppe Rueckenlehne zusaegen 2

For cutting the backrest, you need the second Euro pallet, which you cut along the second board.

Step 3: Position the backrest appropriately

Kindersitzgruppe Rueckenlehne positionieren

Position the backrest so that it rests on the back board of the Euro pallet and fasten it at the front and back with sufficient screws.

Kindersitzgruppe Rueckenlehne positionieren 2

Position the backrest so that it rests on the back board of the Euro pallet and fasten it at the front and back with sufficient screws.

Step 4: Screw on armrests

Kindersitzgruppe Armlehnen anschrauben

Now use the leftover pallet pieces from the table for the armrests and attach them with screws to both sides of the seat.

Icons8 shield 500

When making children's furniture, always remember to thoroughly sand and round off corners to avoid injuries from splinters or sharp edges!

When making children's furniture, always remember to thoroughly sand and round off corners to avoid injuries from splinters or sharp edges!

icons8 fuellfarbe 500

For the children's seating, it is best to use an exterior wood preservative stain that is non toxic and suitable for children. In addition, the paint should protect the furniture from the weather.

For the children's seating, it is best to use an exterior wood preservative stain that is non toxic and suitable for children. In addition, the paint should protect the furniture from the weather.

Step 5: Sand everything thoroughly

Kindersitzgruppe abschleifen

Sand the pallets carefully and round the edges so that the children do not injure themselves. Use a 240 grit paper for a smooth surface.

Step 6: Spray paint the children's seating area

Kindersitzgruppe Farbe spruehen

Apply a suitable wood preservative stain to the children's furniture using the paint sprayer. It should be non toxic and suitable for children.

Kindersitzgruppe Farbe spruehen 2

Apply a suitable wood preservative stain to the children's furniture with the paint sprayer, in this case the W 590 FLEXiO. It should be non toxic and suitable for children.

Spraying tips

Do you need more information on the procedure for spraying? In our Tips & Tricks with Carina you will find more information on how you can easily spray correctly.

Apply glazes and lacquers correctly

Designing a children's seating area from Euro pallets

The DIY children's seating area for the garden can be decorated in many ways. The paint sprayer is perfect for designing the children's seating area. This allows you to reach all corners of the pallets and ensures an even paint distribution.

Here are some design ideas for the children's seating area:

  • Spray paint the furniture in different colours, because children like it colourful.
  • In summer, a sun sail or parasol is recommended as sun protection.
  • Mobility games on the side of the children's furniture provide entertainment for young ones.
  • Are several children coming as guests, for example at a children's birthday party? Then fruit crates as stools are a good place to sit. The boxes can also be easily designed in bright colours with the paint sprayer.

Why are Euro pallets suitable for making children's furniture?

There are many advantages to making outdoor children's furniture from Euro pallets:

Icons8 leaf 500

DIY children's furniture made from Euro pallets fits very well into the garden with its natural look.

DIY children's furniture made from Euro pallets fits very well into the garden with its natural look.

icons8 tisch 500

The space between the EPAL blocks serves as a practical storage place. The opposite struts prevent small items from falling to the floor or filled drinks cups from tipping over.

The space between the EPAL blocks serves as a practical storage place. The opposite struts prevent small items from falling to the floor or filled drinks cups from tipping over.

icons8 geld 64

Euro pallets are very reasonably priced.

Euro pallets are very reasonably priced.

Icons8 diamond

The pallets are manufactured under strict quality controls and are very robust, resilient and sustainable.

The pallets are manufactured under strict quality controls and are very robust, resilient and sustainable.

Icons8 easy

Making the seating using our step-by-step instructions is possible even for DIY novices.

Making the seating using our step-by-step instructions is possible even for DIY novices.

More DIY ideas with Euro pallets:

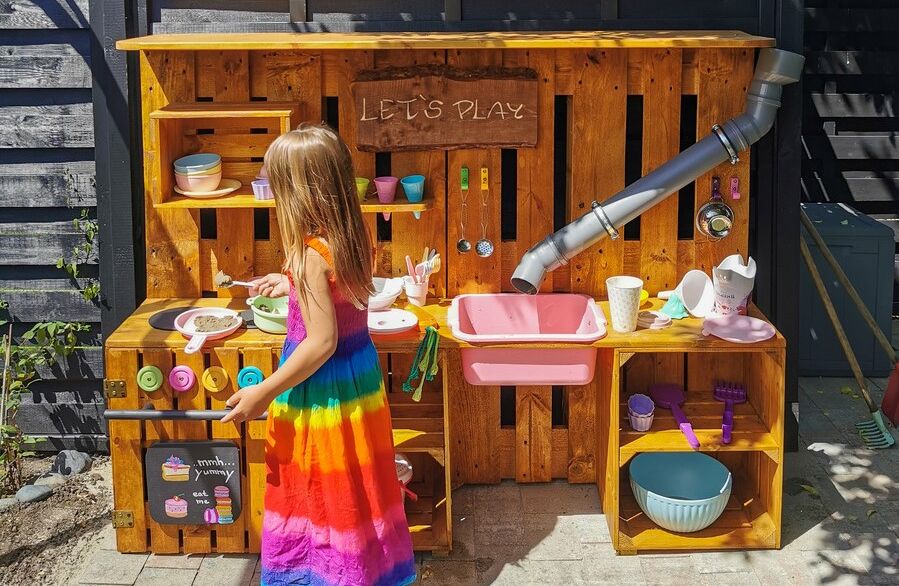
How about a mud kitchen made of pallets to complement the children's seating? This way, your little ones also have a cosy "dining room" in the garden.

Mud kitchen made from pallets

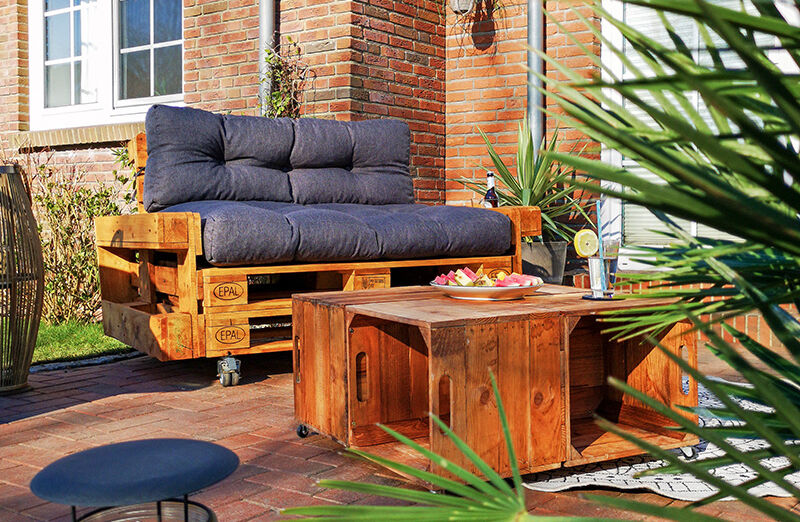
What works for the little ones, of course, also works for the big ones: For adults, it is just as easy to build a garden lounge yourself from pallets.

Creating an outdoor living room with pallet furniture
Wagner Universal Sprayer W 590 FLEXiO mit Kabel

Universal Sprayer W 590 FLEXiO

If you are planning a slightly larger project and want to spray both internal walls and other surfaces, you need the W 590 paint sprayer: With two spray attachments, you are ideally equipped for applying both wood and metal paint, varnish and emulsion.

W 590 FLEXiO
Tipps tricks carina slider

Tips and tricks with Carina

We have summarised more tips on spraying wood and metal paints for you in our Tips and Tricks with Carina.

Apply glazes and lacquers correctly
Warum spruehen

Why spraying is better!

With a paint sprayer, it’s incredibly easy to apply the material evenly and to cover the entire surface. The end result is a smooth and even layer of paint. When using a brush, brush marks tend to be visible.

Why it's better to spray